A Dream Come True: The Inside of my Studio is Finished
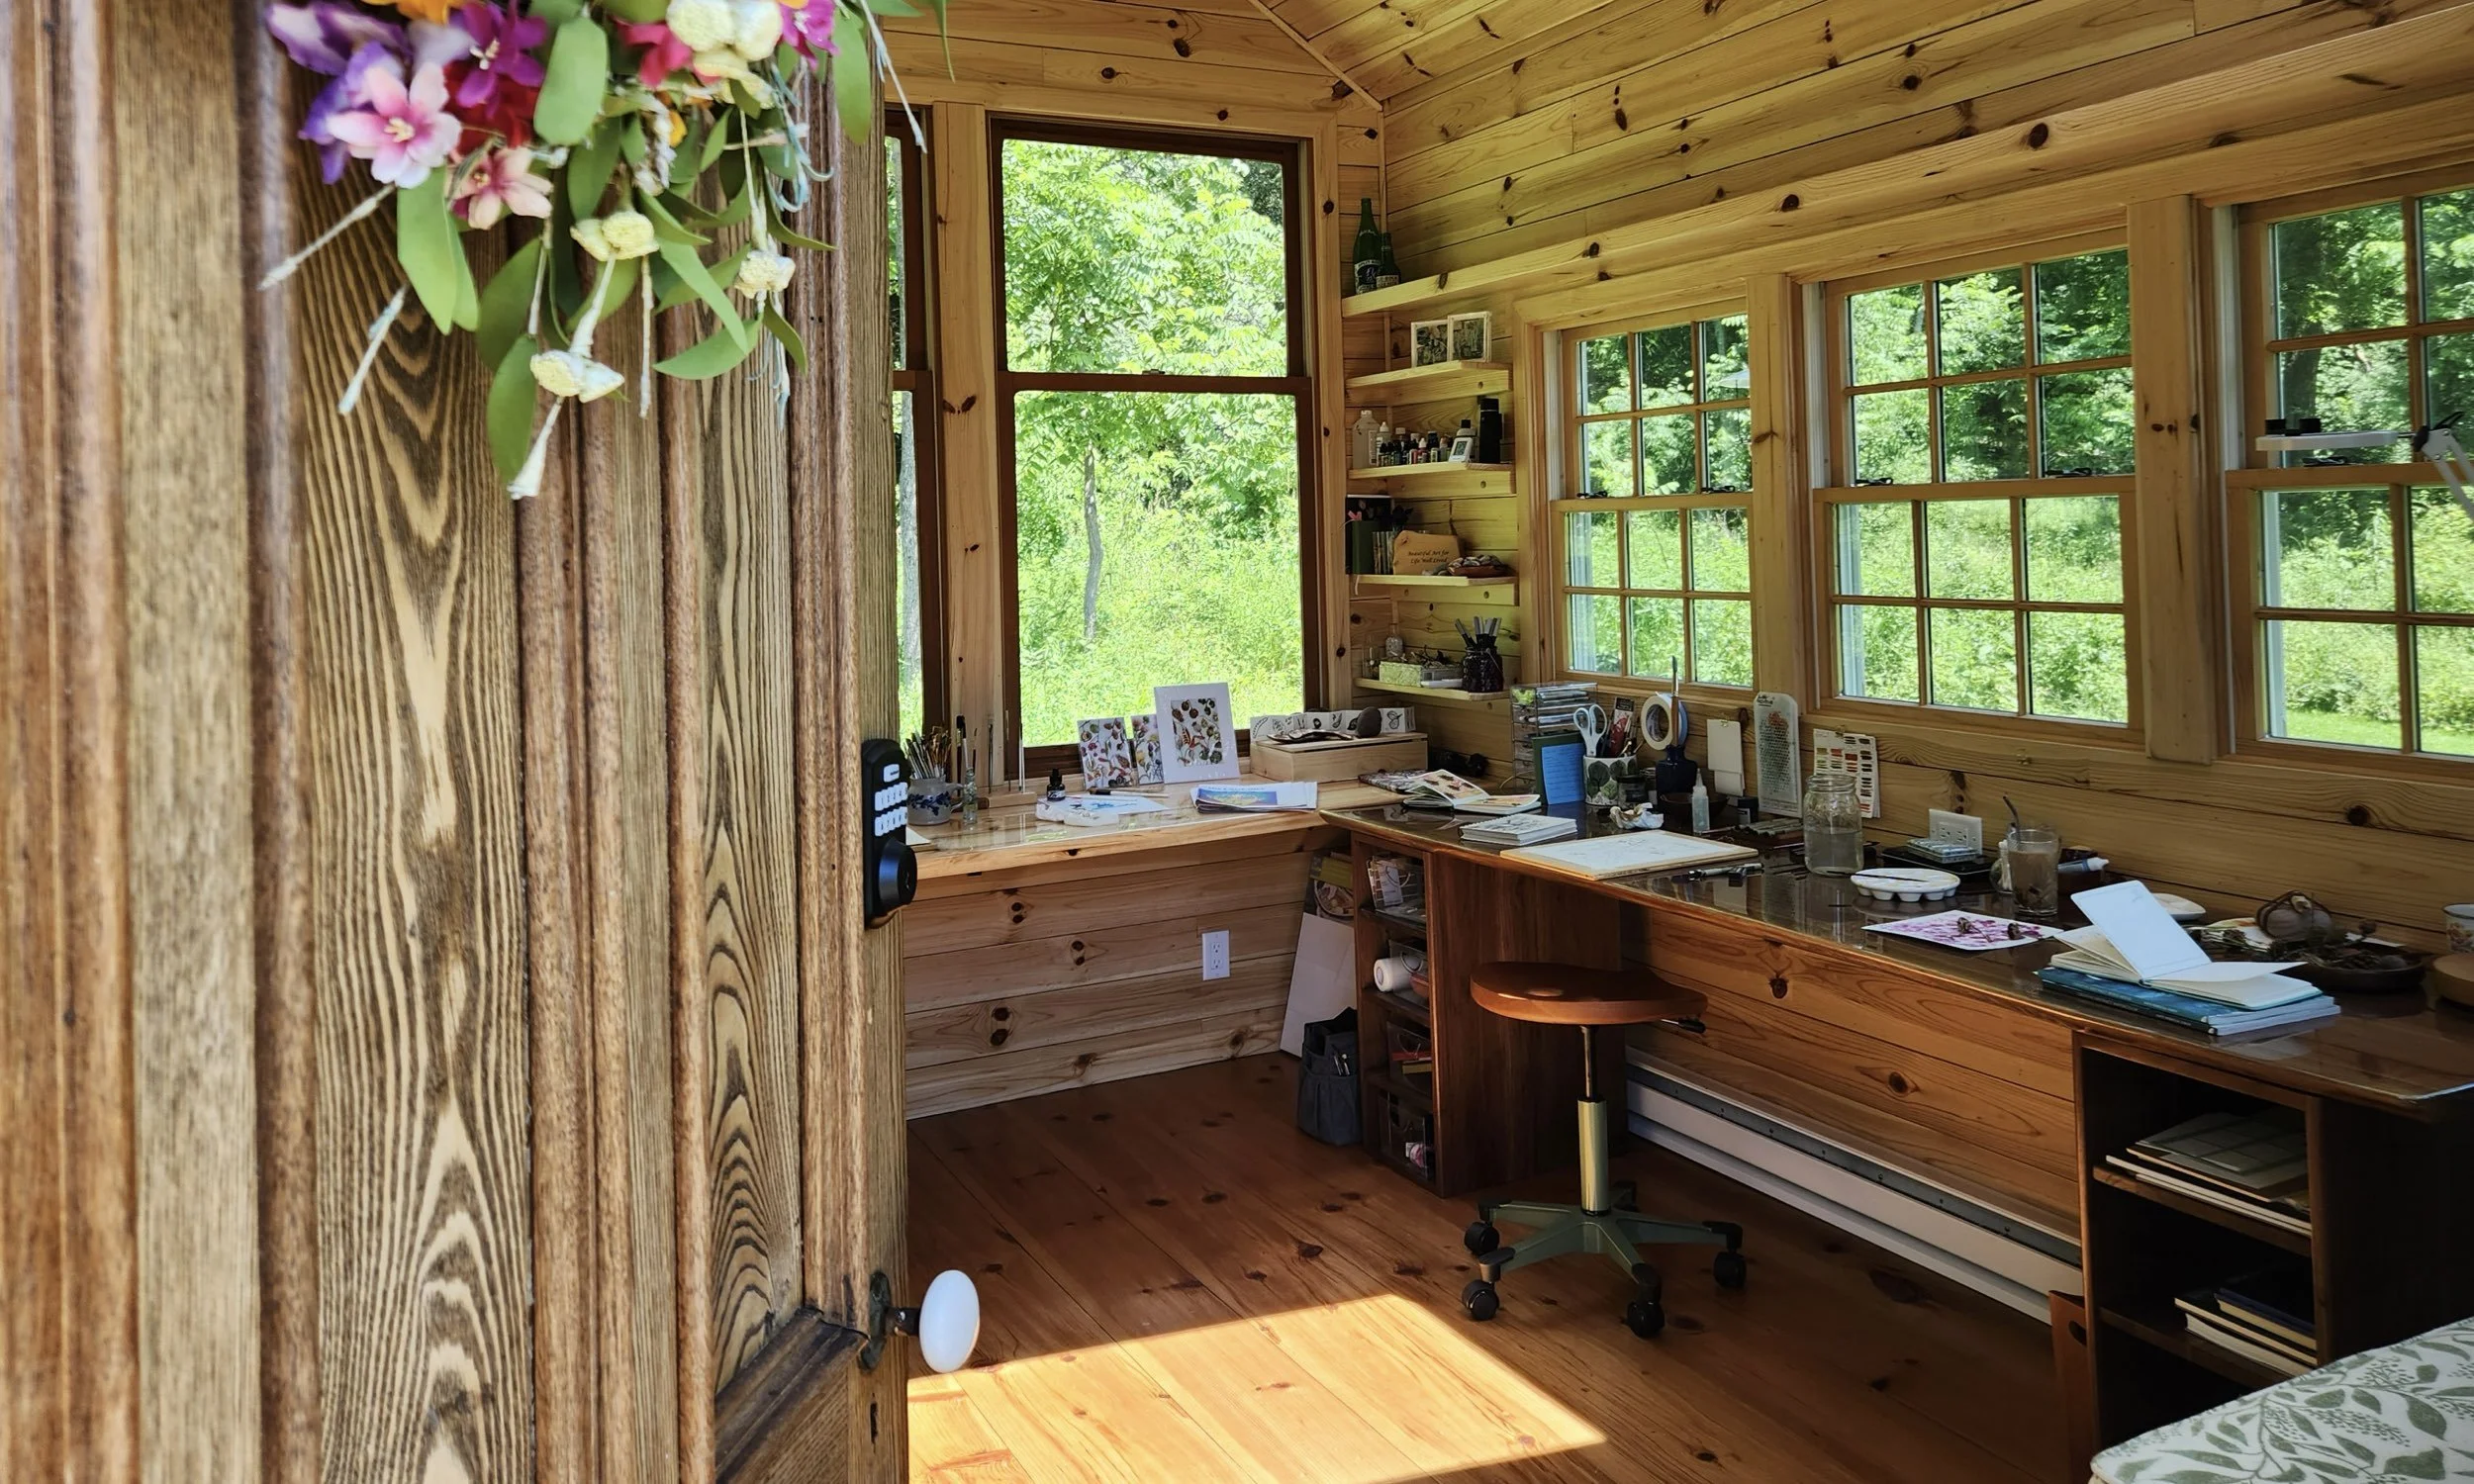
Building my studio took about a year longer than we thought it would (it was a part-time project, and we had so many other adventures going on in our lives), but it was well worth the wait!
If you haven’t already read the blog about the first phase of my studio build, I think you should!

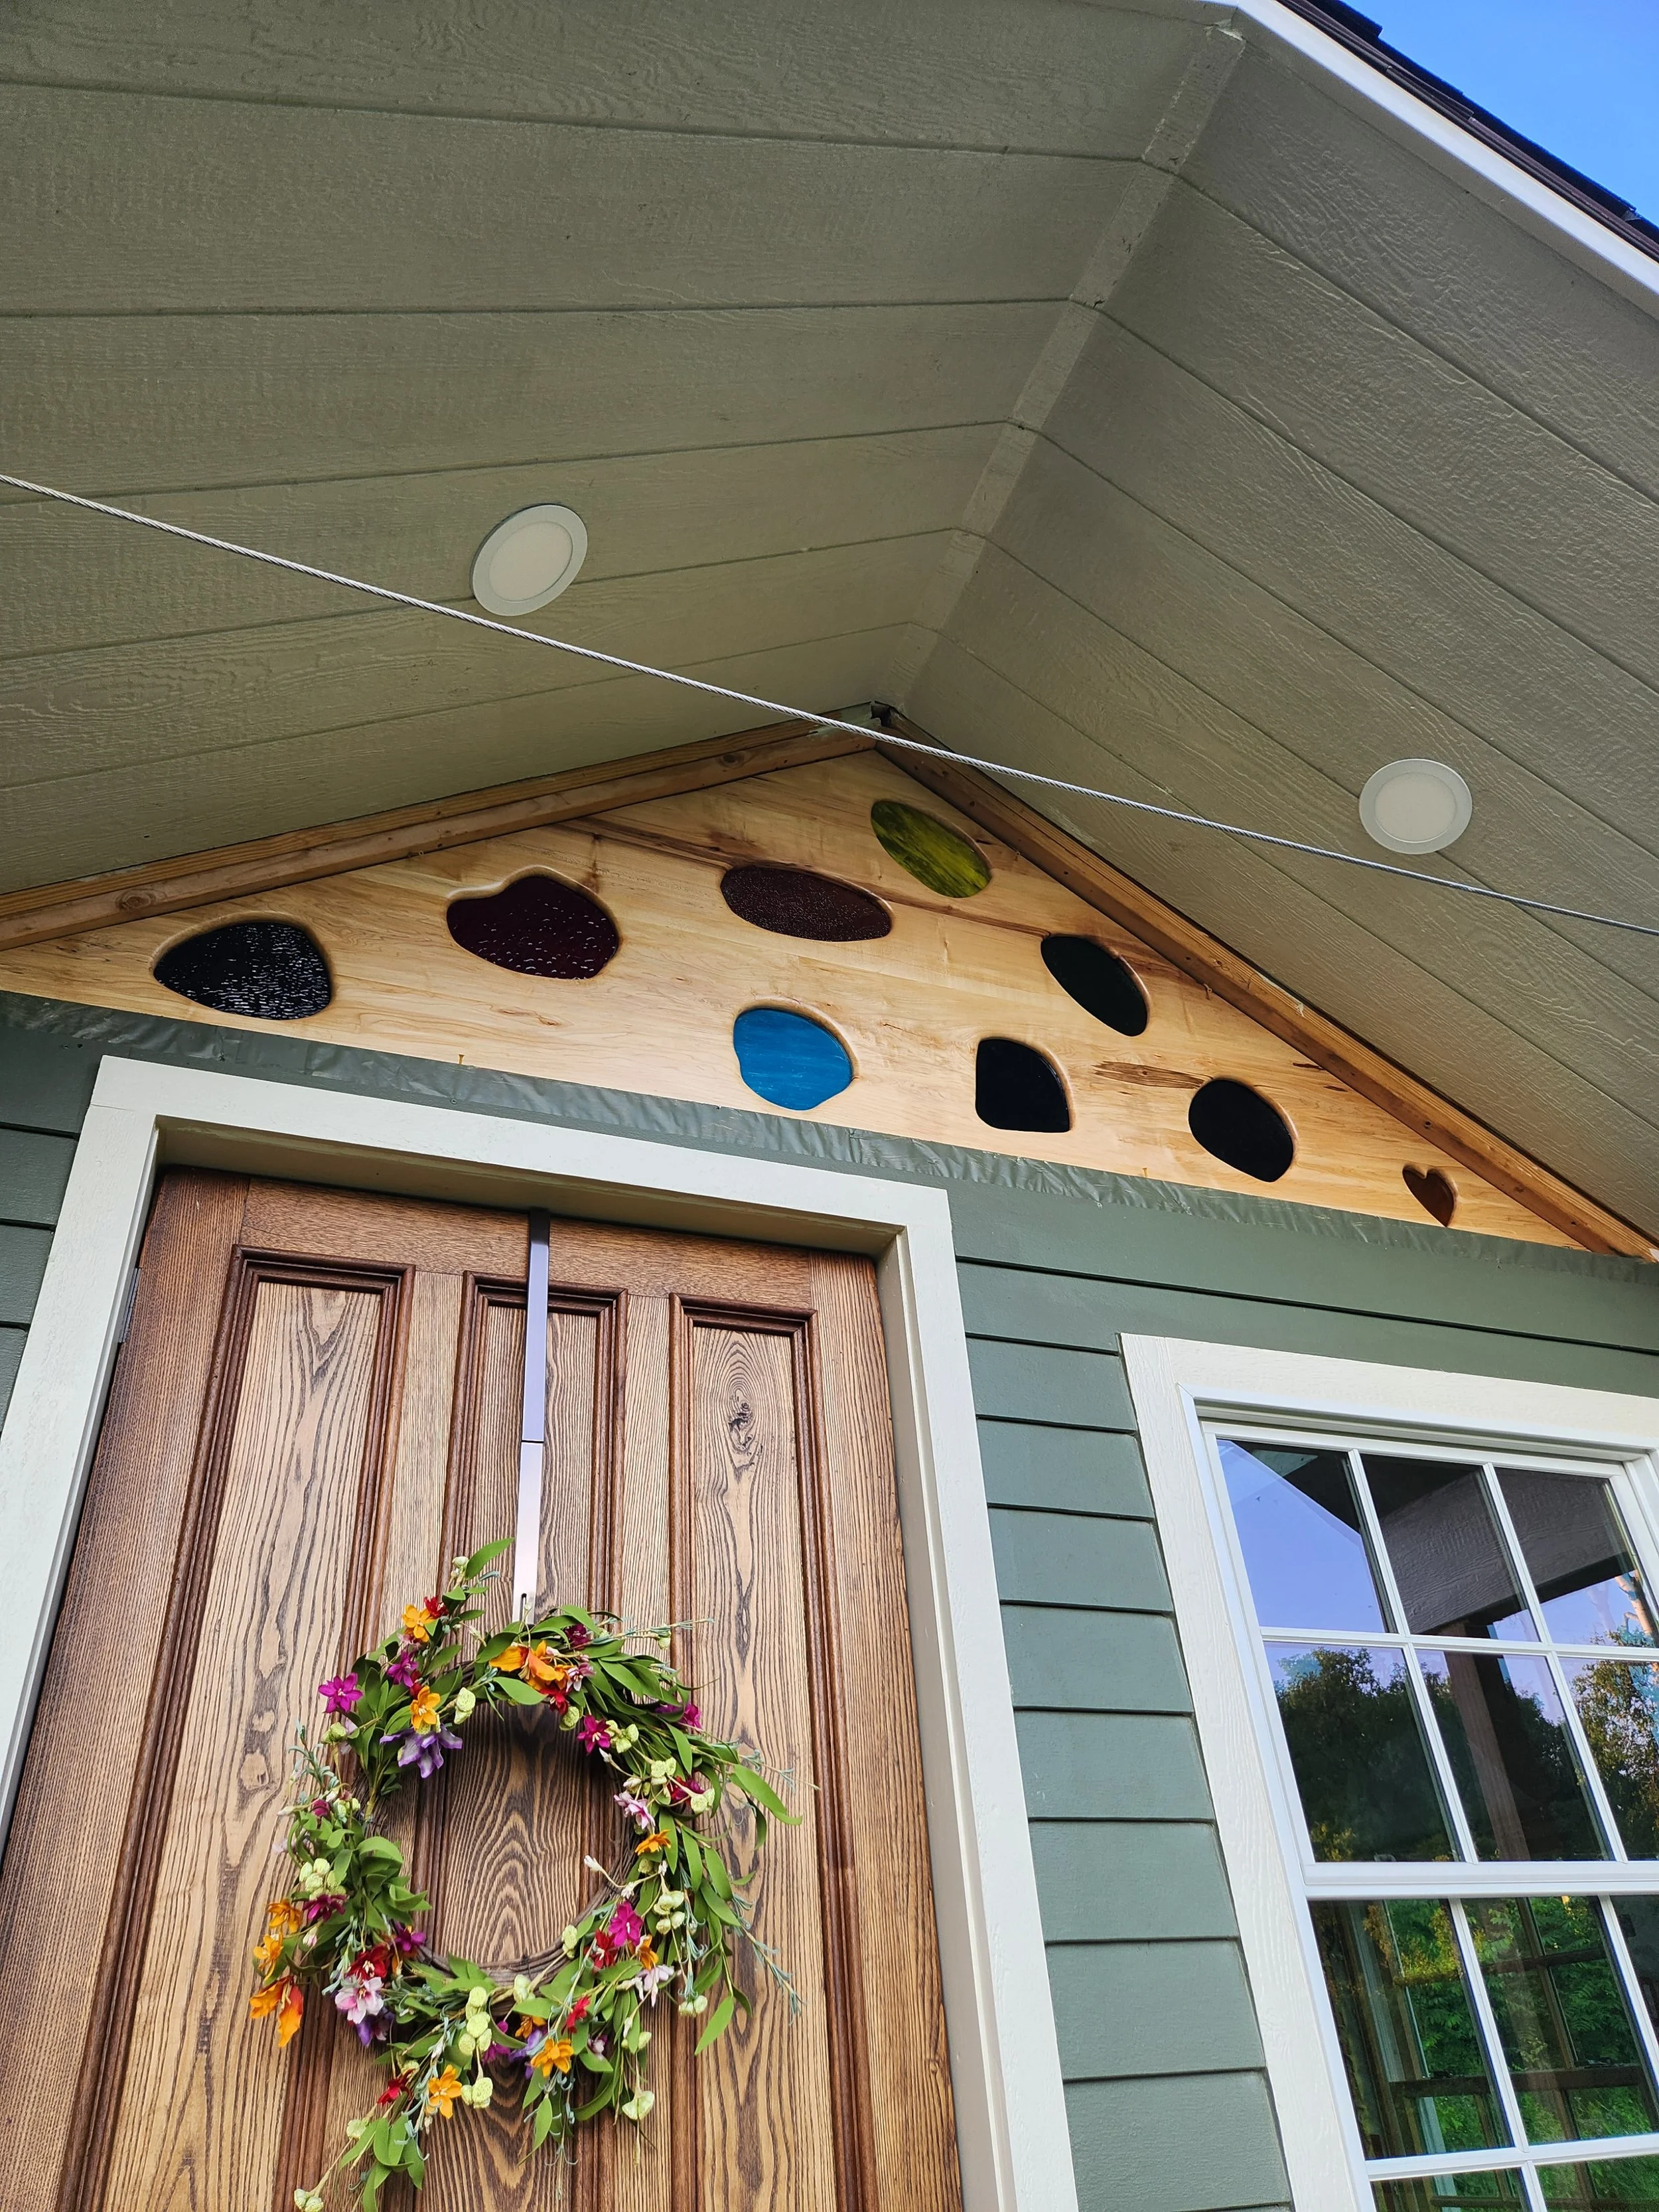
Hand-Turned Paintbrush Porch Pillars and a Stained-Glass Palette Welcome Visitors to My Art Studio
While the paintbrushes that Moe created were the finishing touch to my studio, they are the first thing you see when you approach it! I love the way they lead your eye up to the stained-glass palette.
Every time I walk up the front steps, I'm greeted by two of the most creative touches in the entire studio. Moe hand-turned pieces of treated lumber into giant paintbrushes on his lathe, turning an ordinary architectural feature into a work of art.
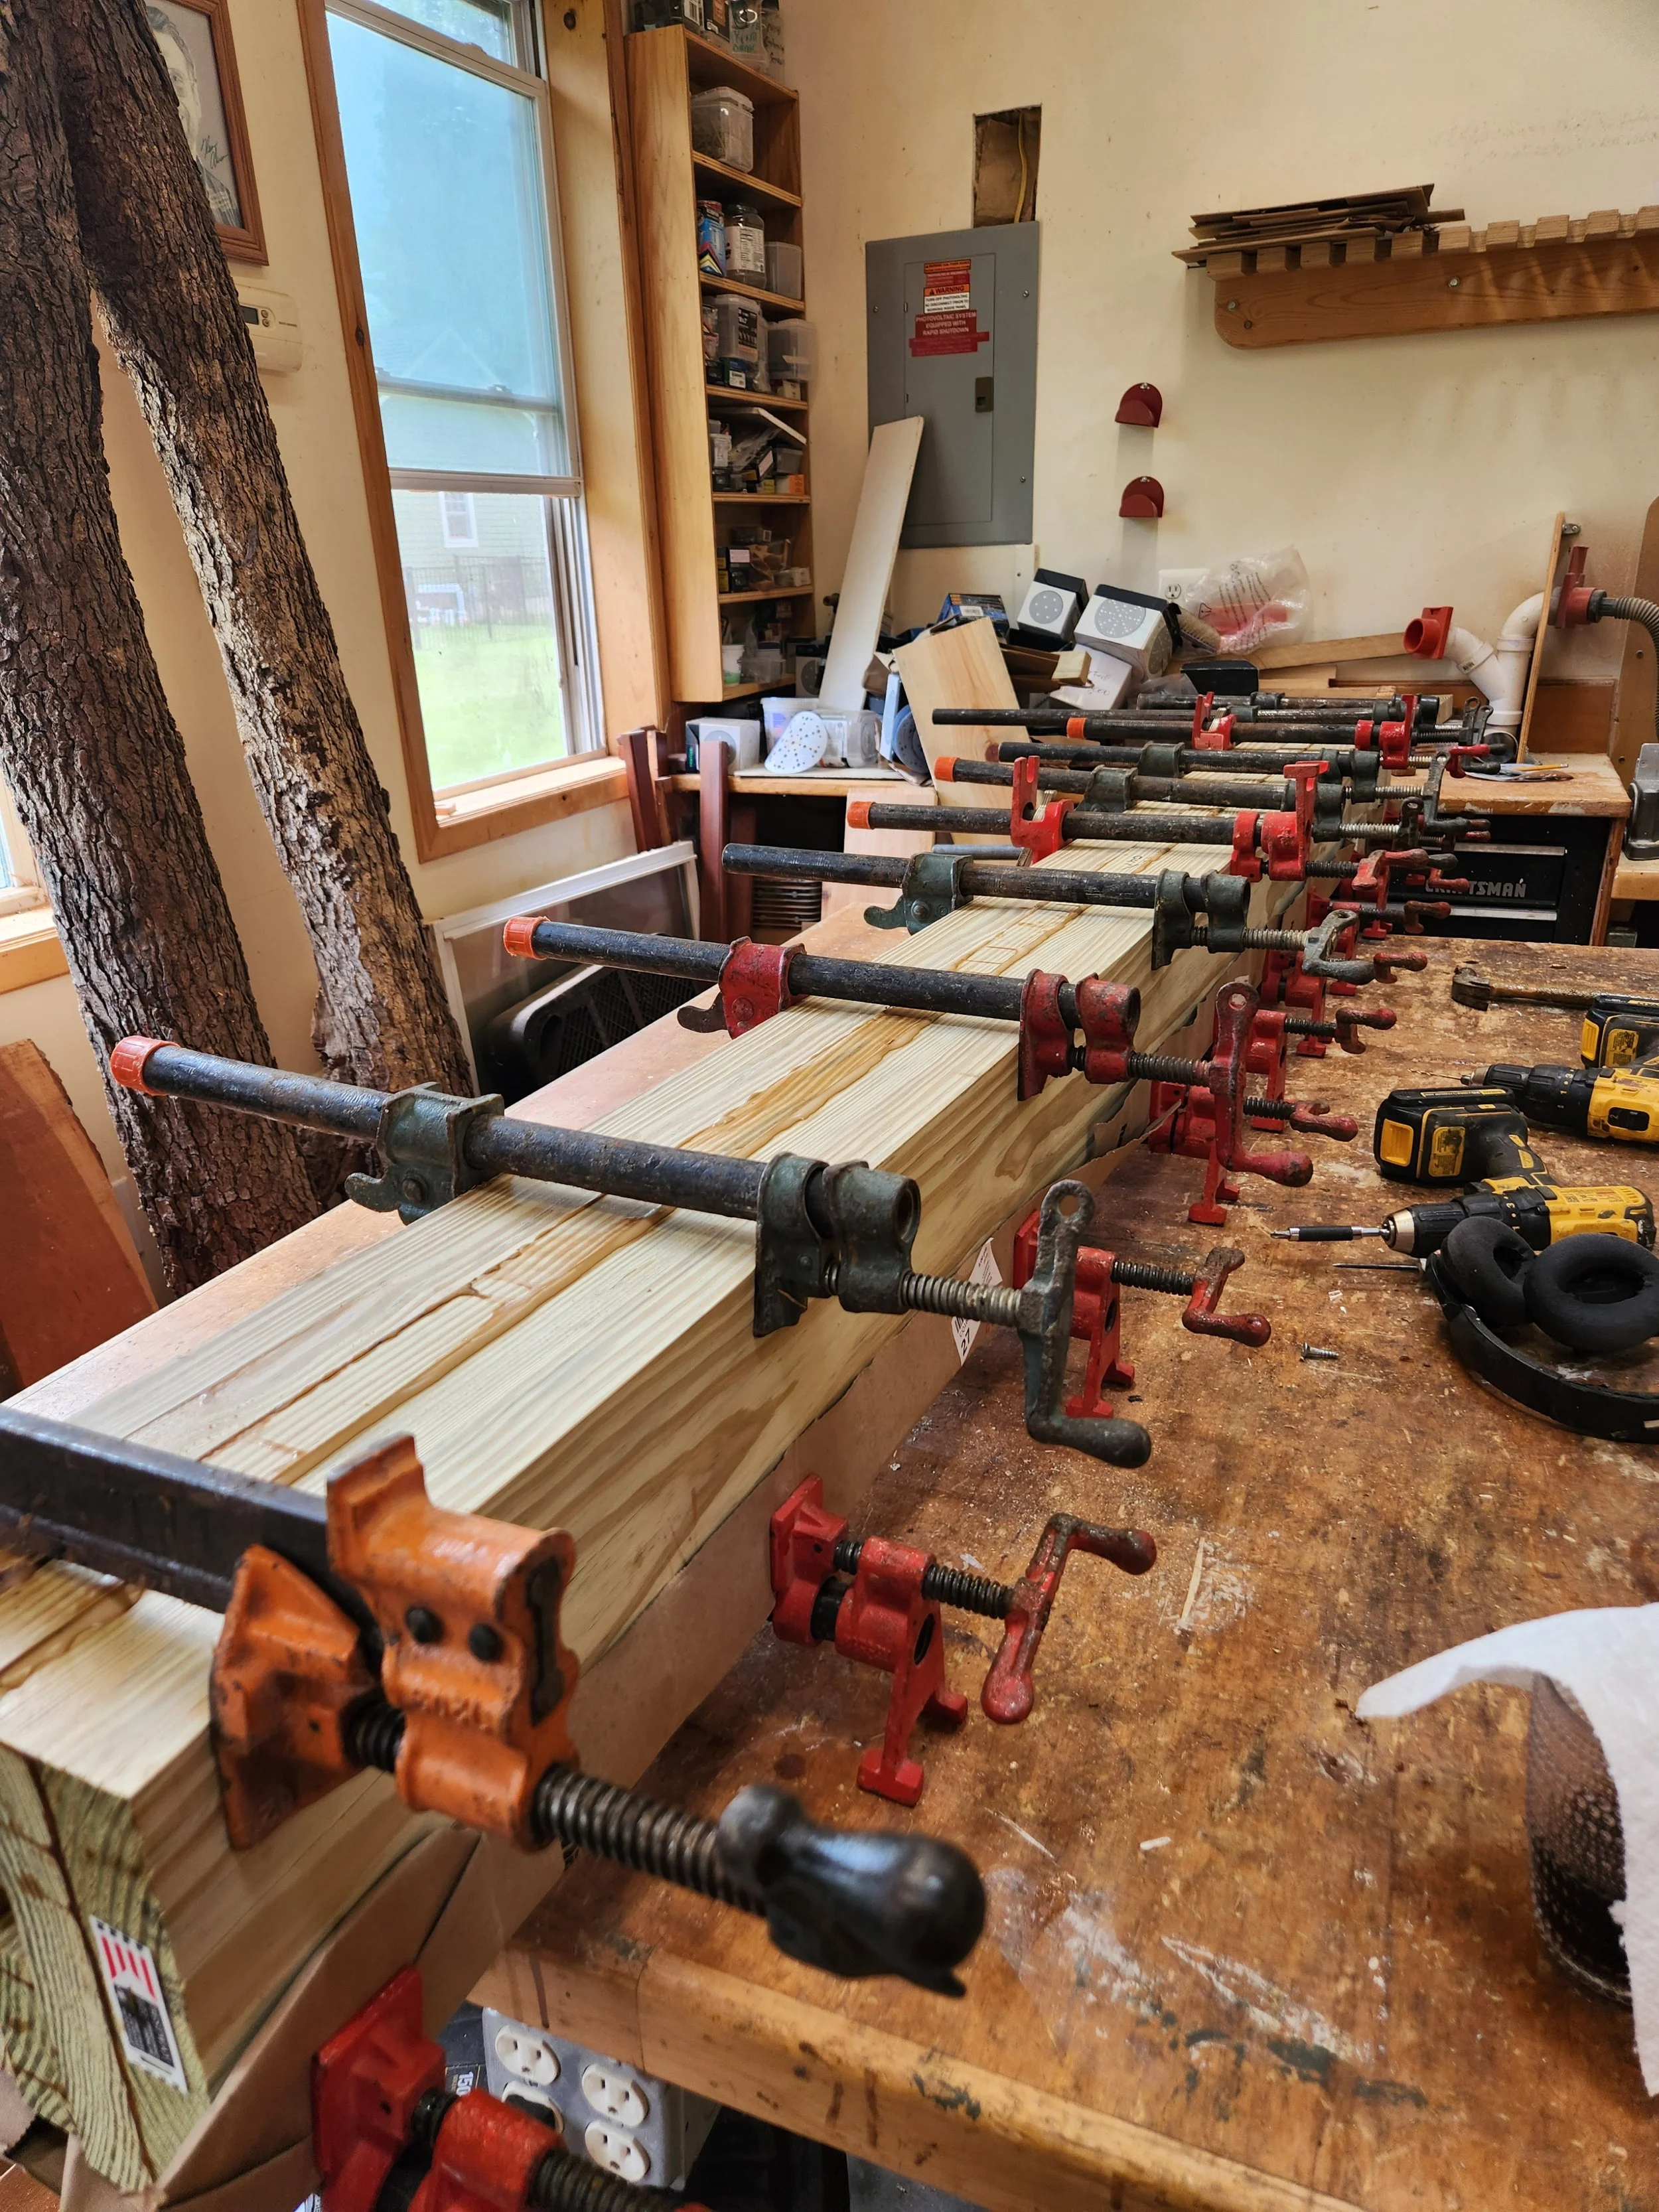
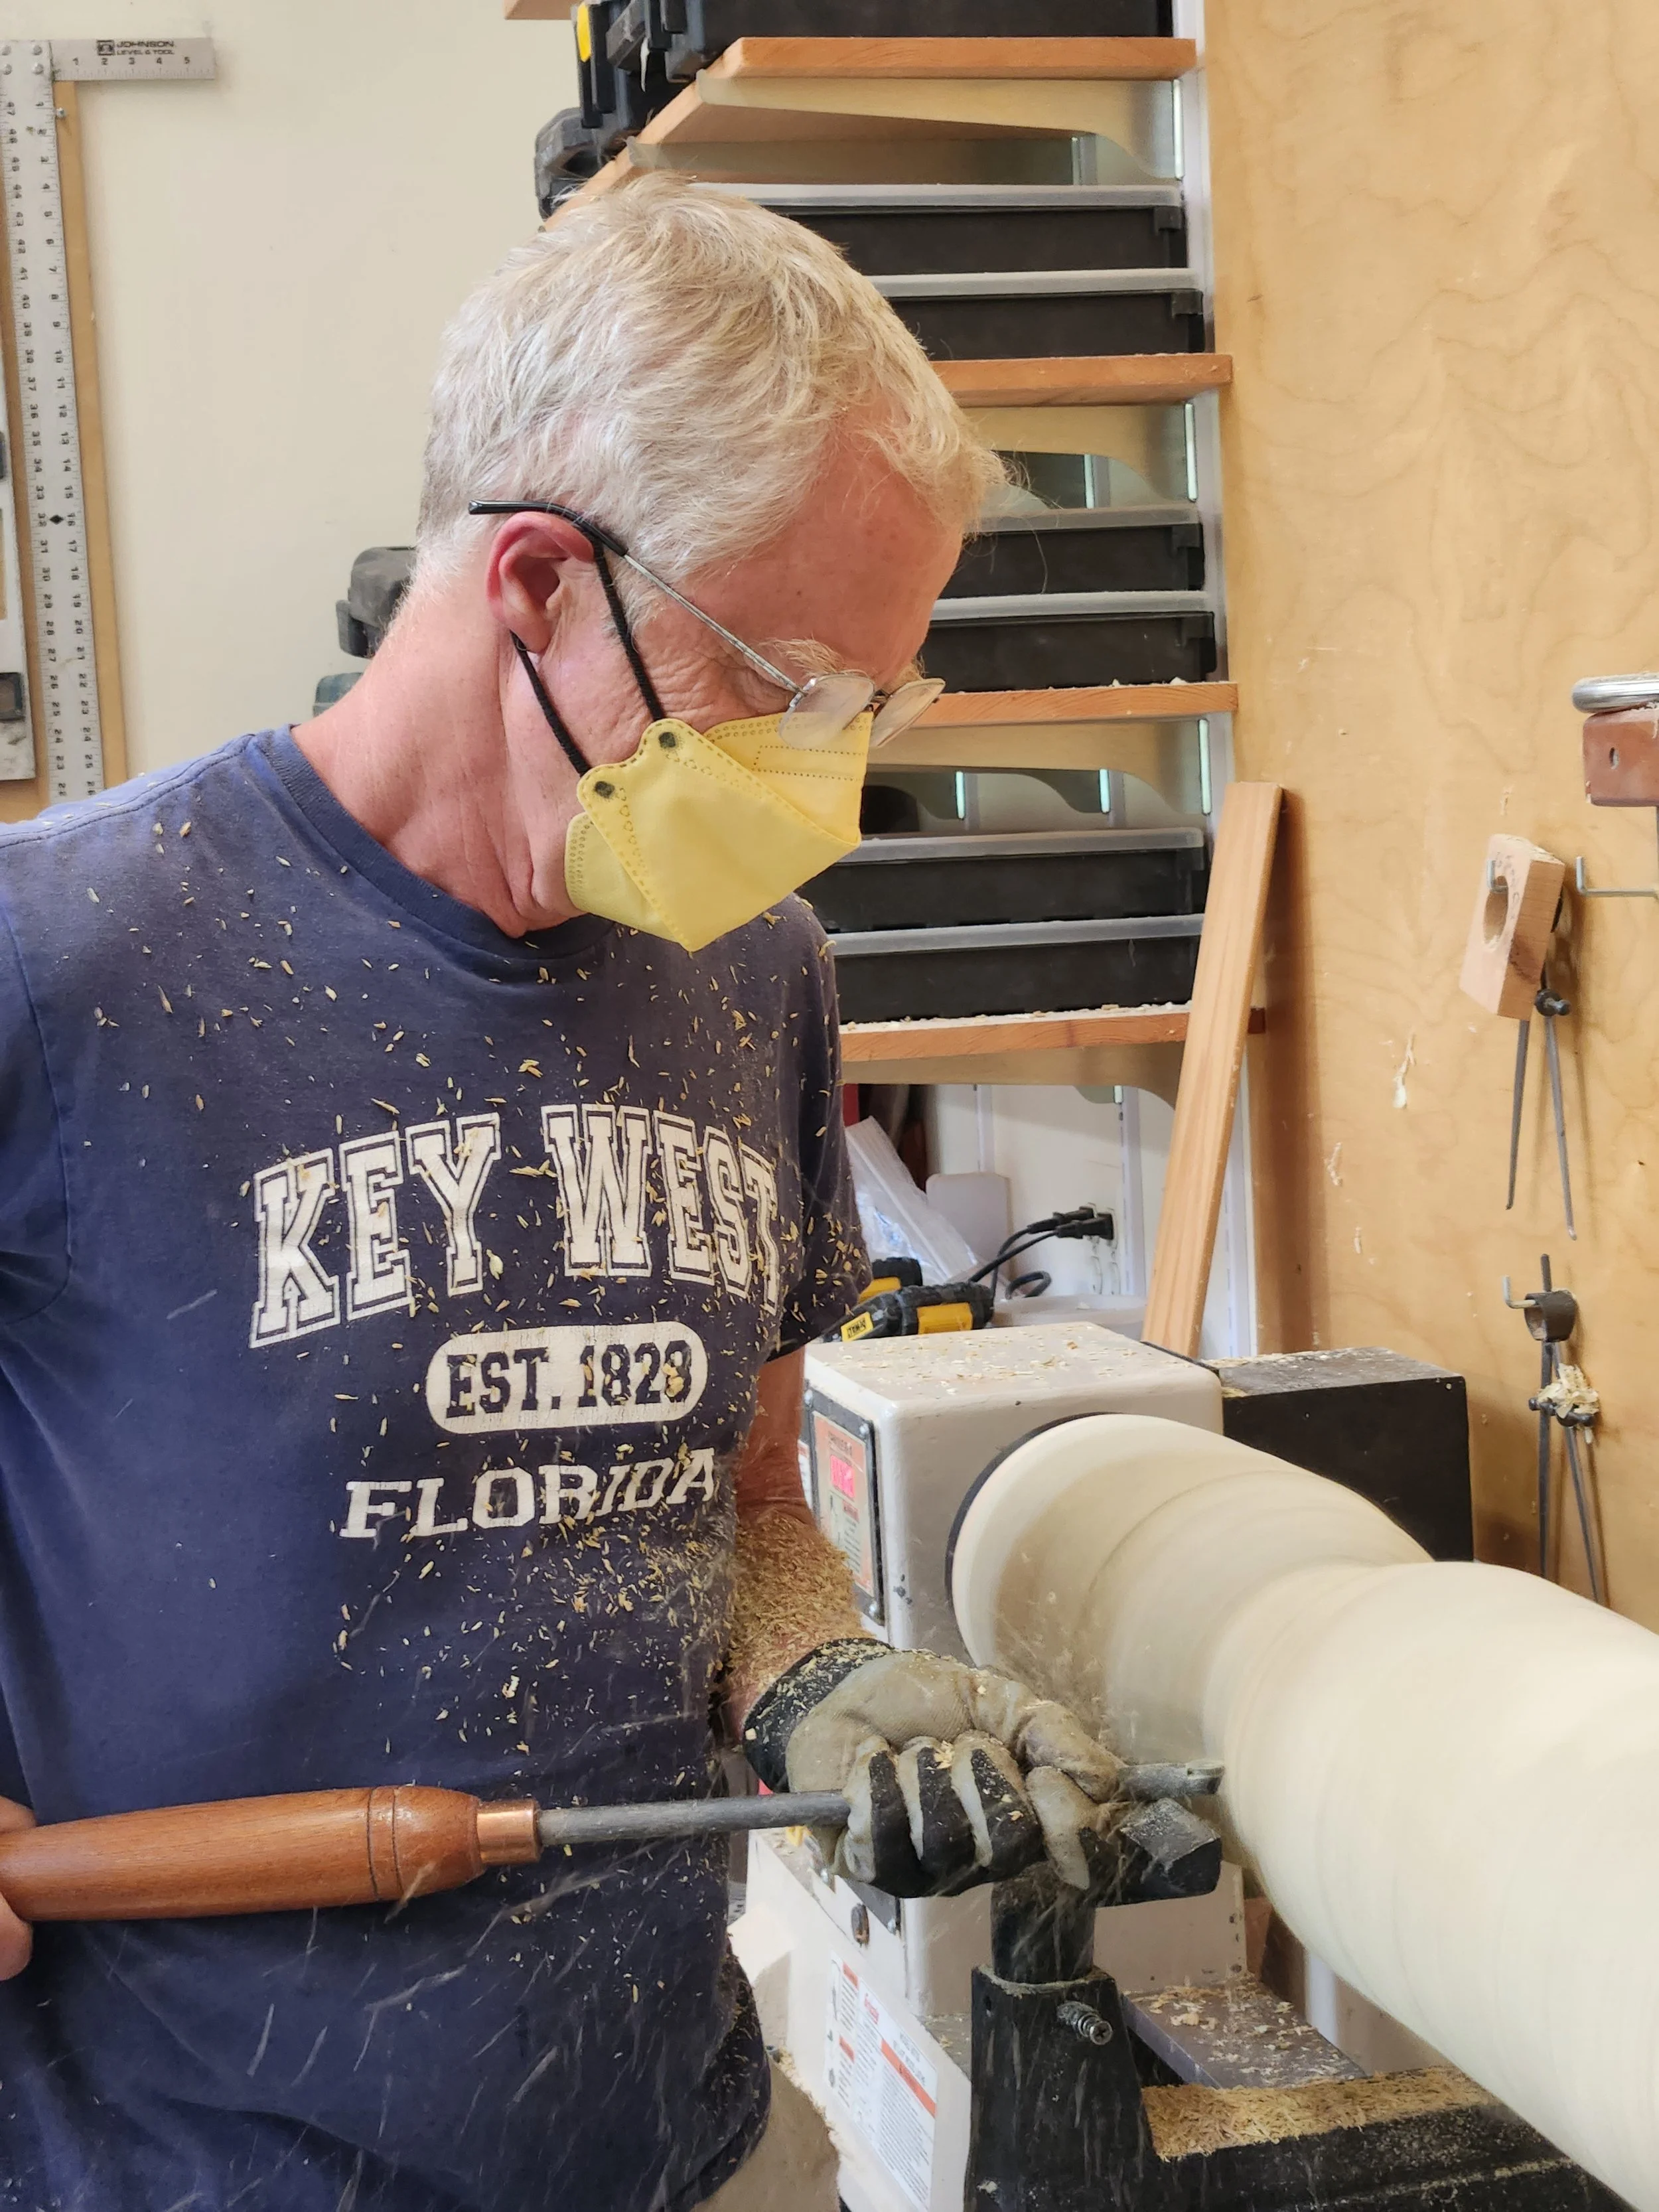
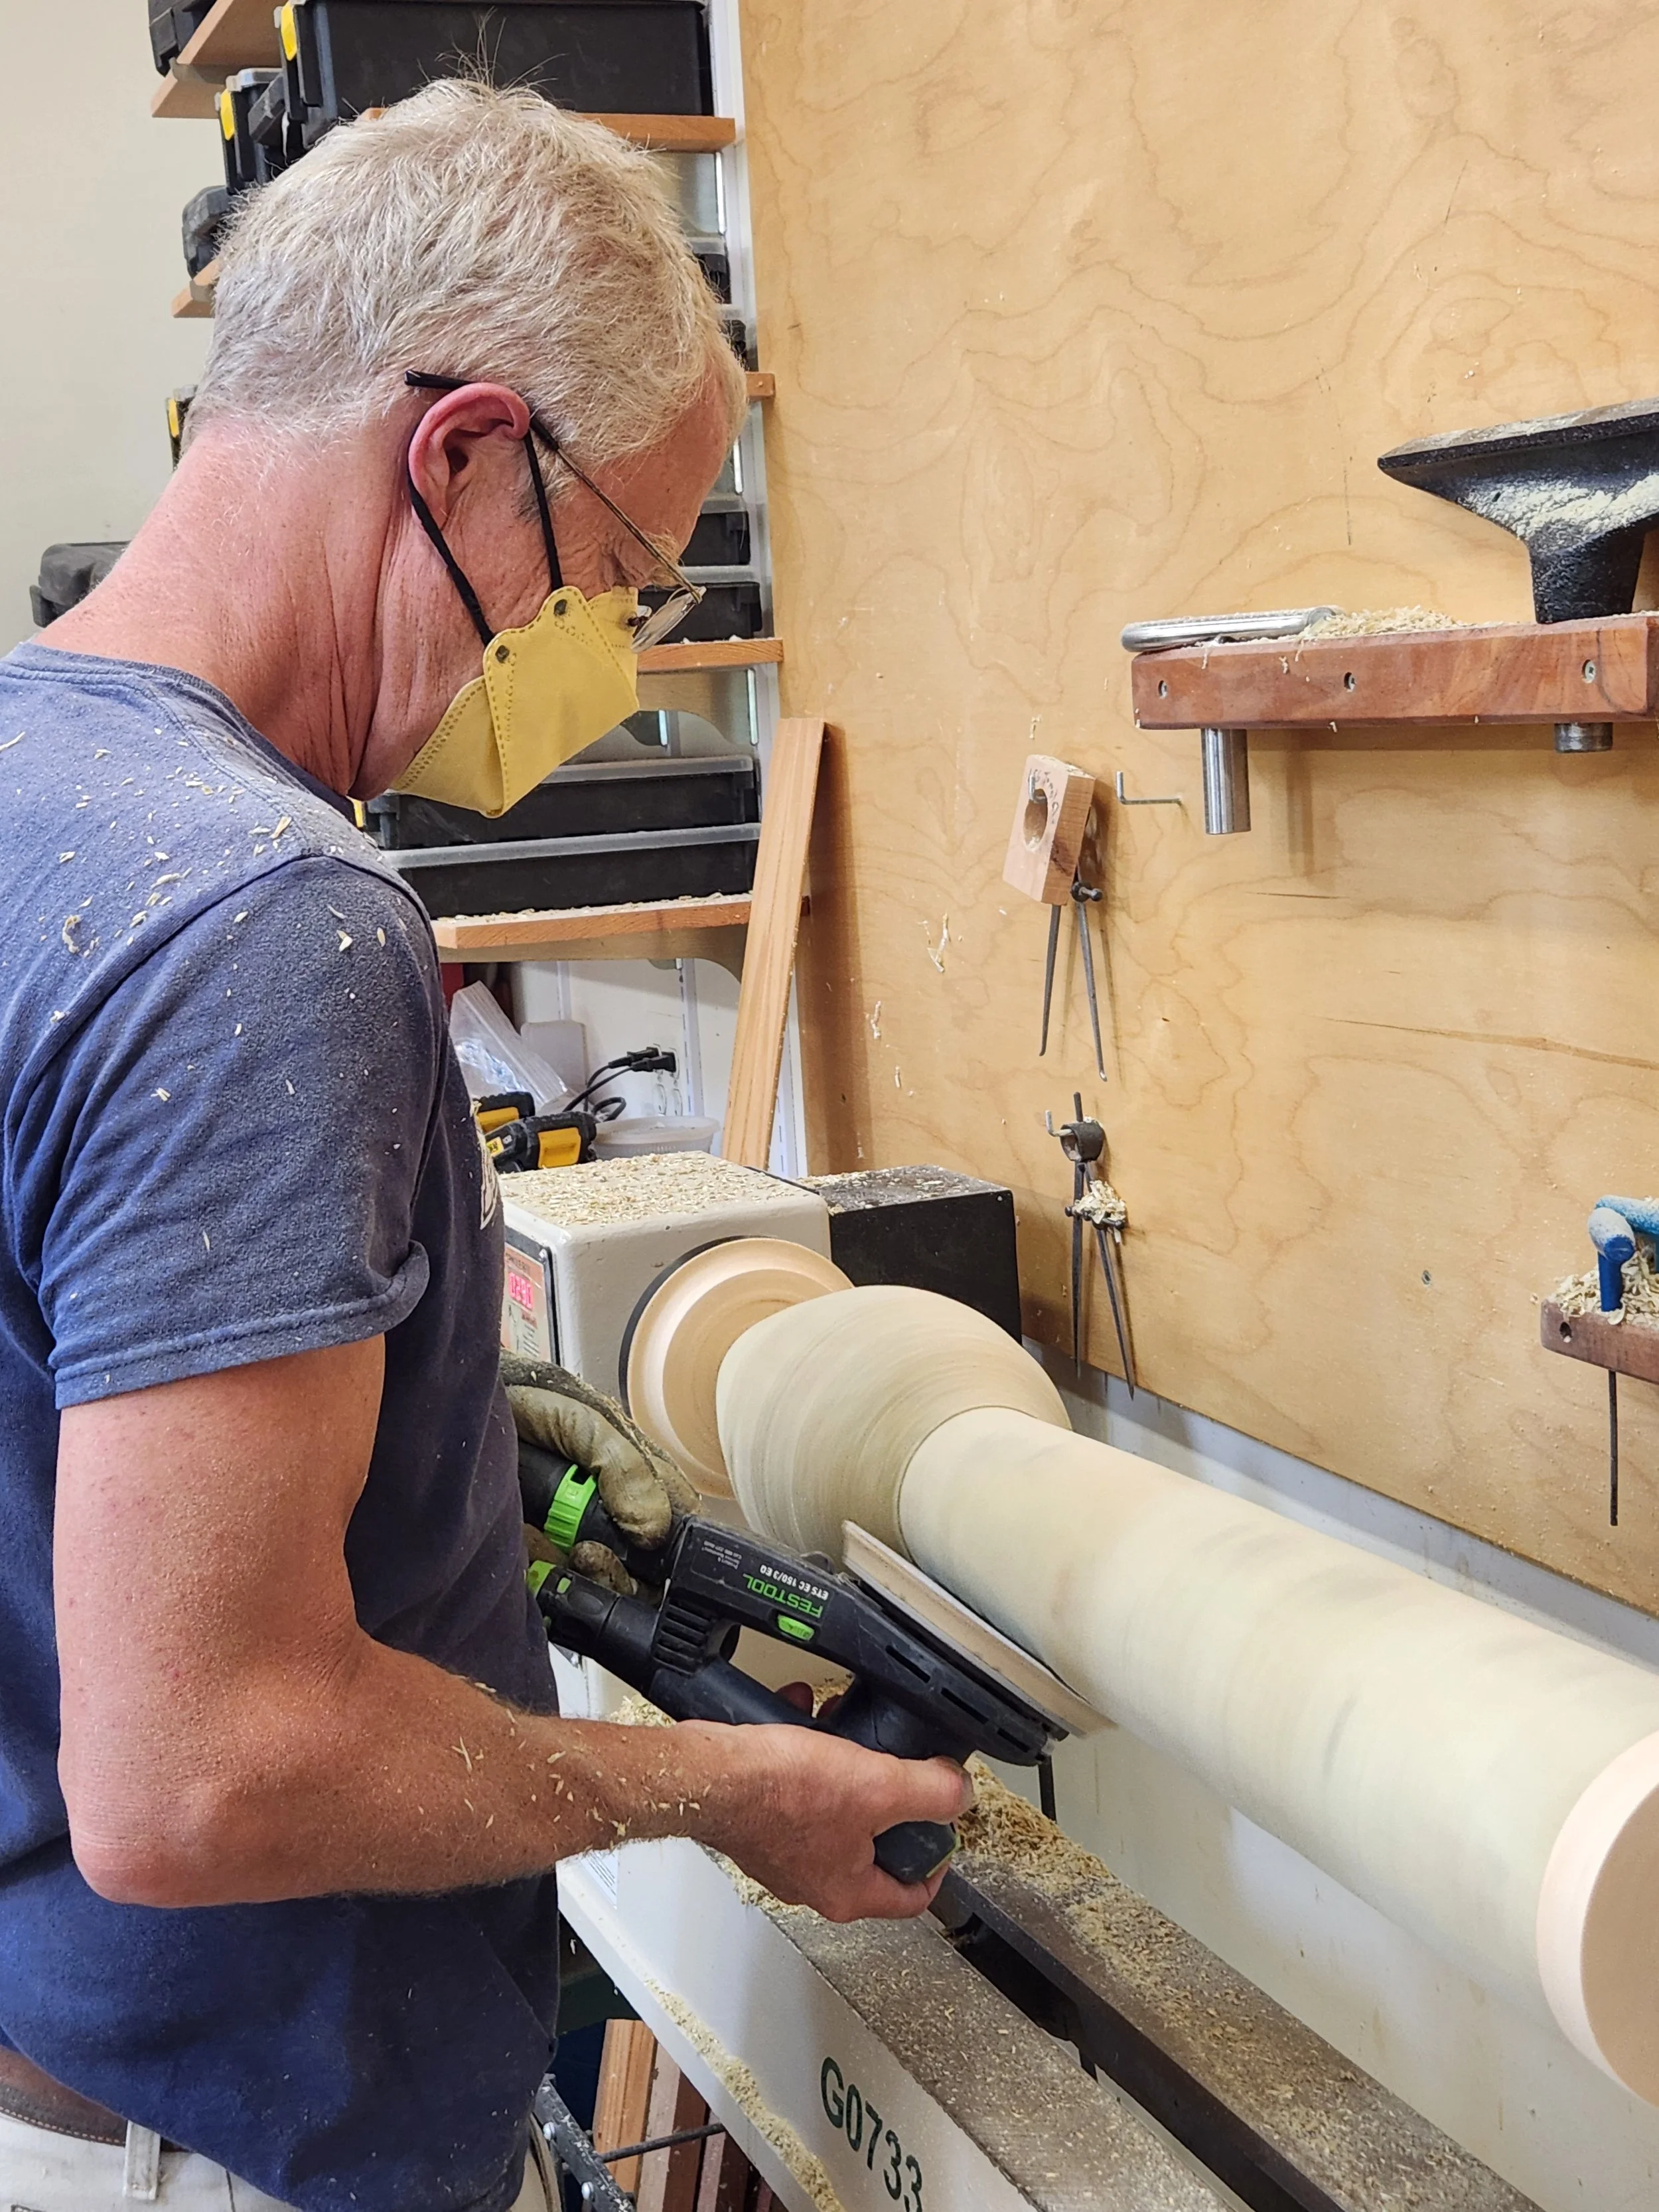
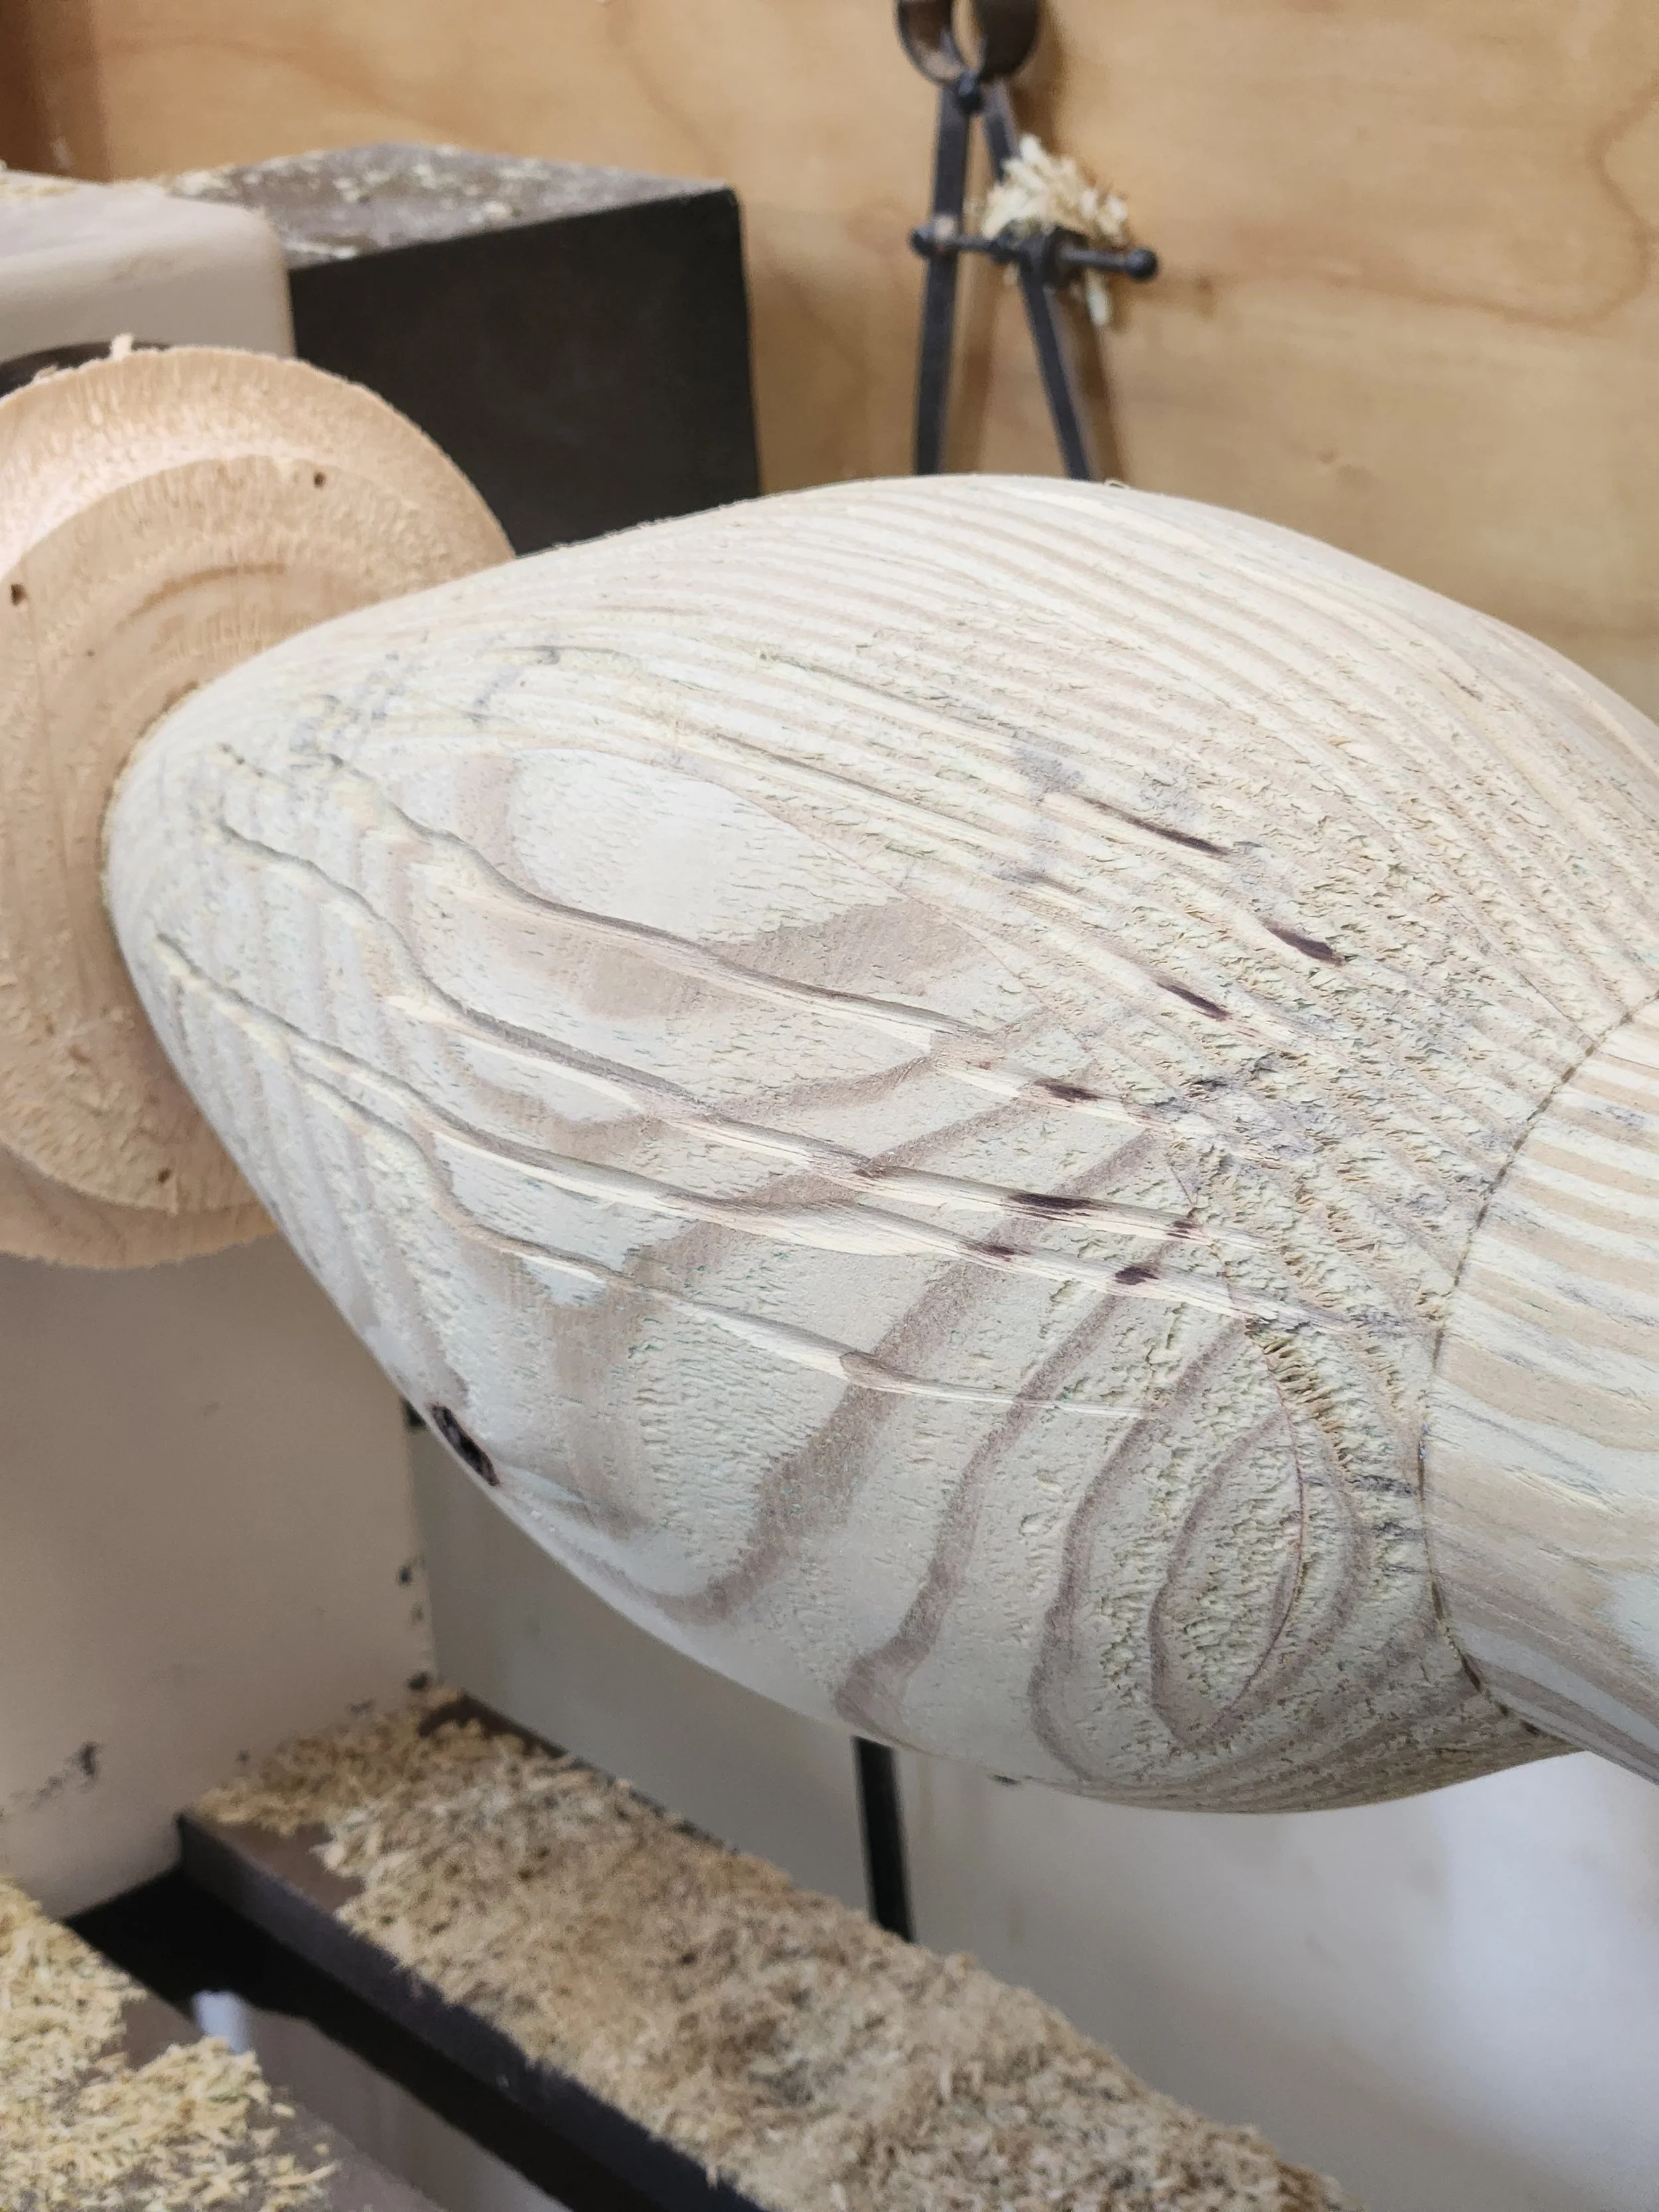
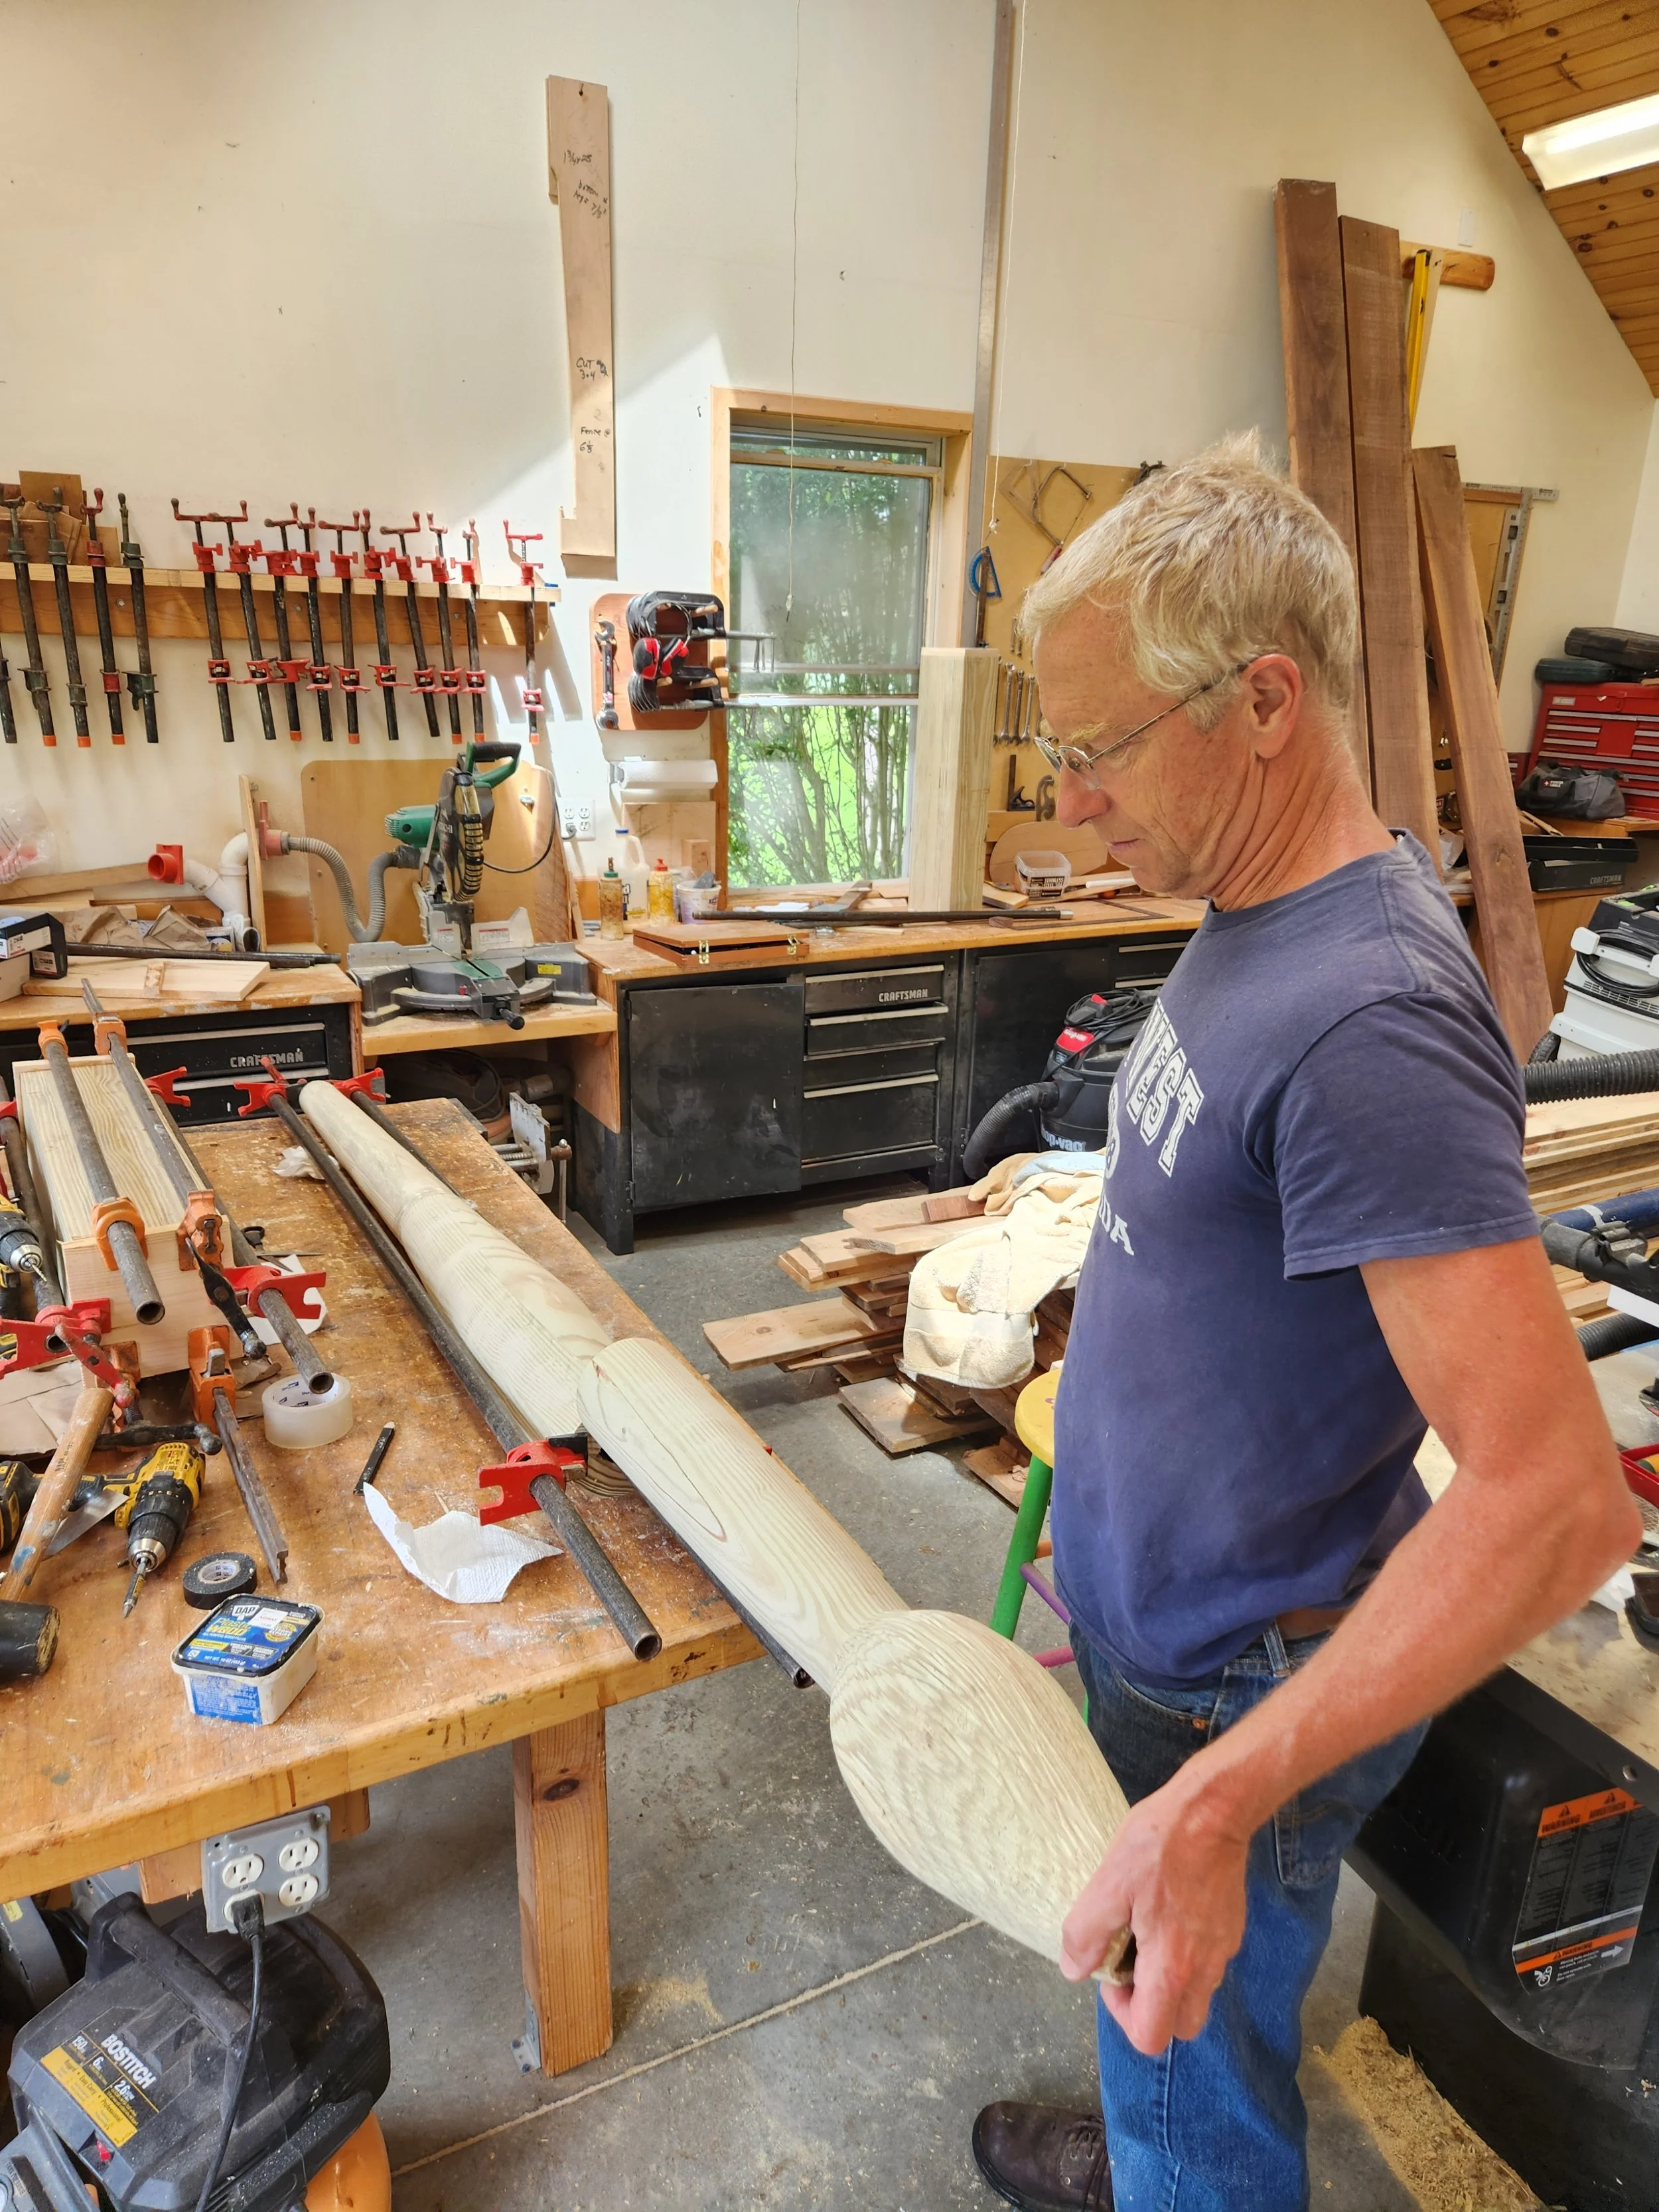
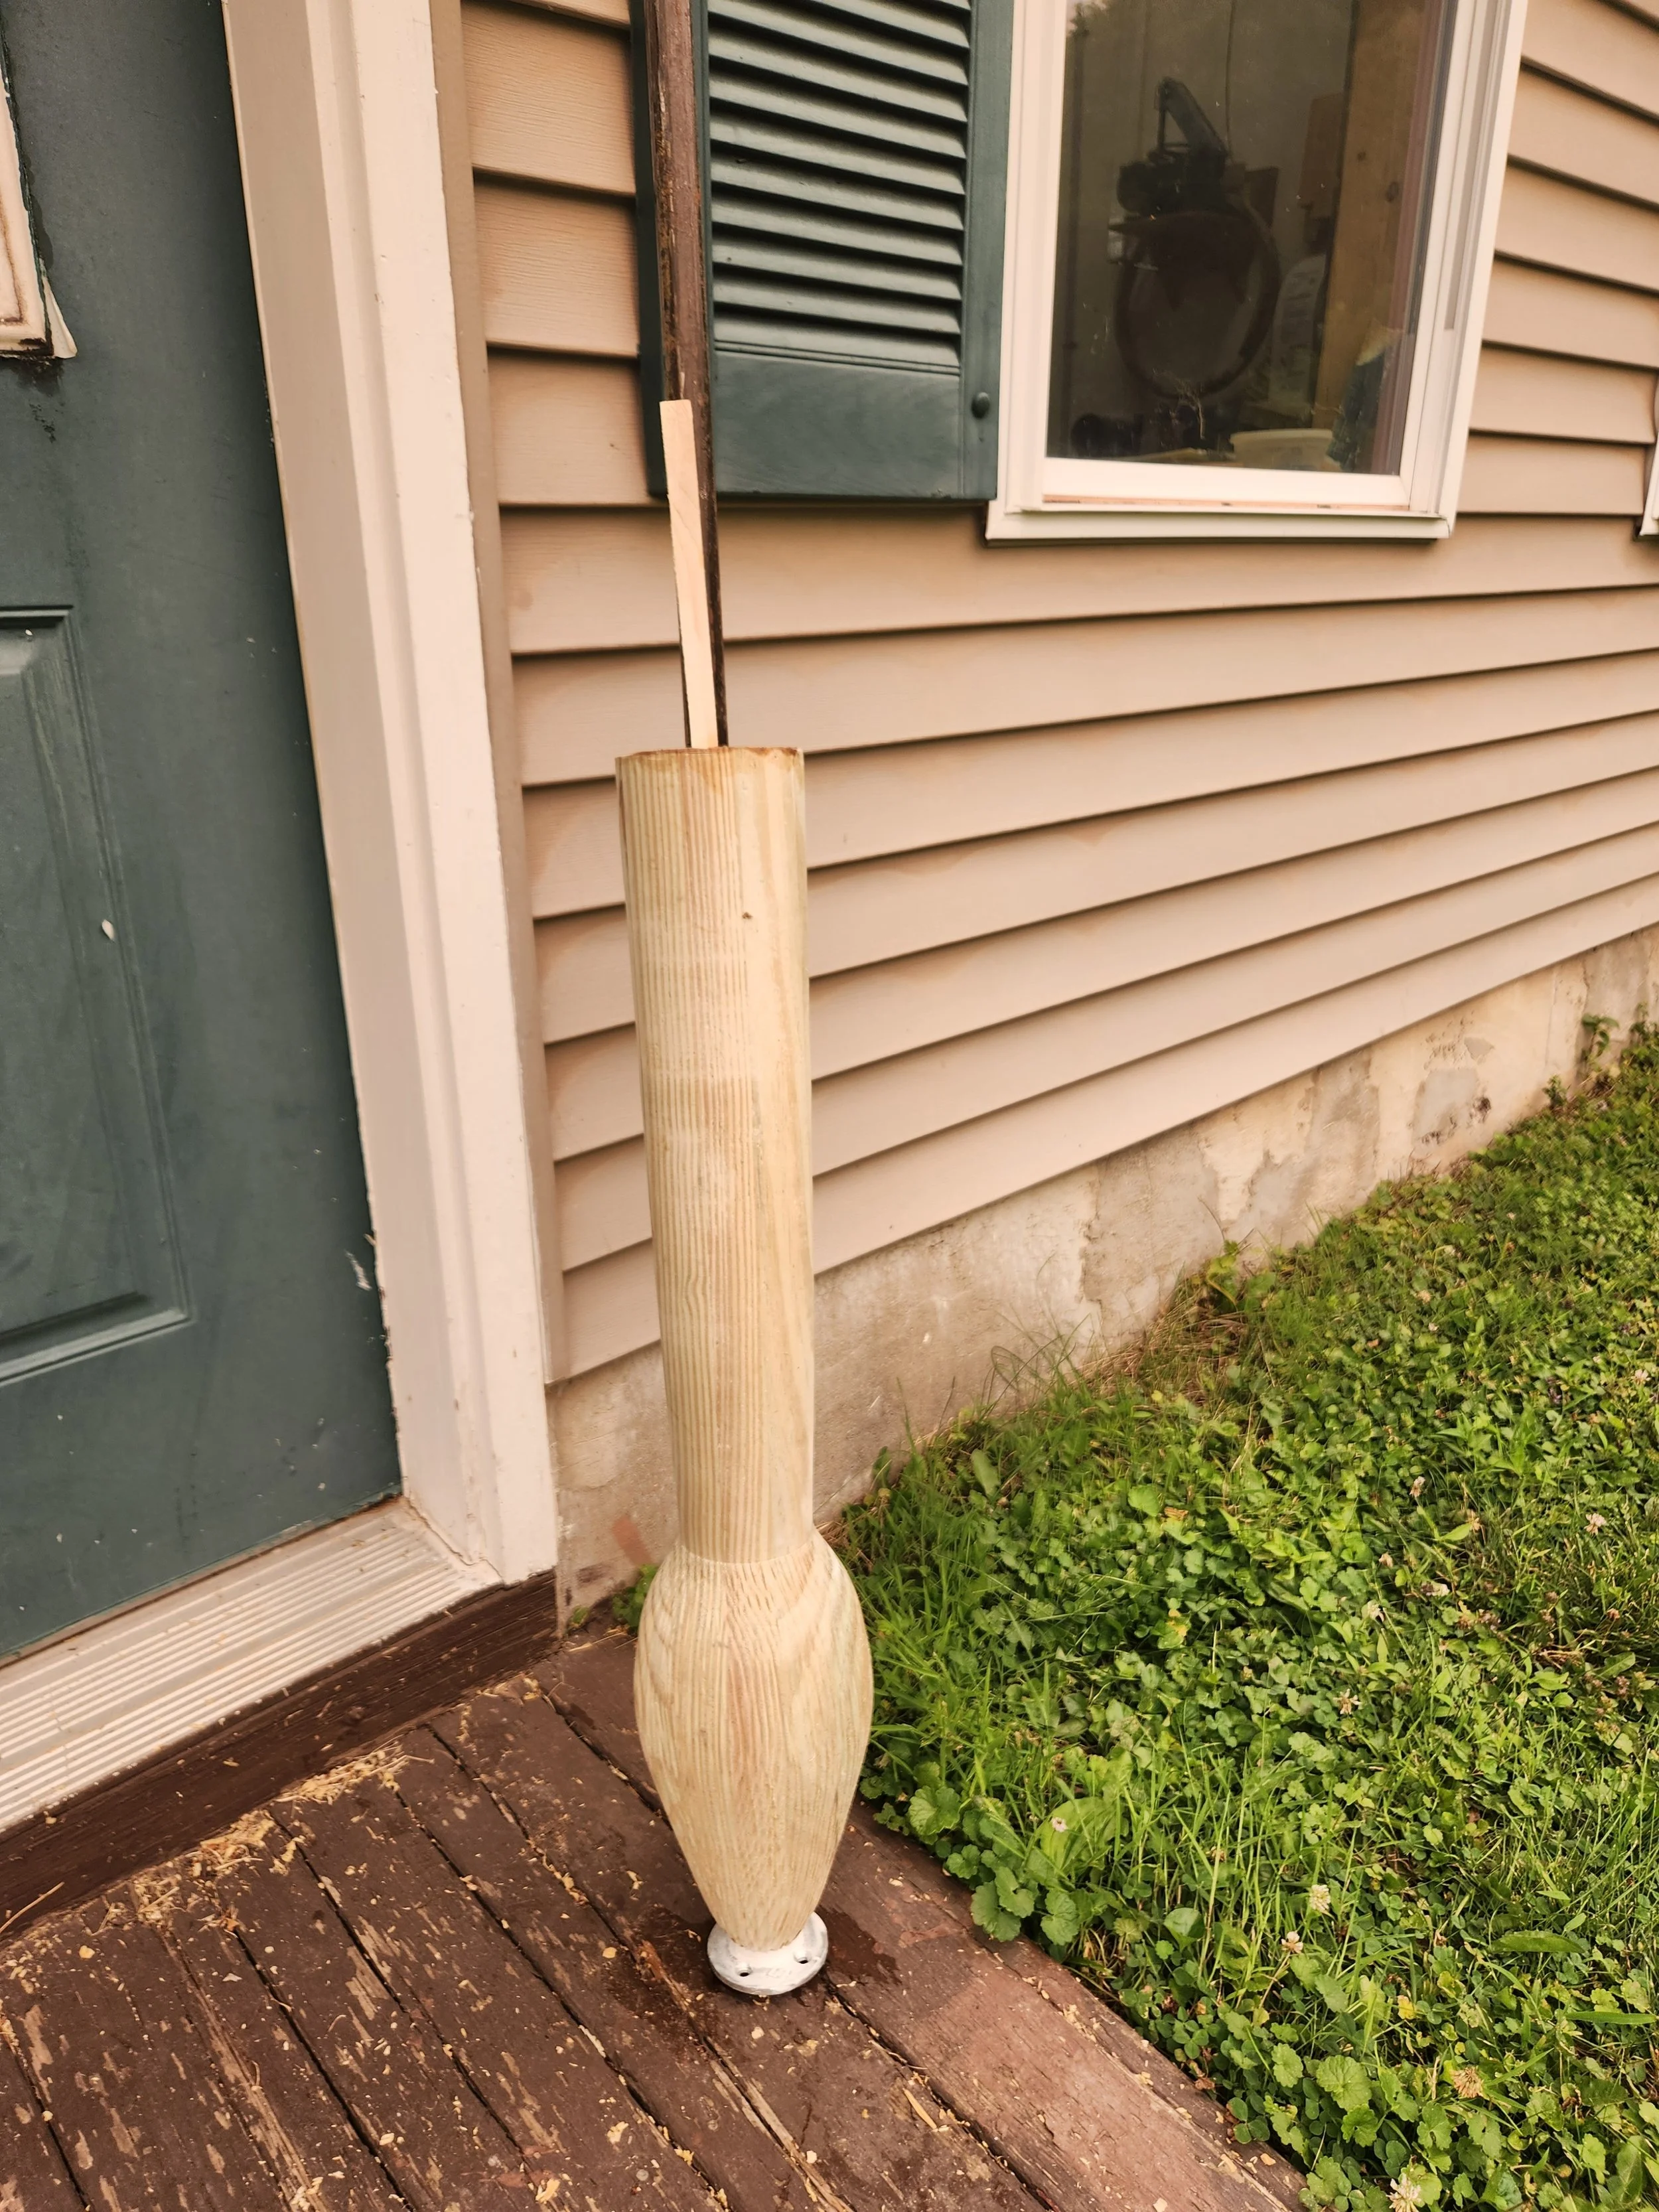
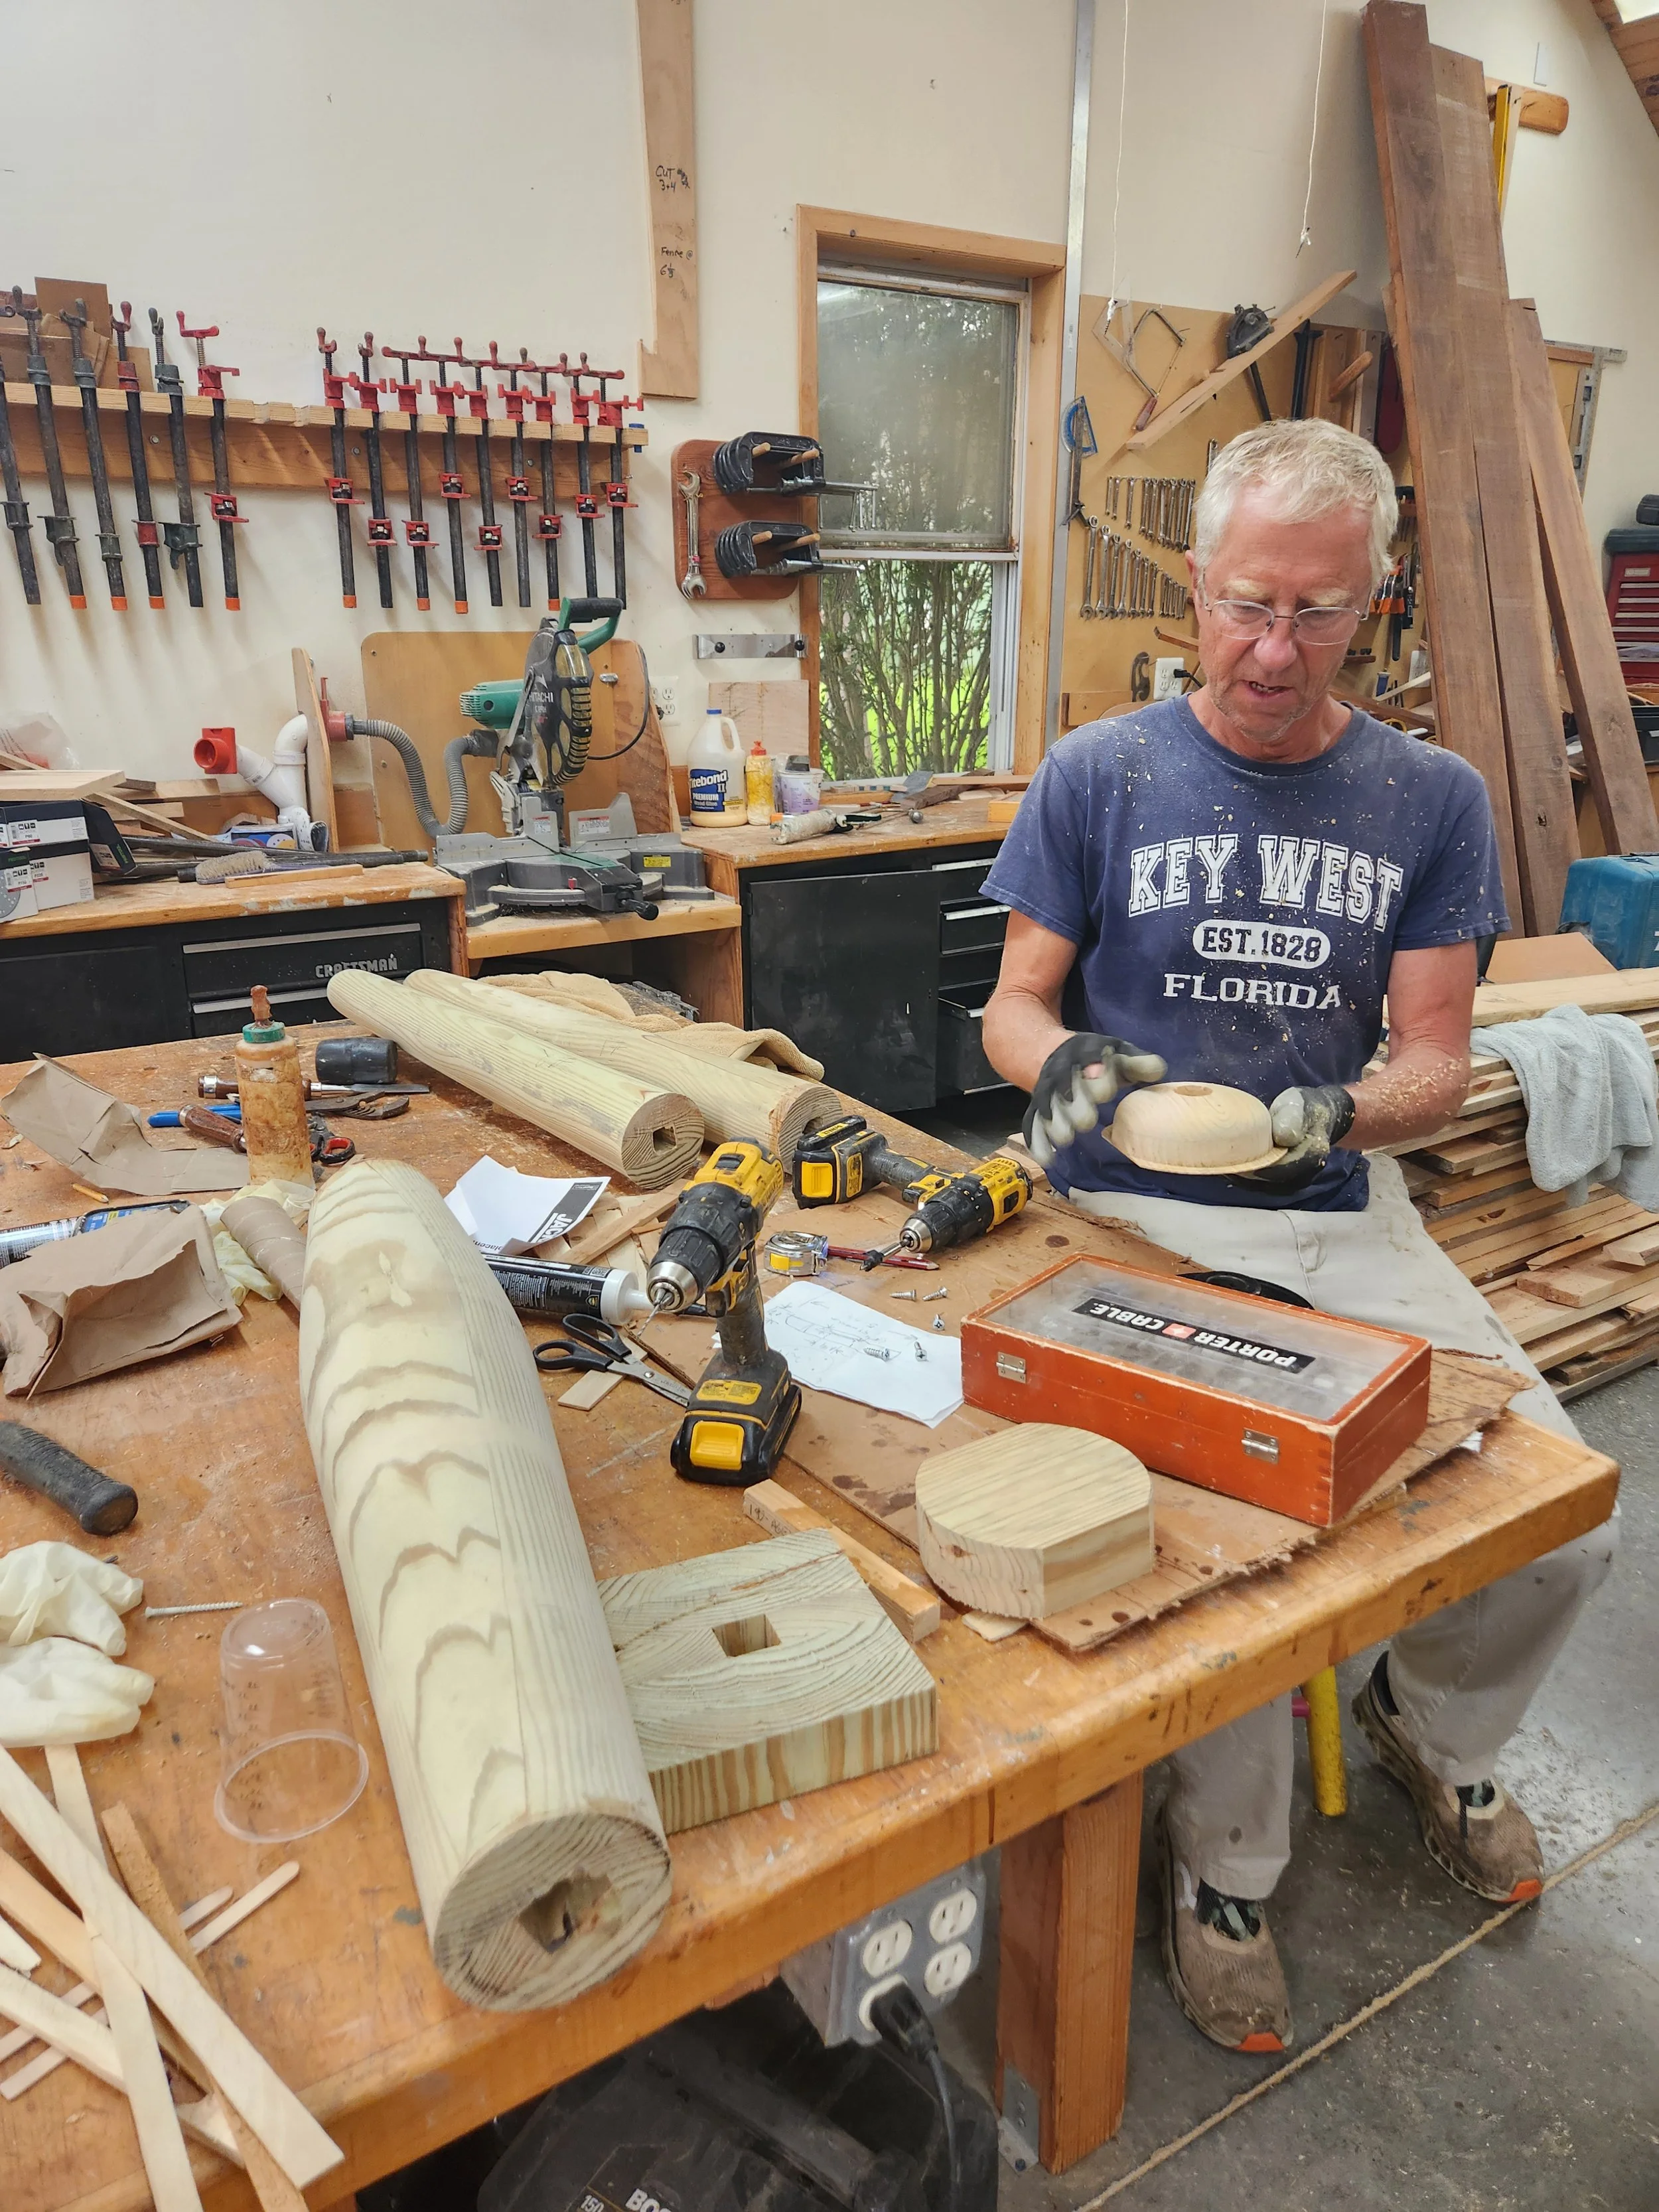
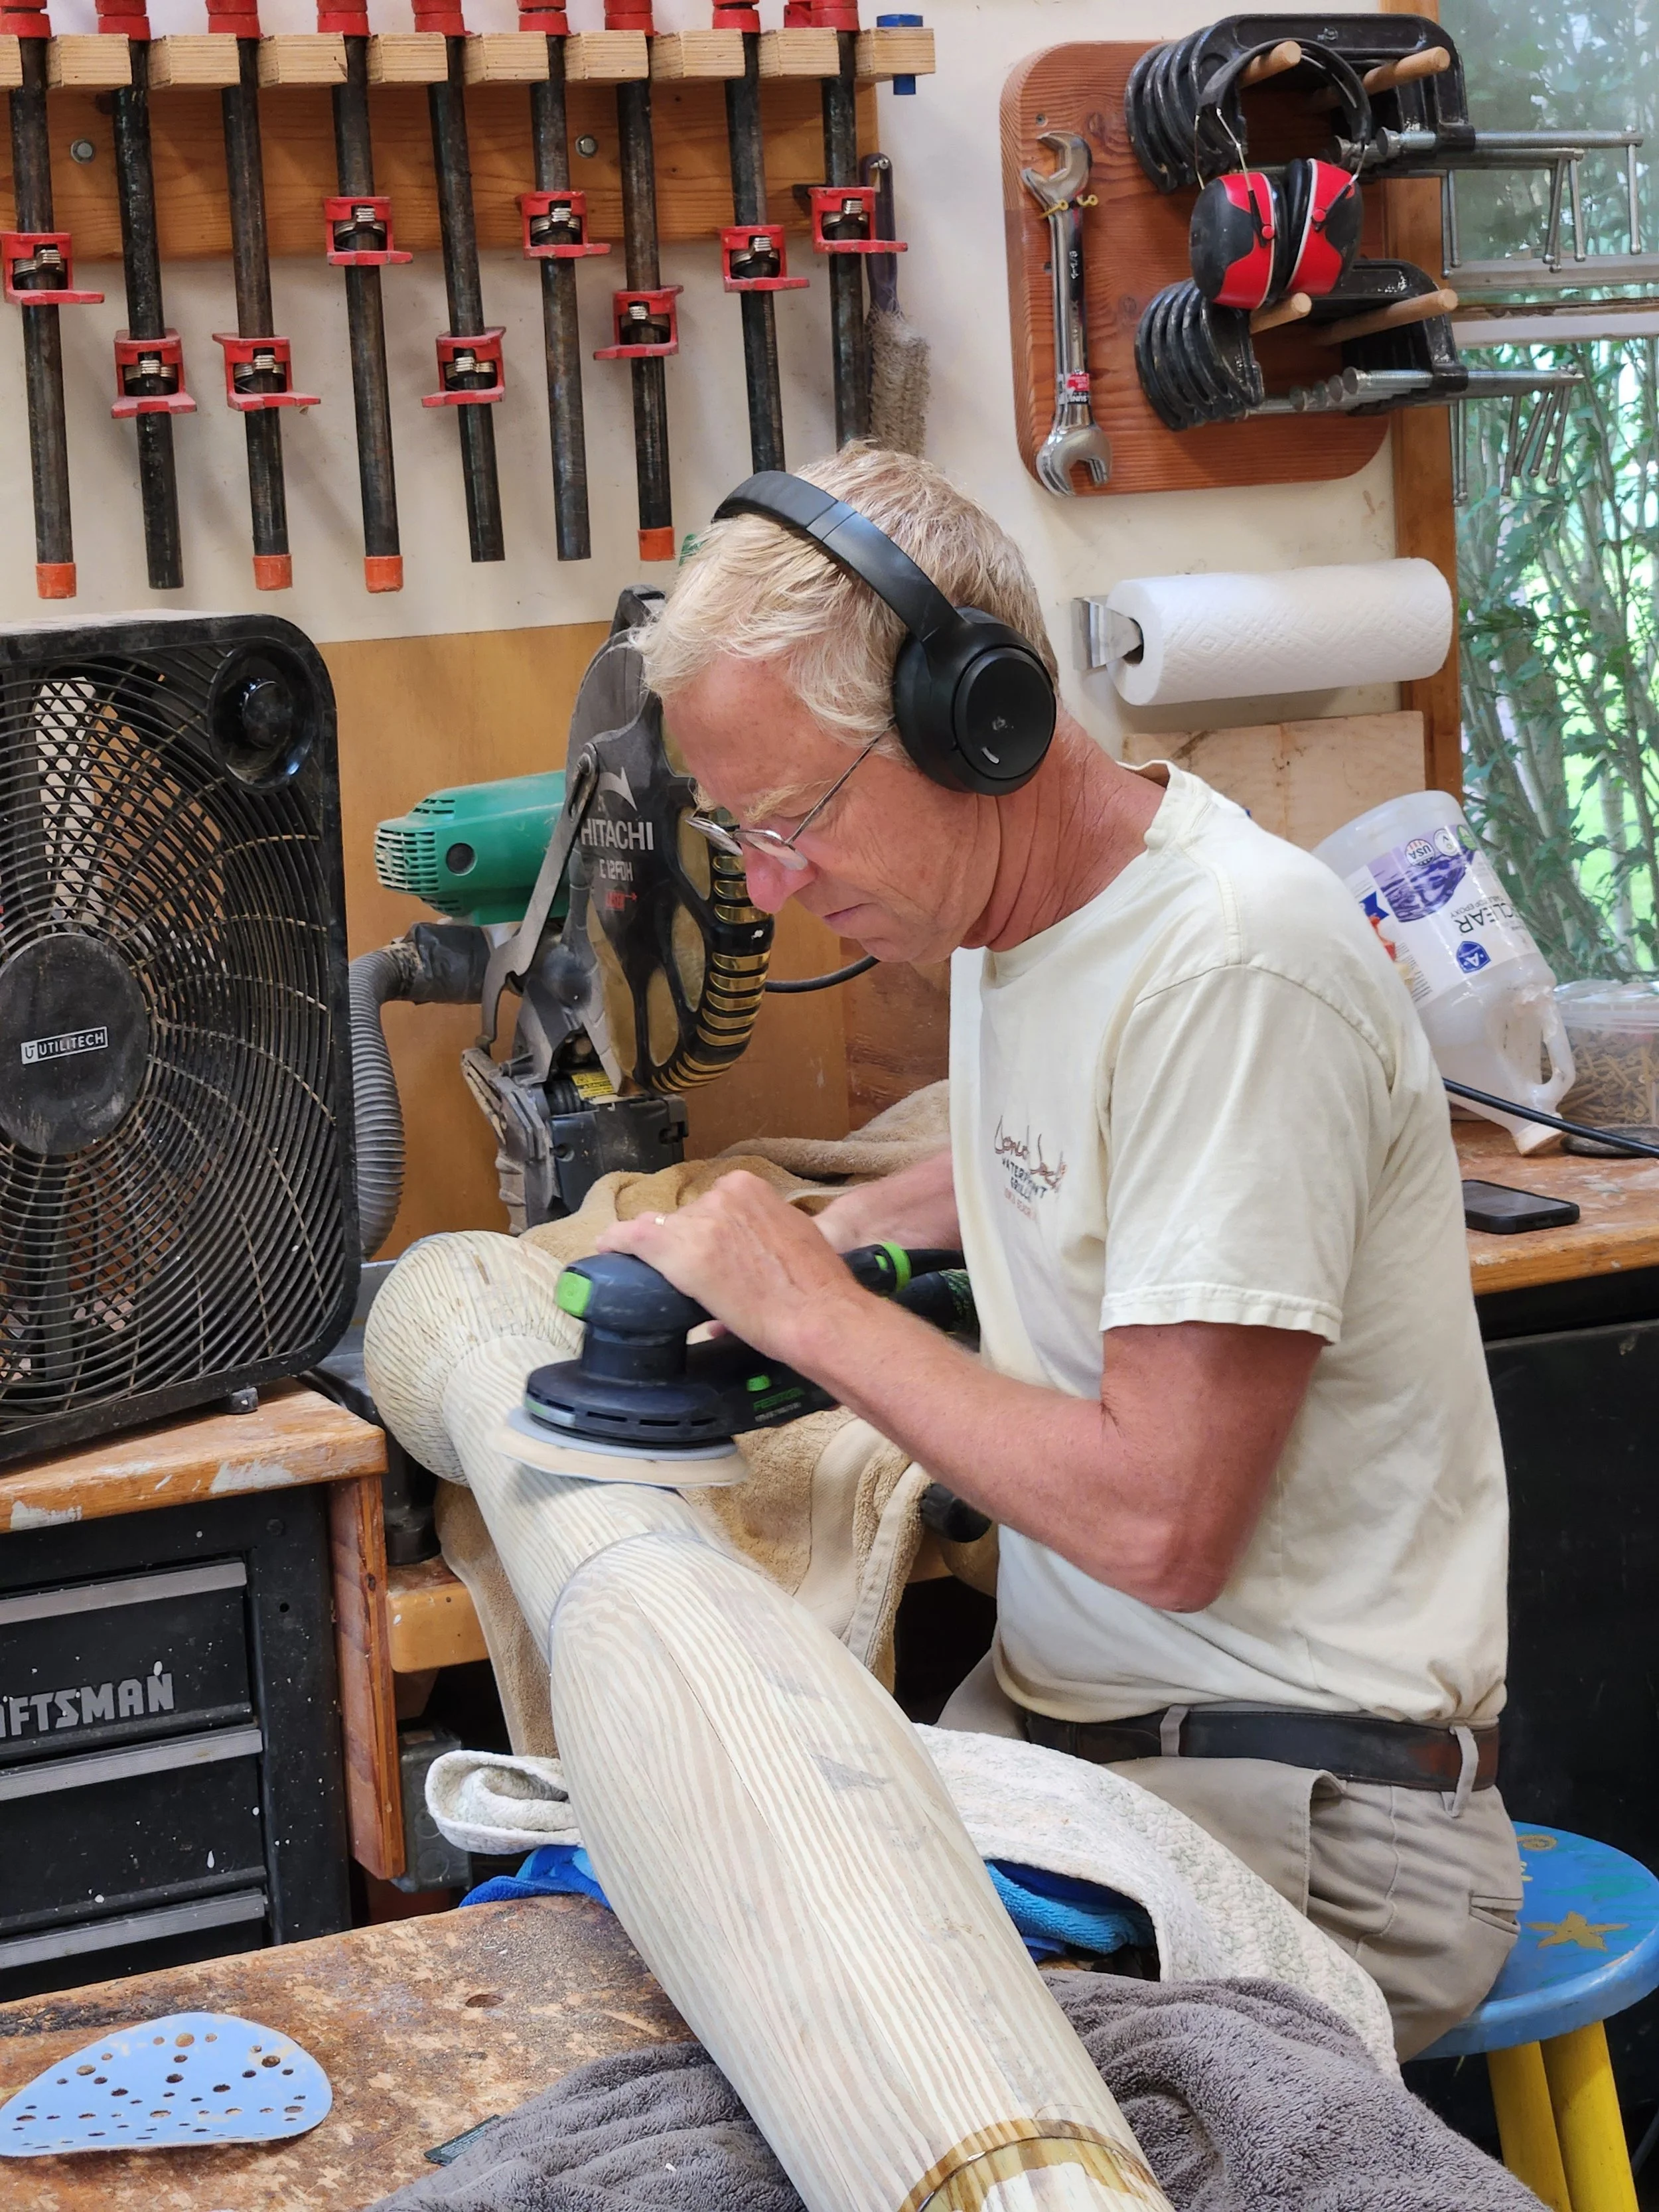
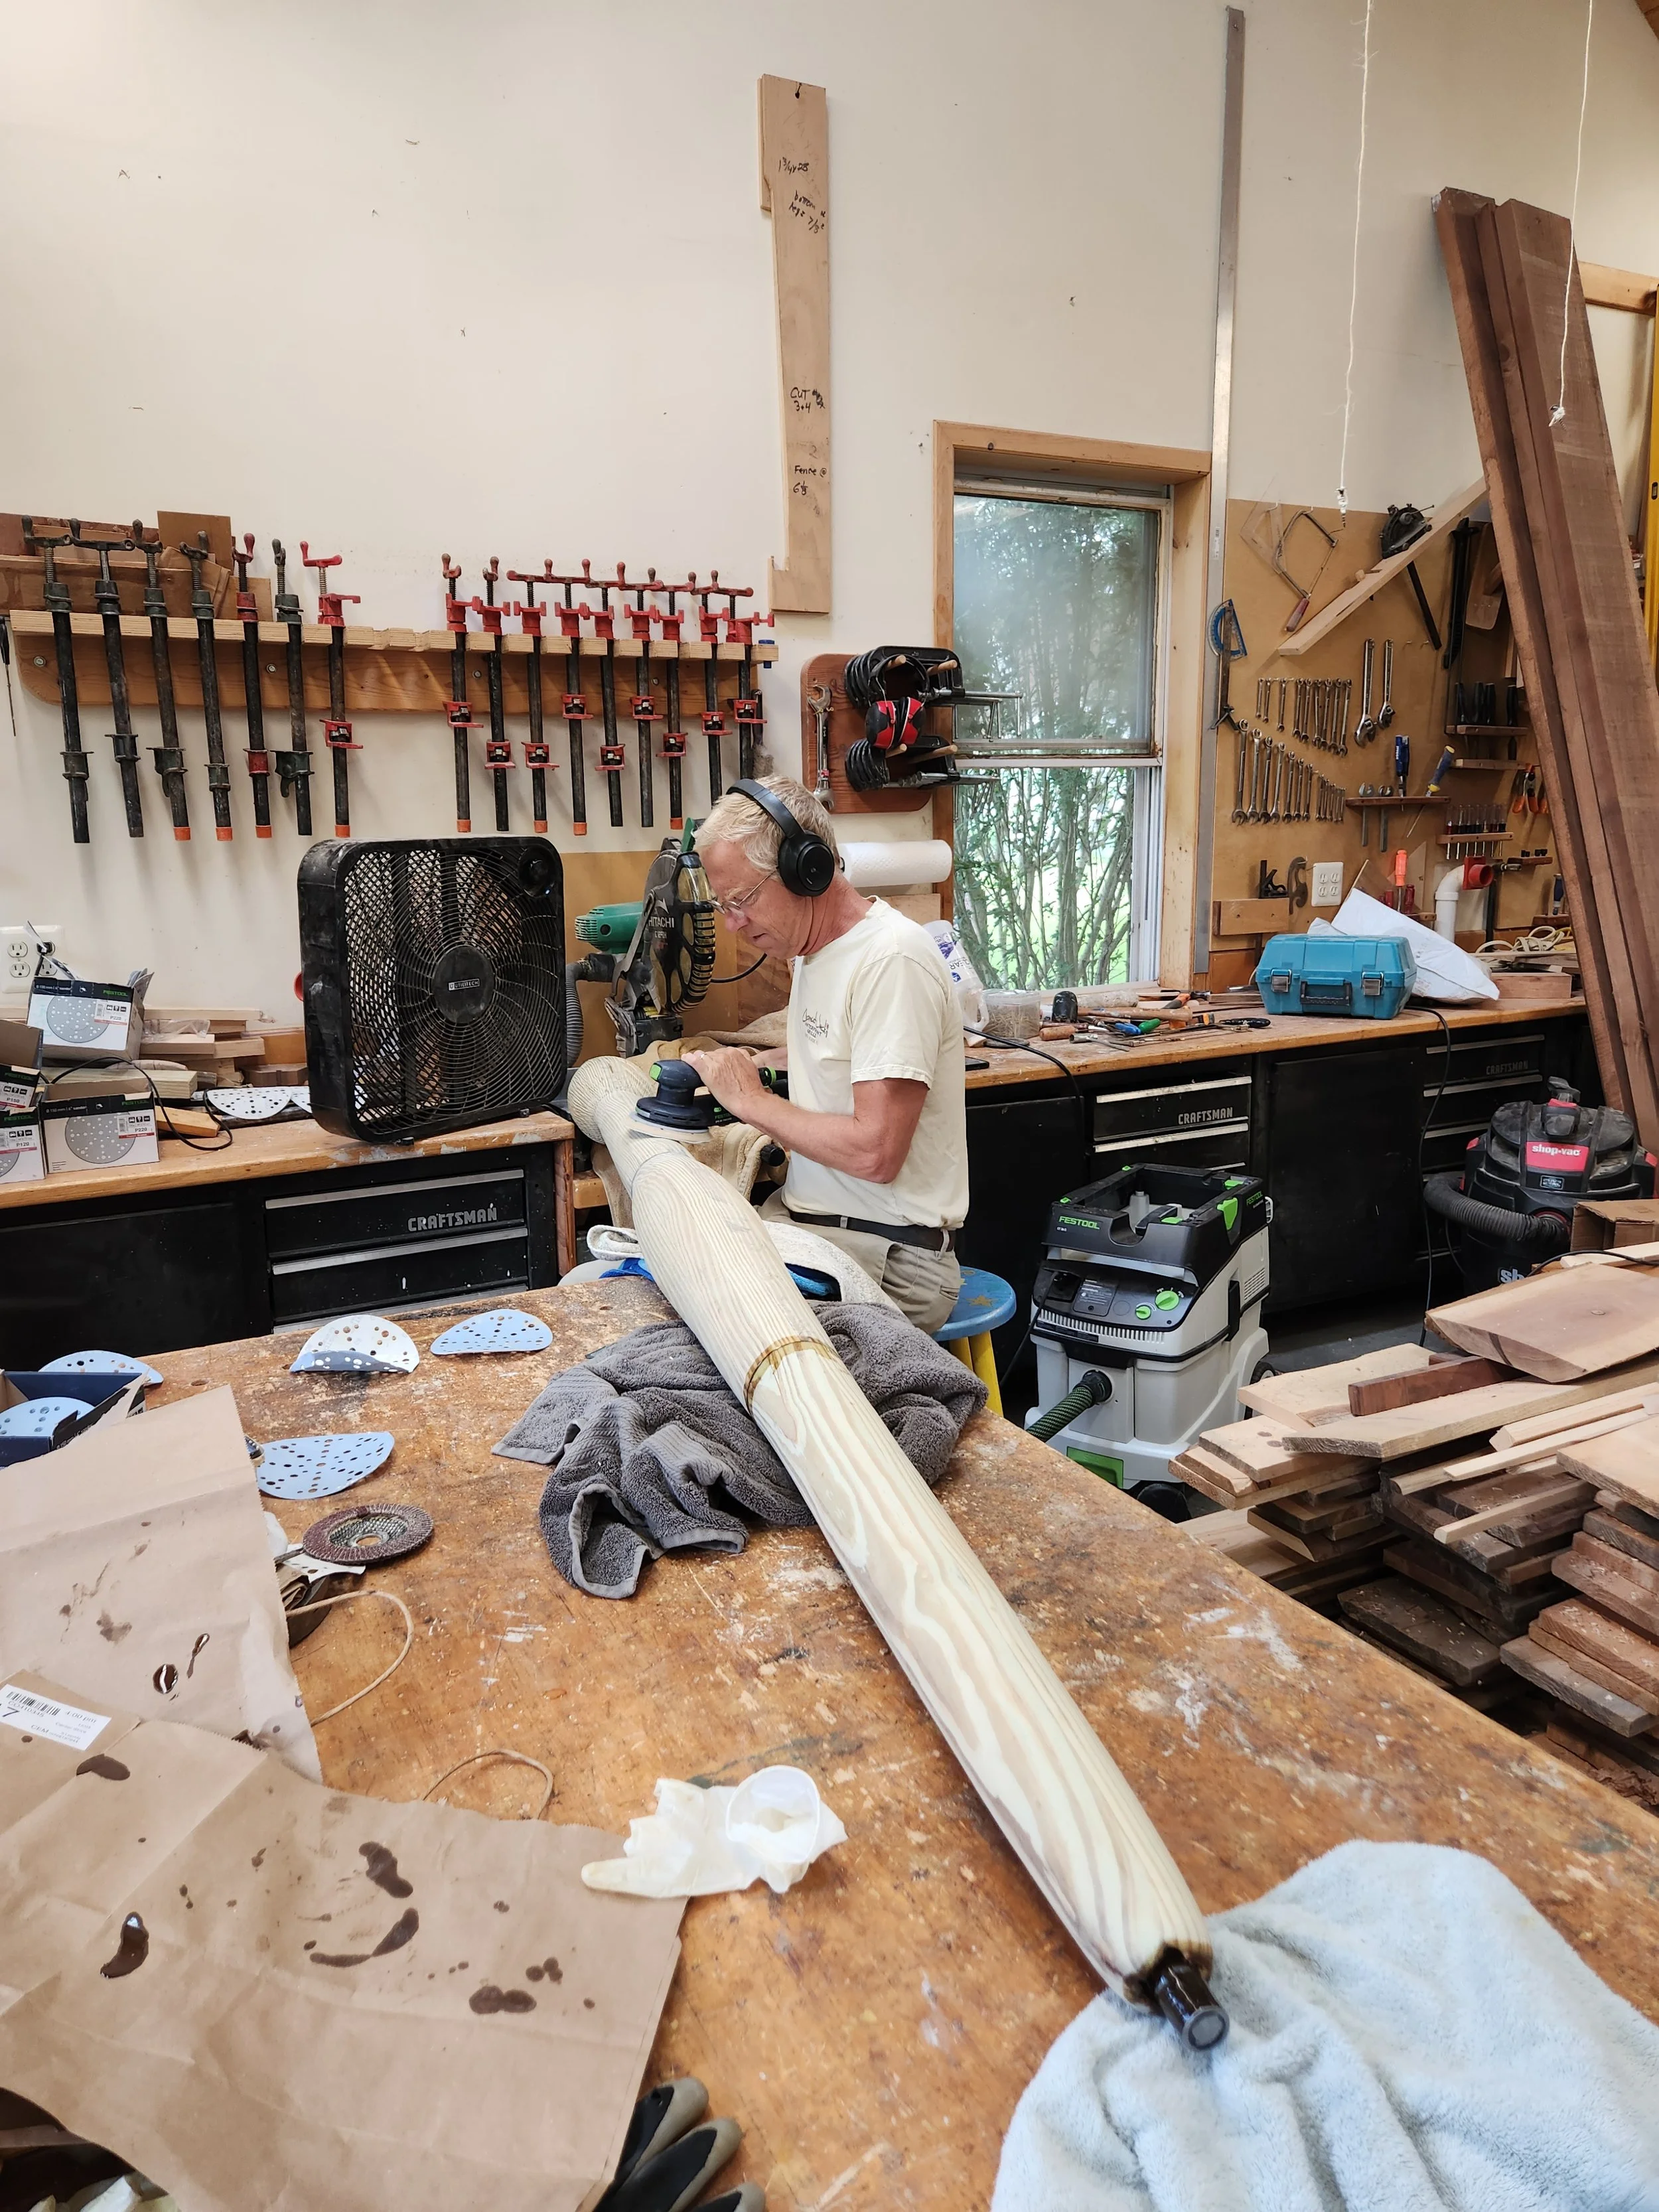
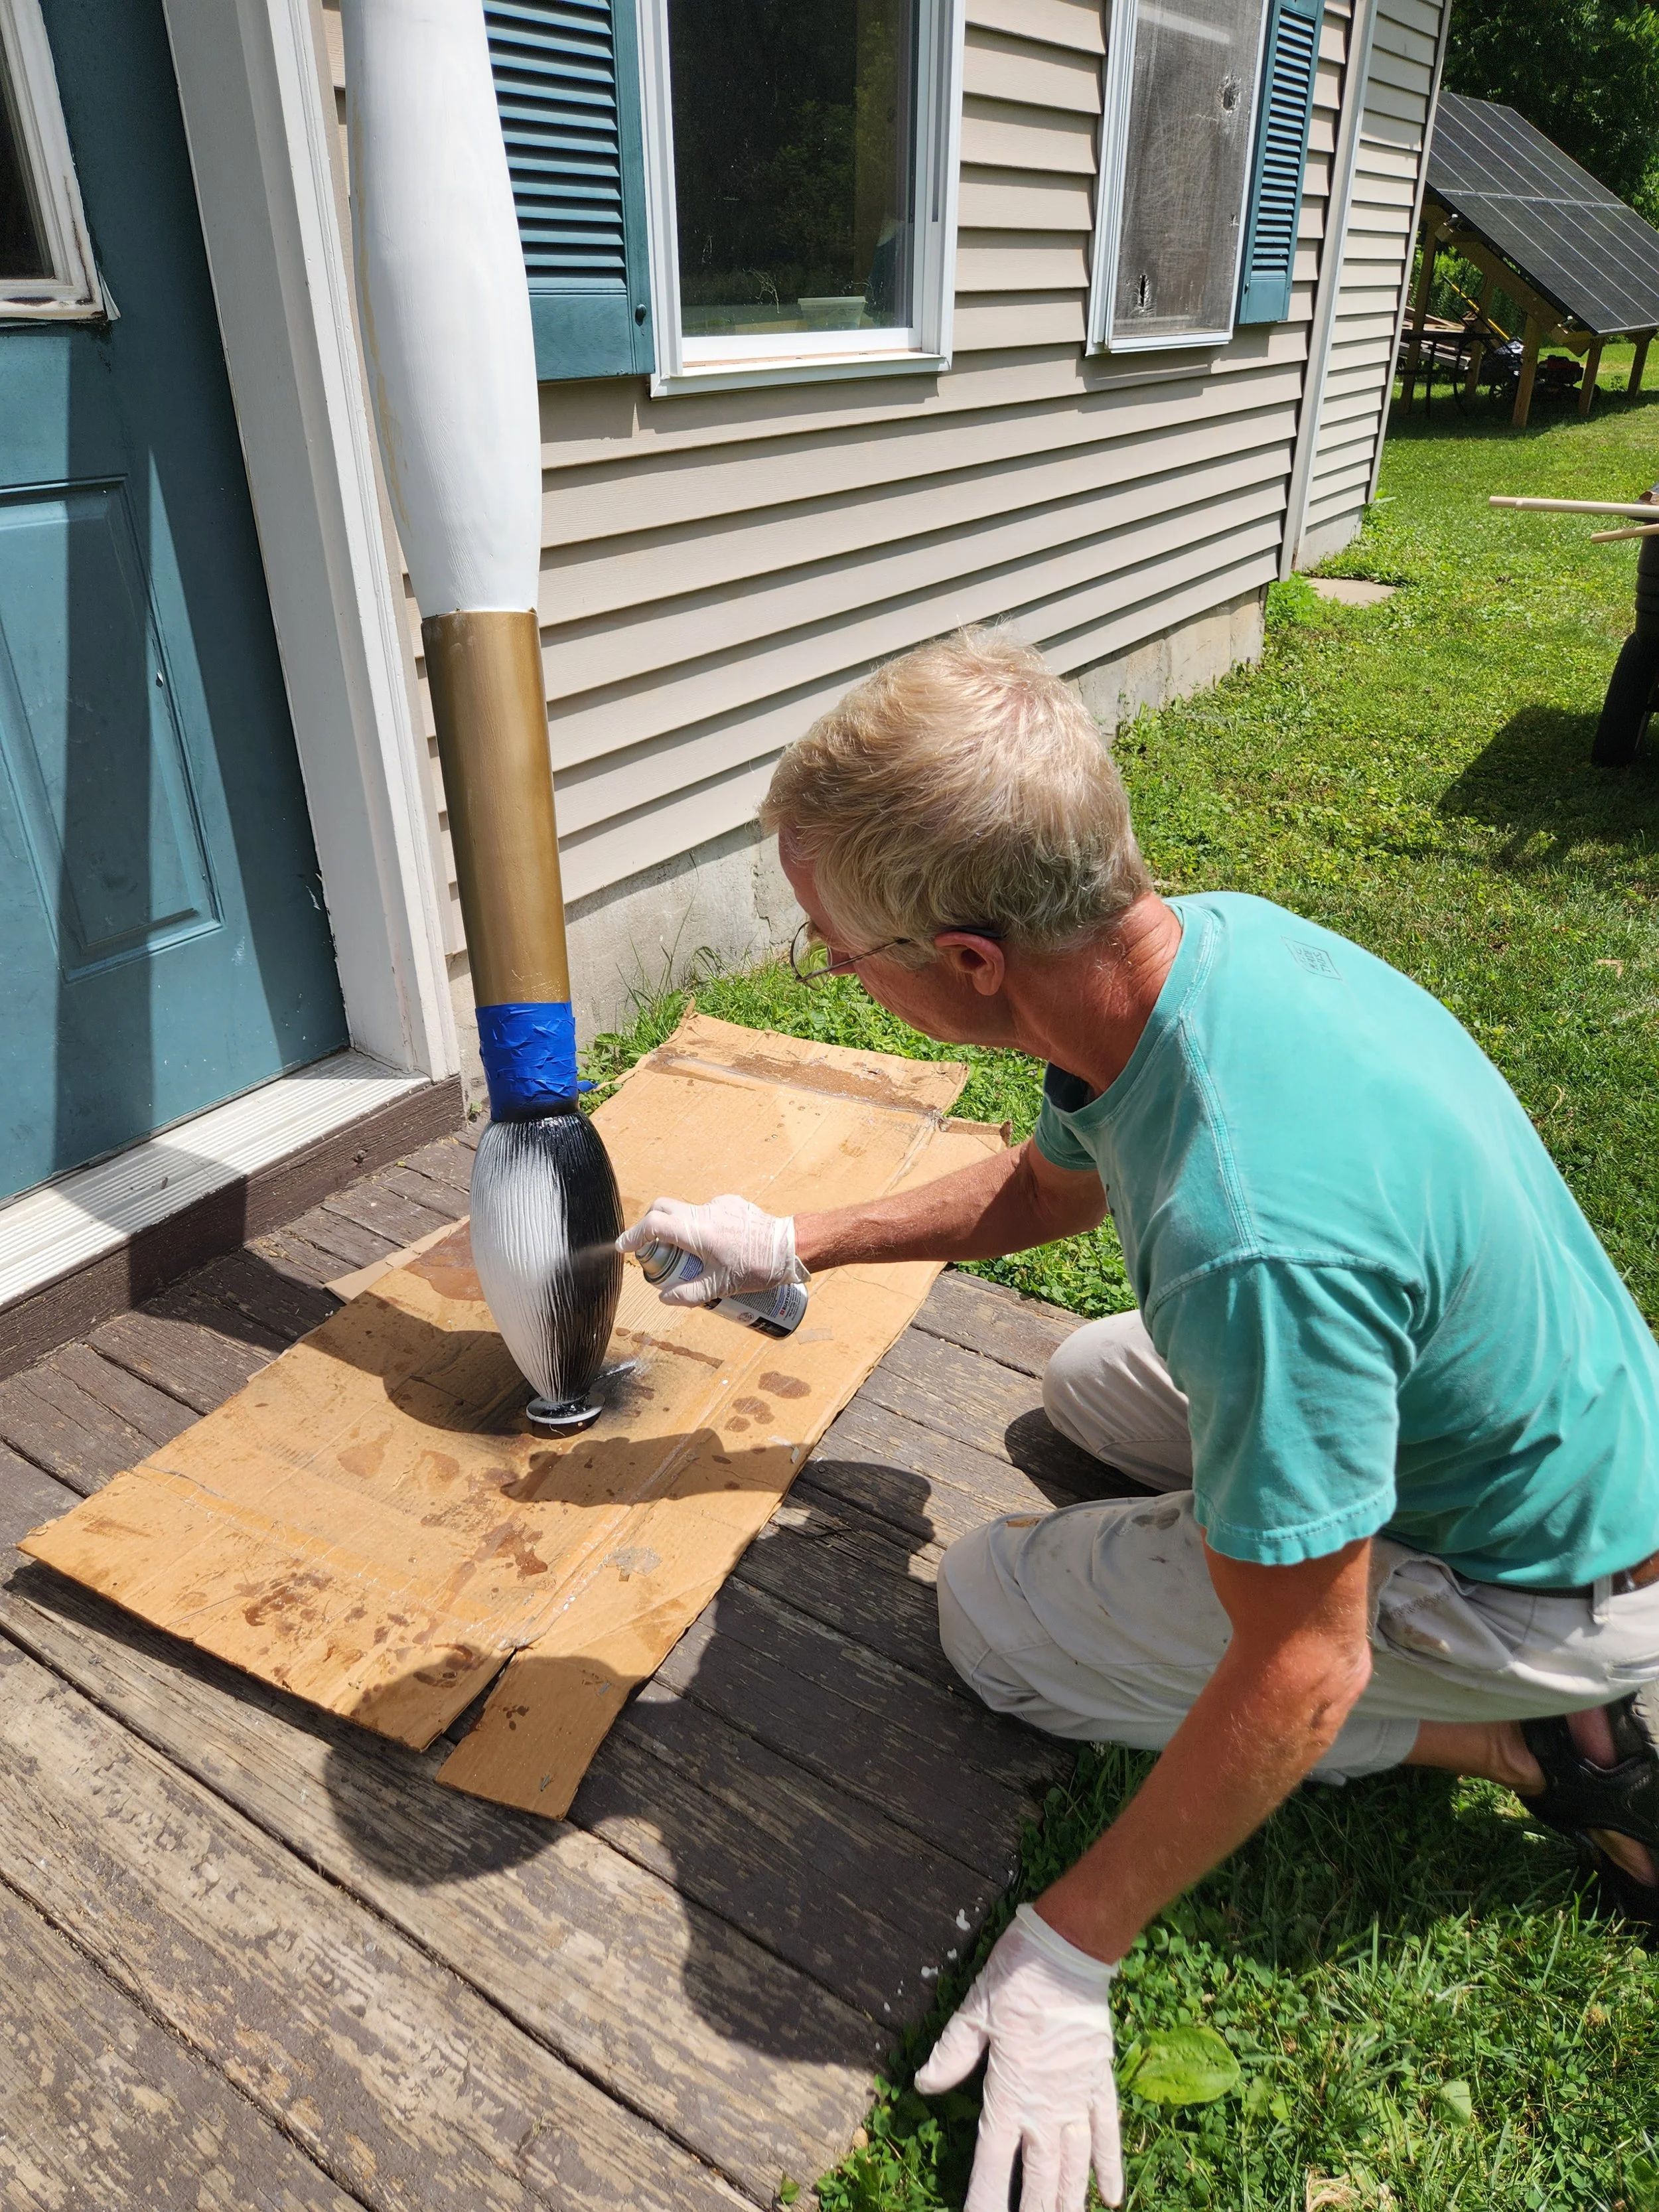
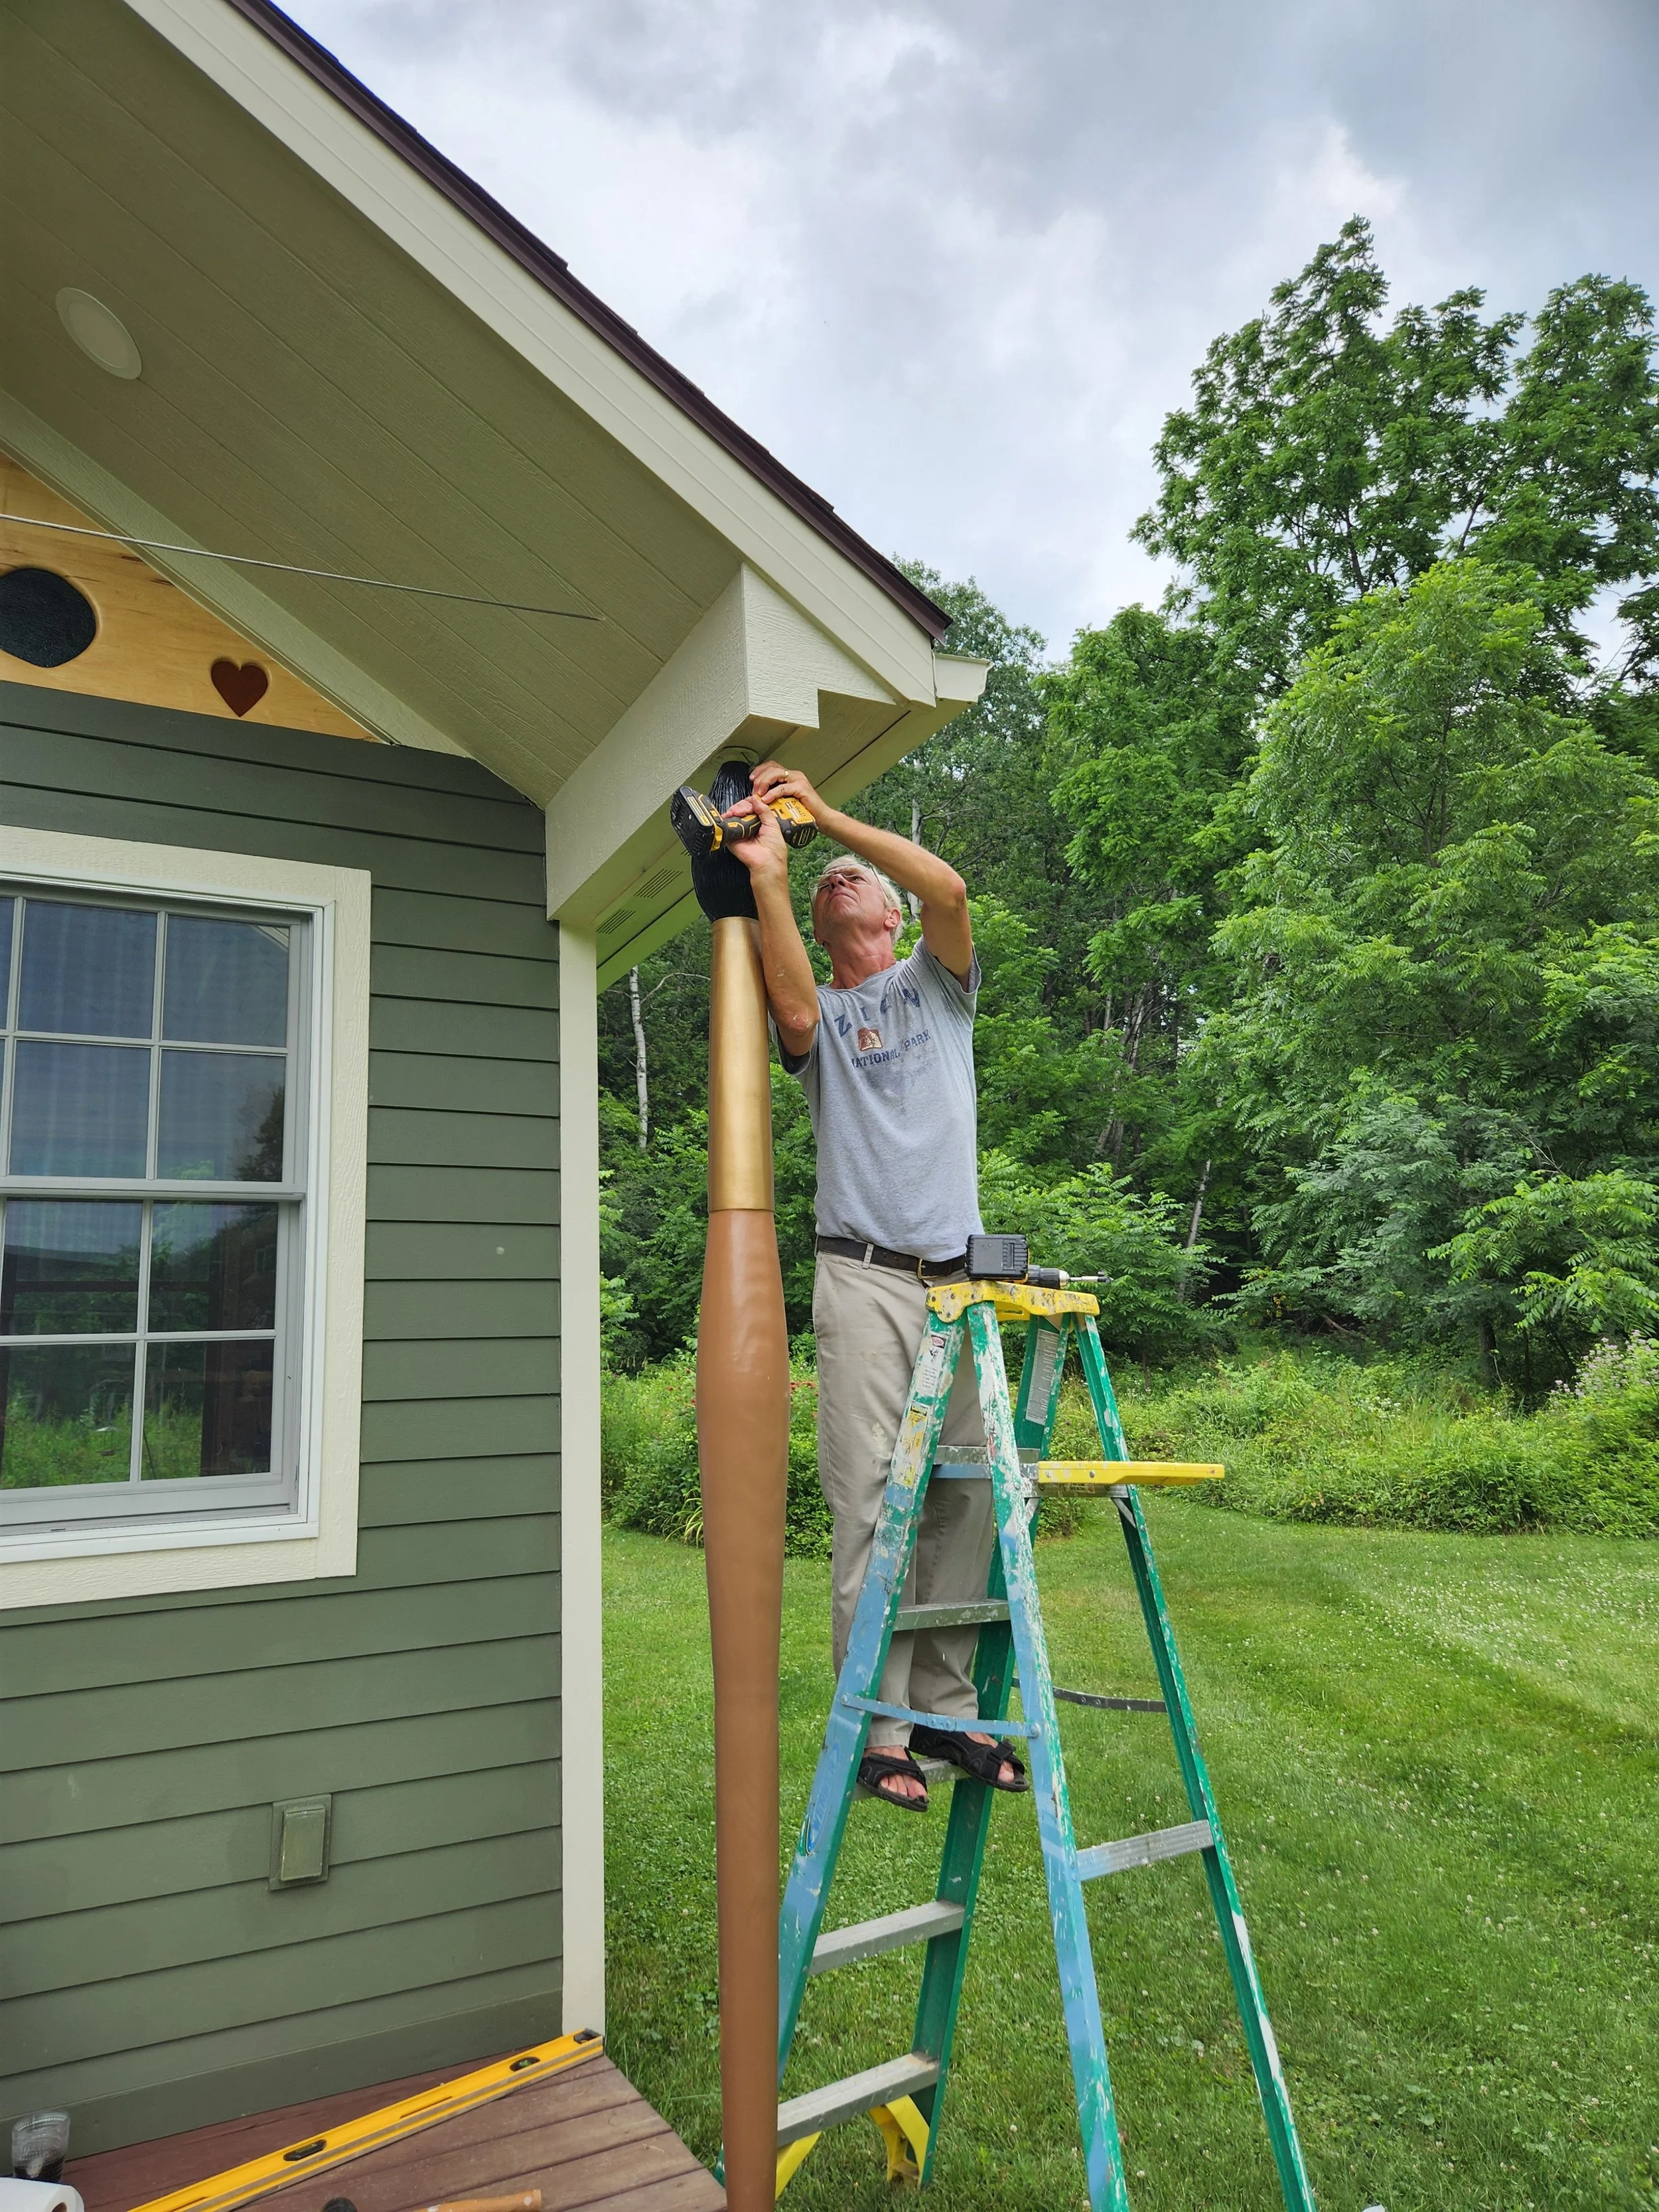
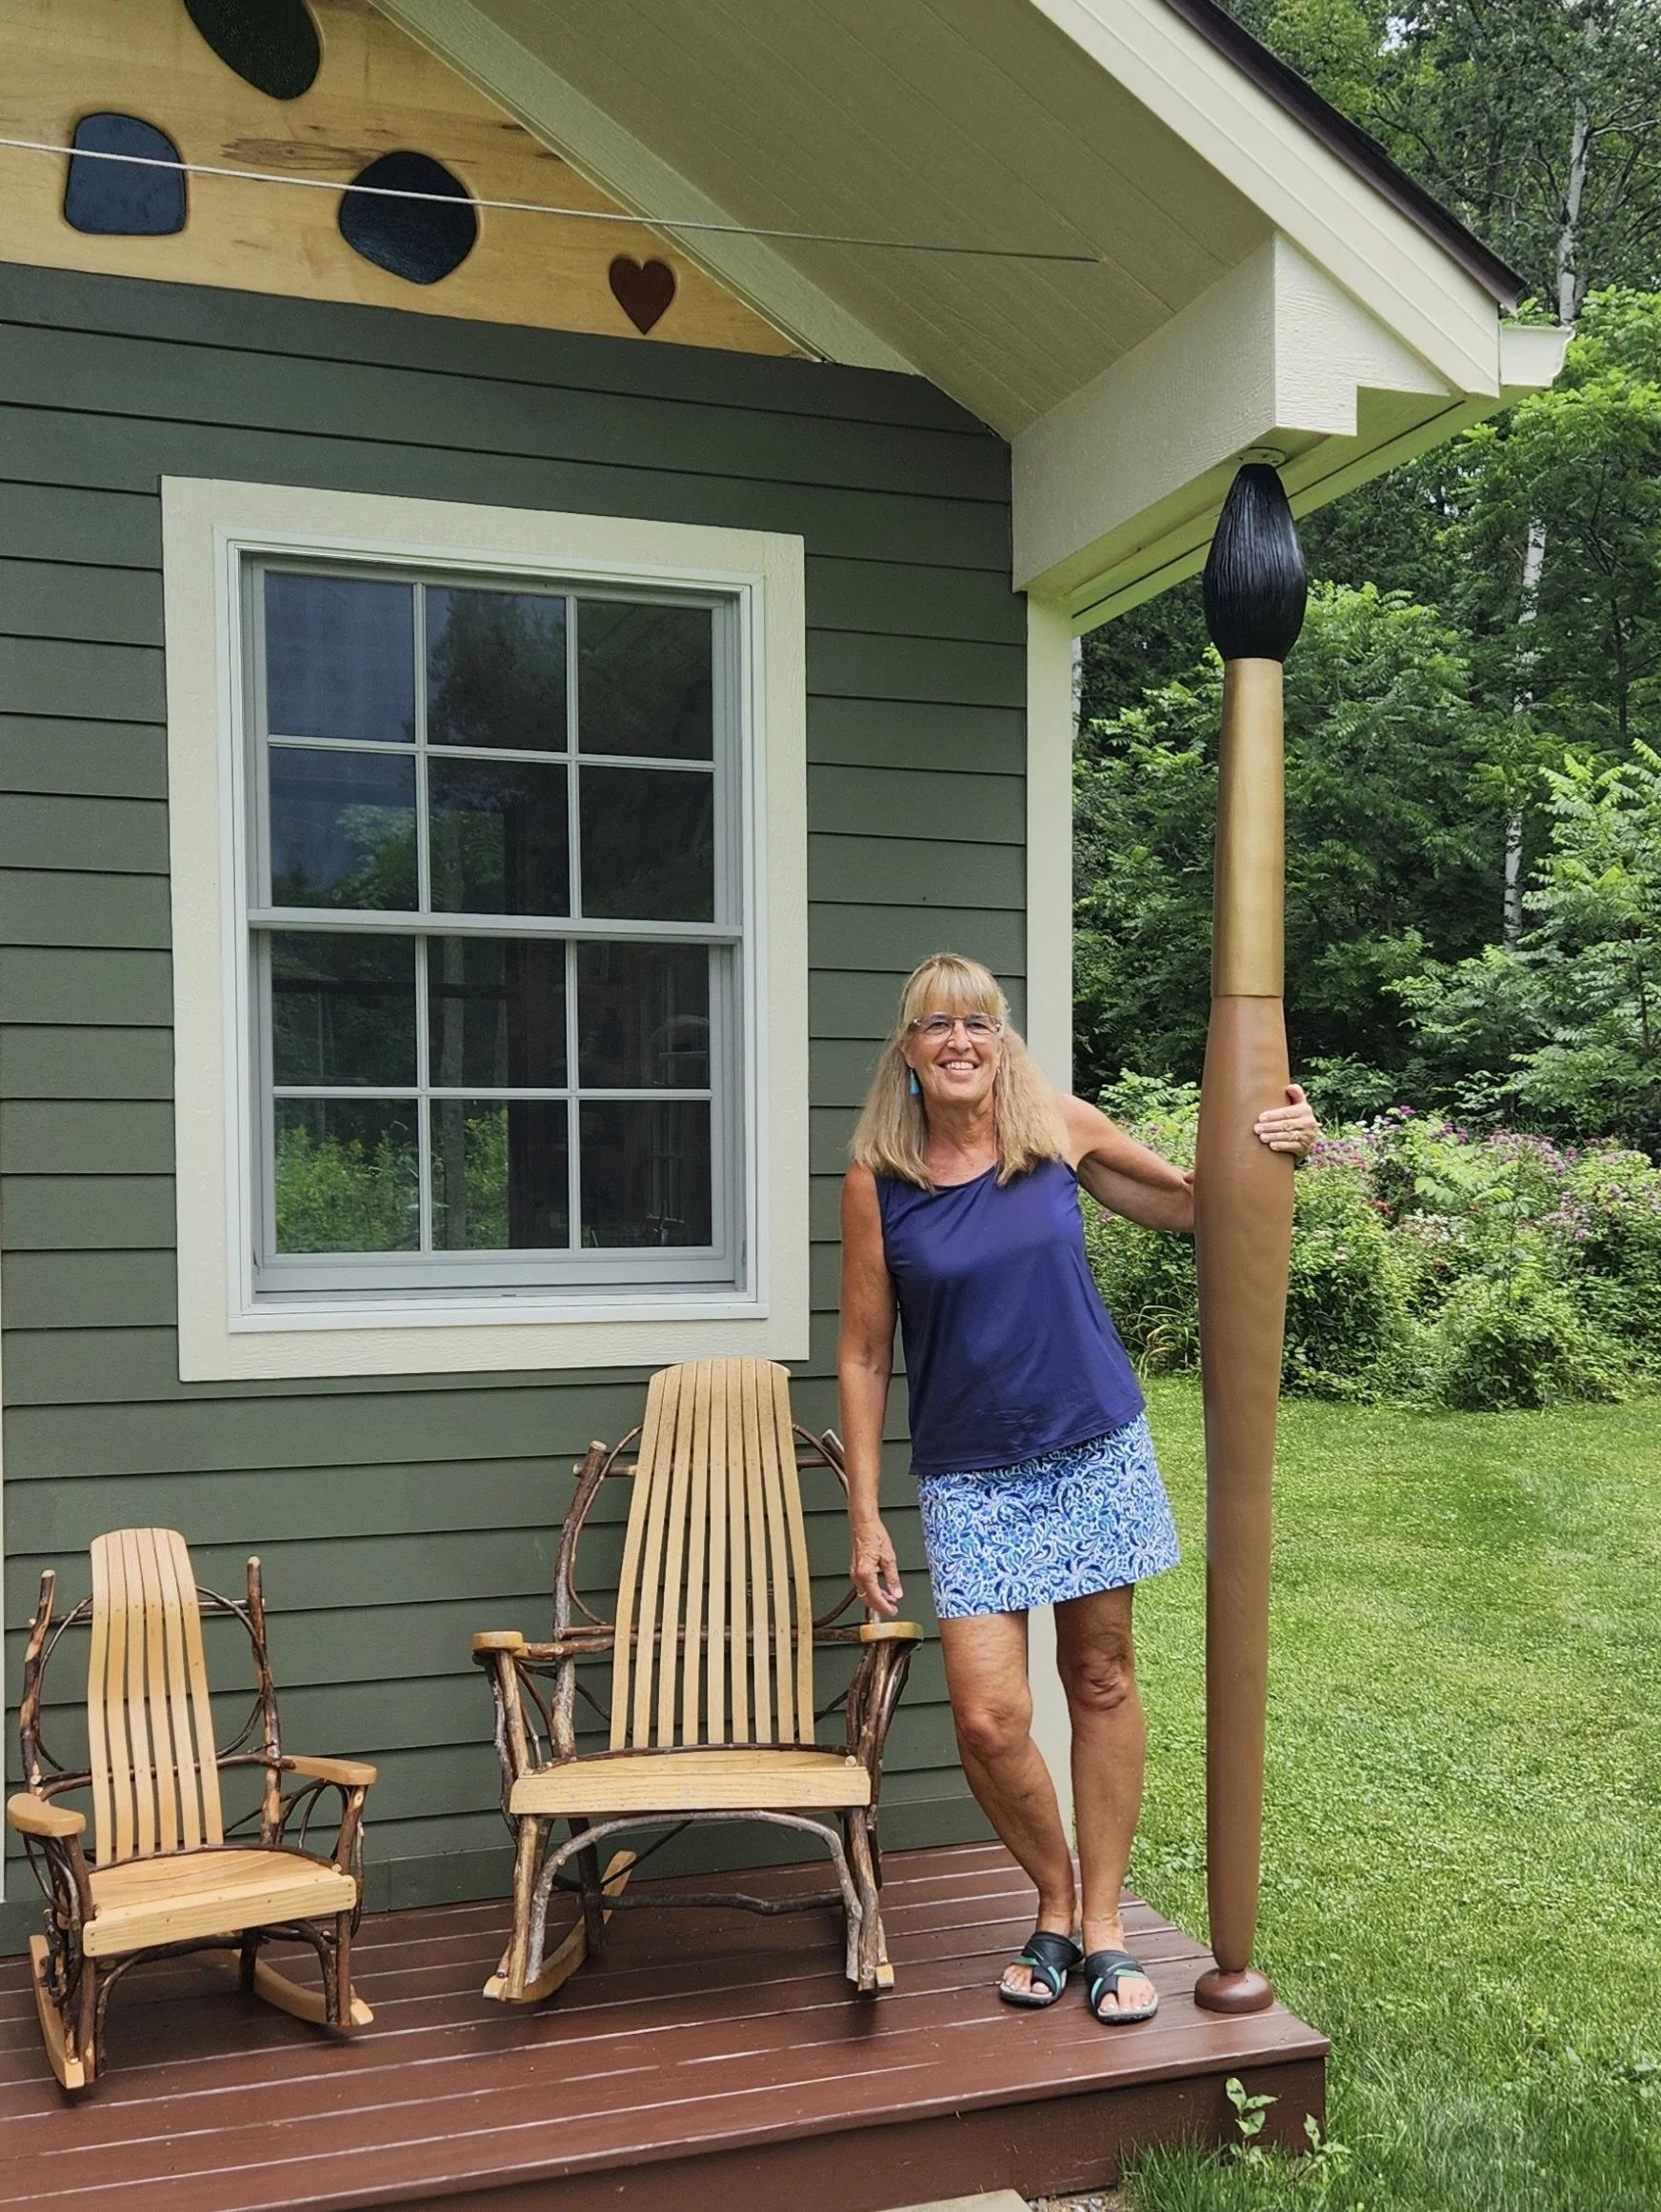
crafting the paintbrush pillars
He cut each piece of glass and carved the palette for the studio's gable end. It's a reminder that this building wasn't simply constructed—it was lovingly crafted for an artist by an artist.
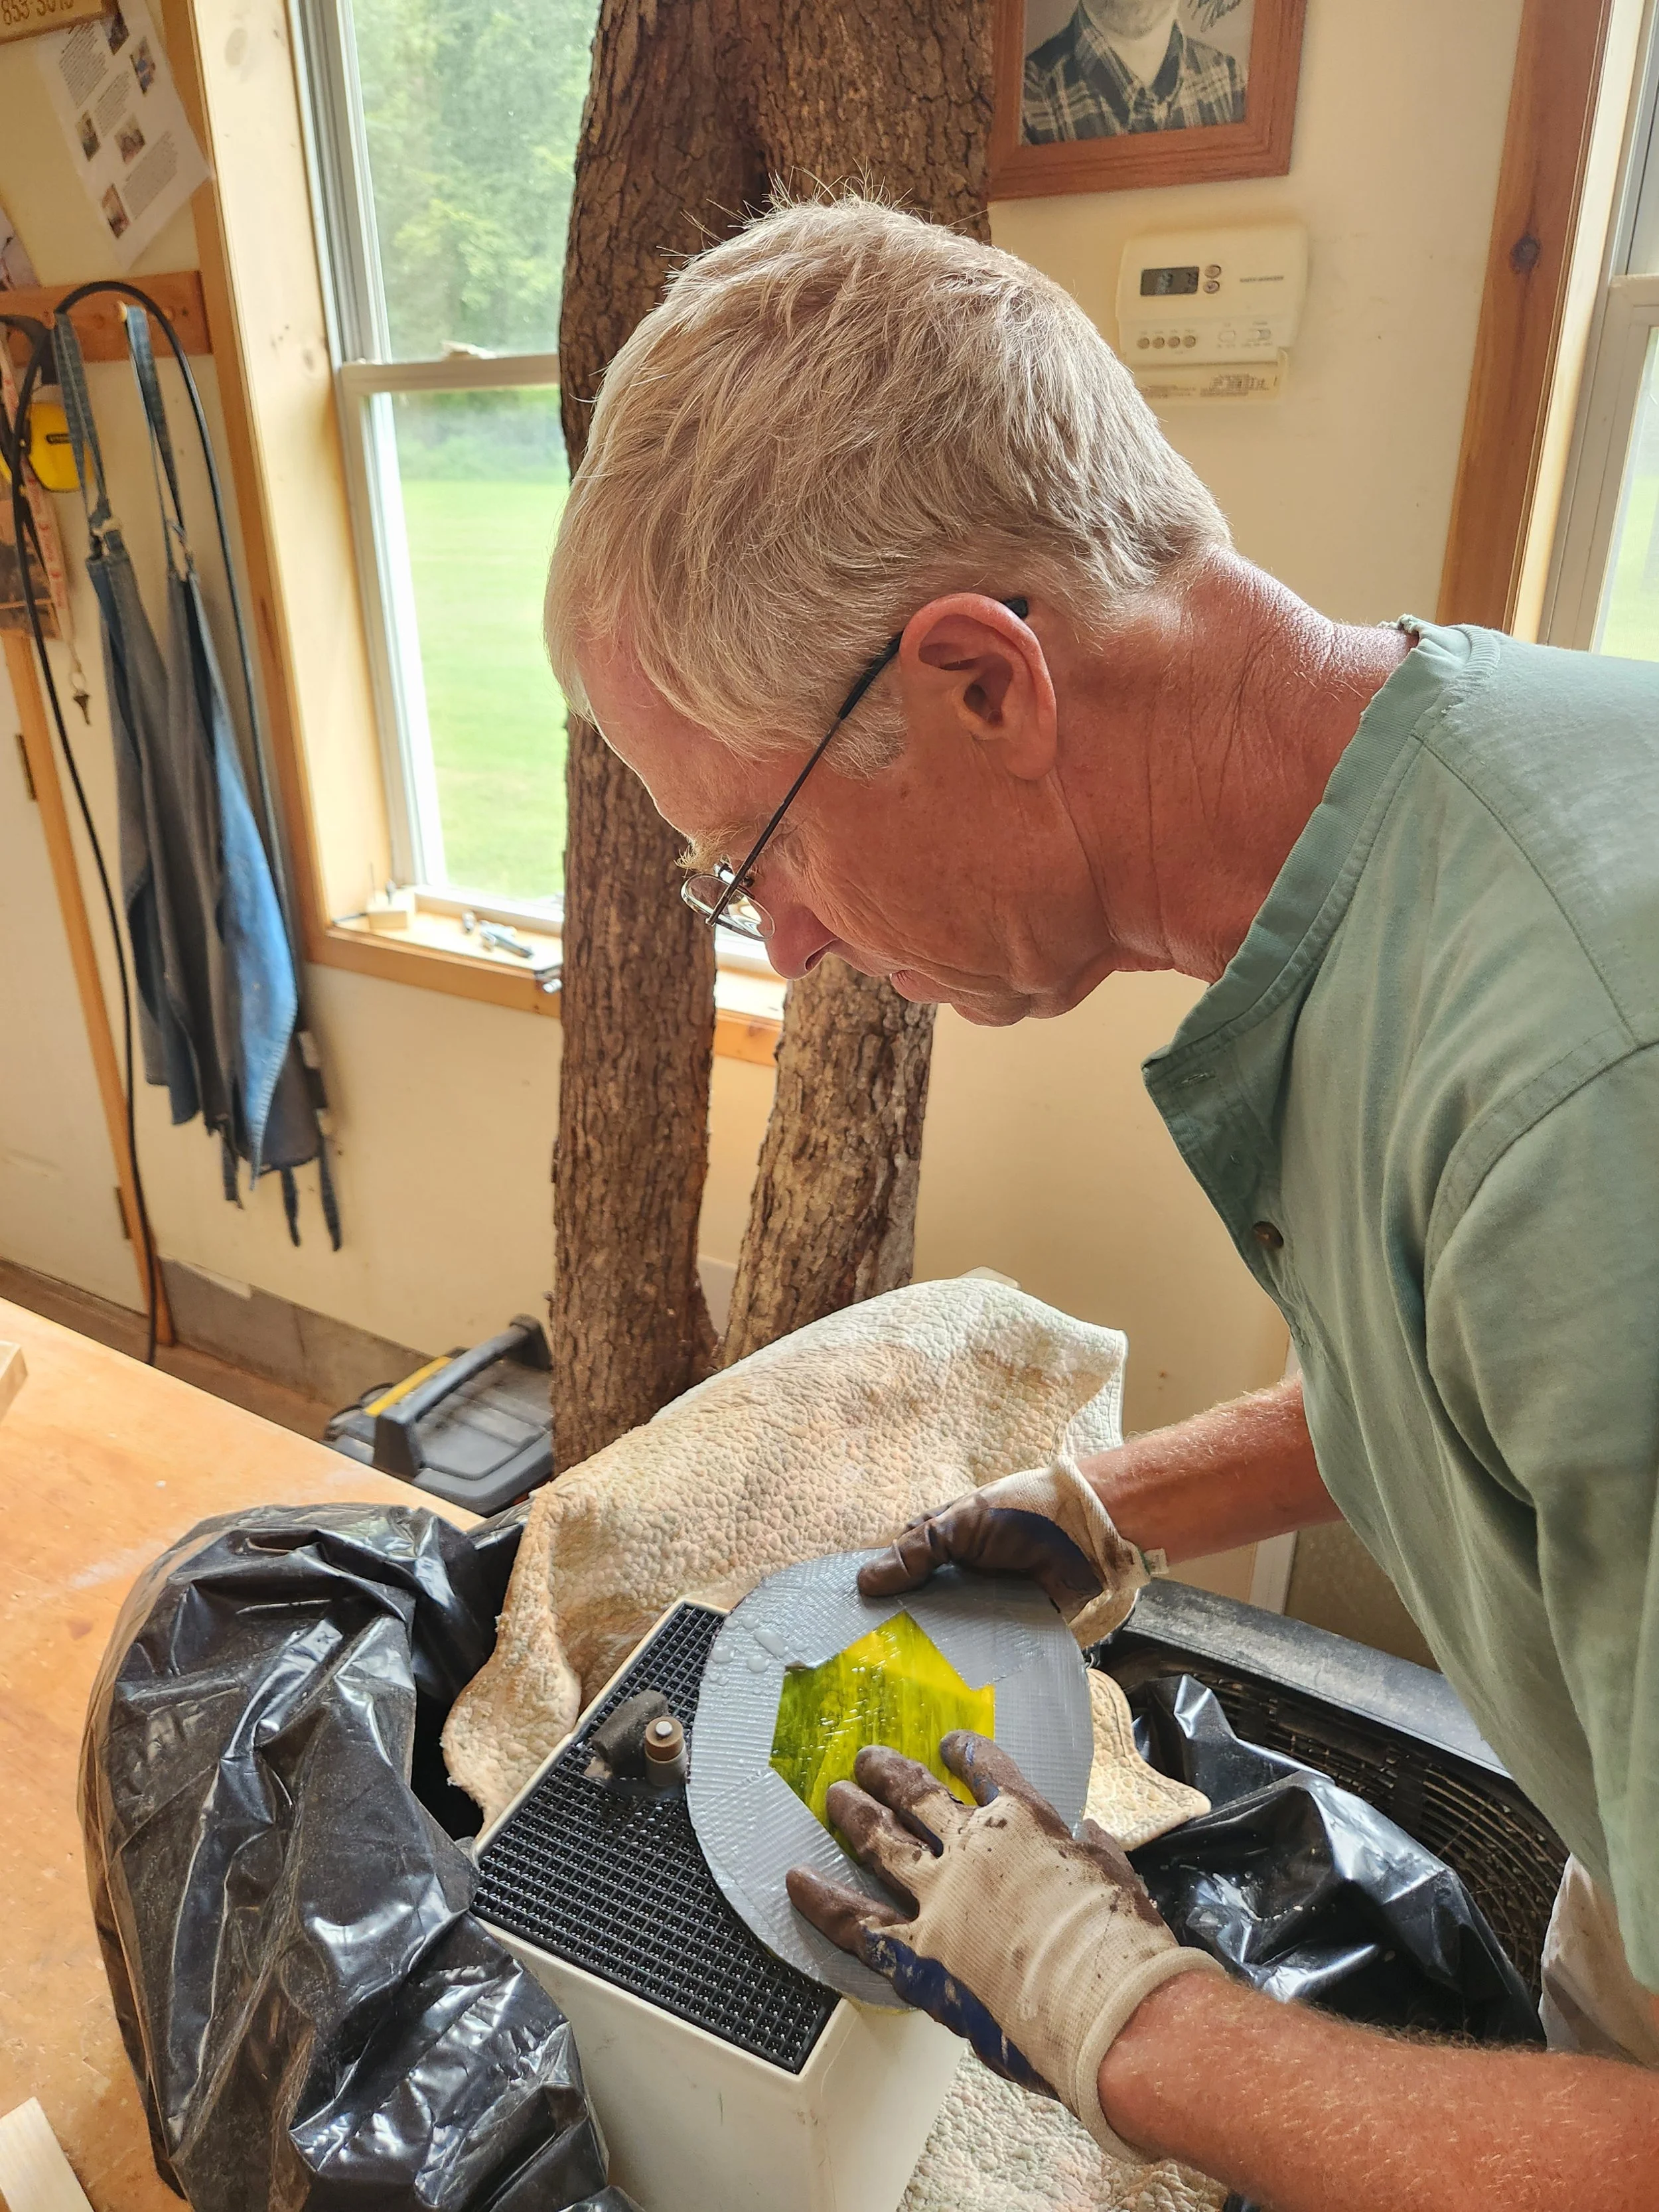
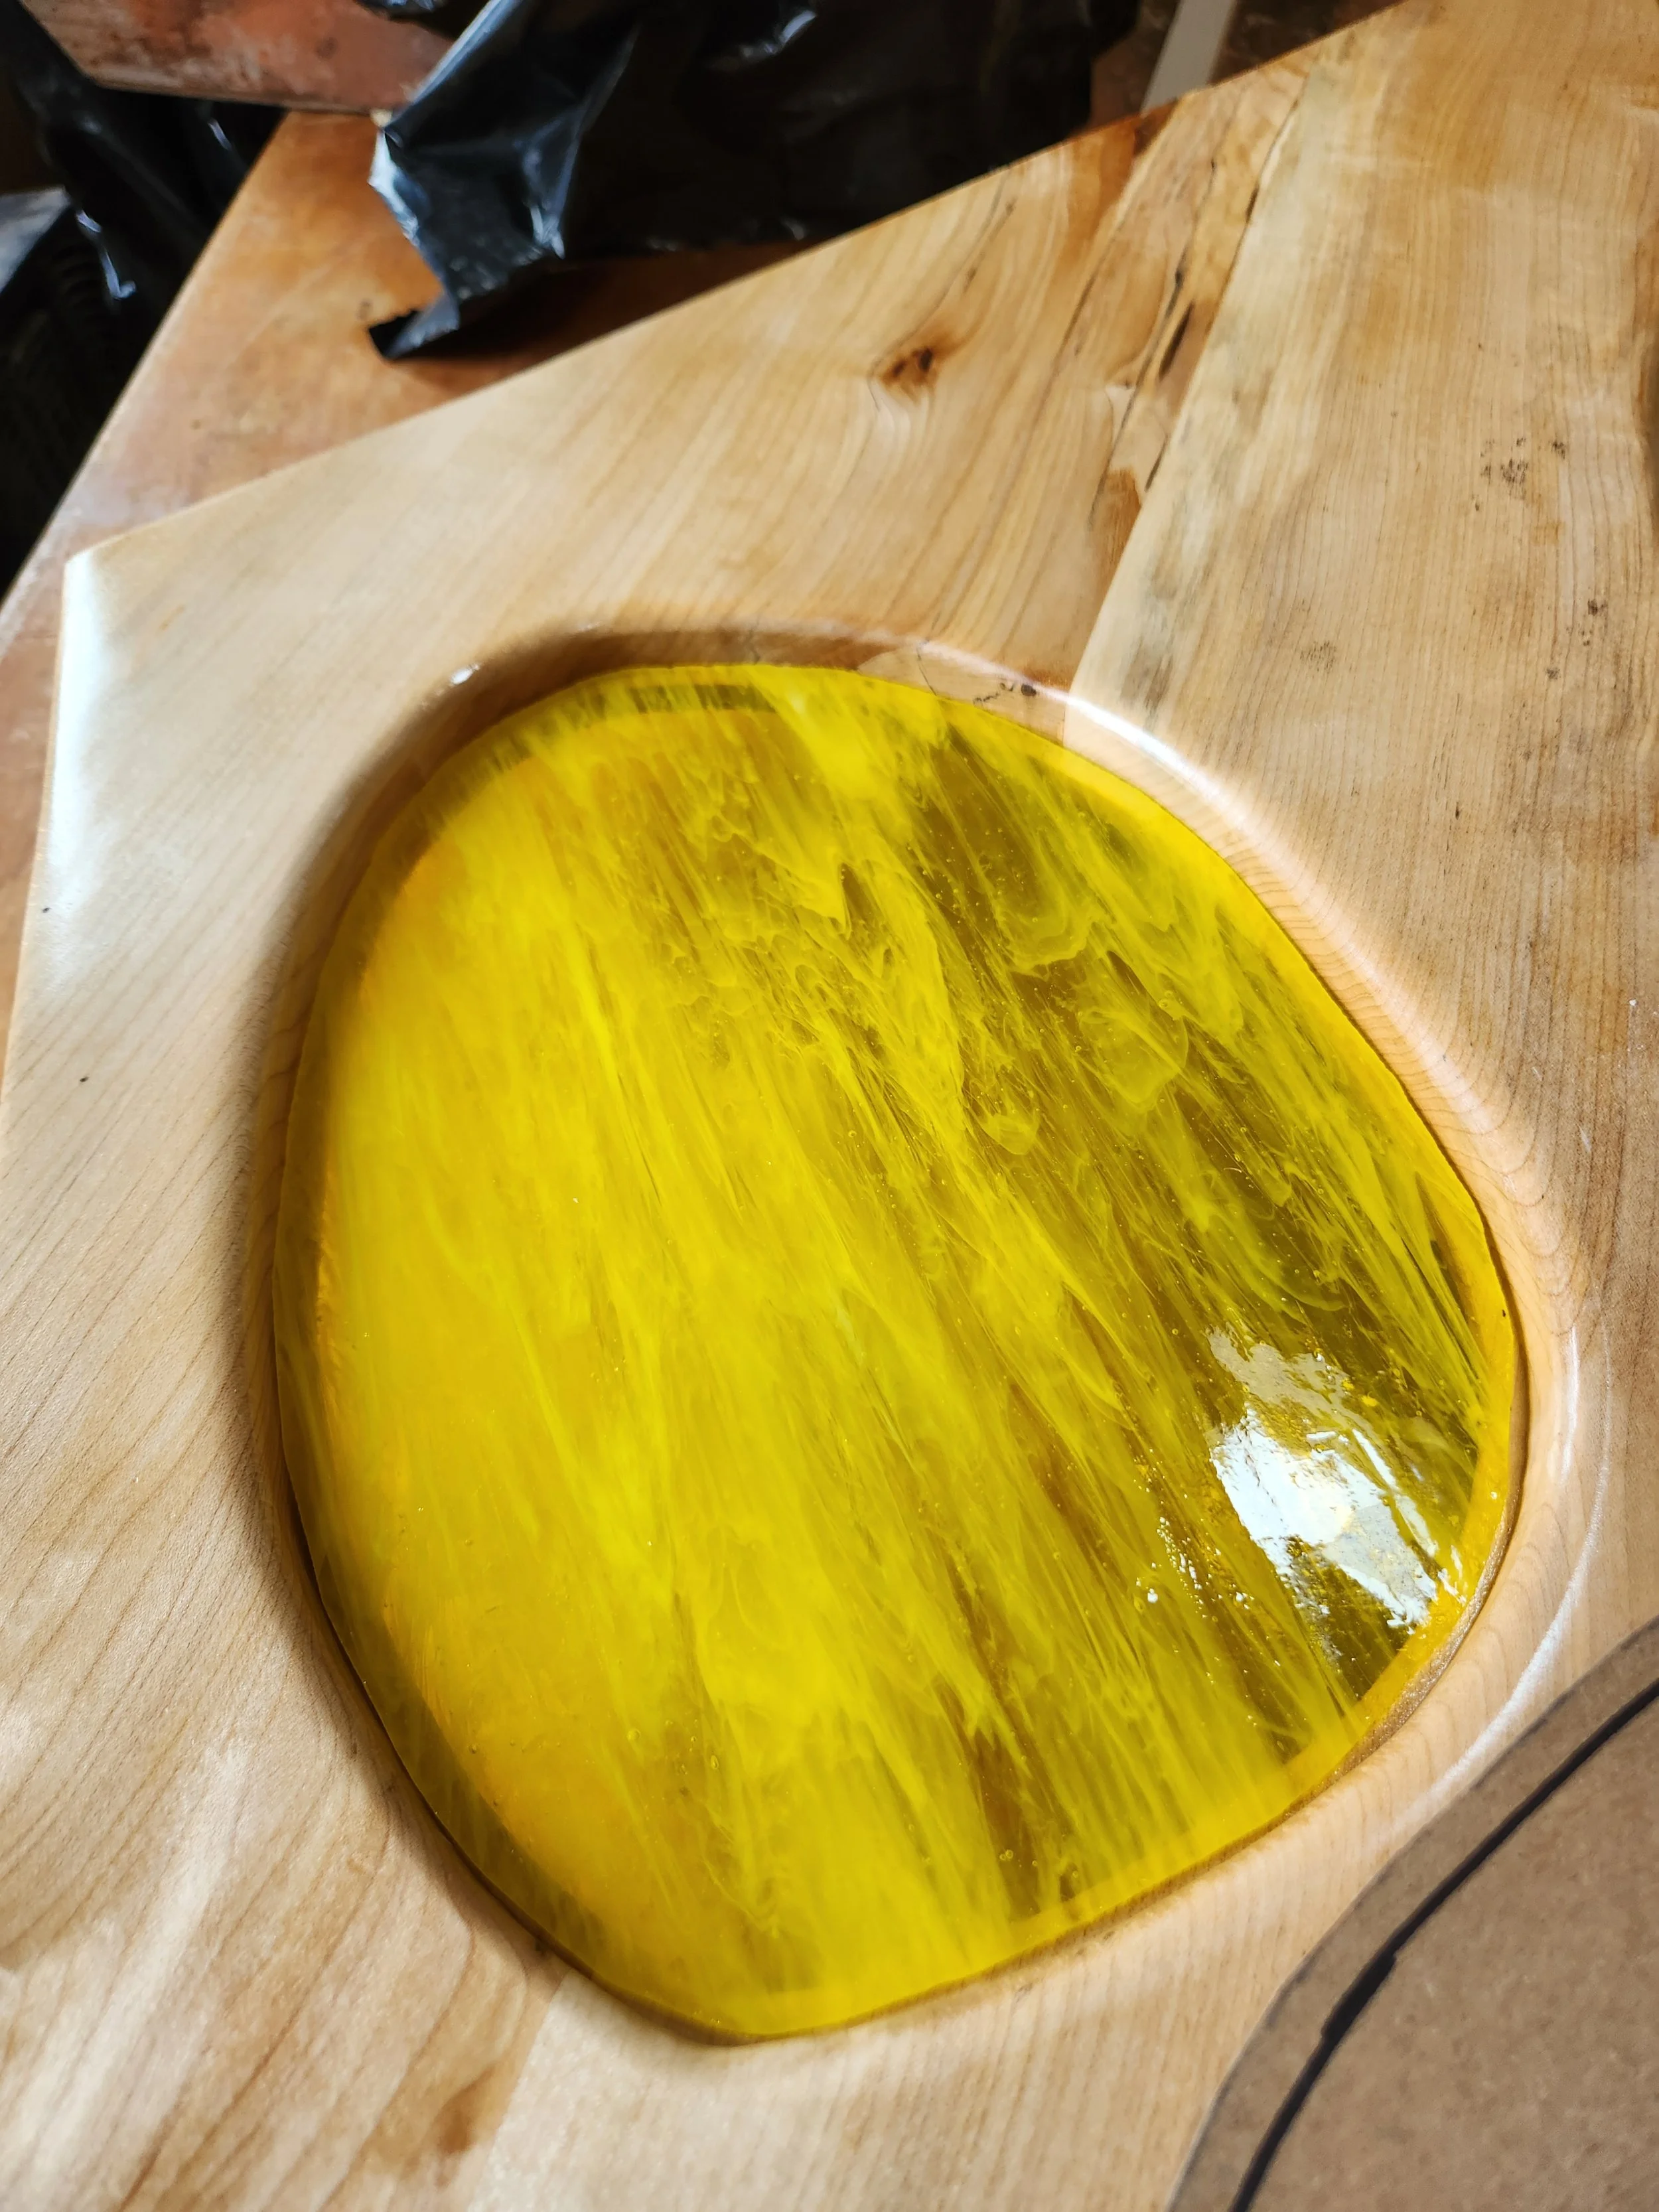
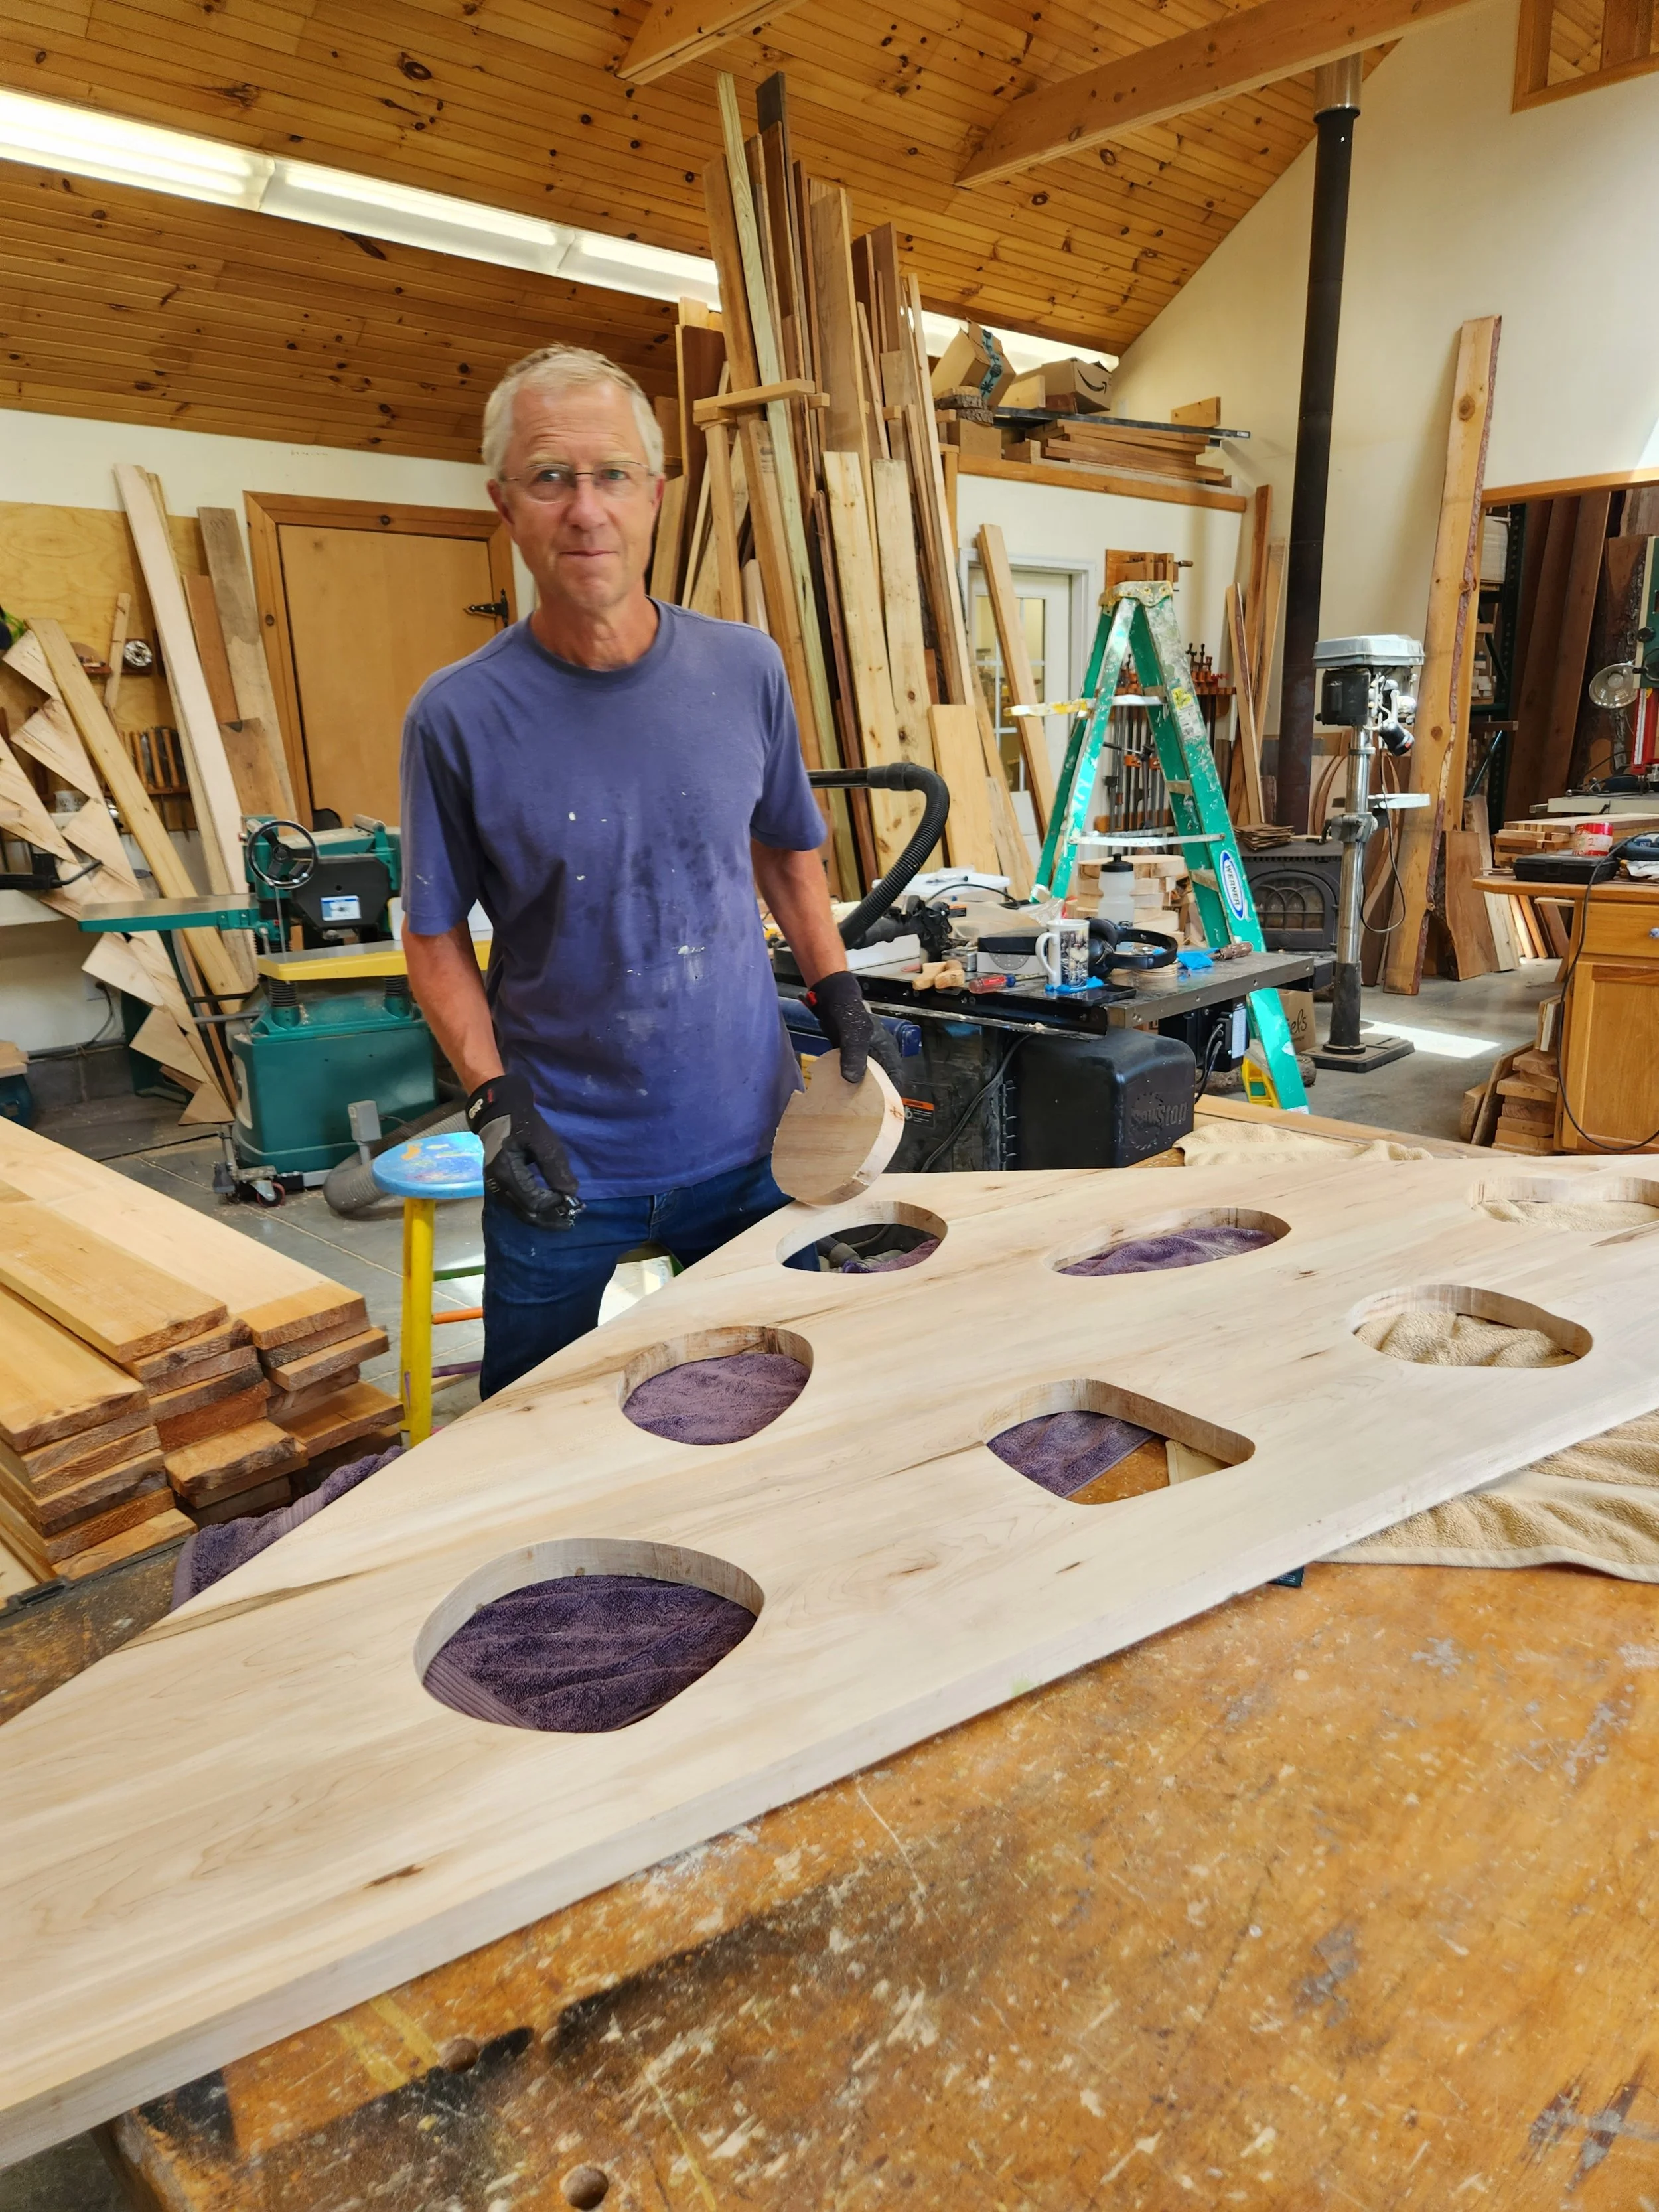
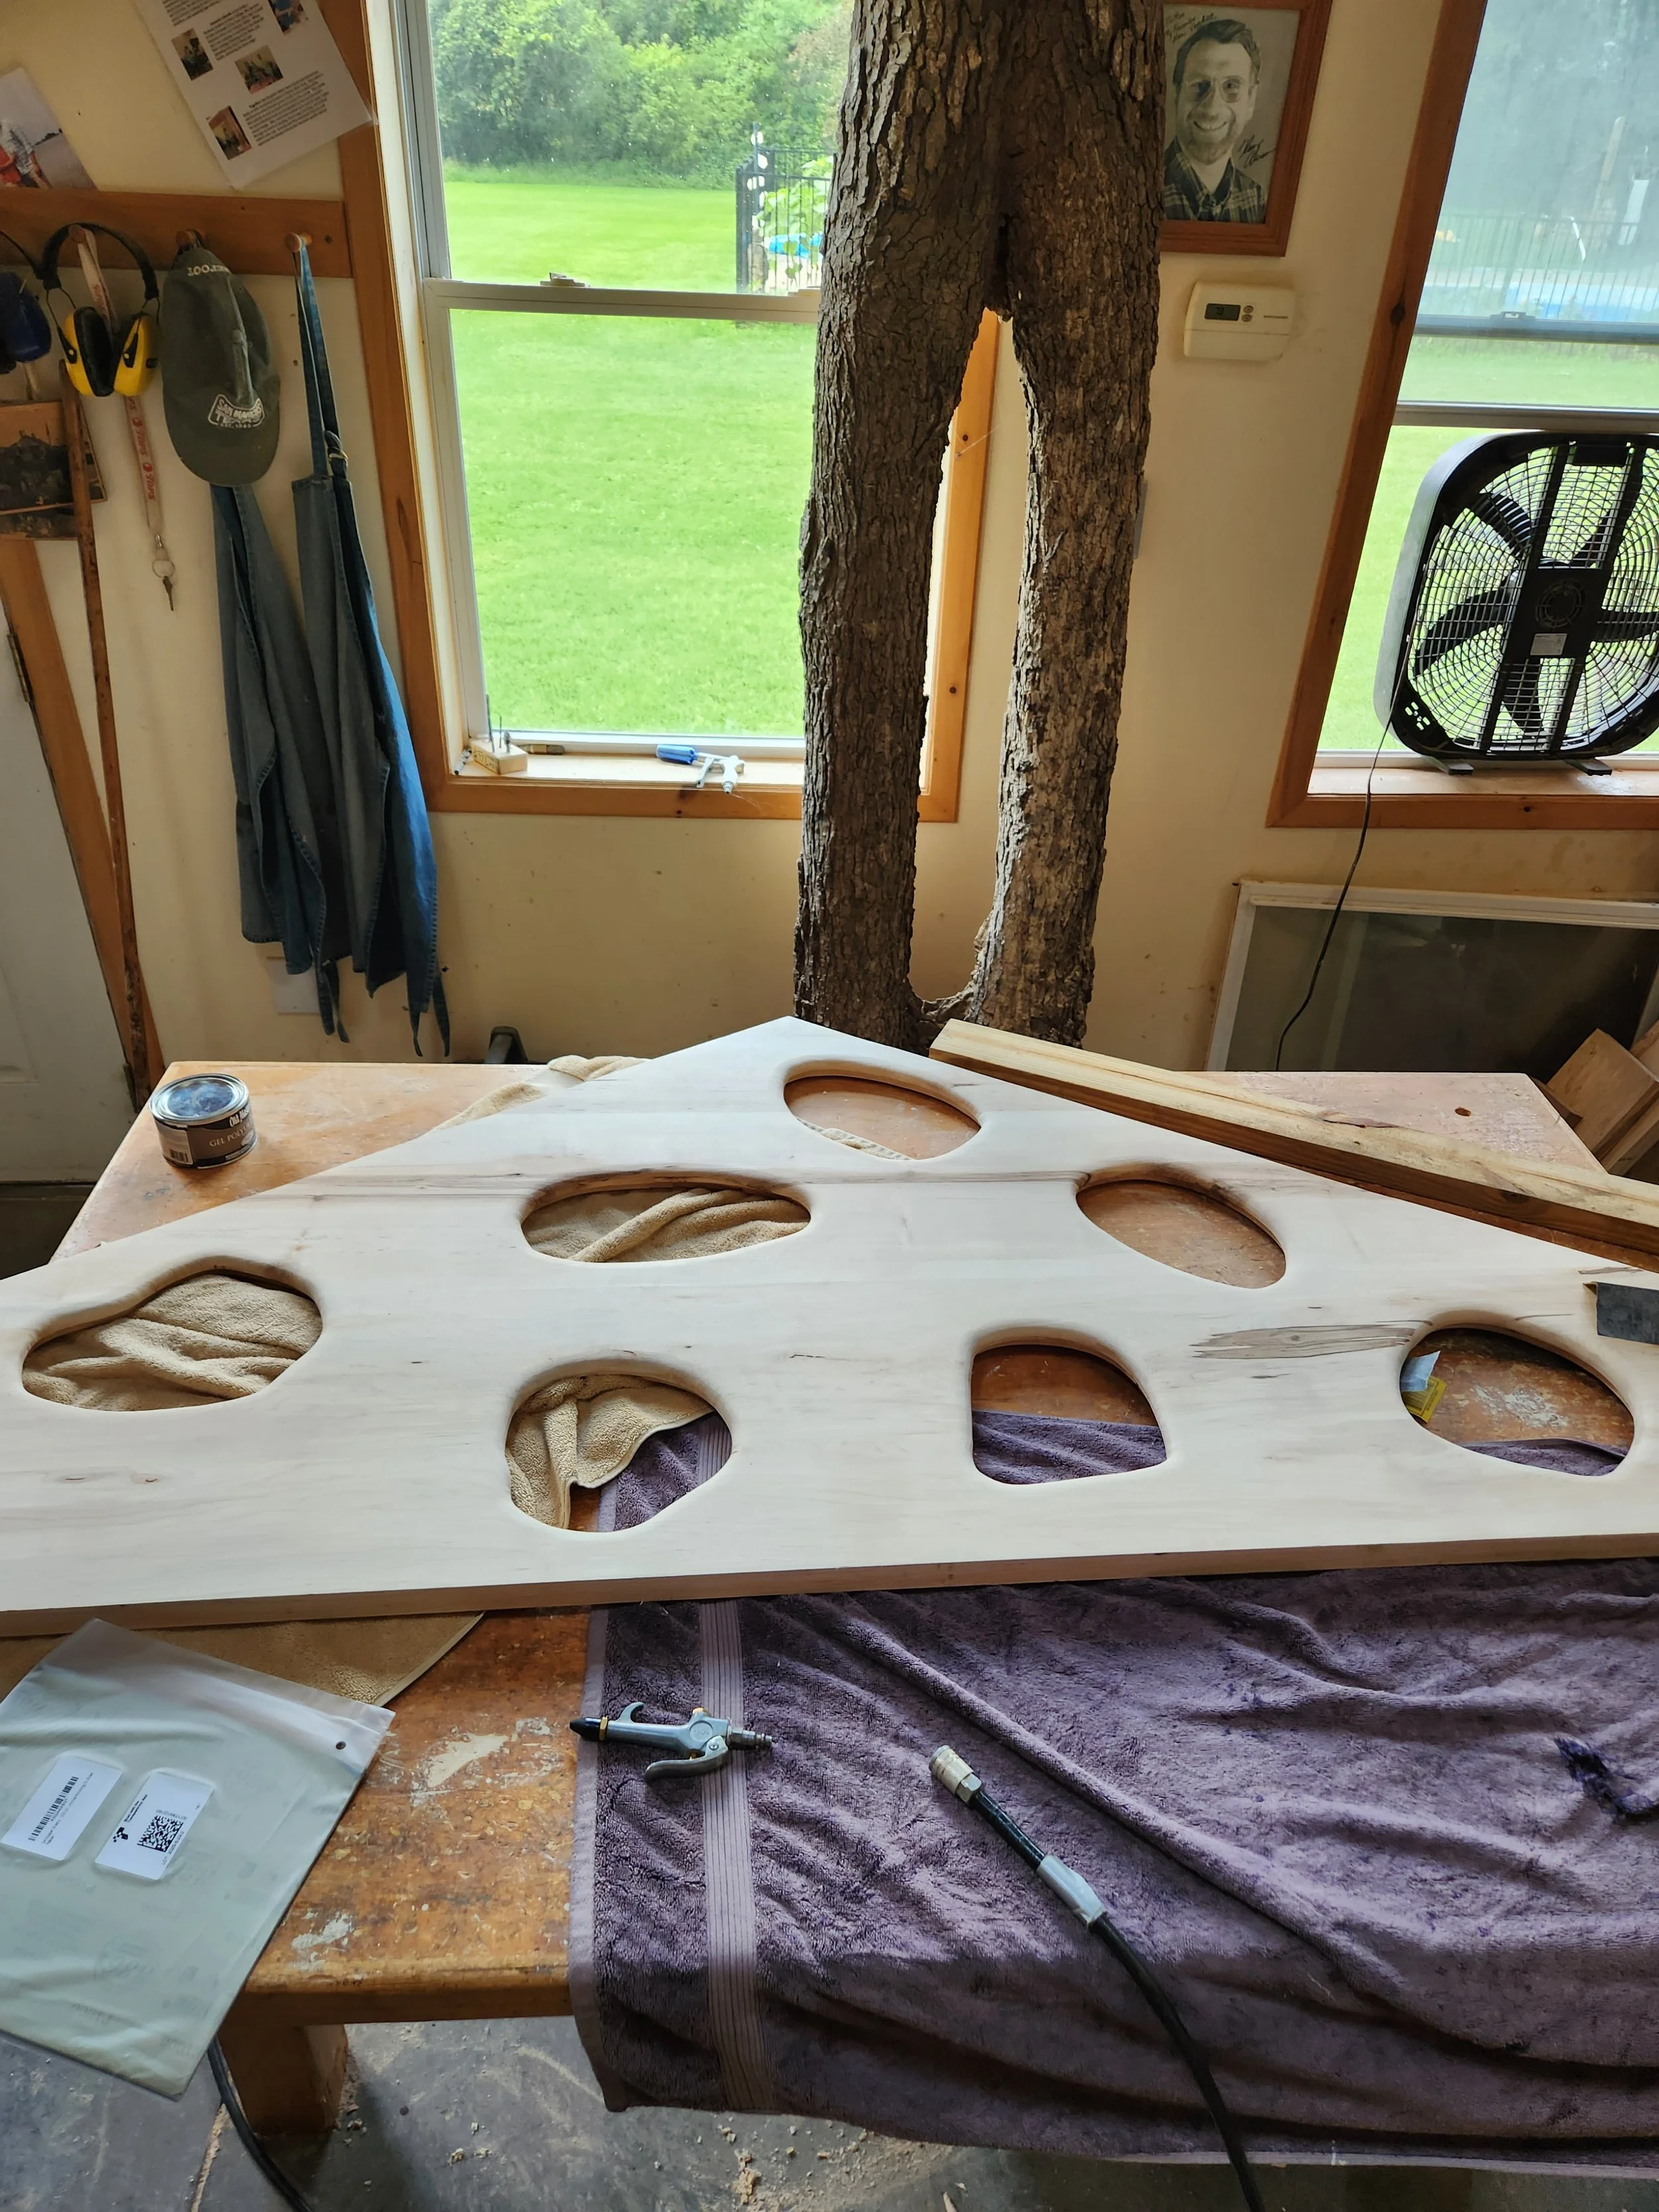
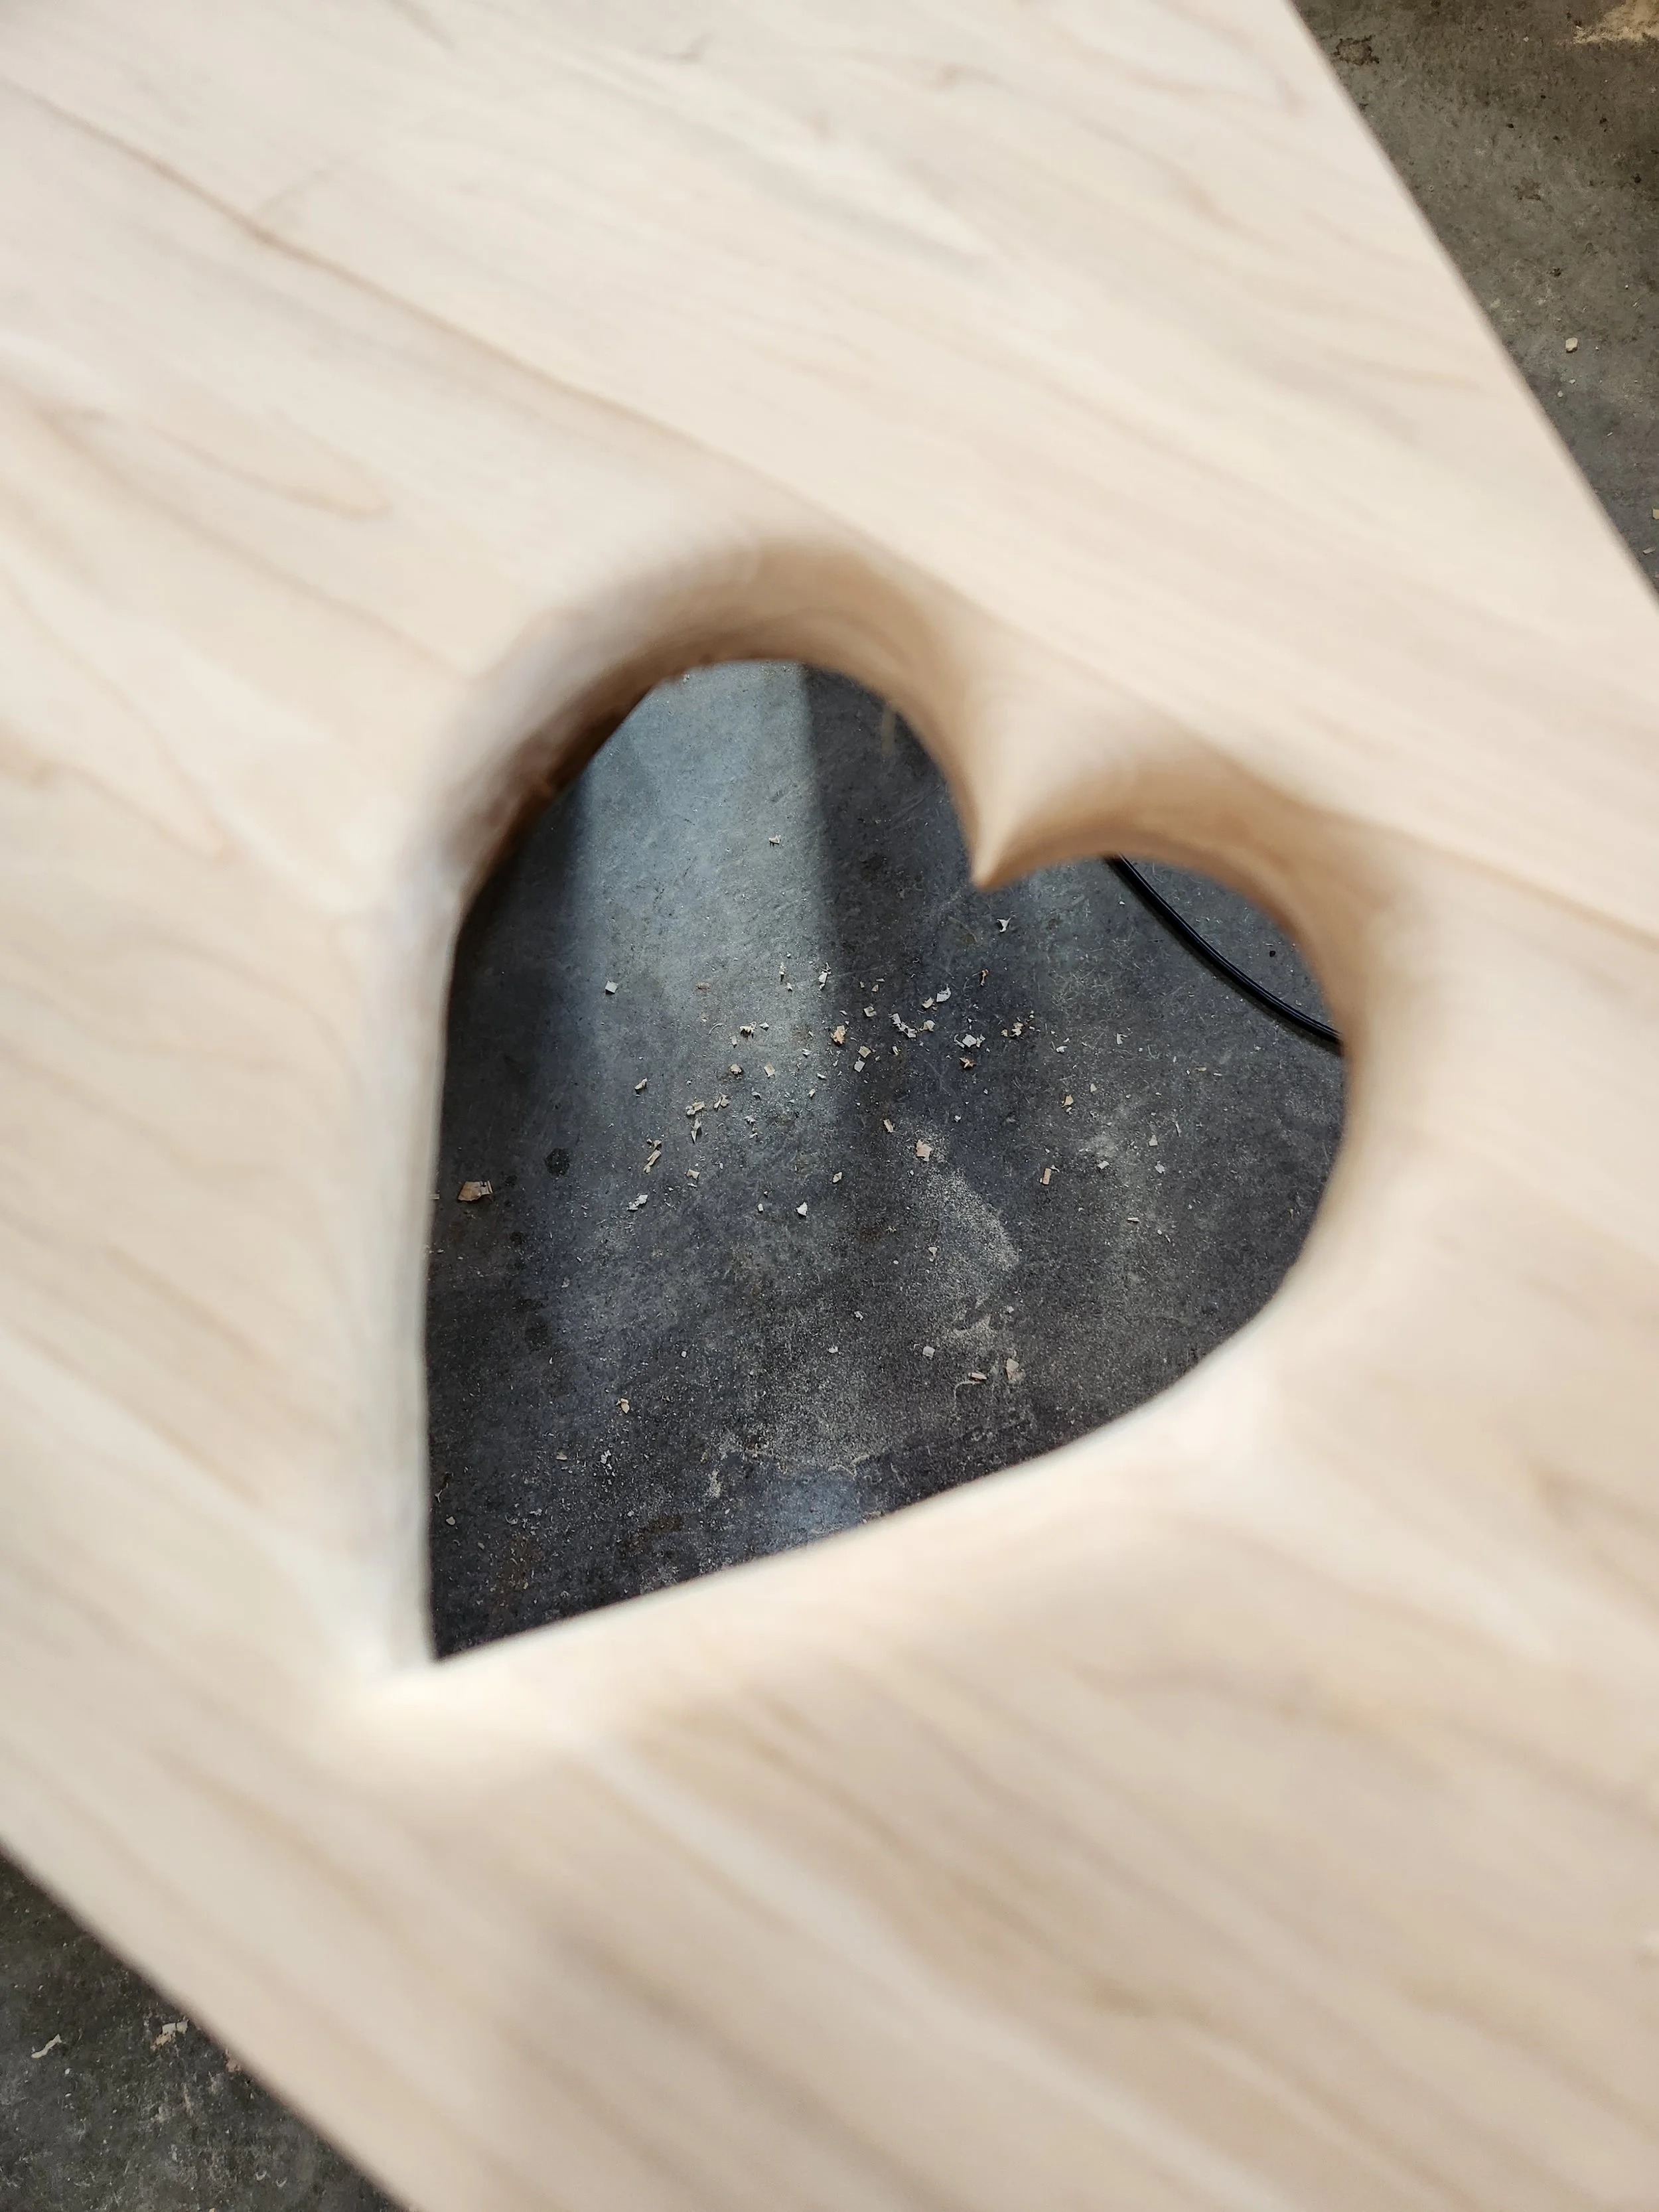
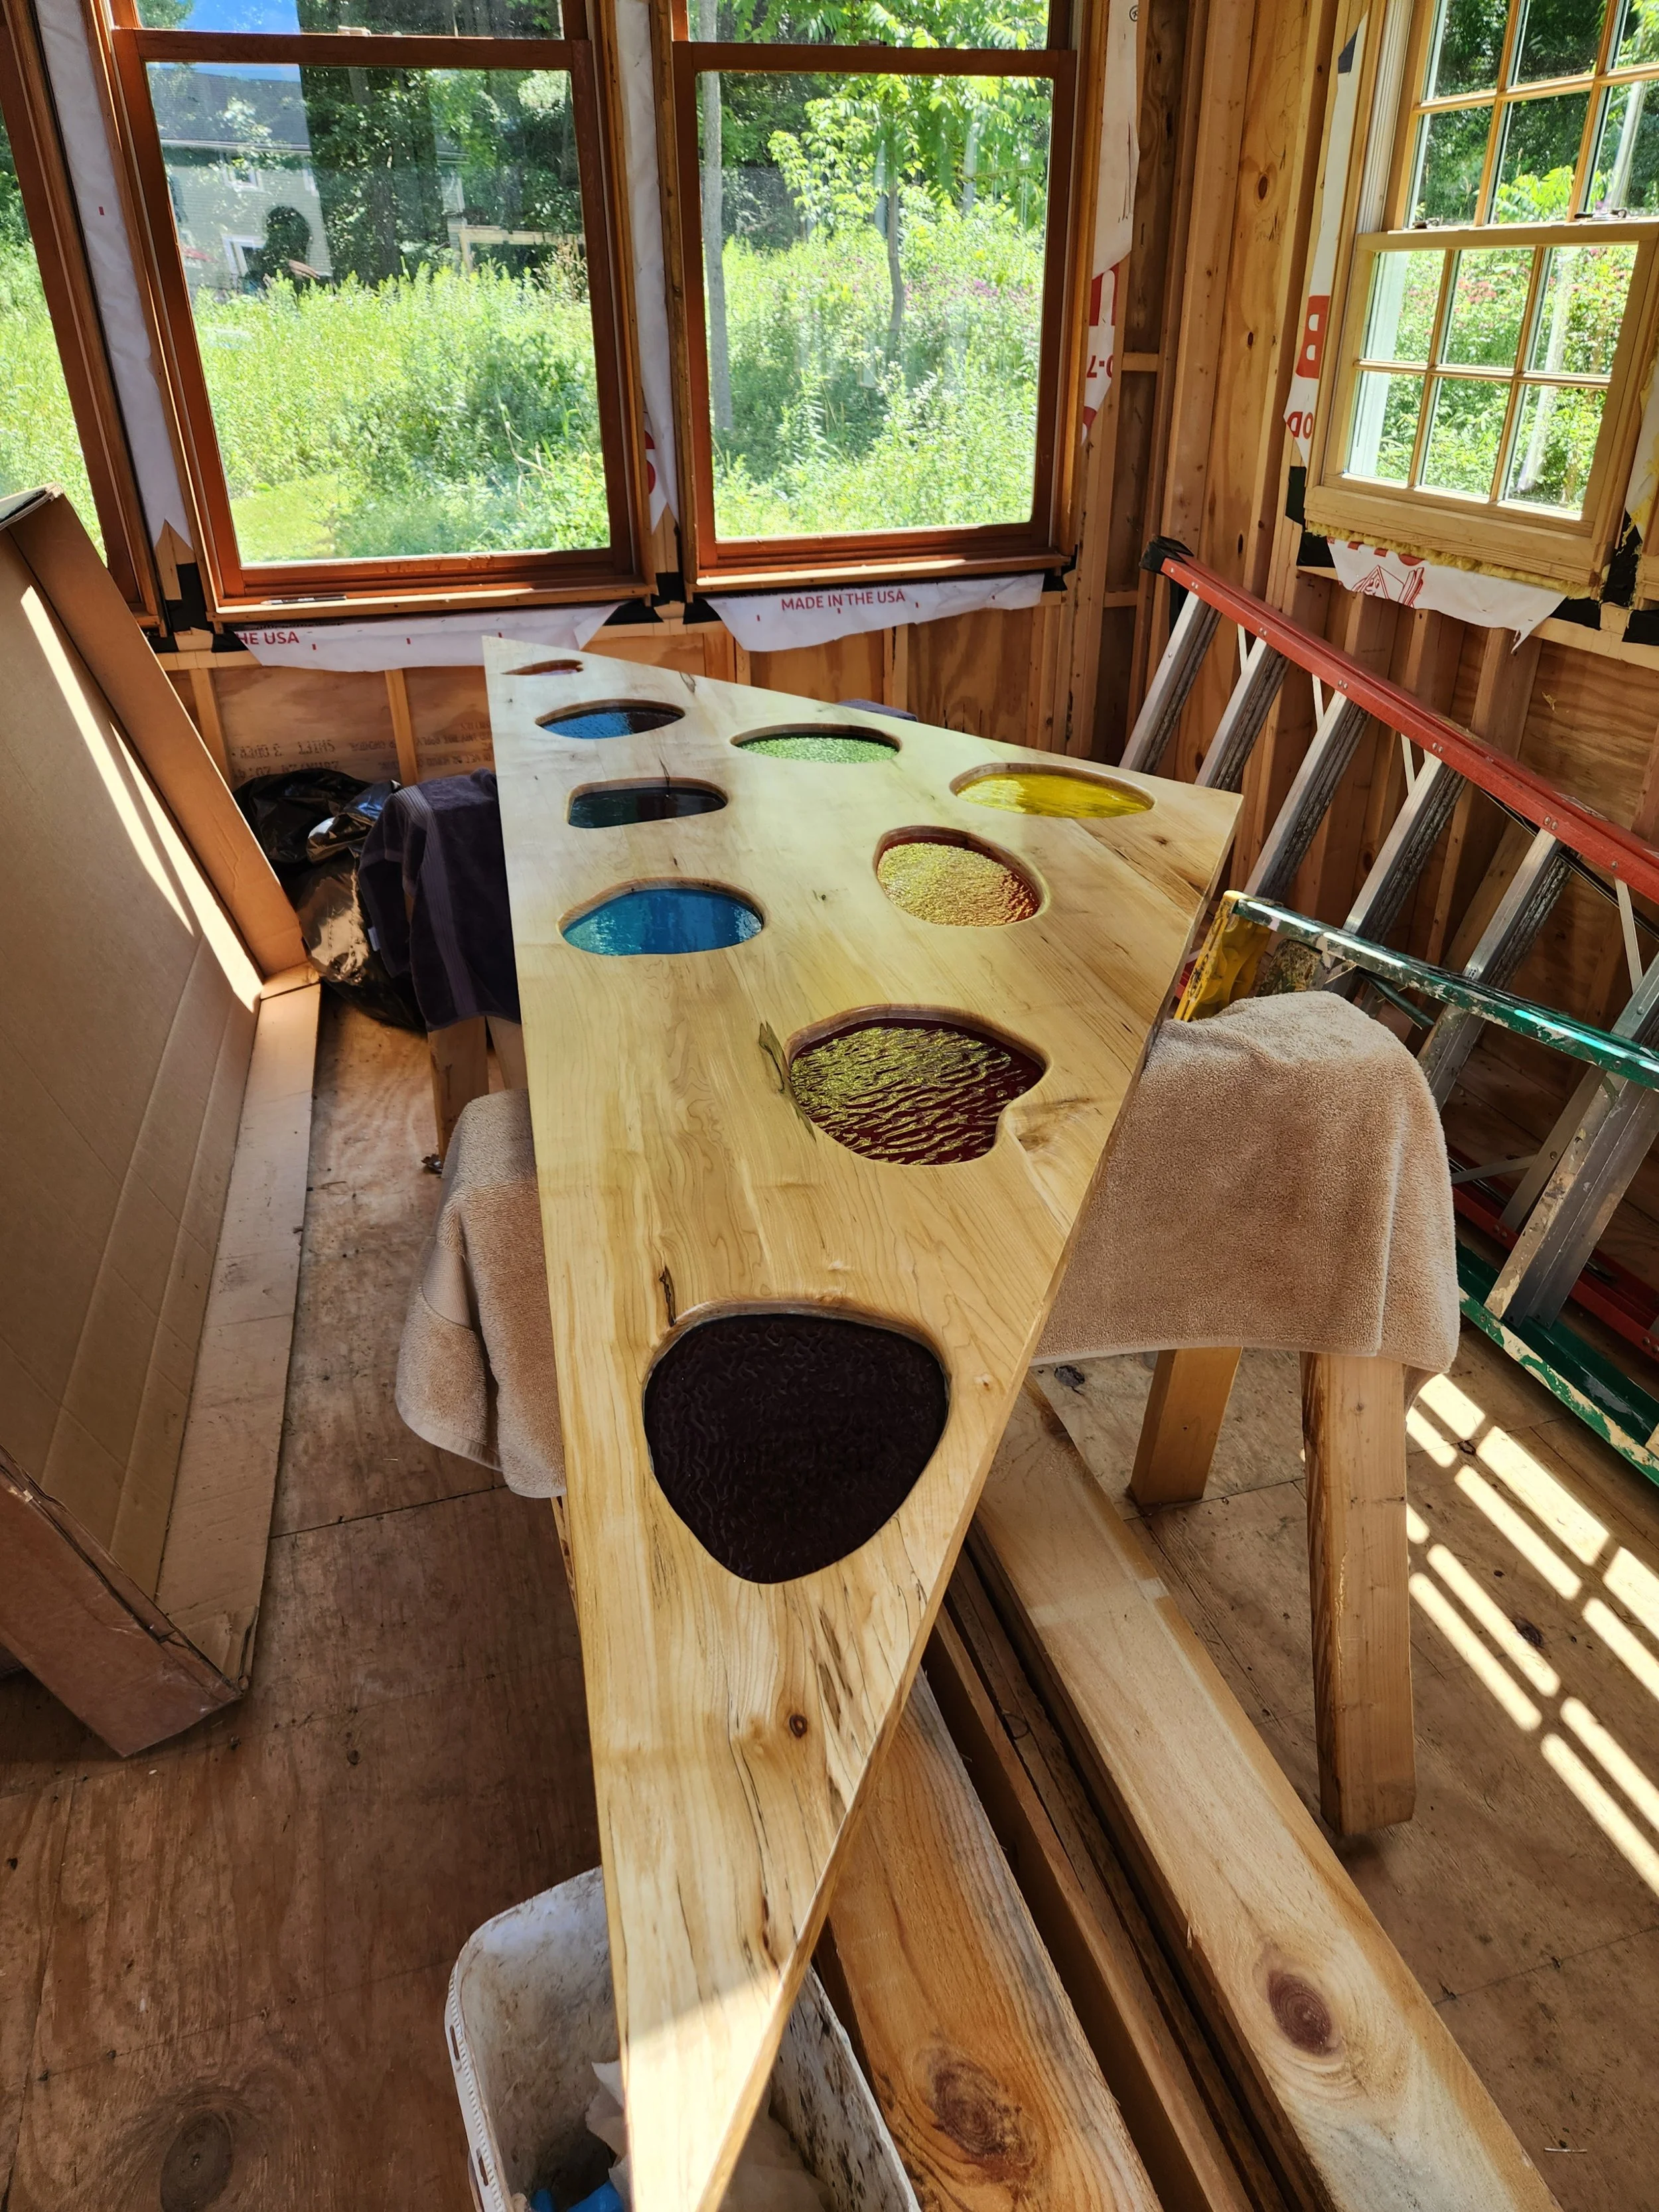
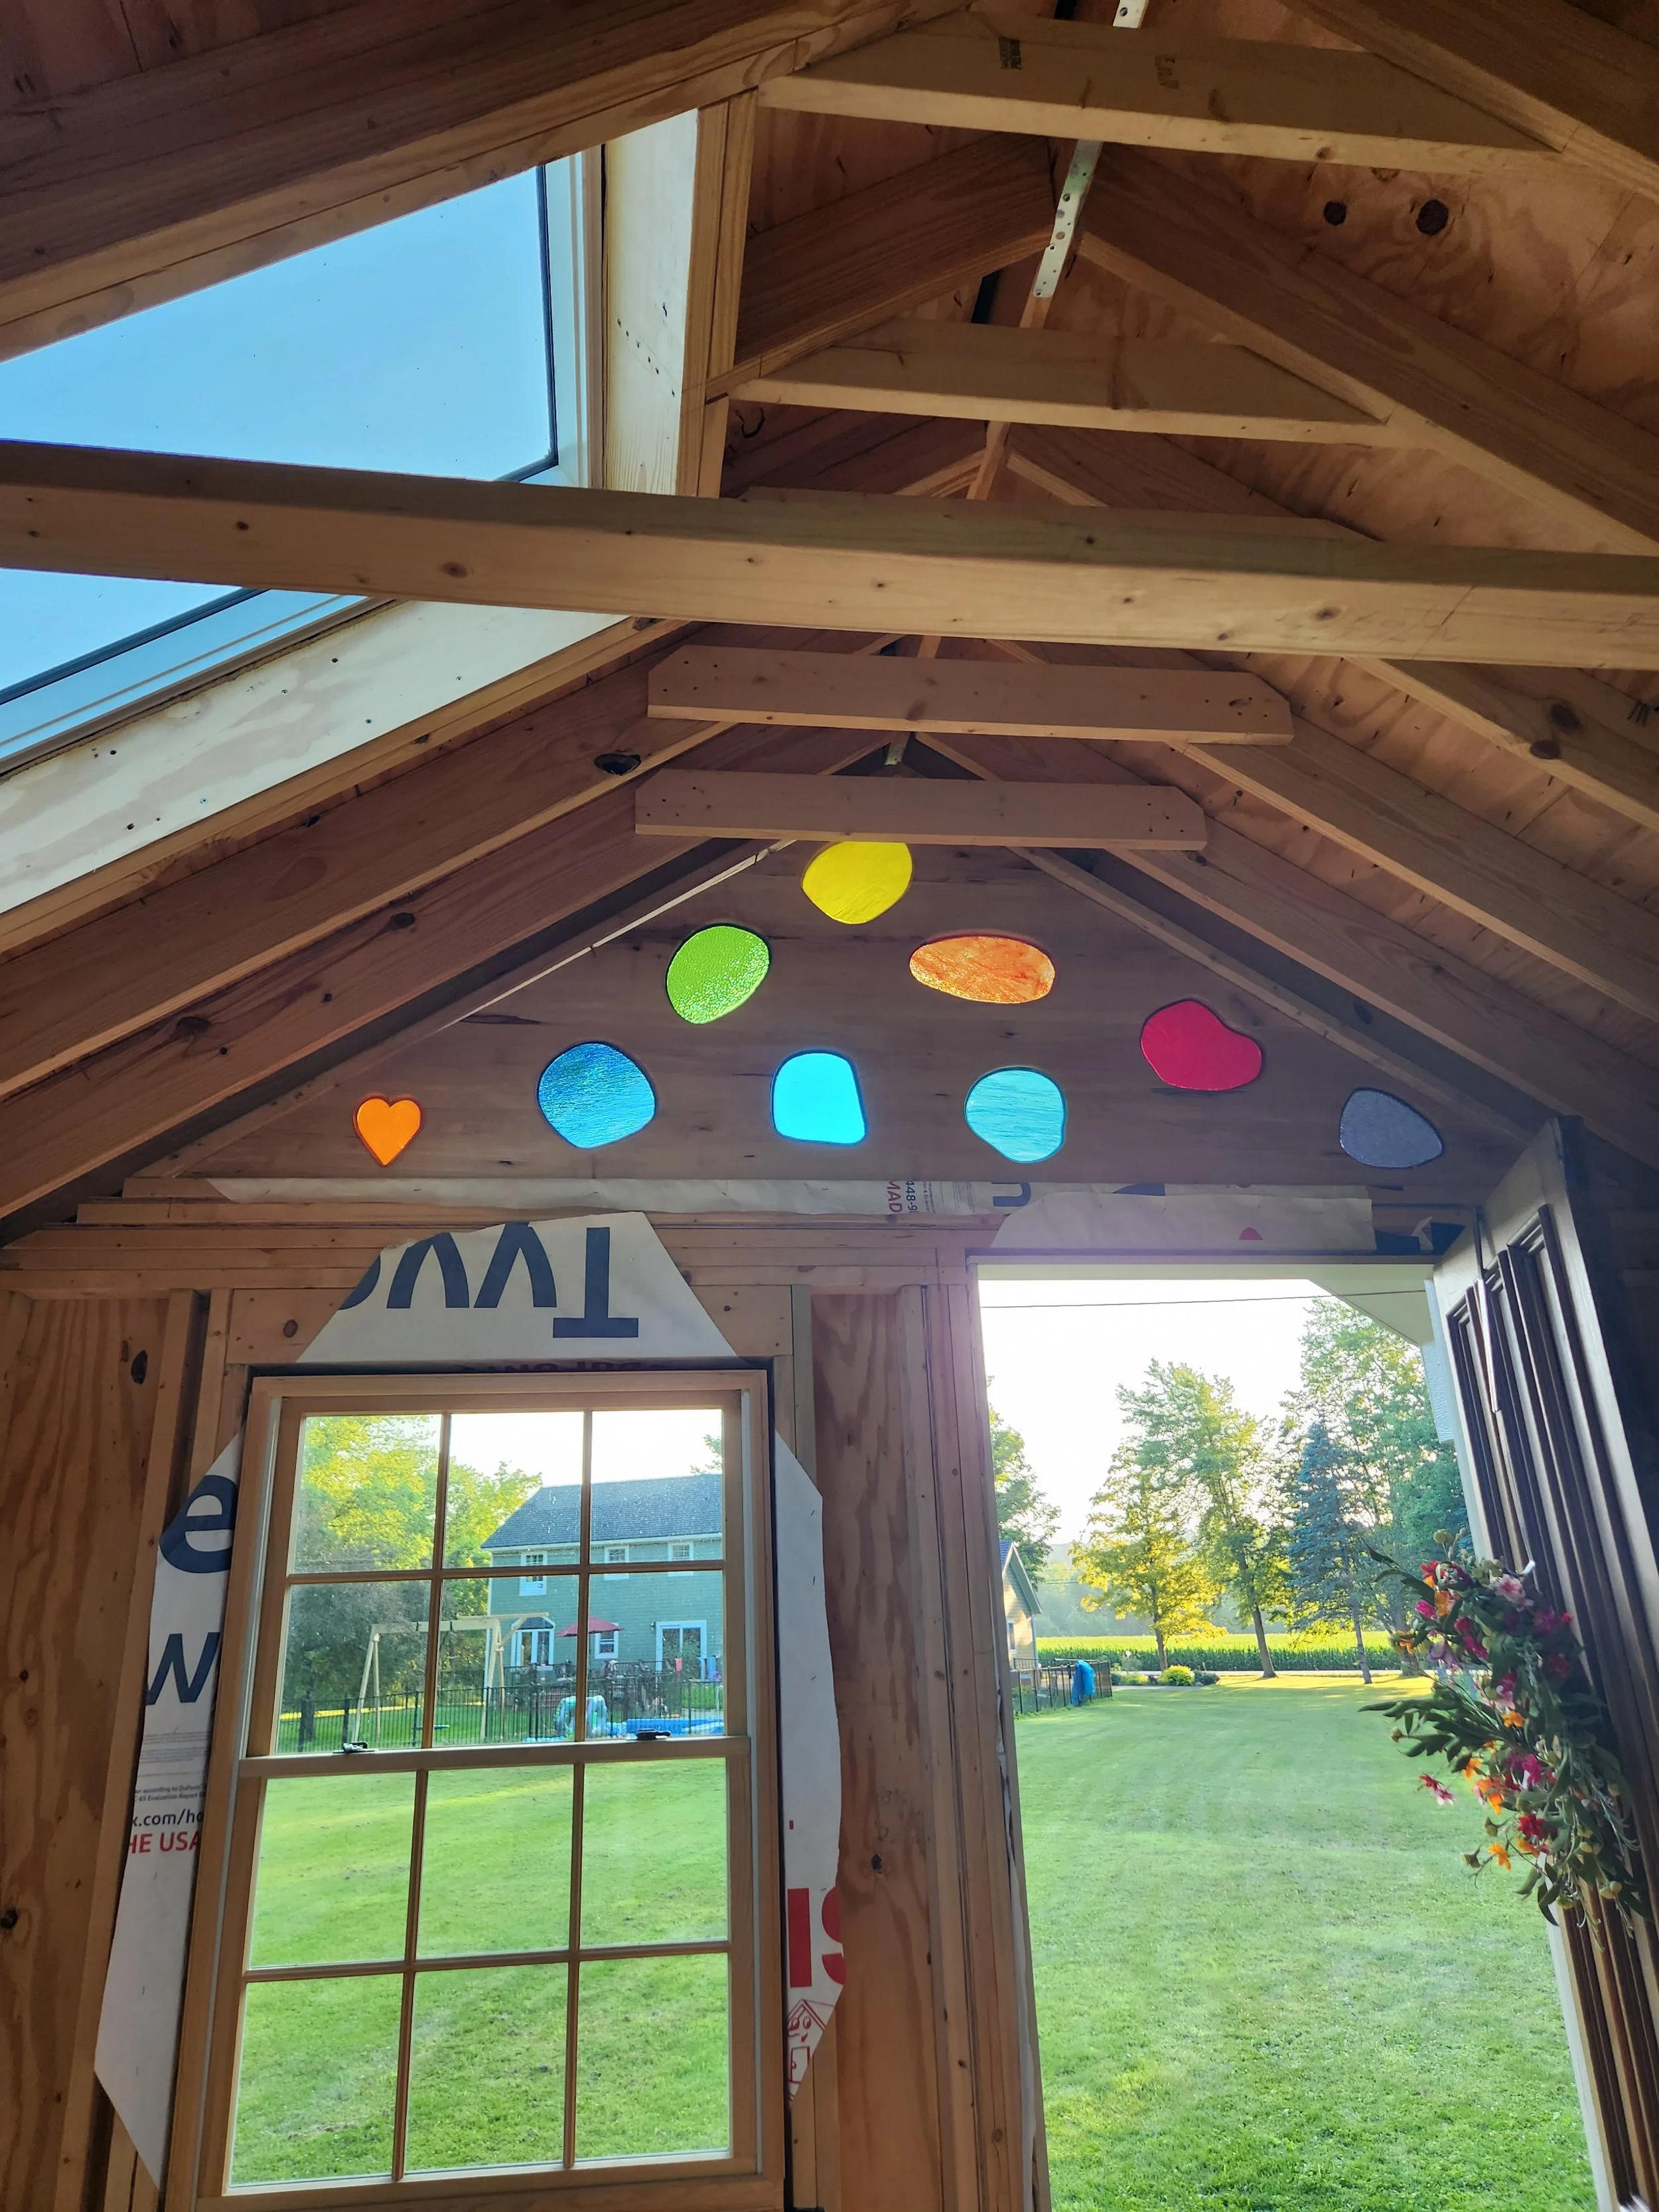
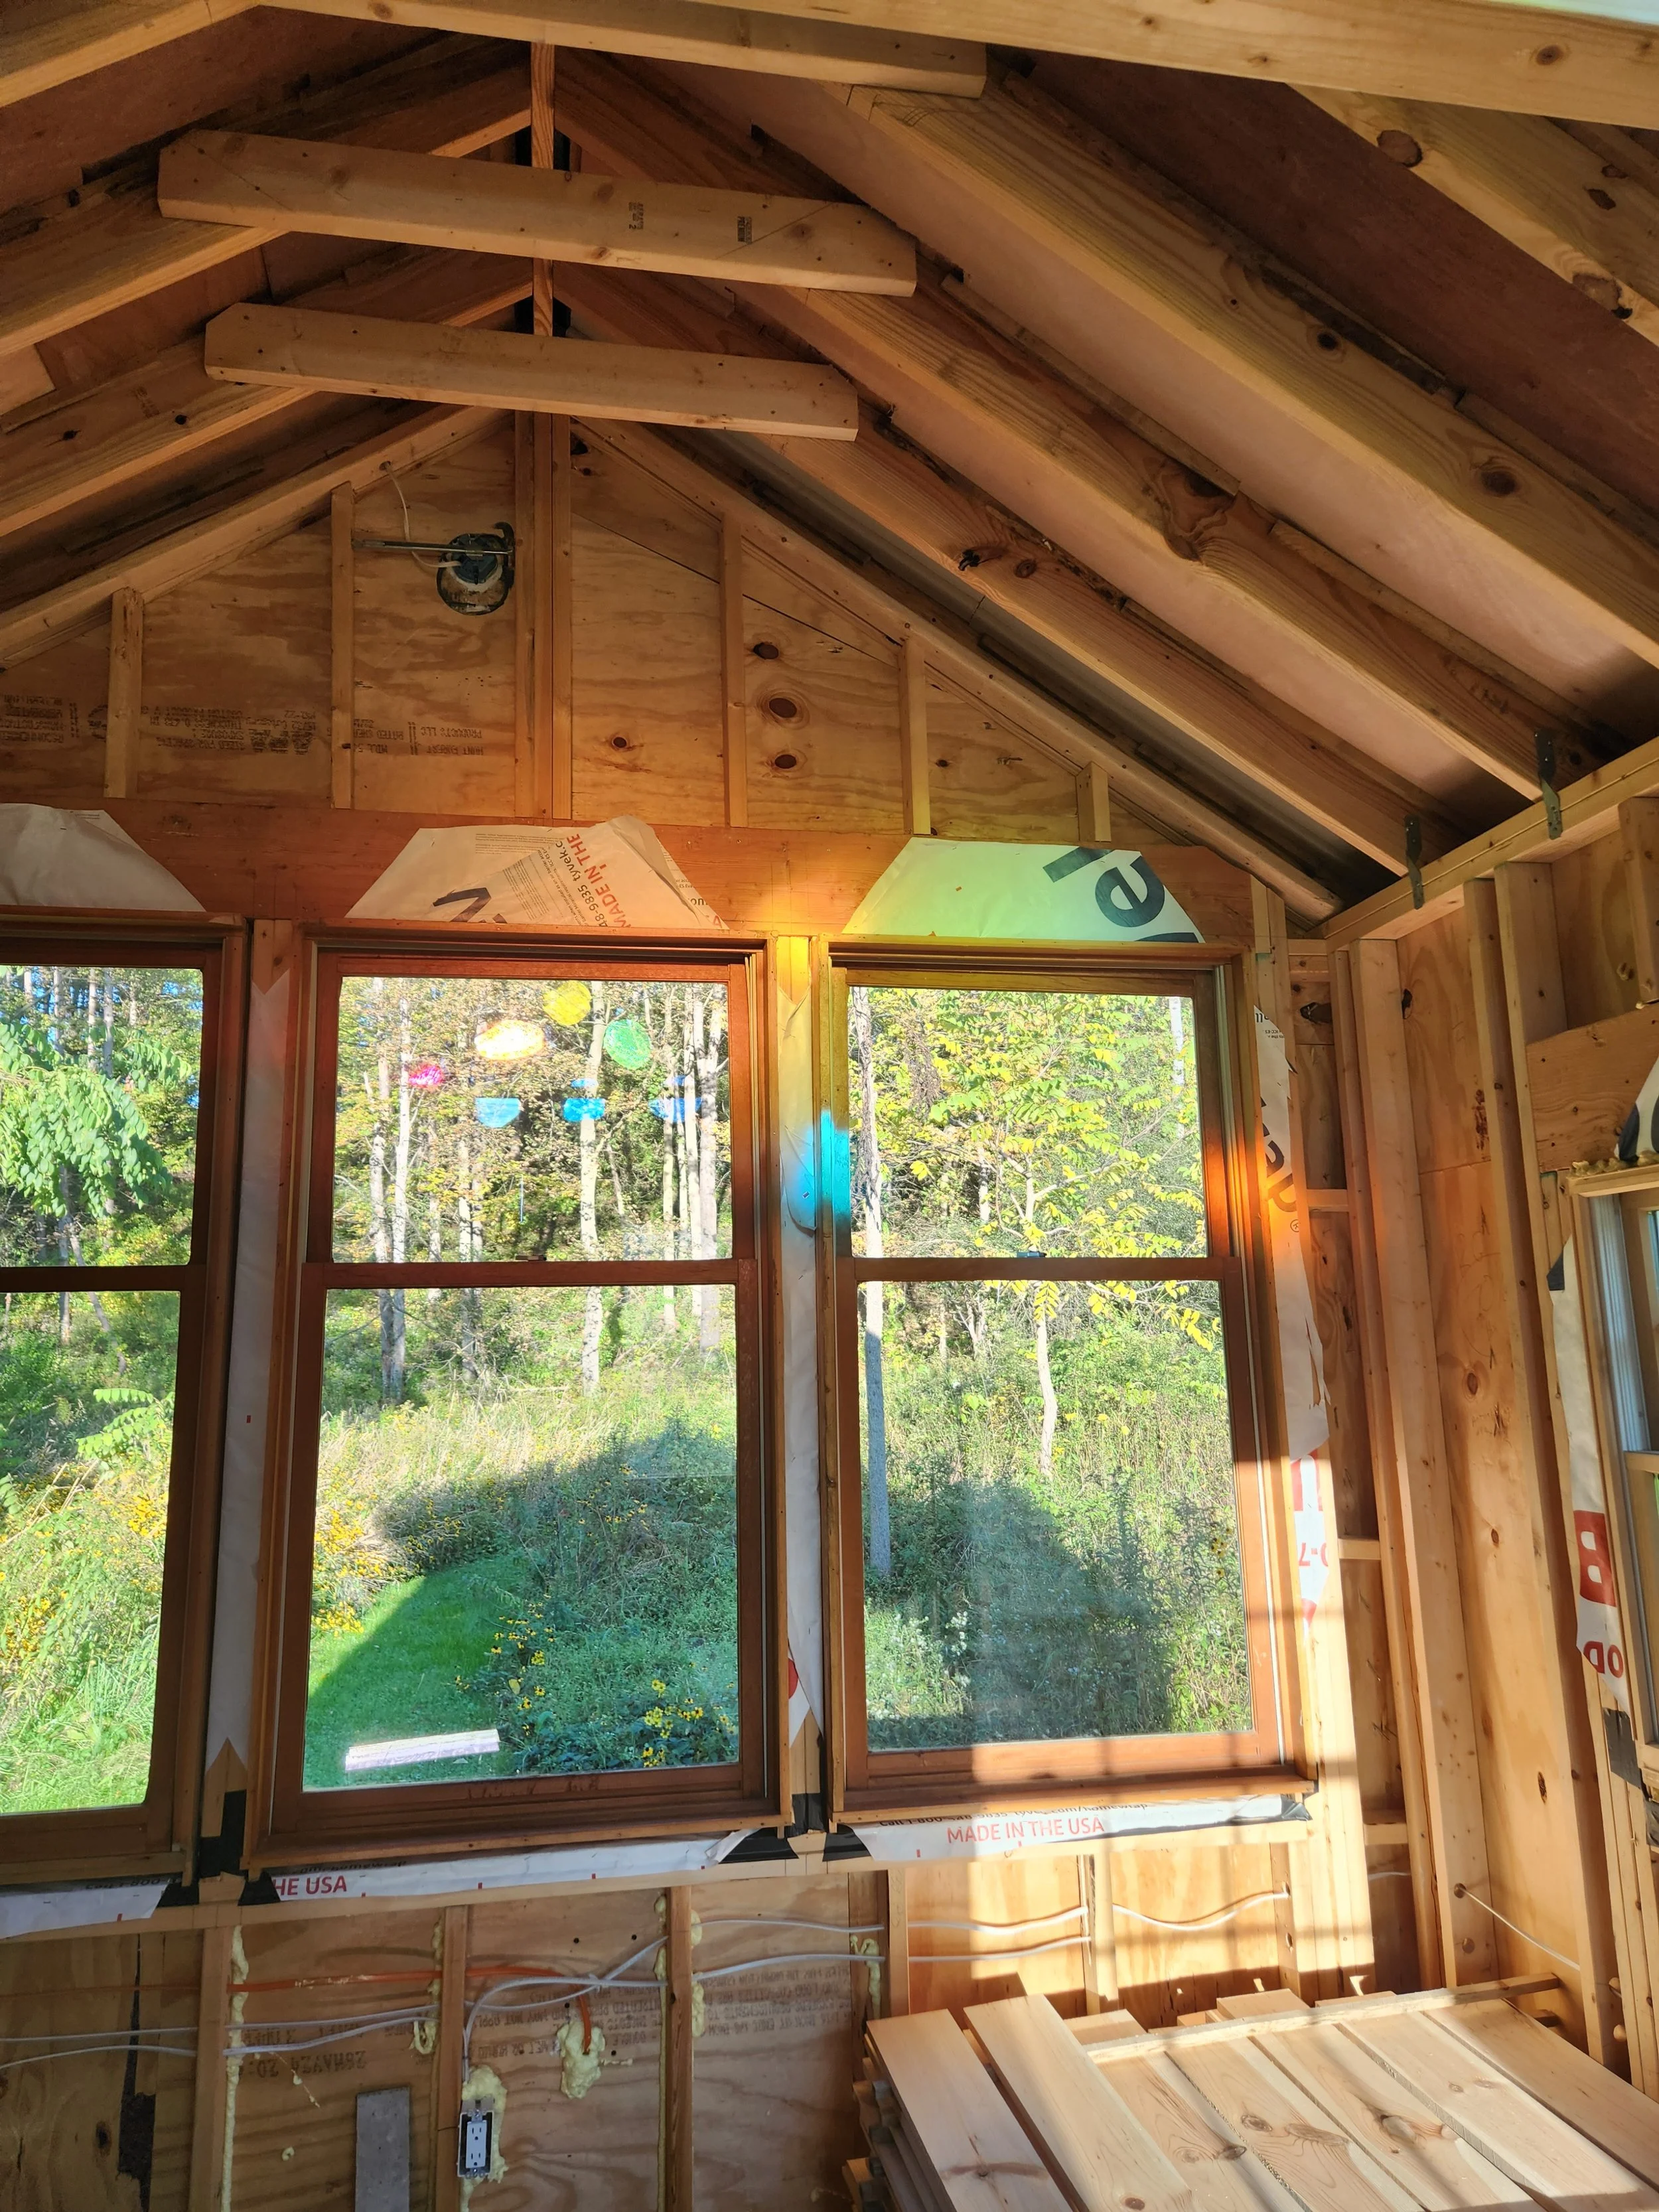
the stained-glass palette in the making
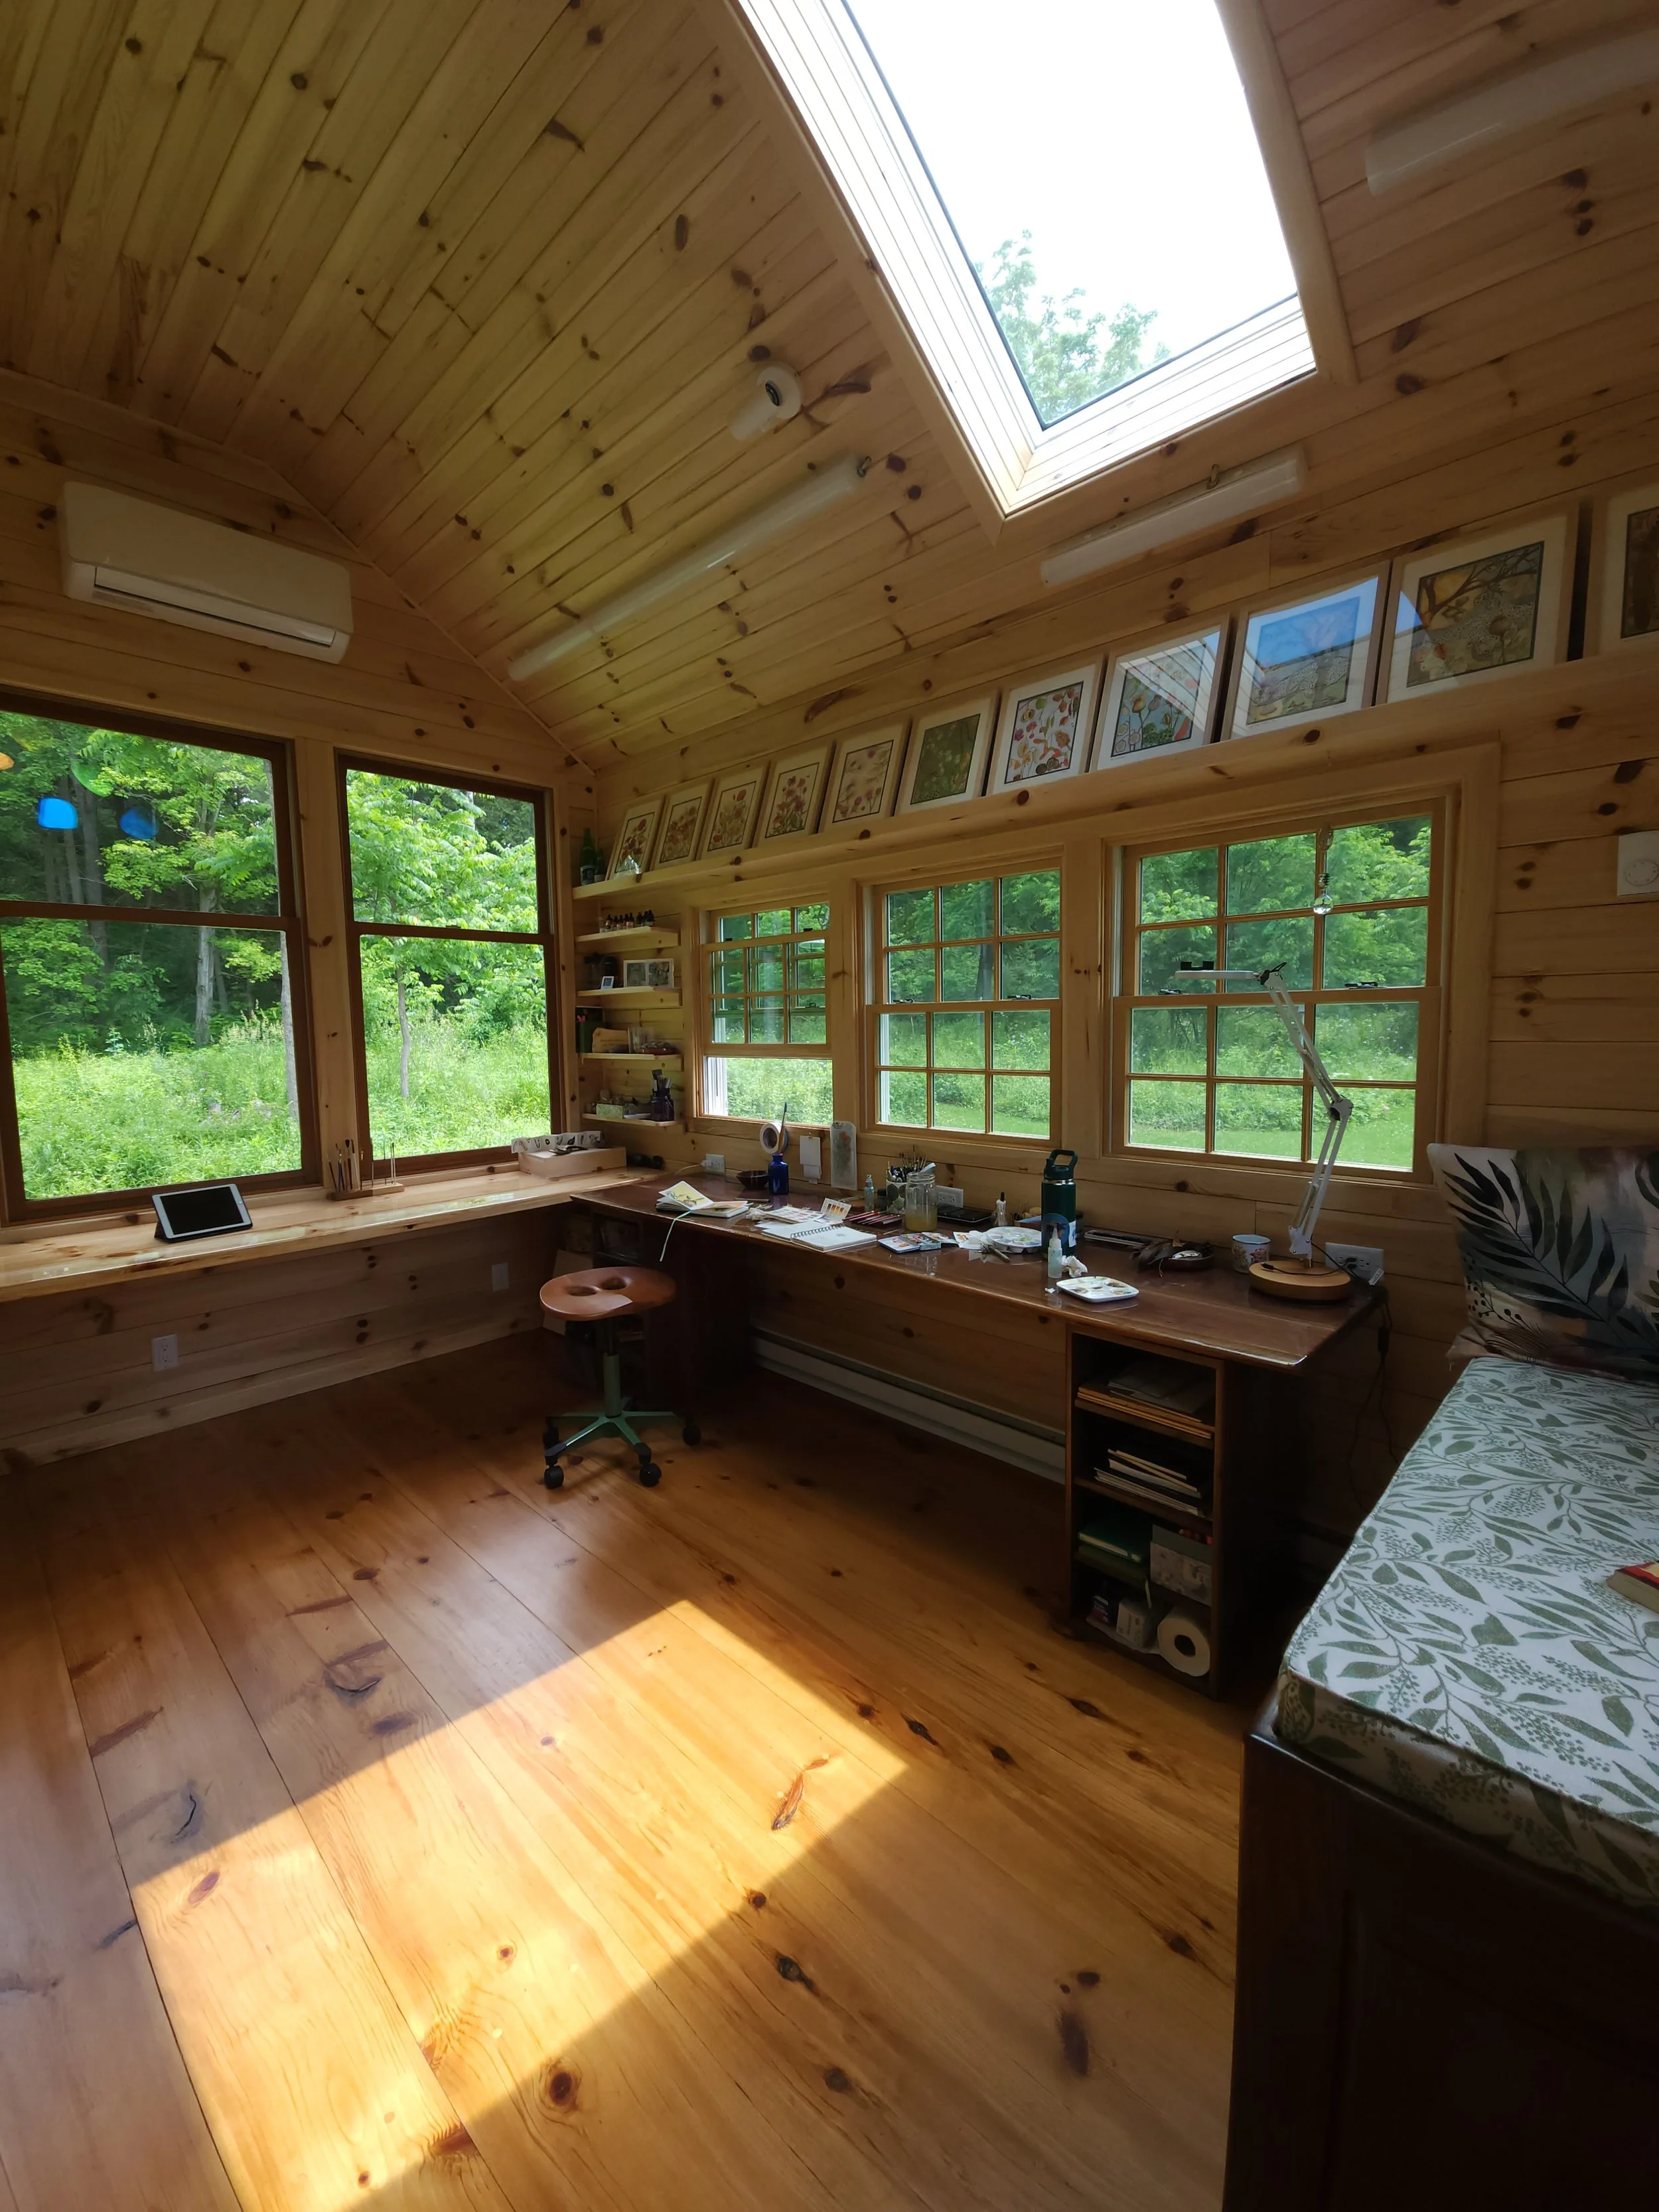
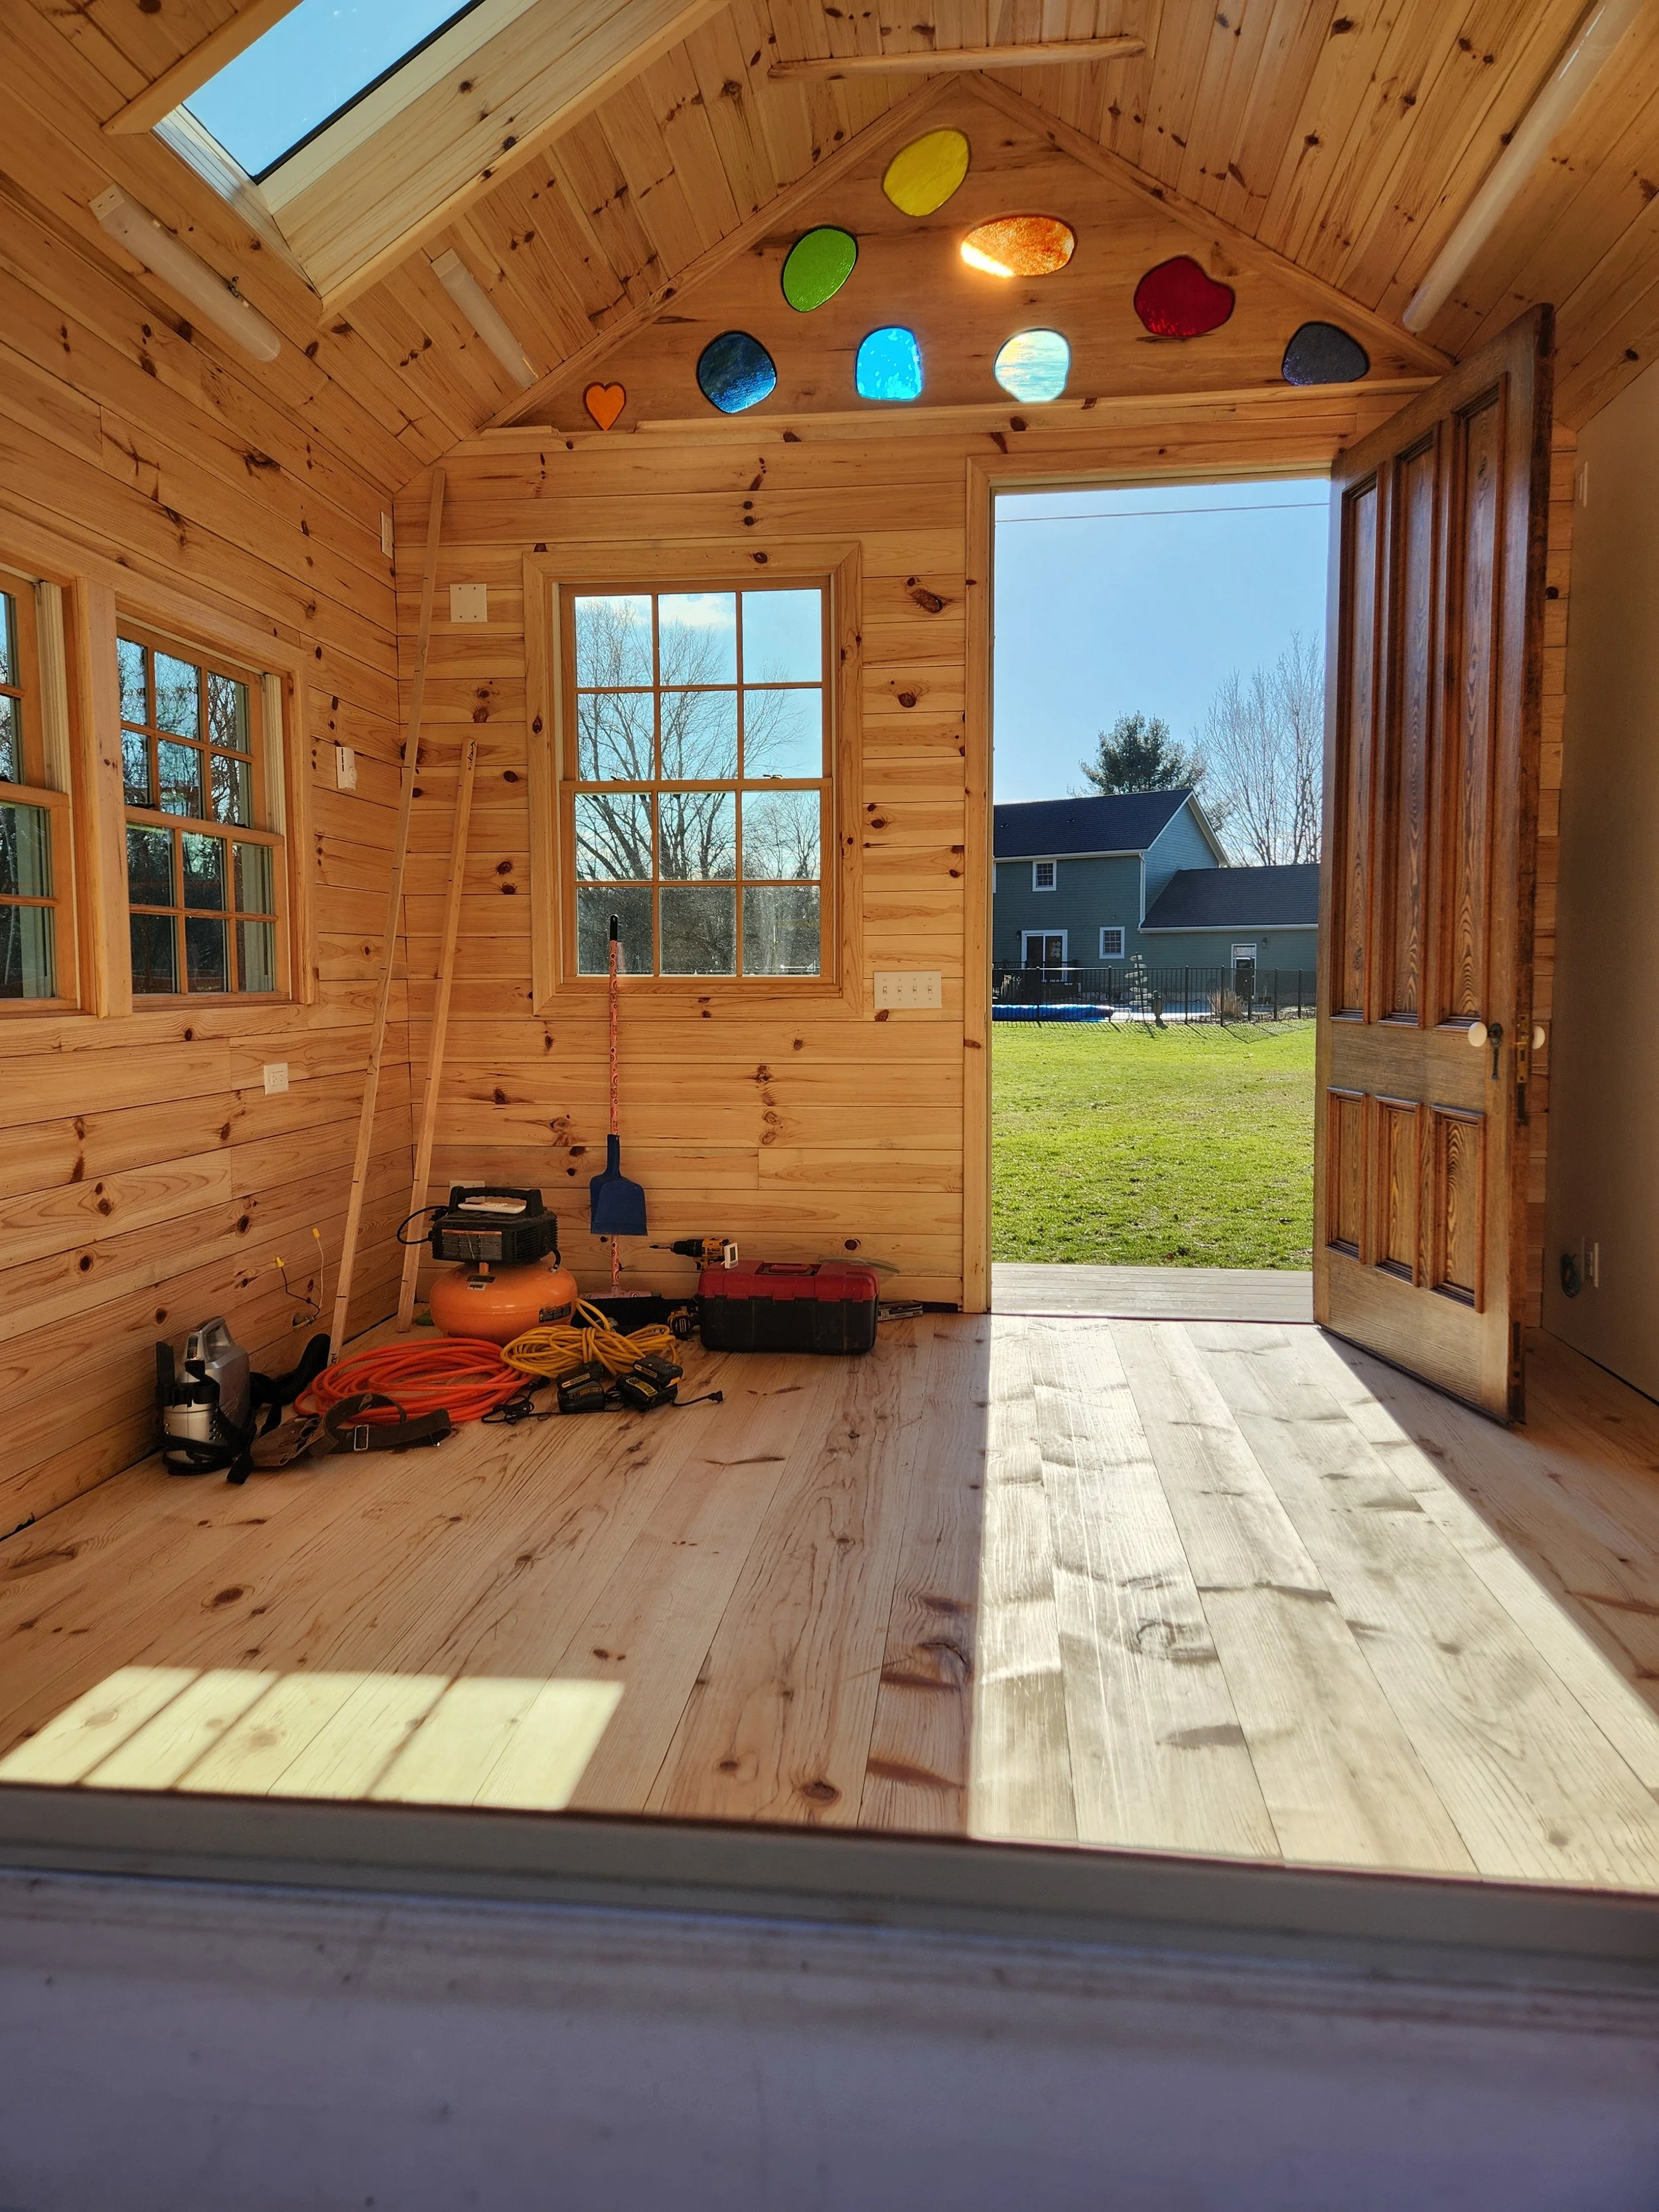
Natural Light, Warm Pine, and Woodland Views Welcome Me Into My Art Studio
The moment I open the 150-year-old chestnut door, I'm greeted by sunlight streaming through the windows, the warm glow of the pine walls, and peaceful views of the woods beyond. The combination of natural light and warm pine feels calm, inviting, and deeply connected to nature. Before I even pick up a paintbrush, I feel inspired.
Wiring Every Light, Switch, and Outlet
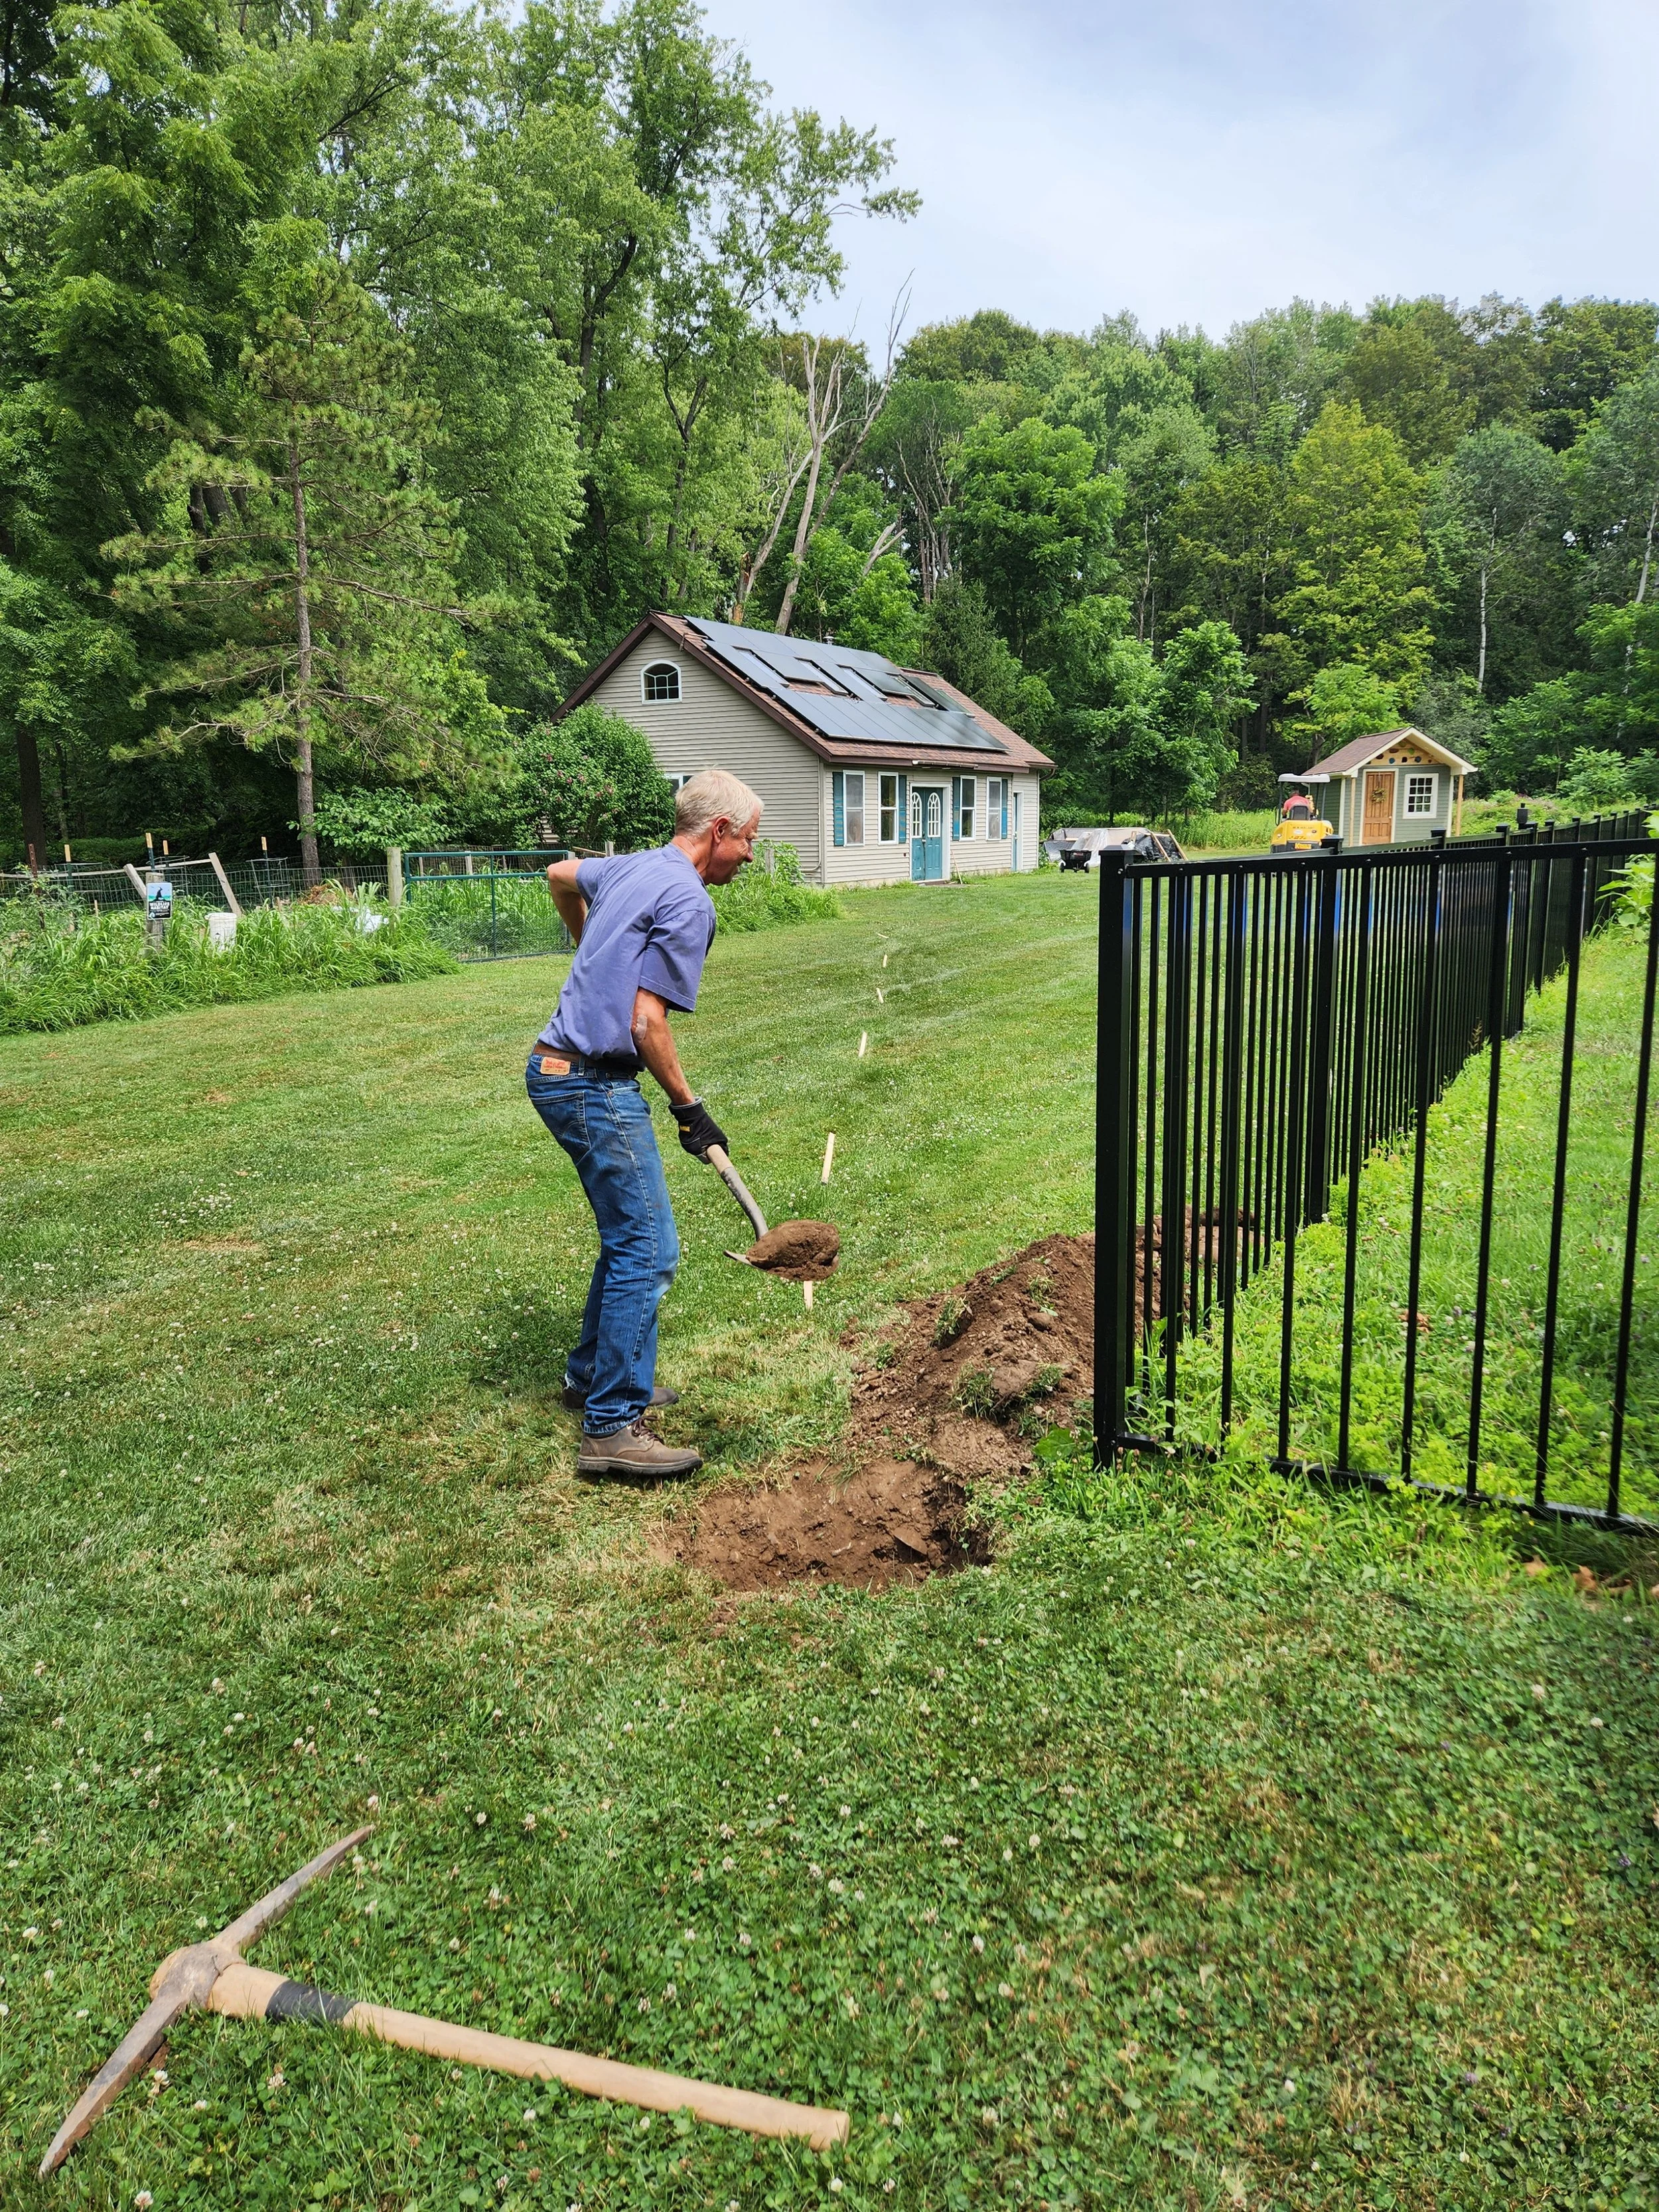
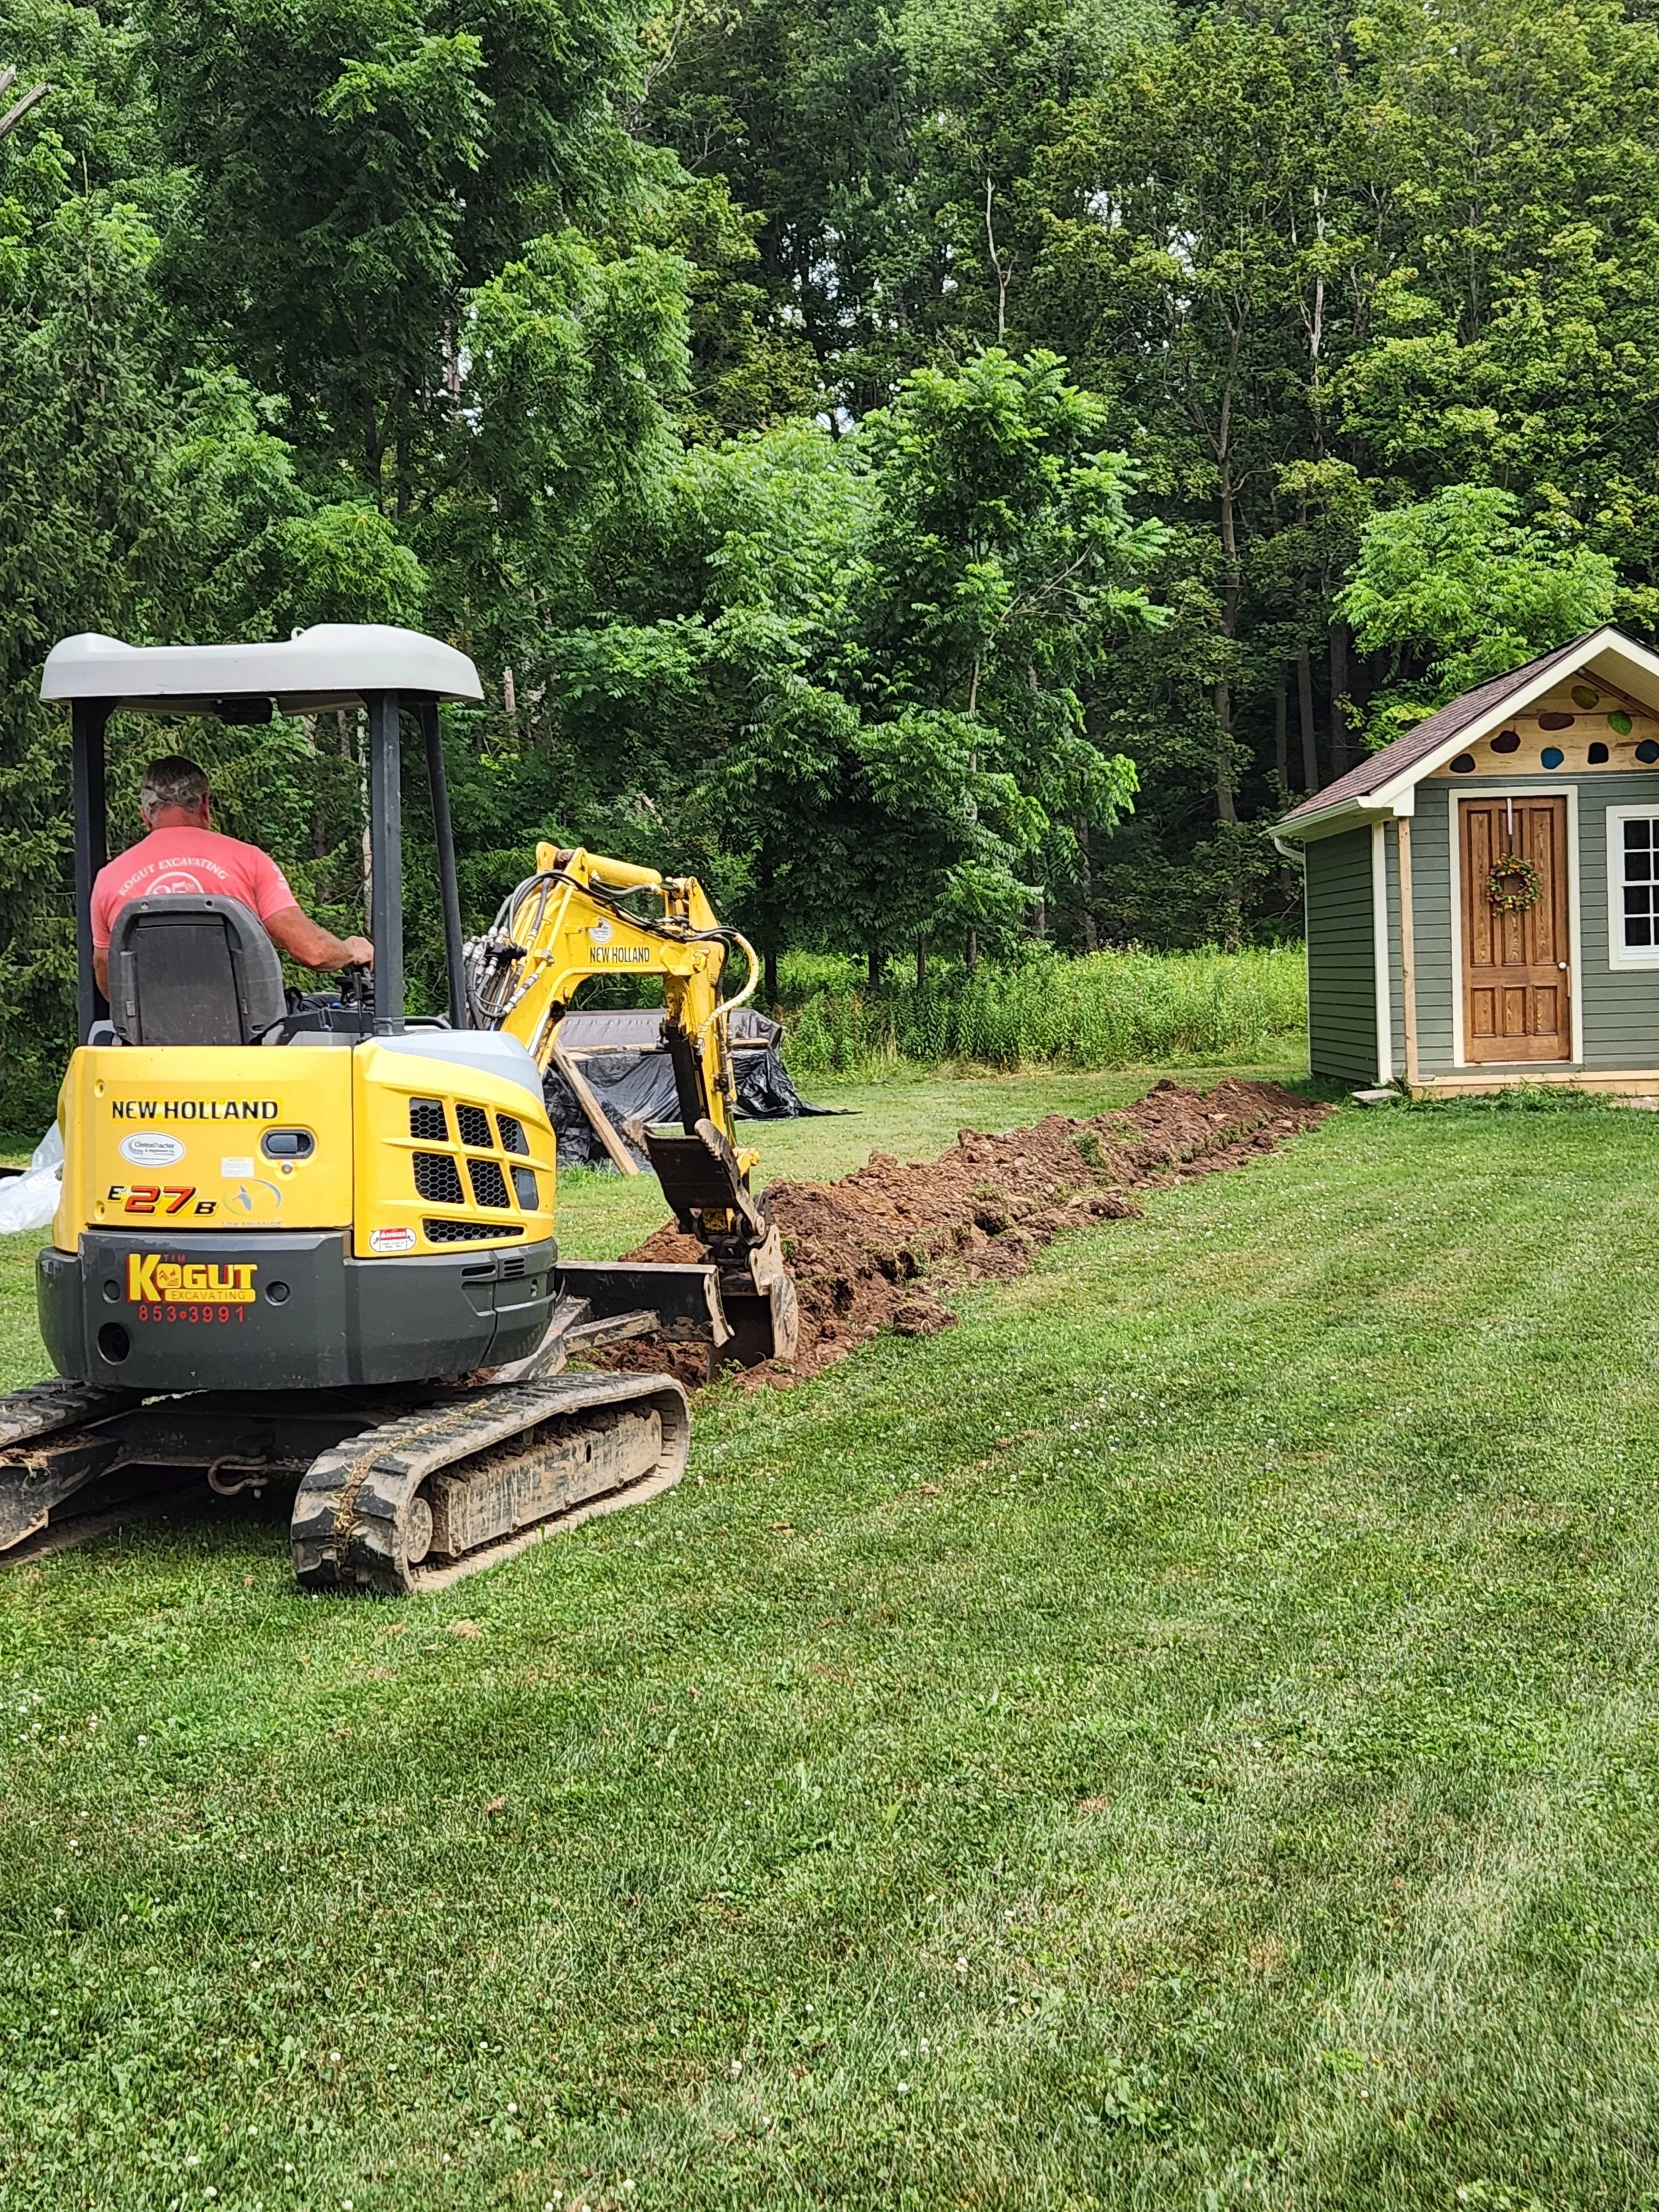
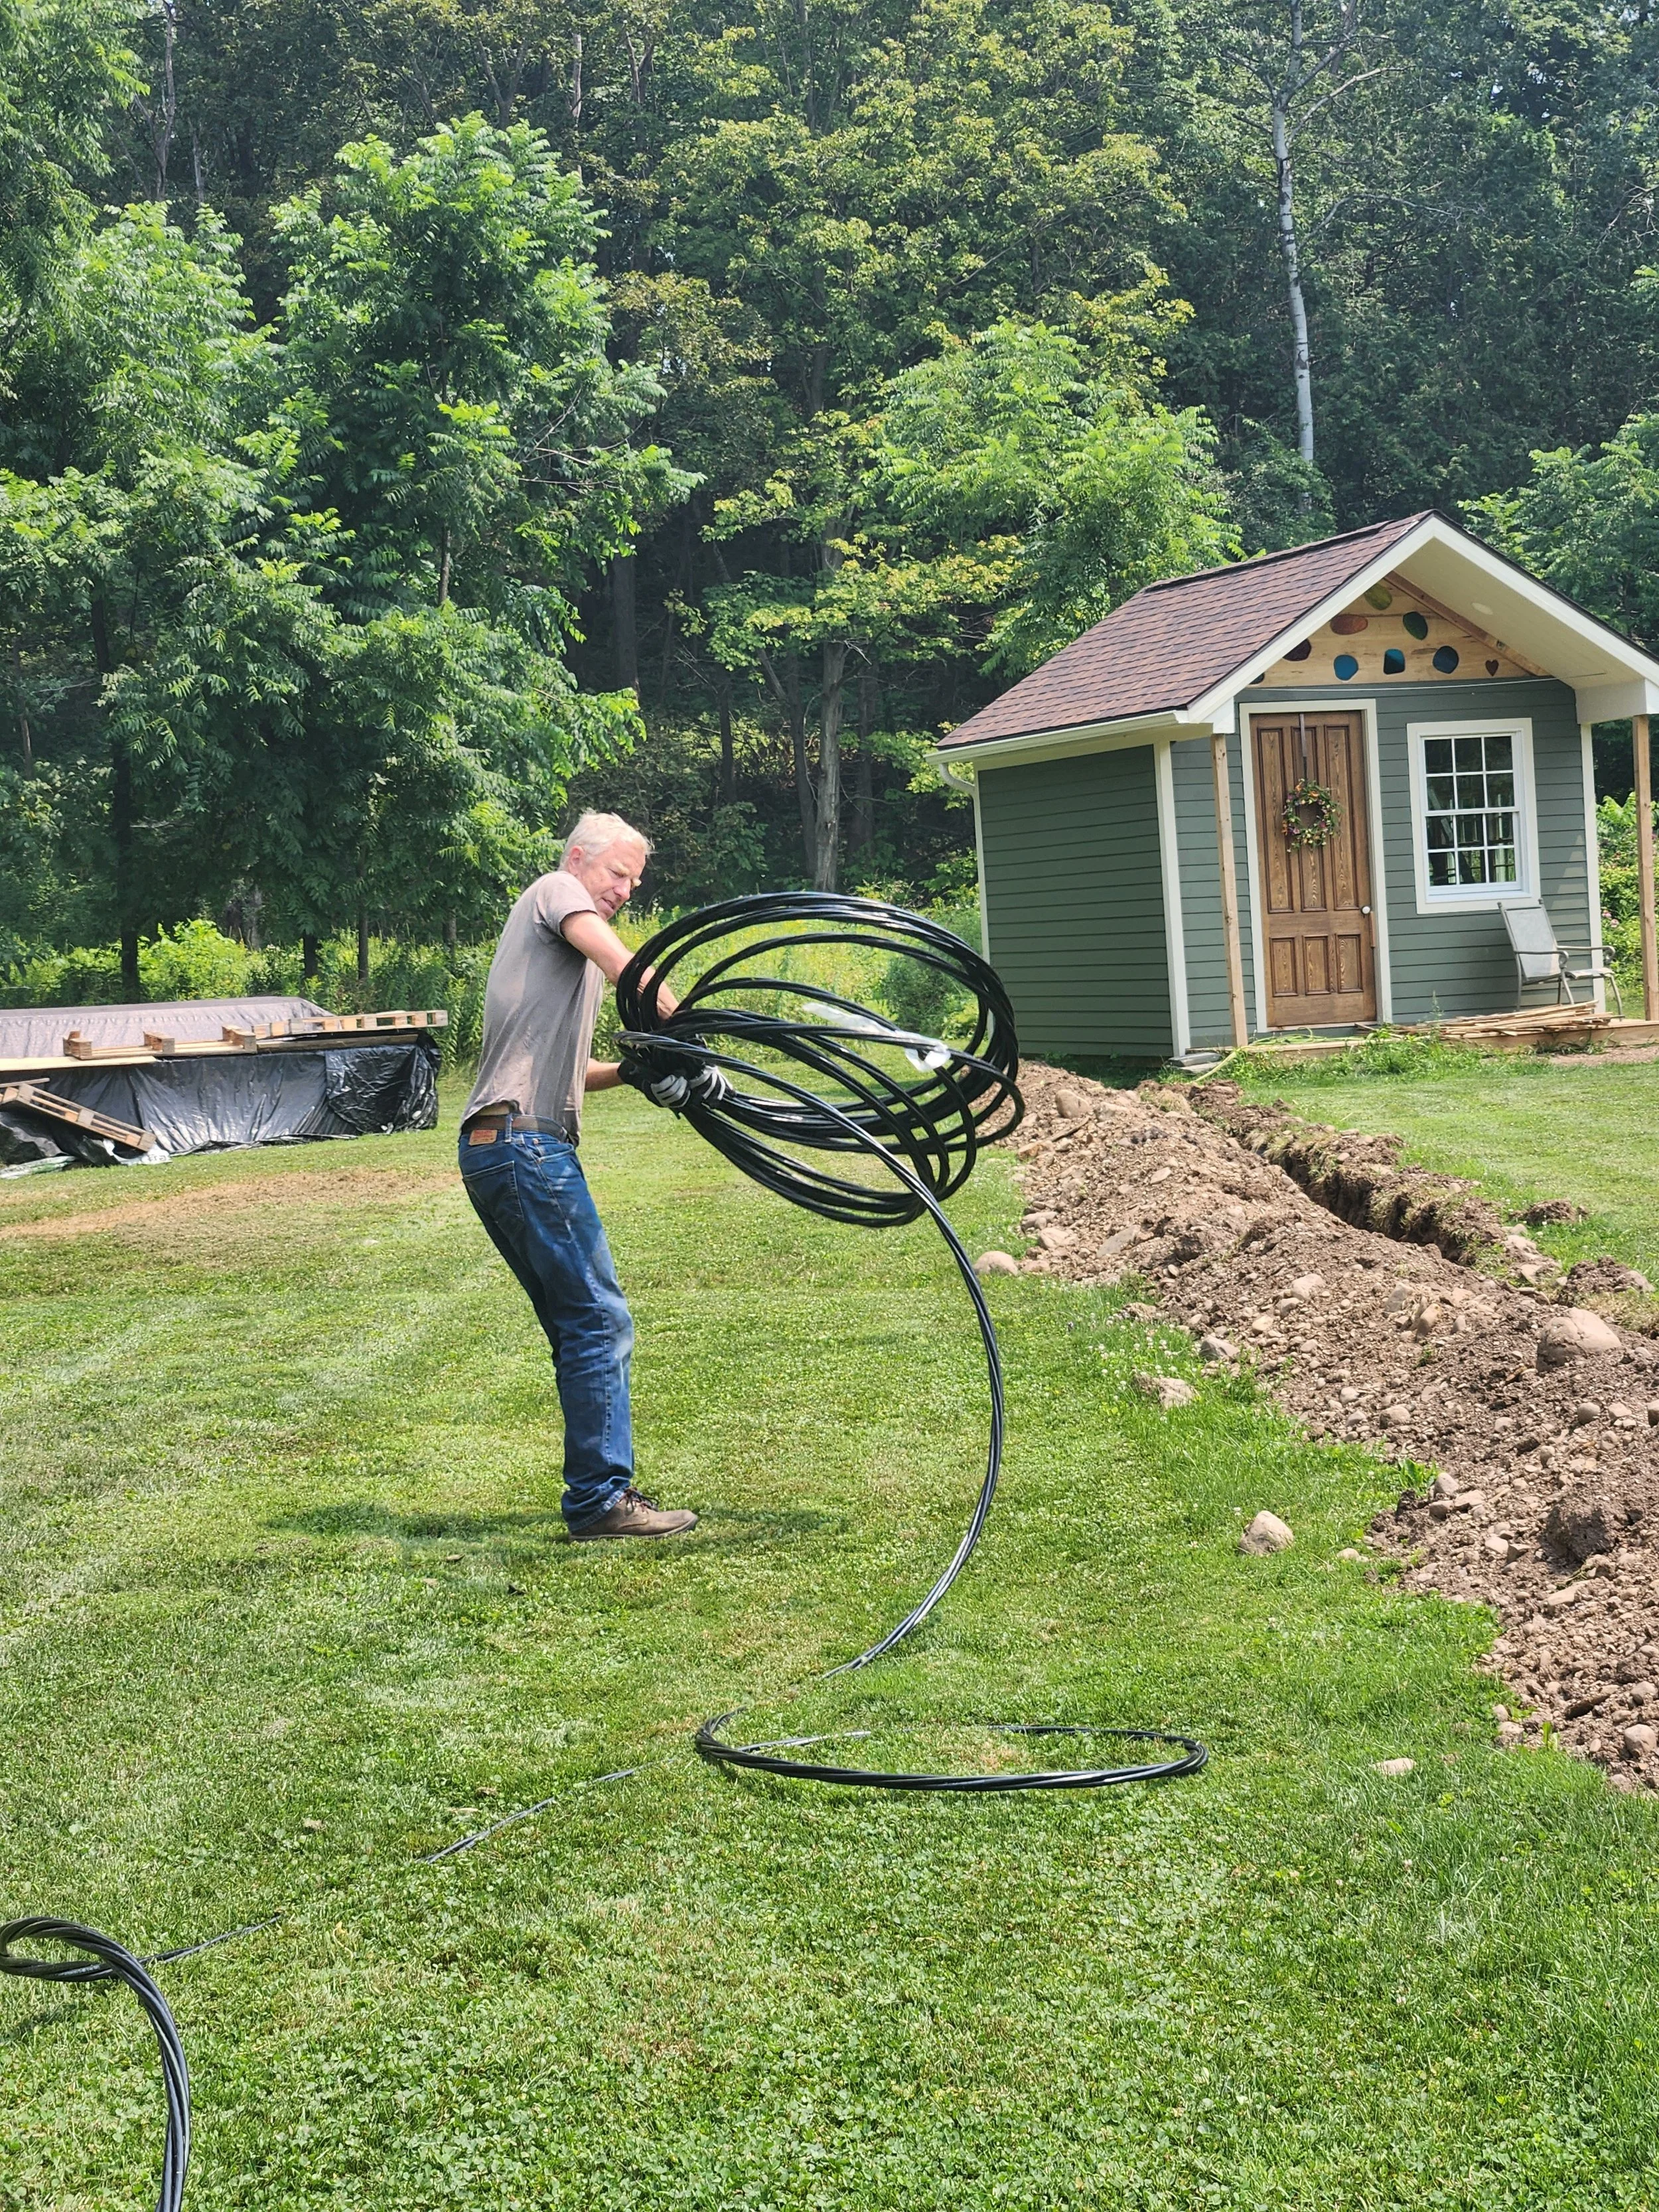
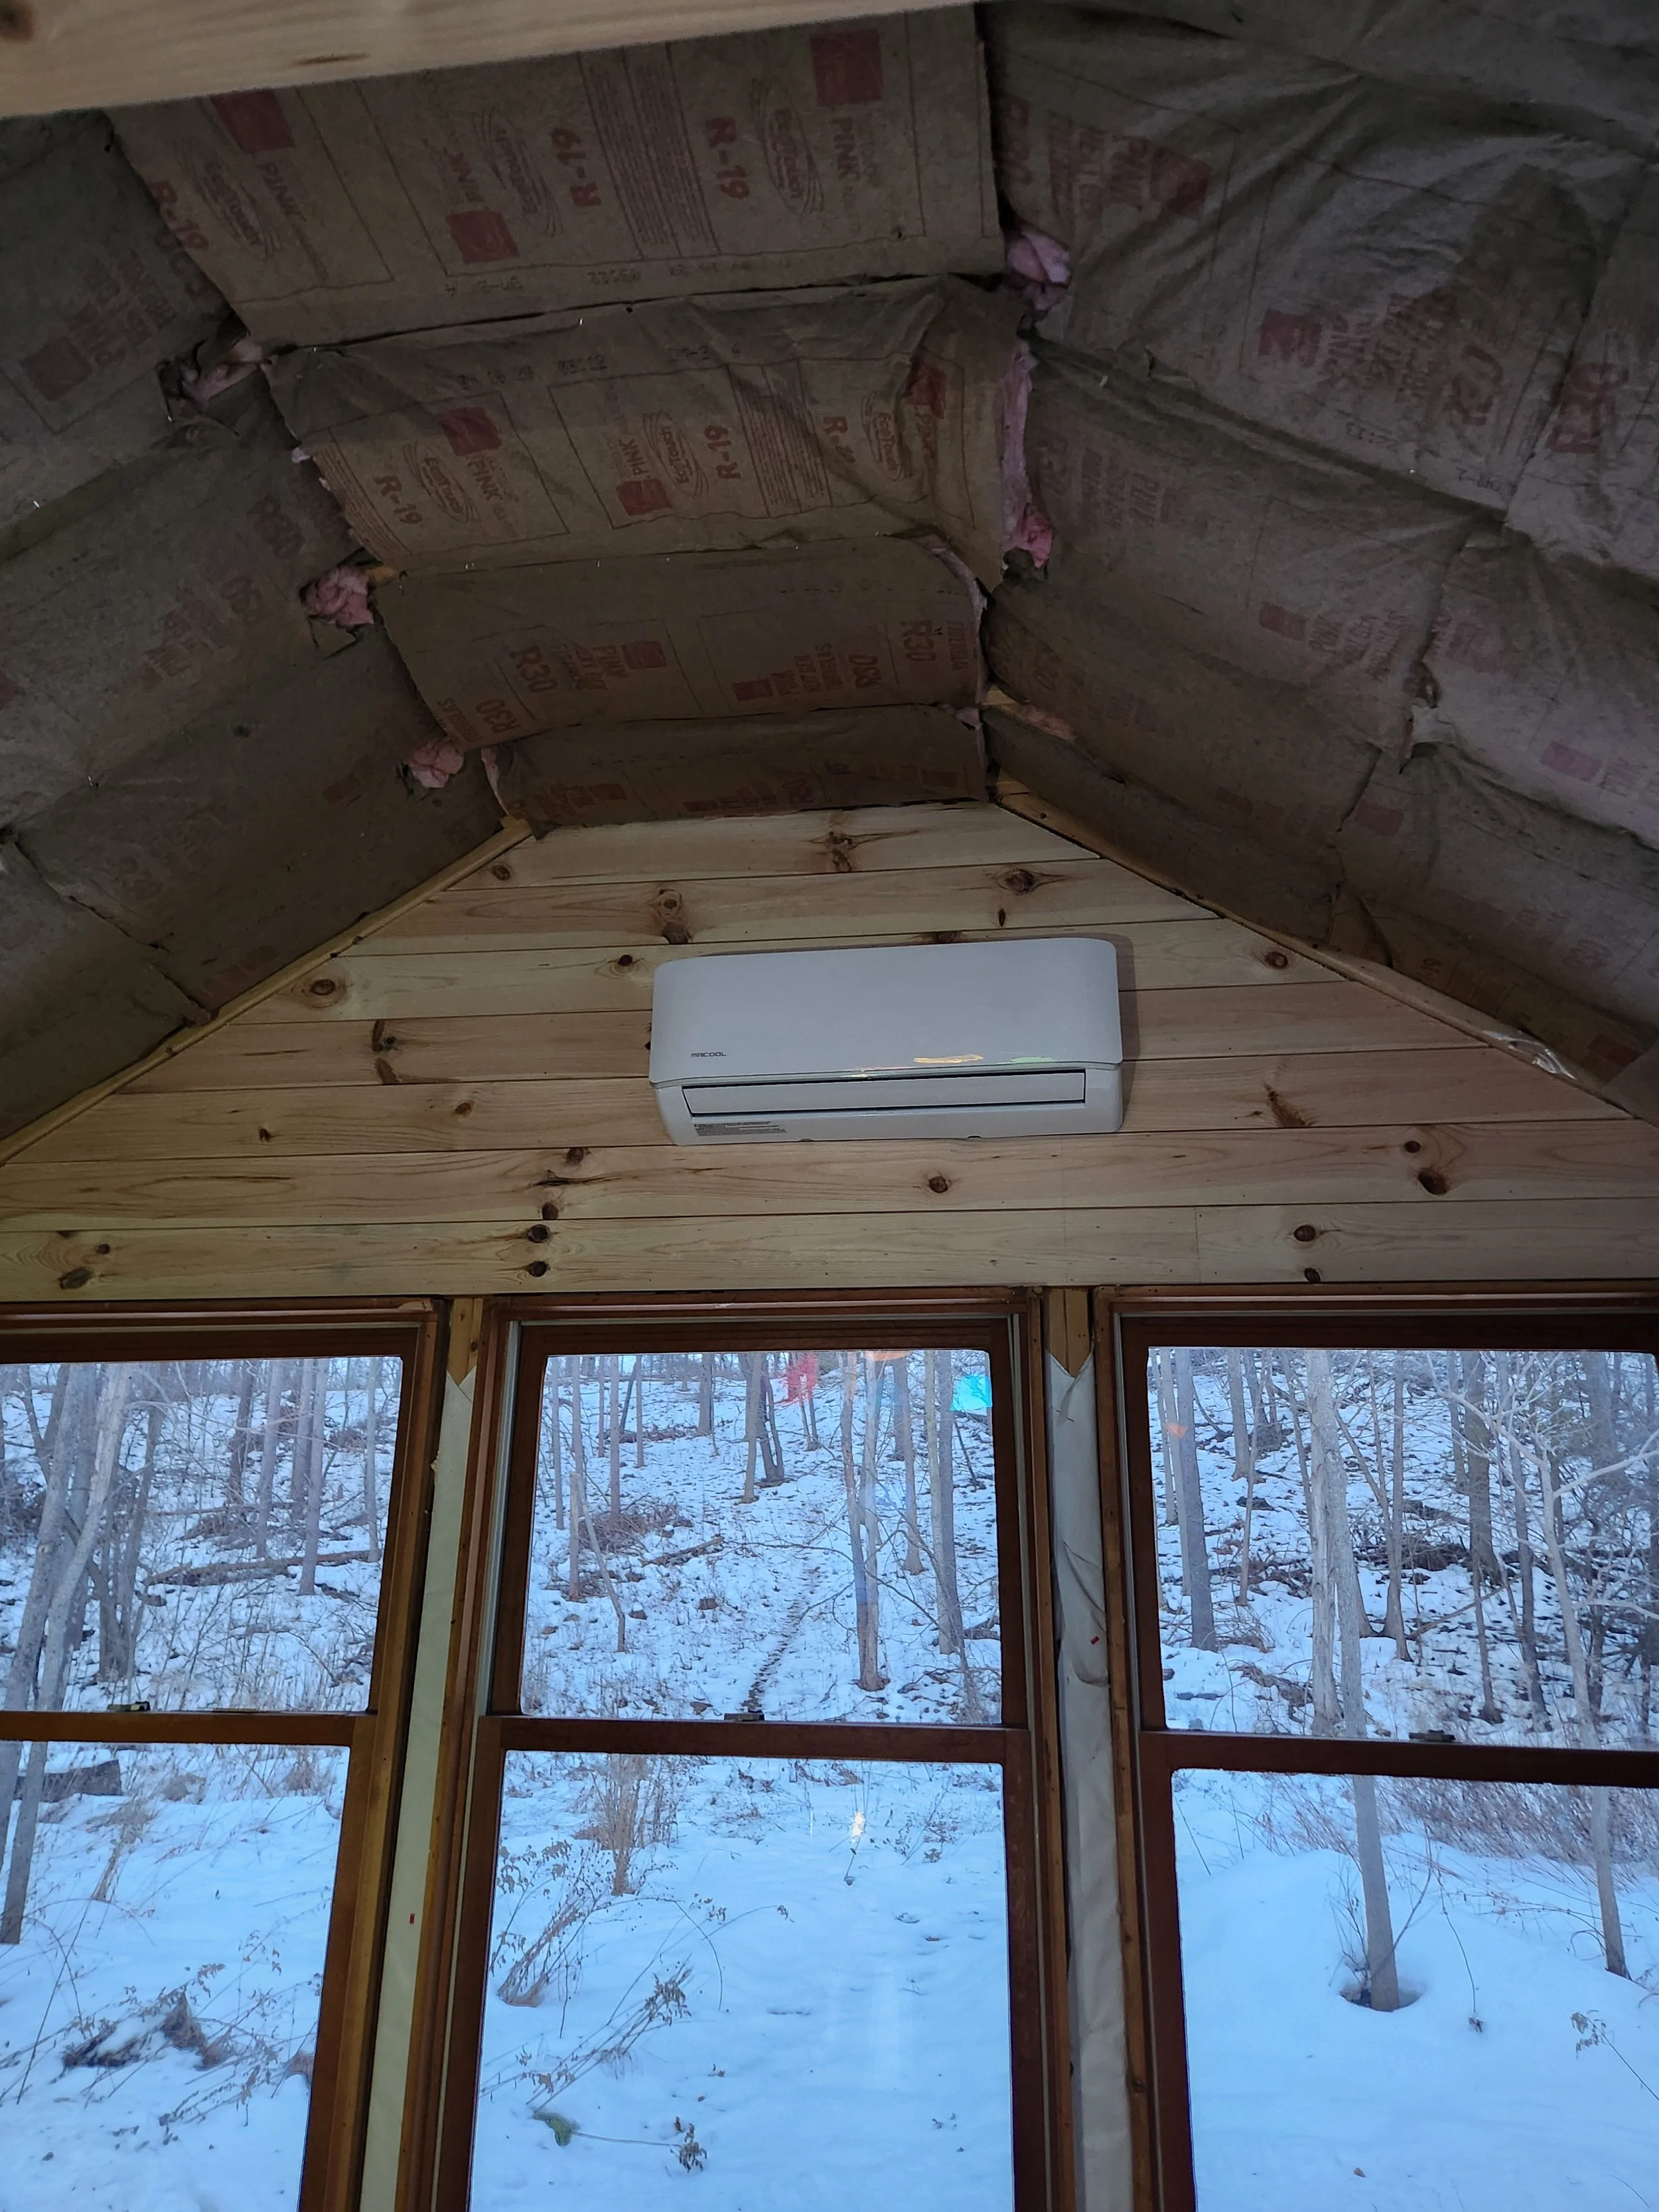
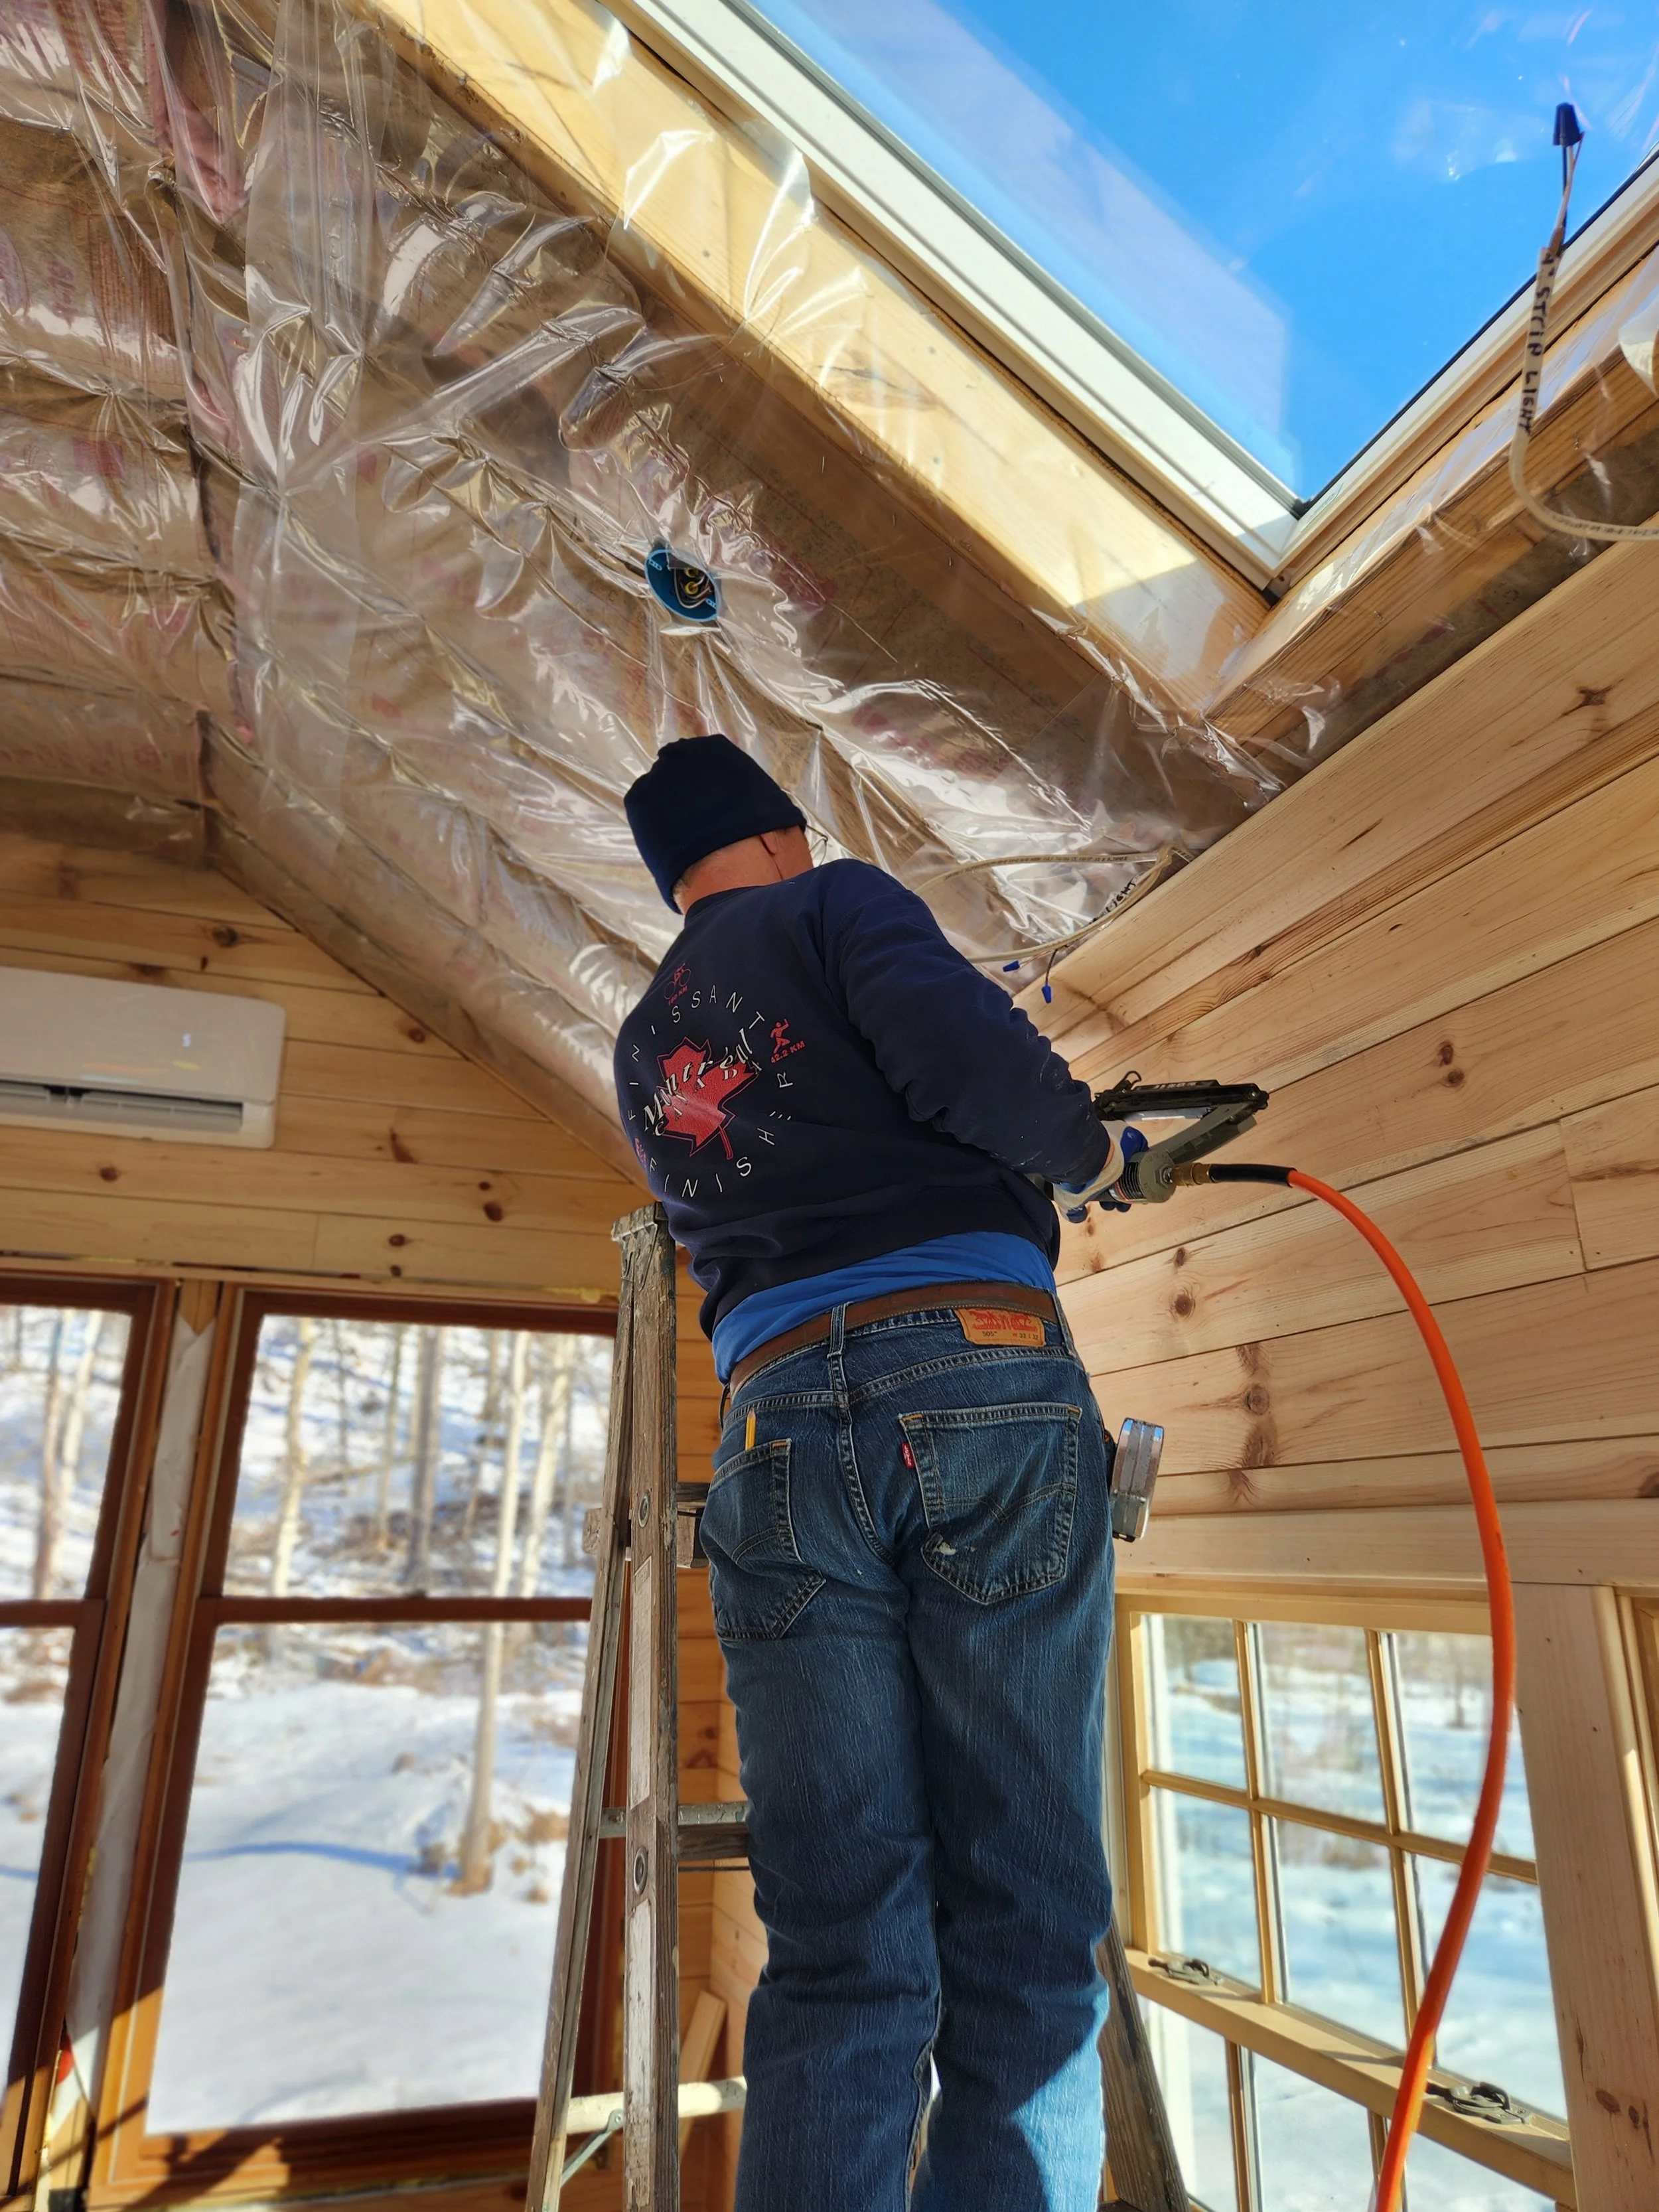
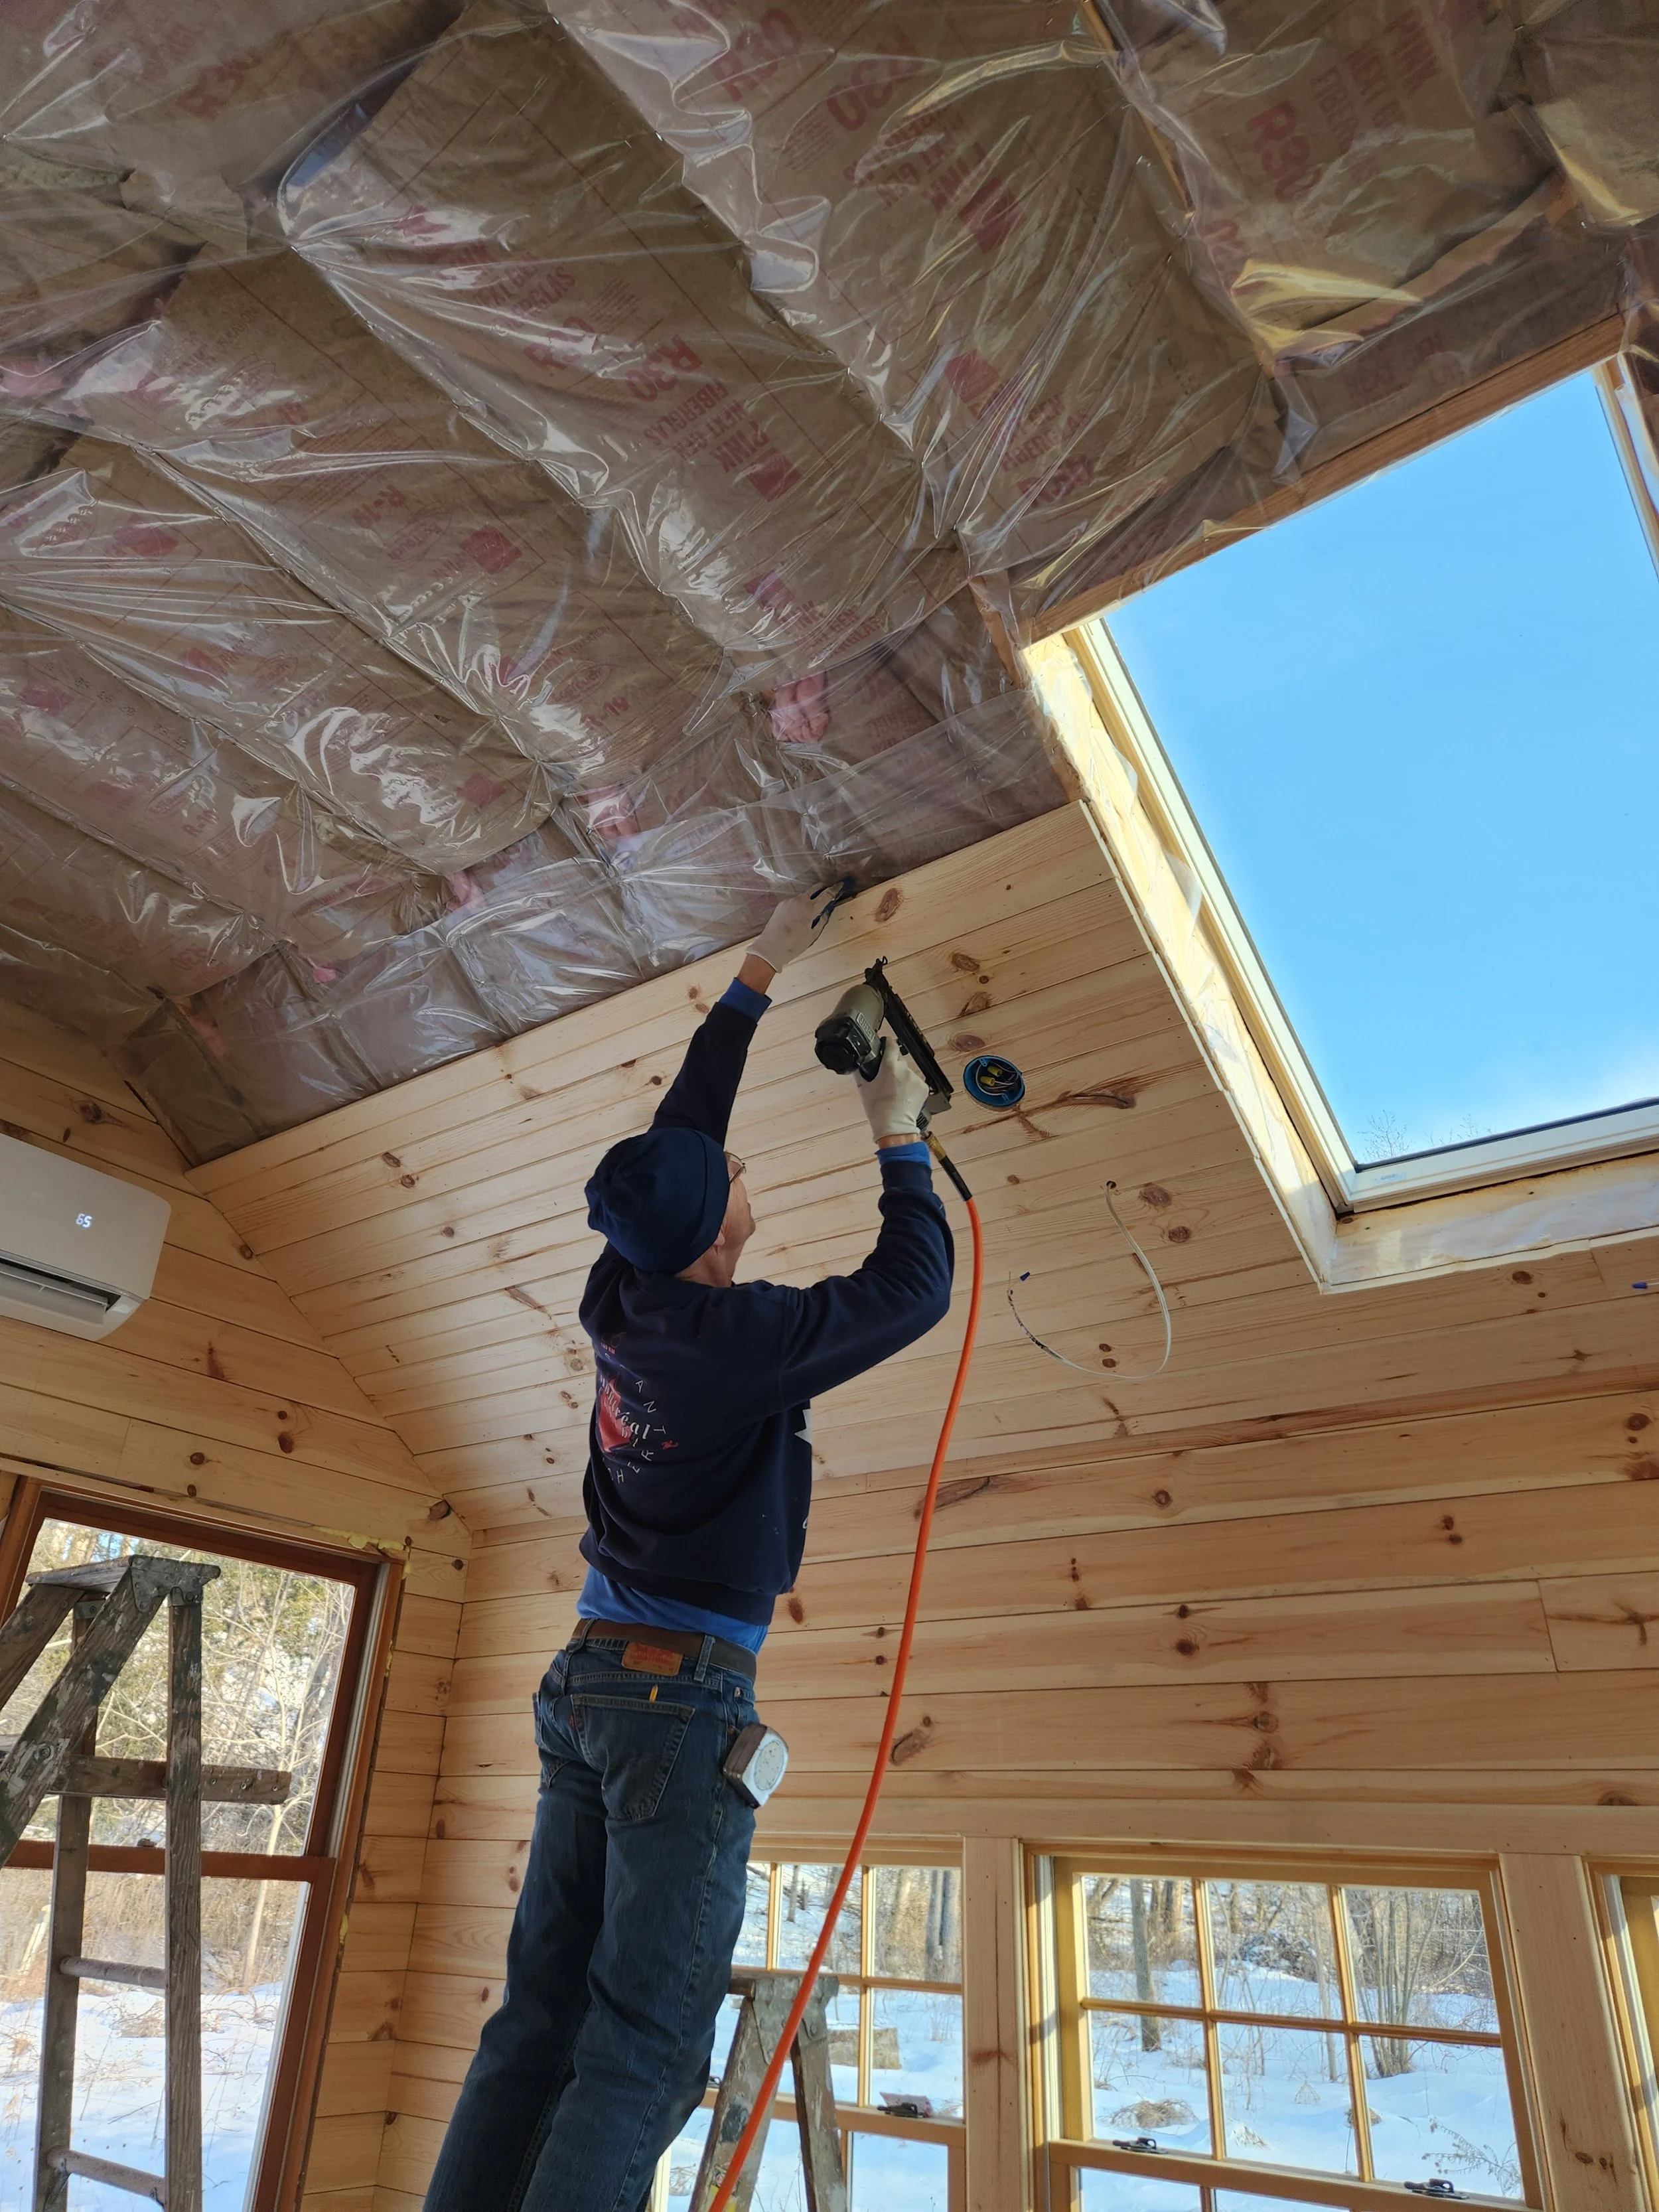
Natural lighting was one of the most important design elements, but artificial light is needed on gloomy days and dark nights. Getting electricity out to the studio was no small task. There was a lot of hand-digging and then hiring a neighbor to finish off the trench. Moe and I fed the wire through piping from the house to the studio. Once in the studio, Moe worked his magic, putting in an electrical panel and running wires to light boxes and outlets. The LED lights are highly flexible and can be set to a variety of colors and intensities. This has allowed me to find the perfect quality of light for working on my art. He also installed a Mr. Cool heat pump for heat and air conditioning.
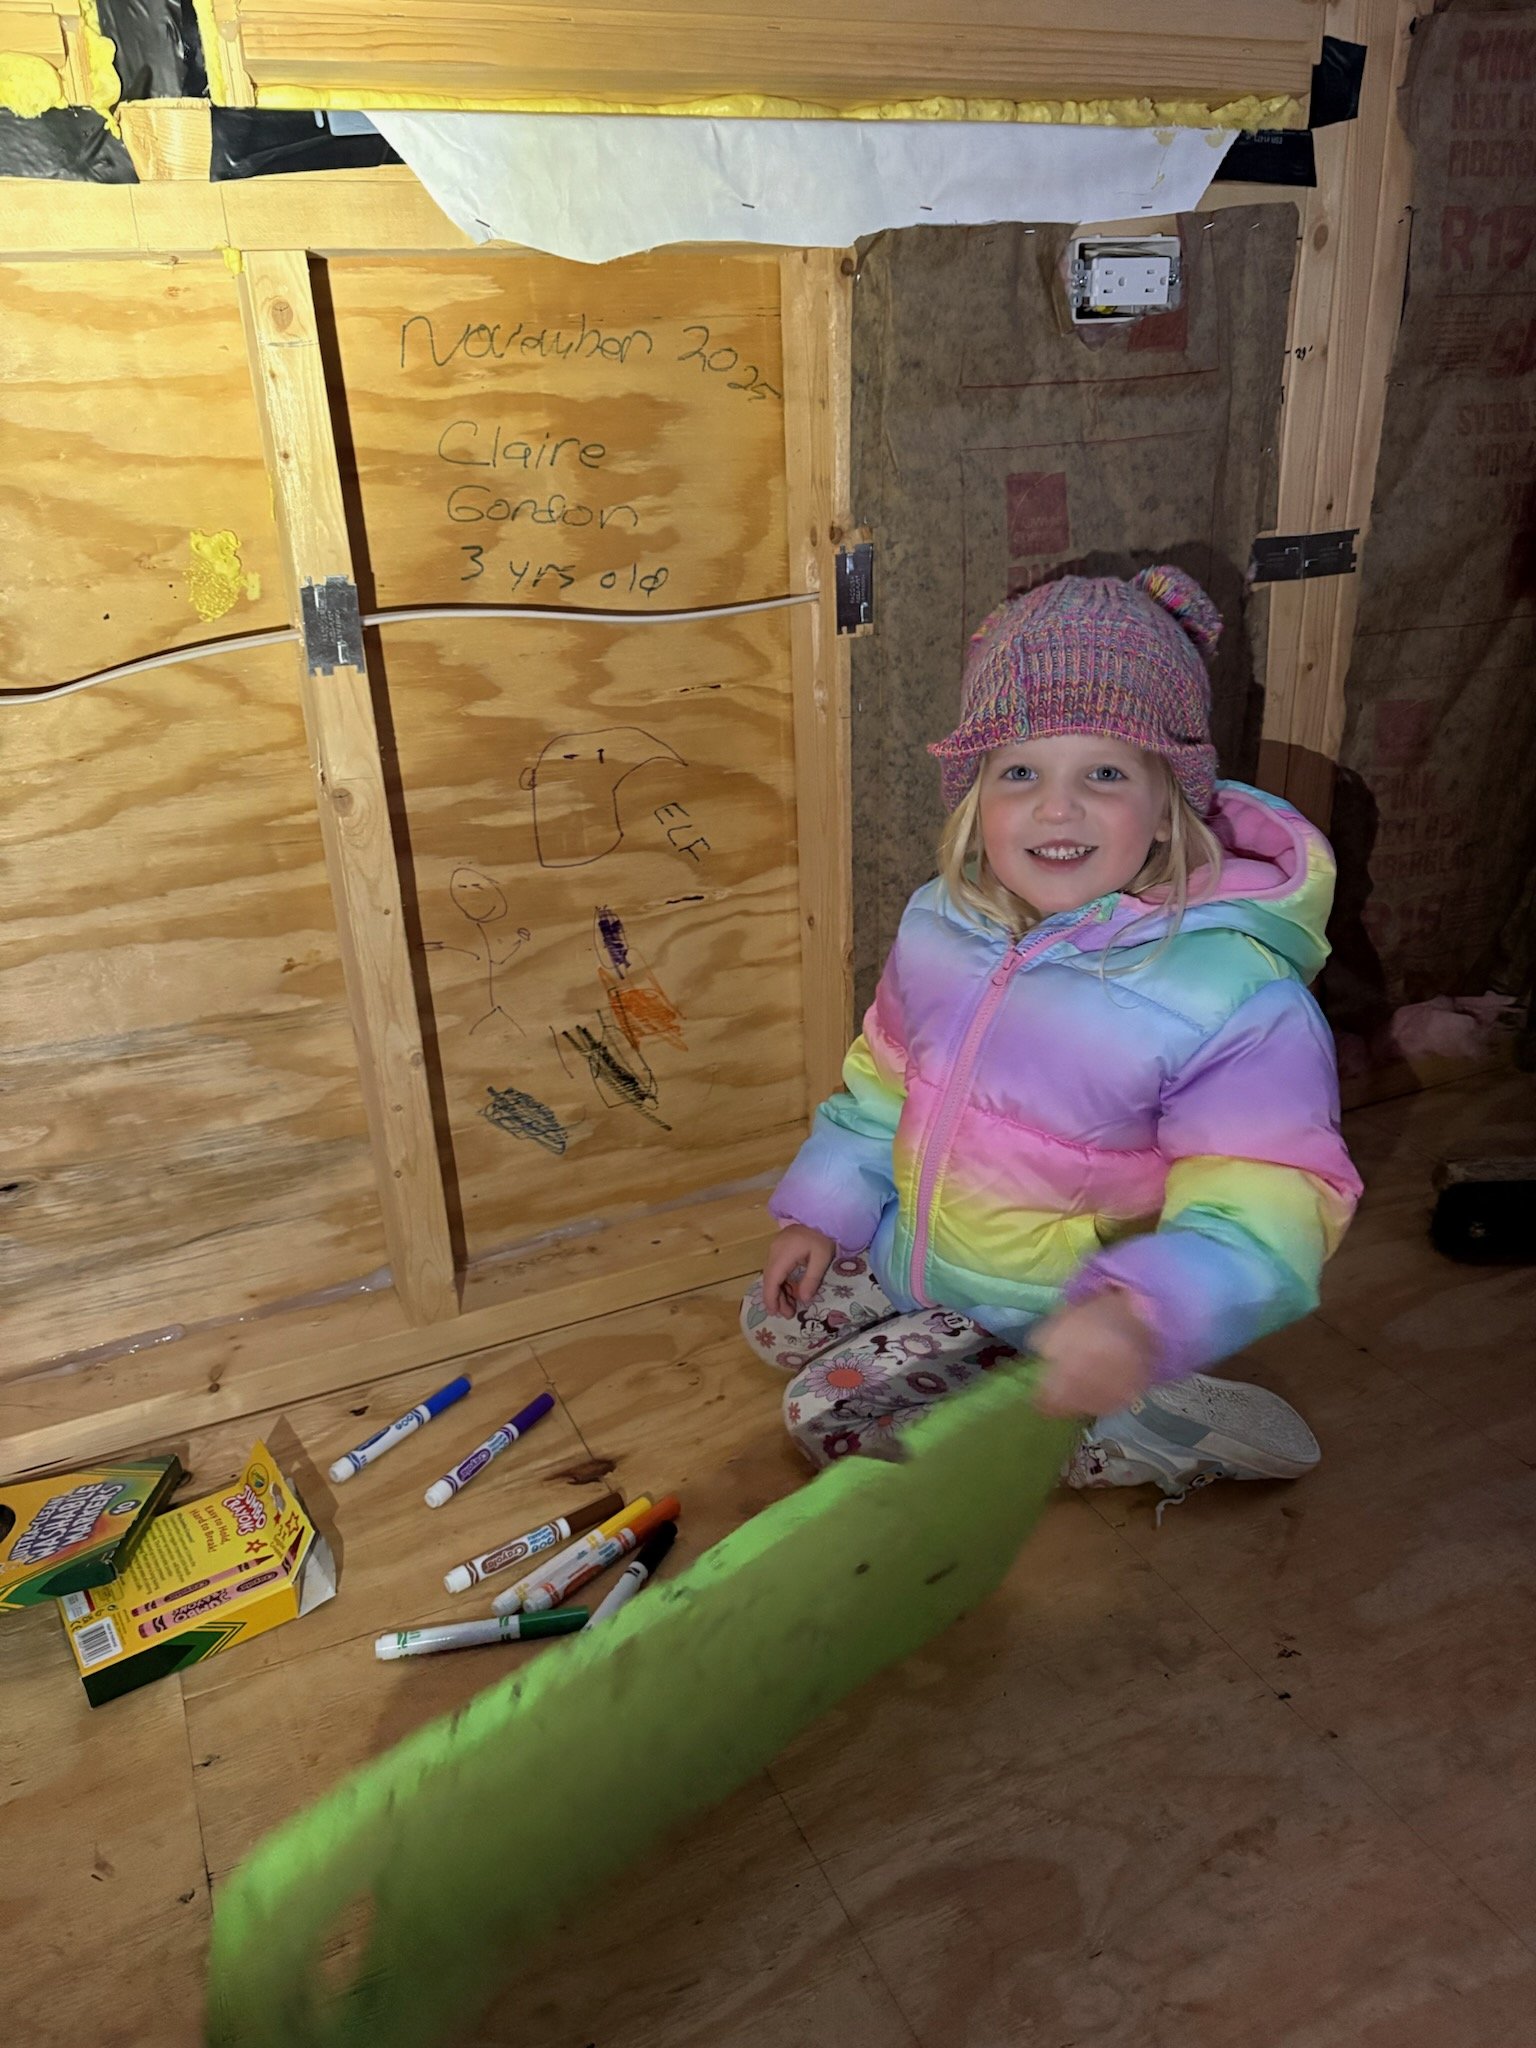
Our granddaughter, Claire, learned about wire nuts. When she came in from working with Papa, she had a pocket full of them. She asked me to hold two pieces of wire while she used her tiny fingers to twist the nuts around the wire. She was quite proud of her new skill and showed me how she could do it with all the different colors and sizes of nuts. At home, she pulled them out of her pocket to show her parents.
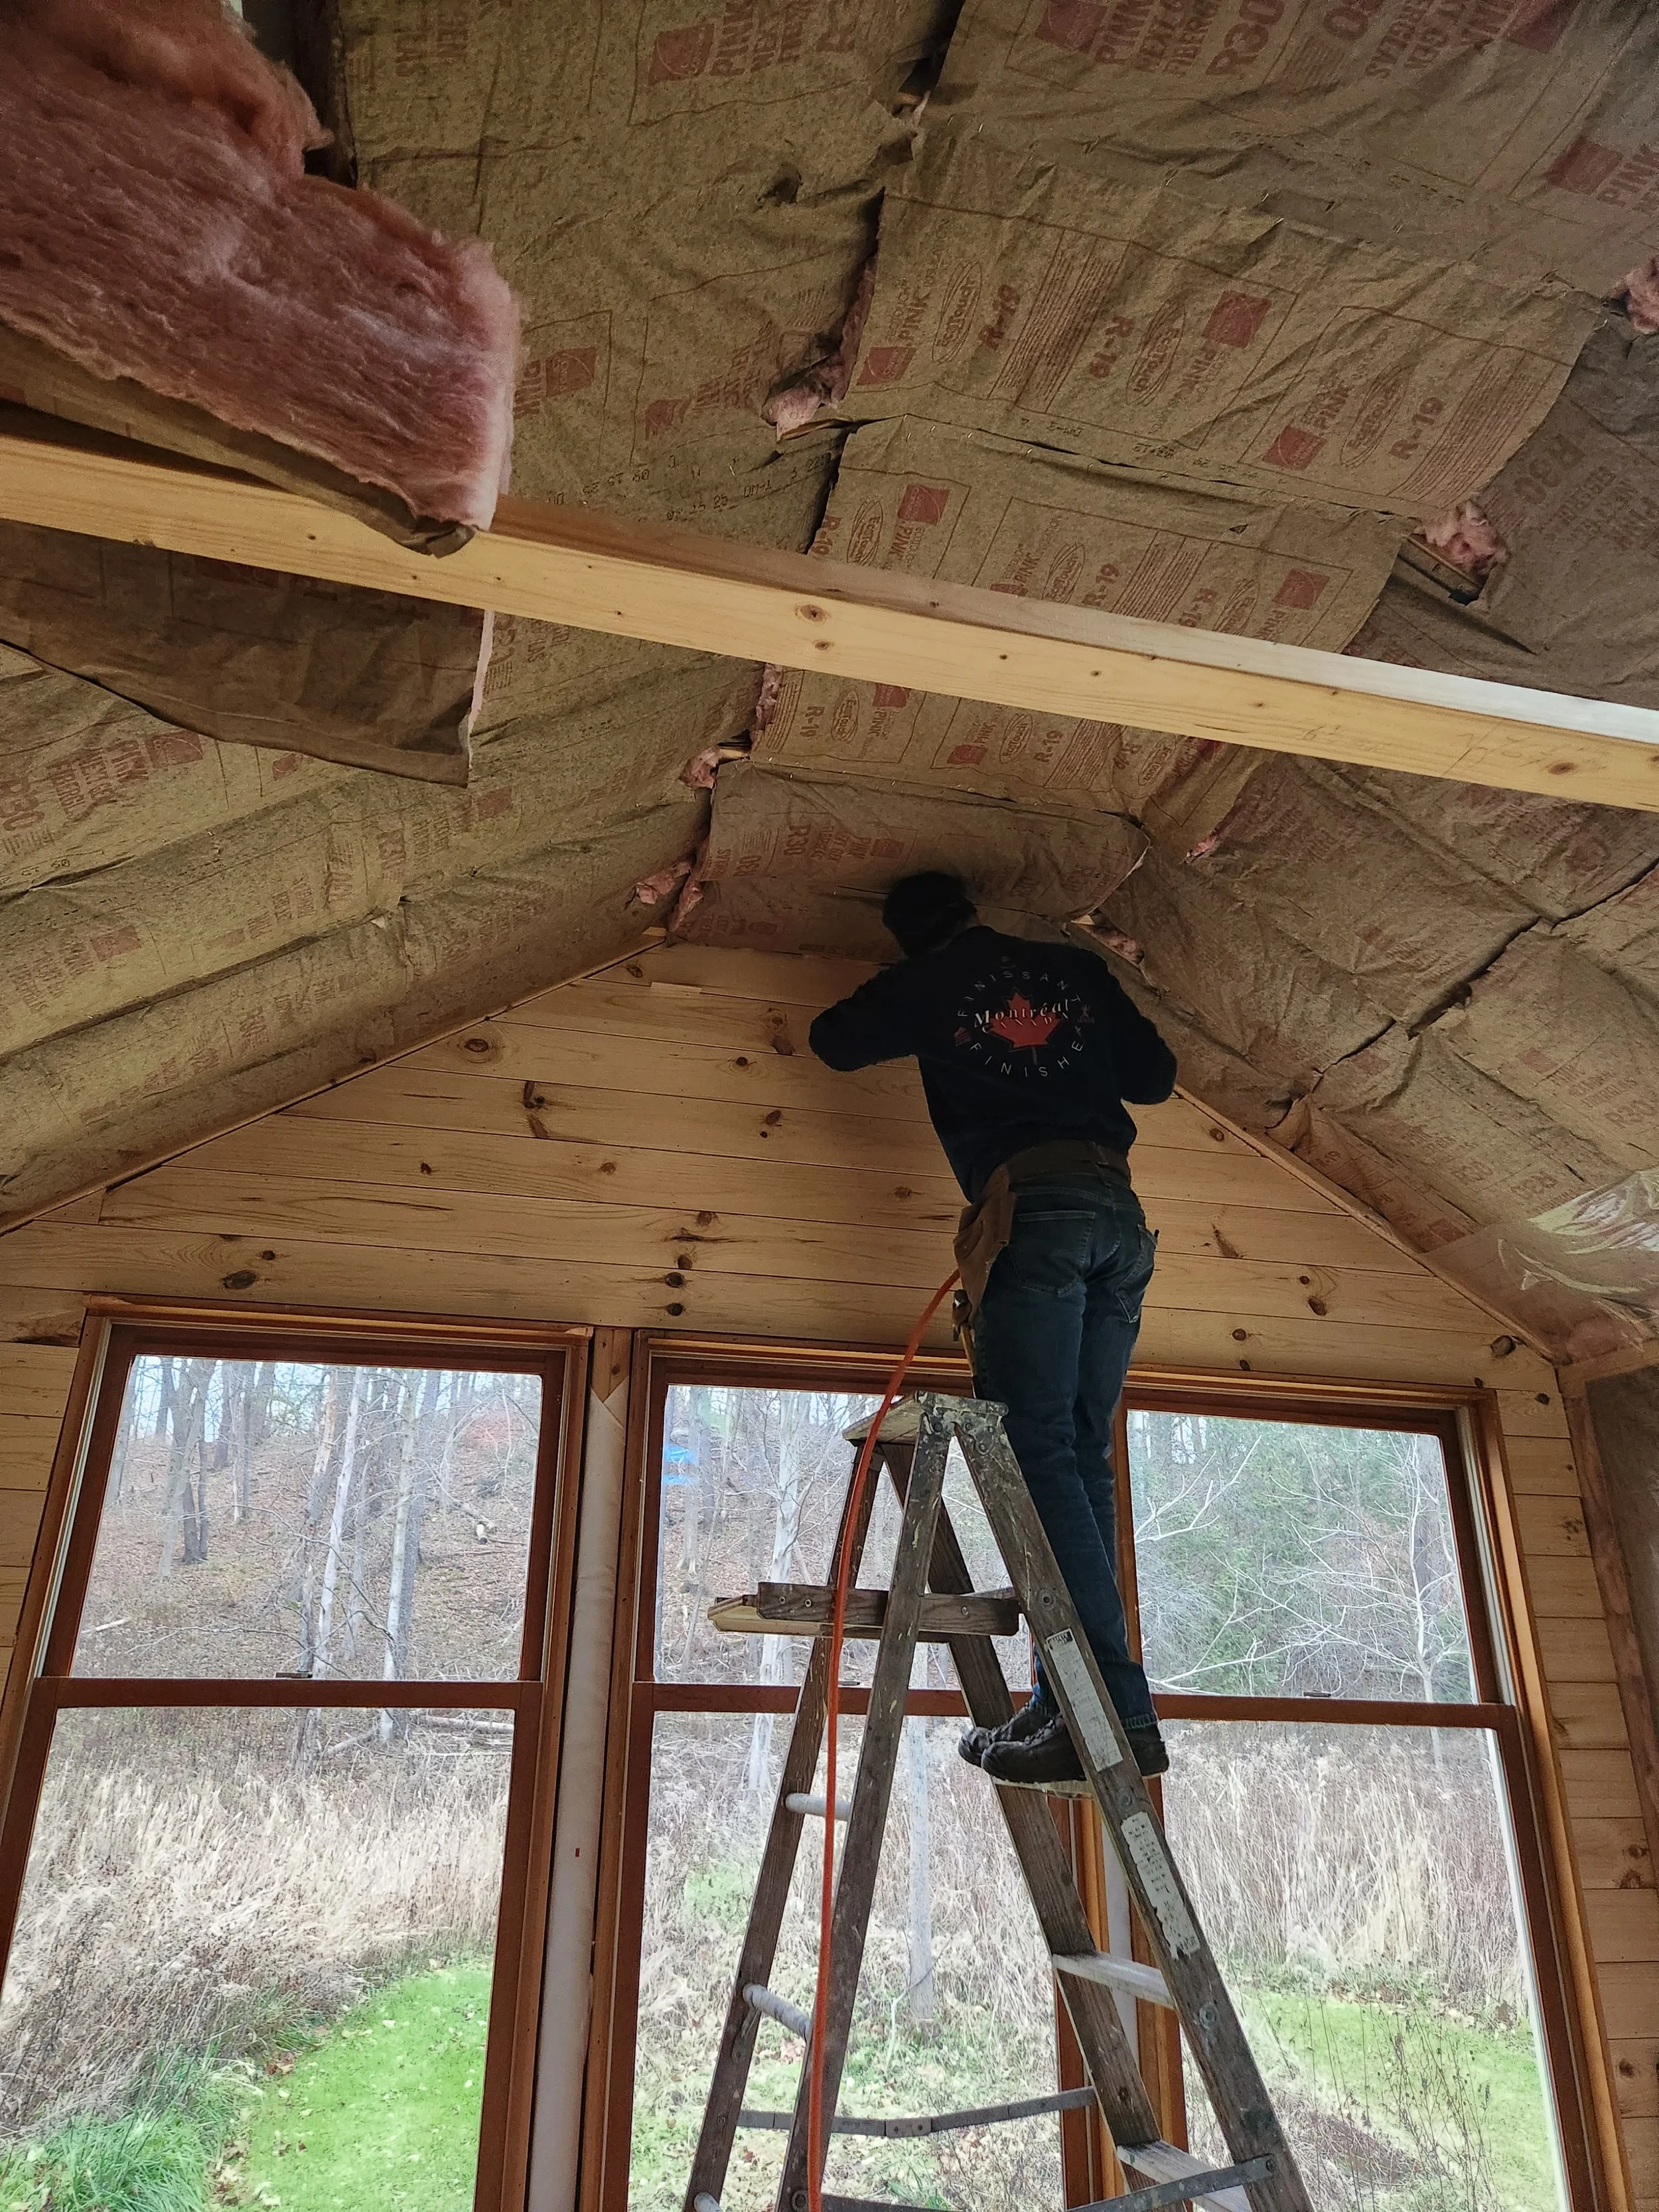
Insulating the Studio for Year-Round Comfort
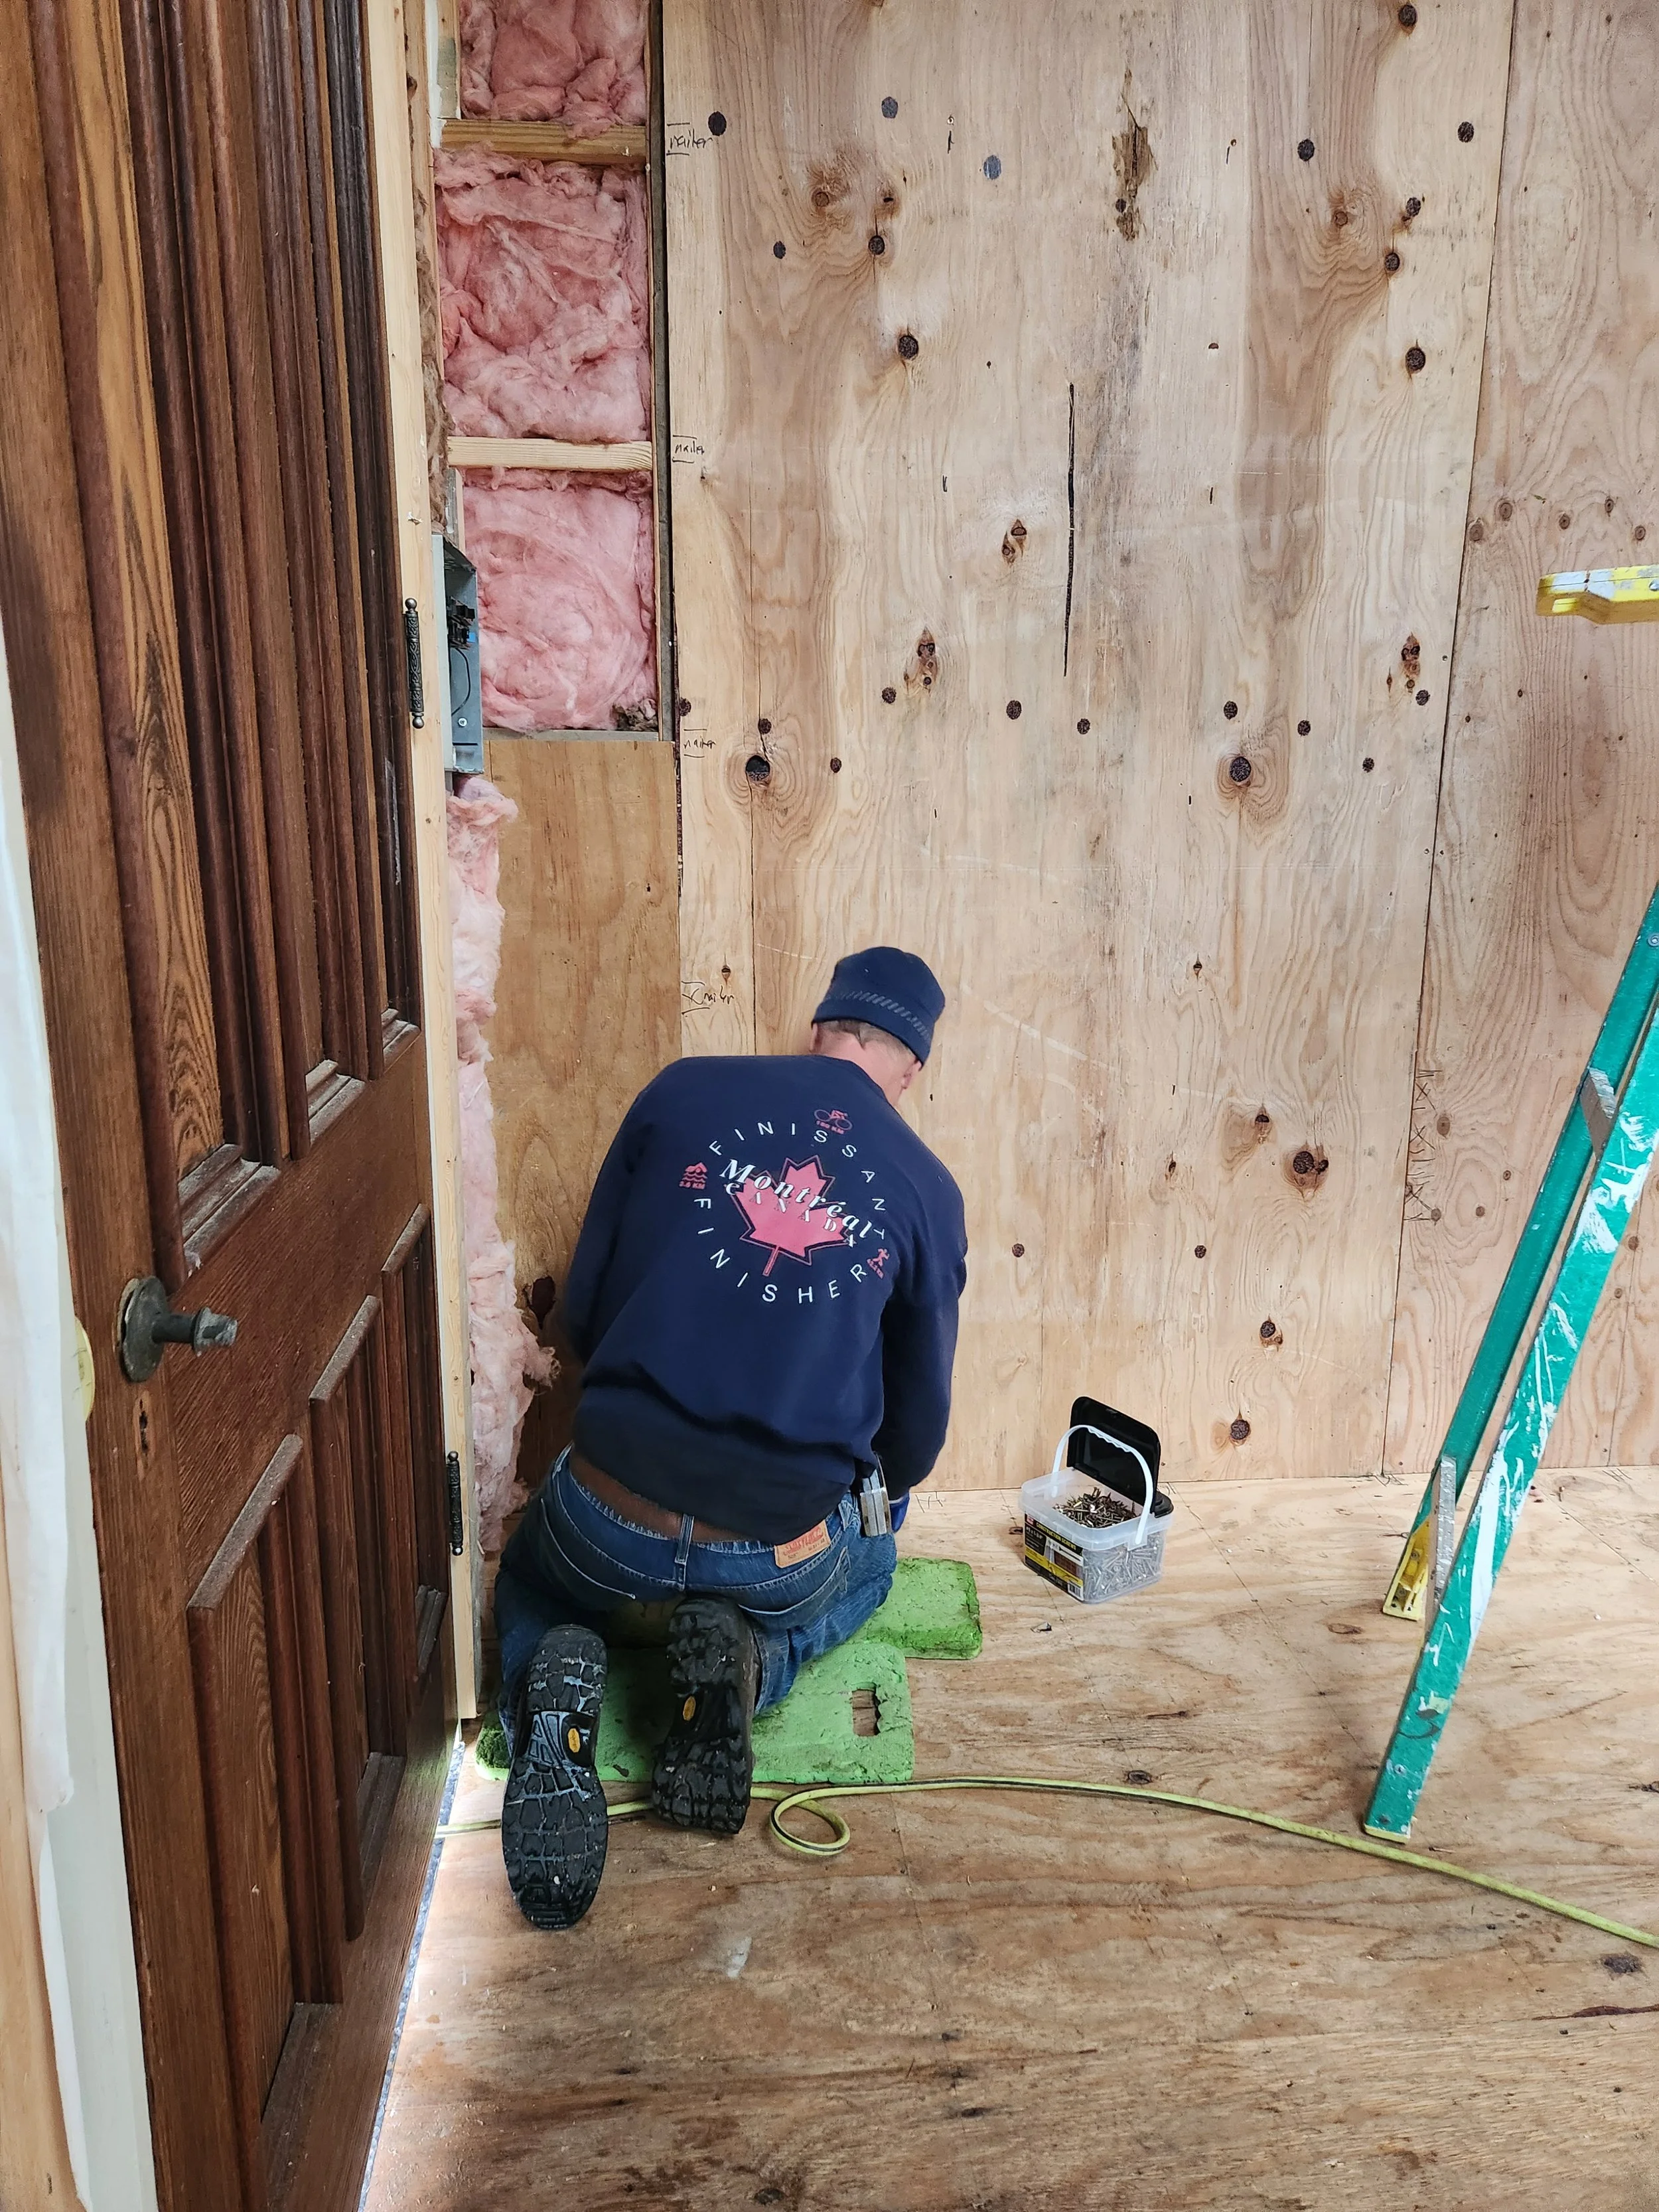
Along with installing Mr. Cool, Moe put in lots of insulation.
Handcrafted Pine Shiplap Walls and Tongue-and-Groove Ceiling Add Warmth and Character
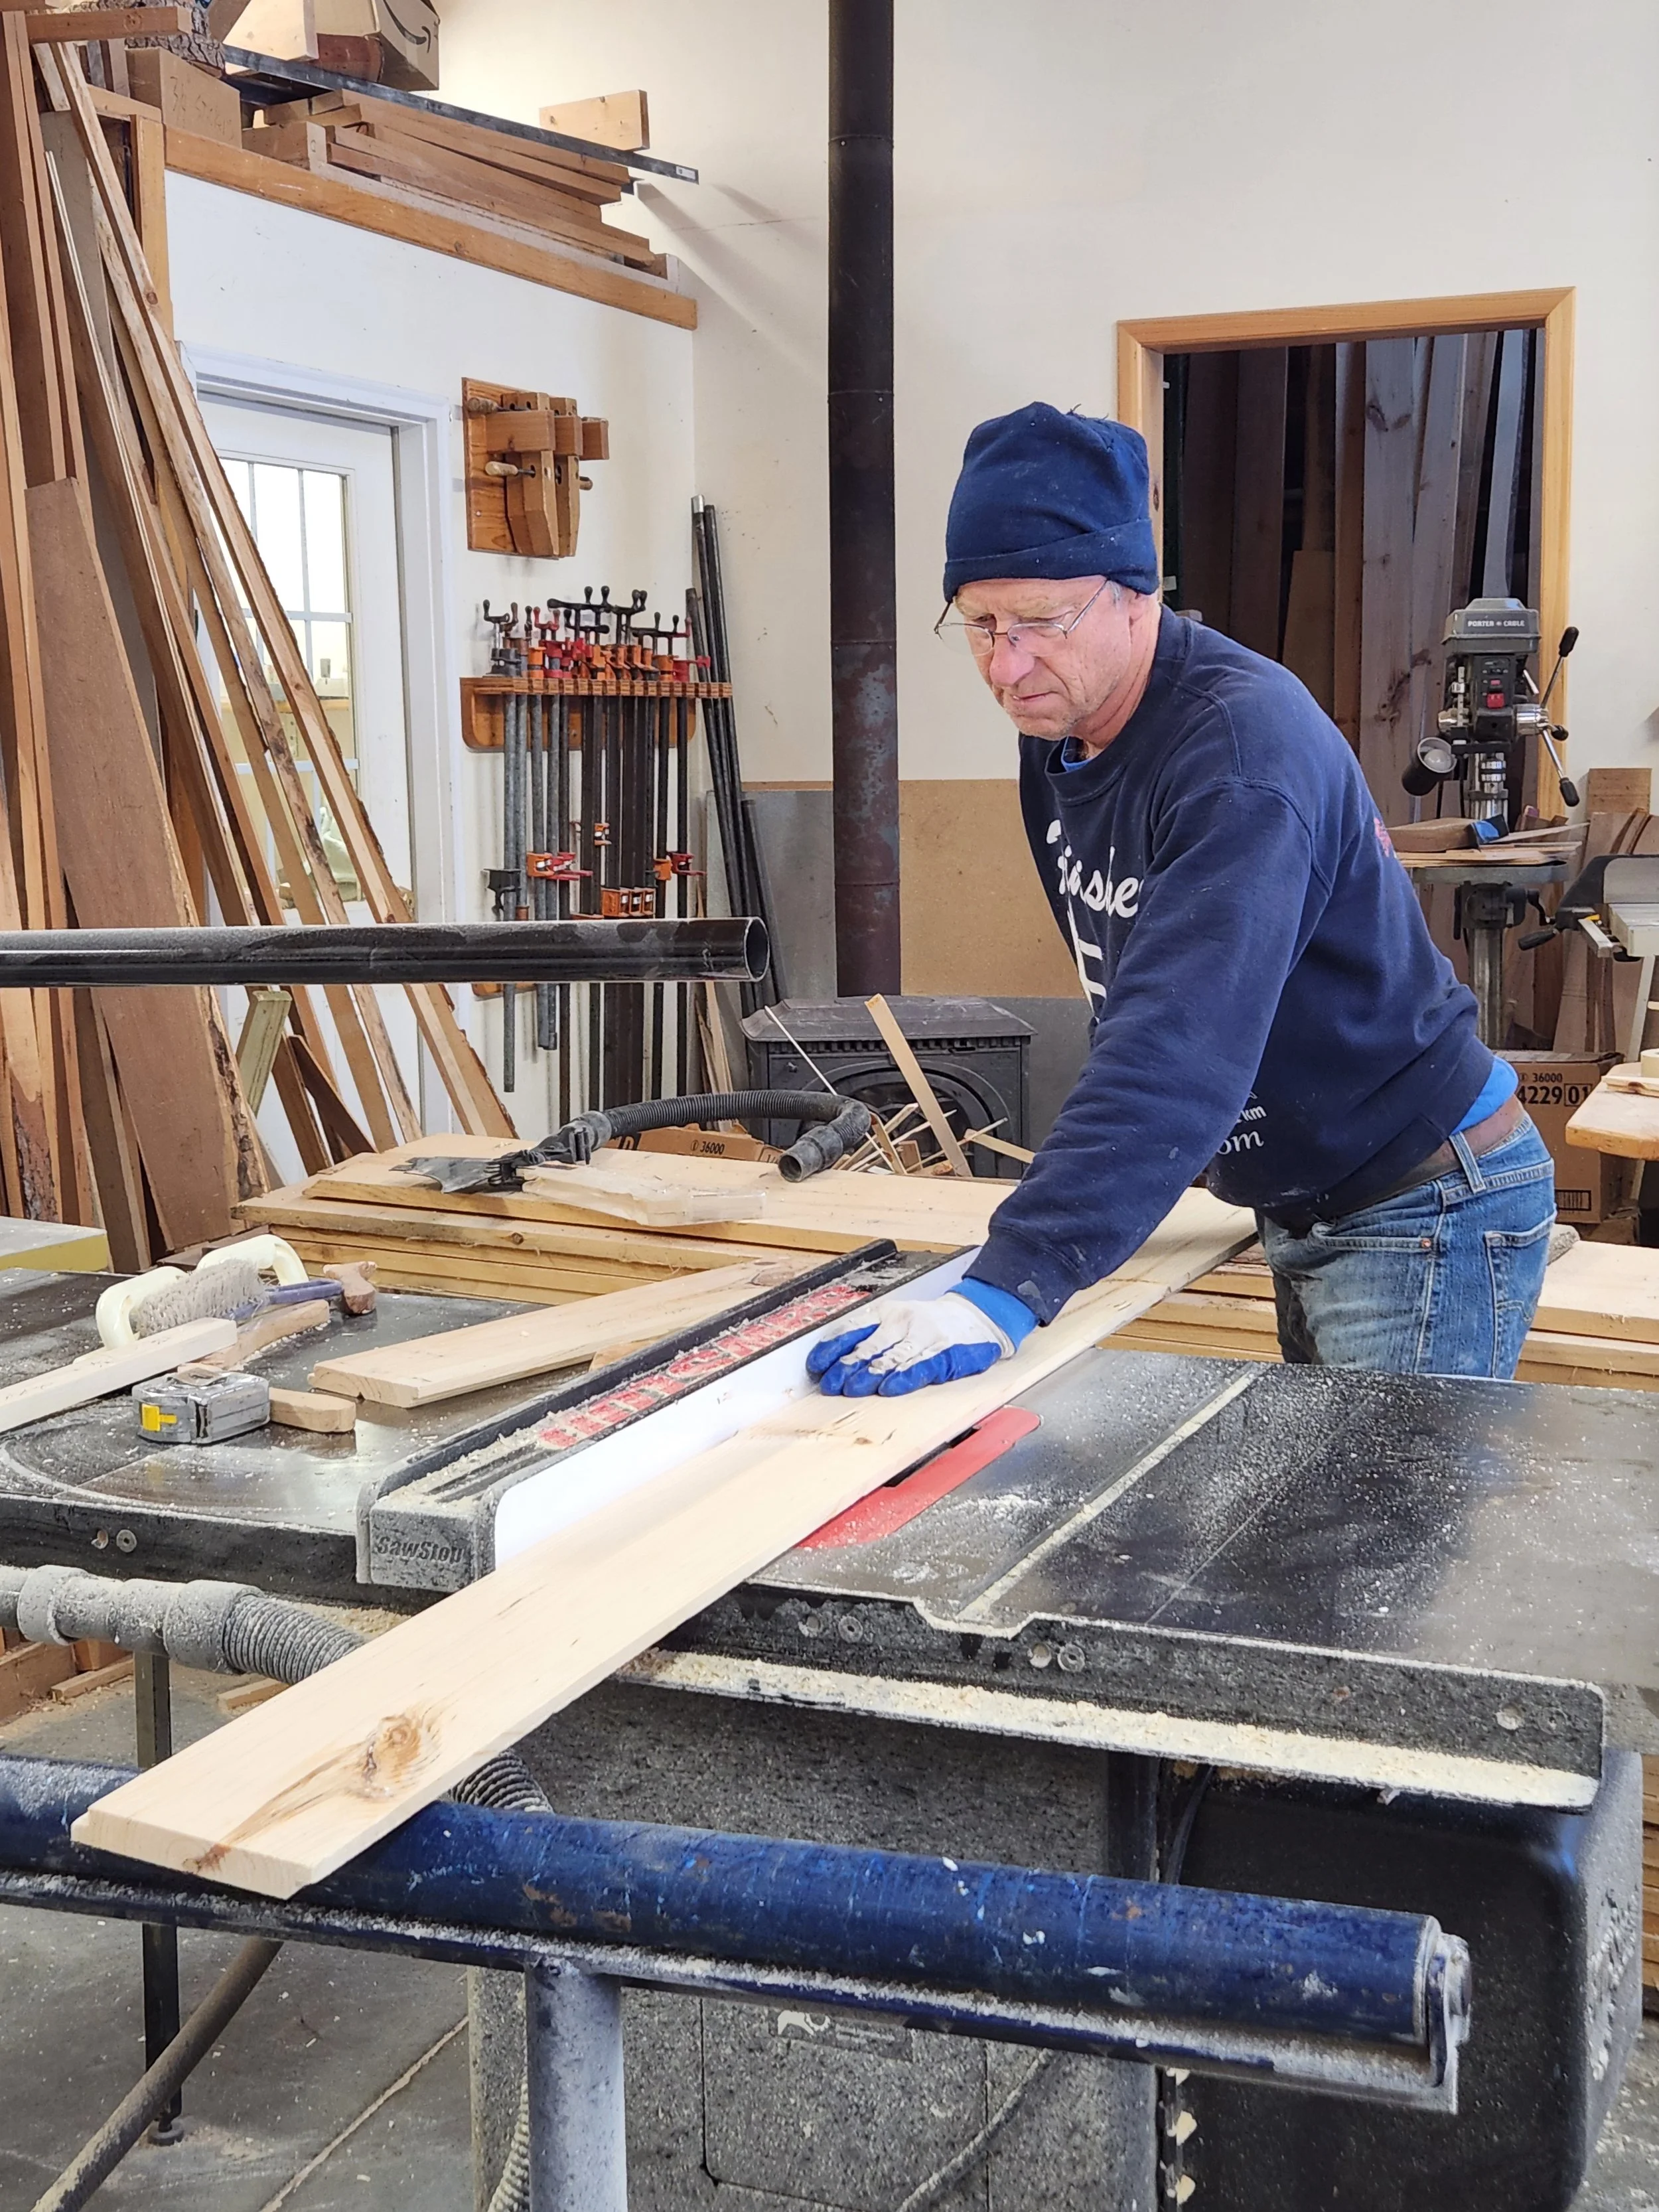
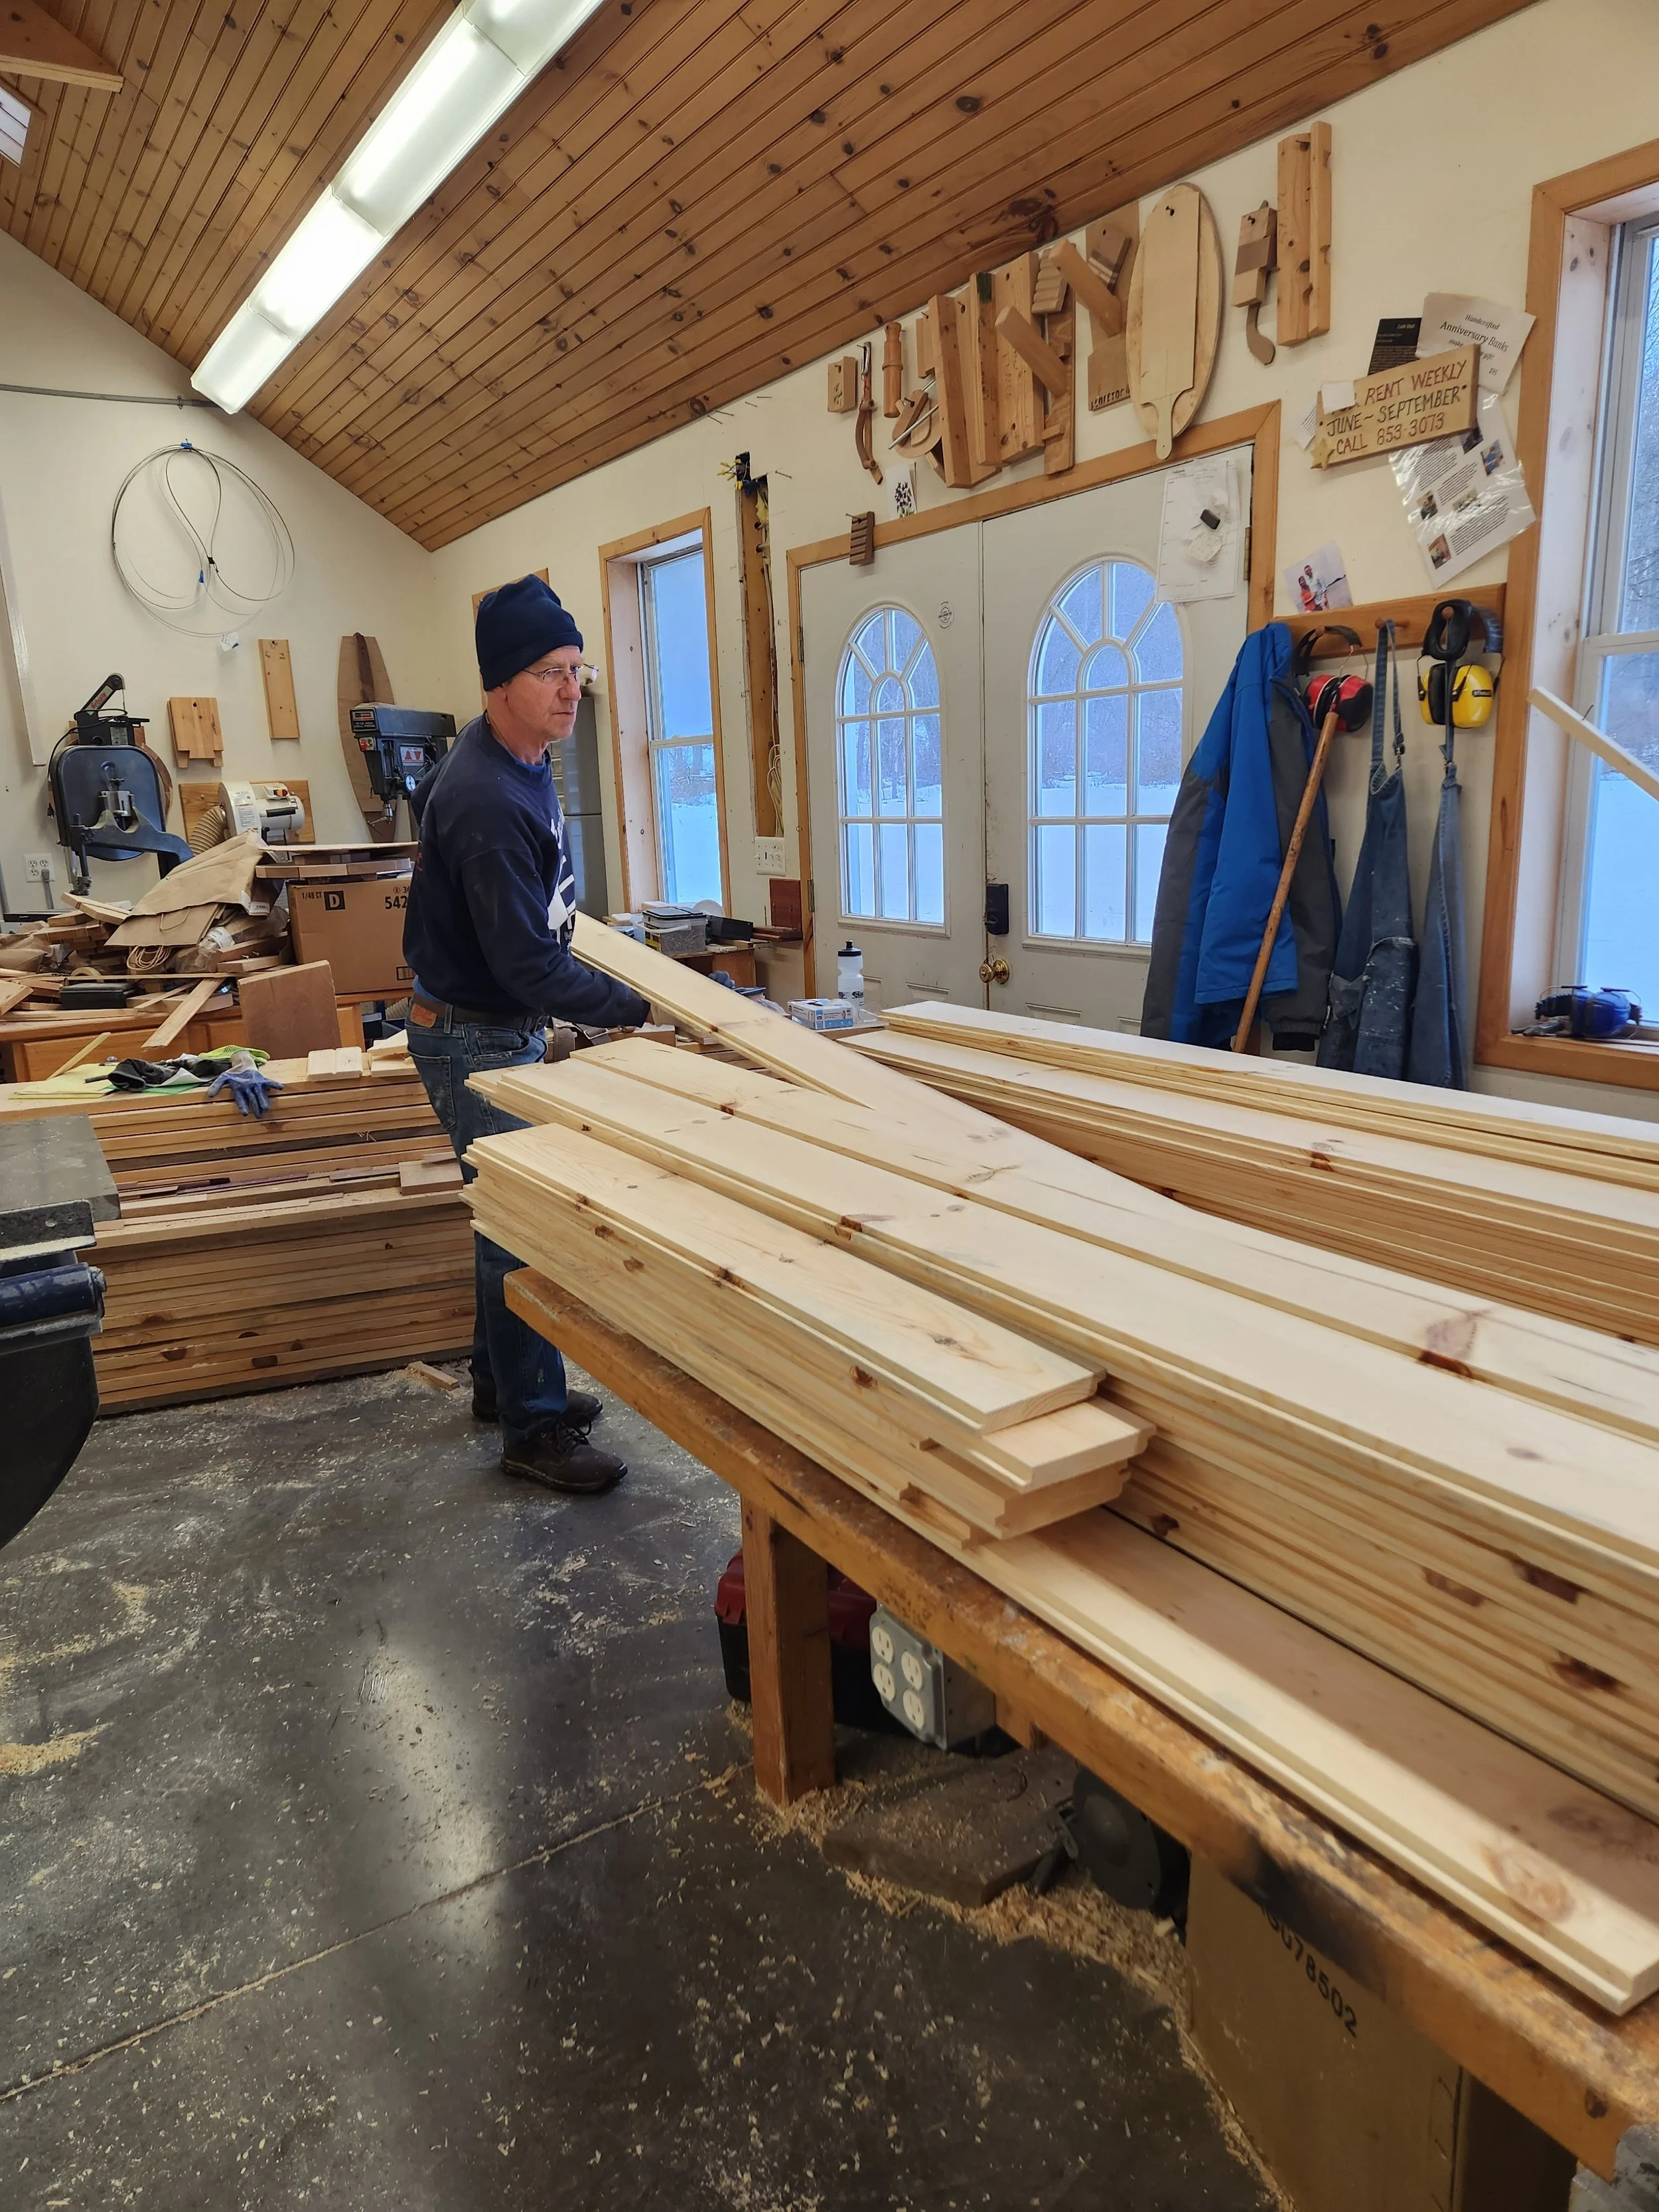
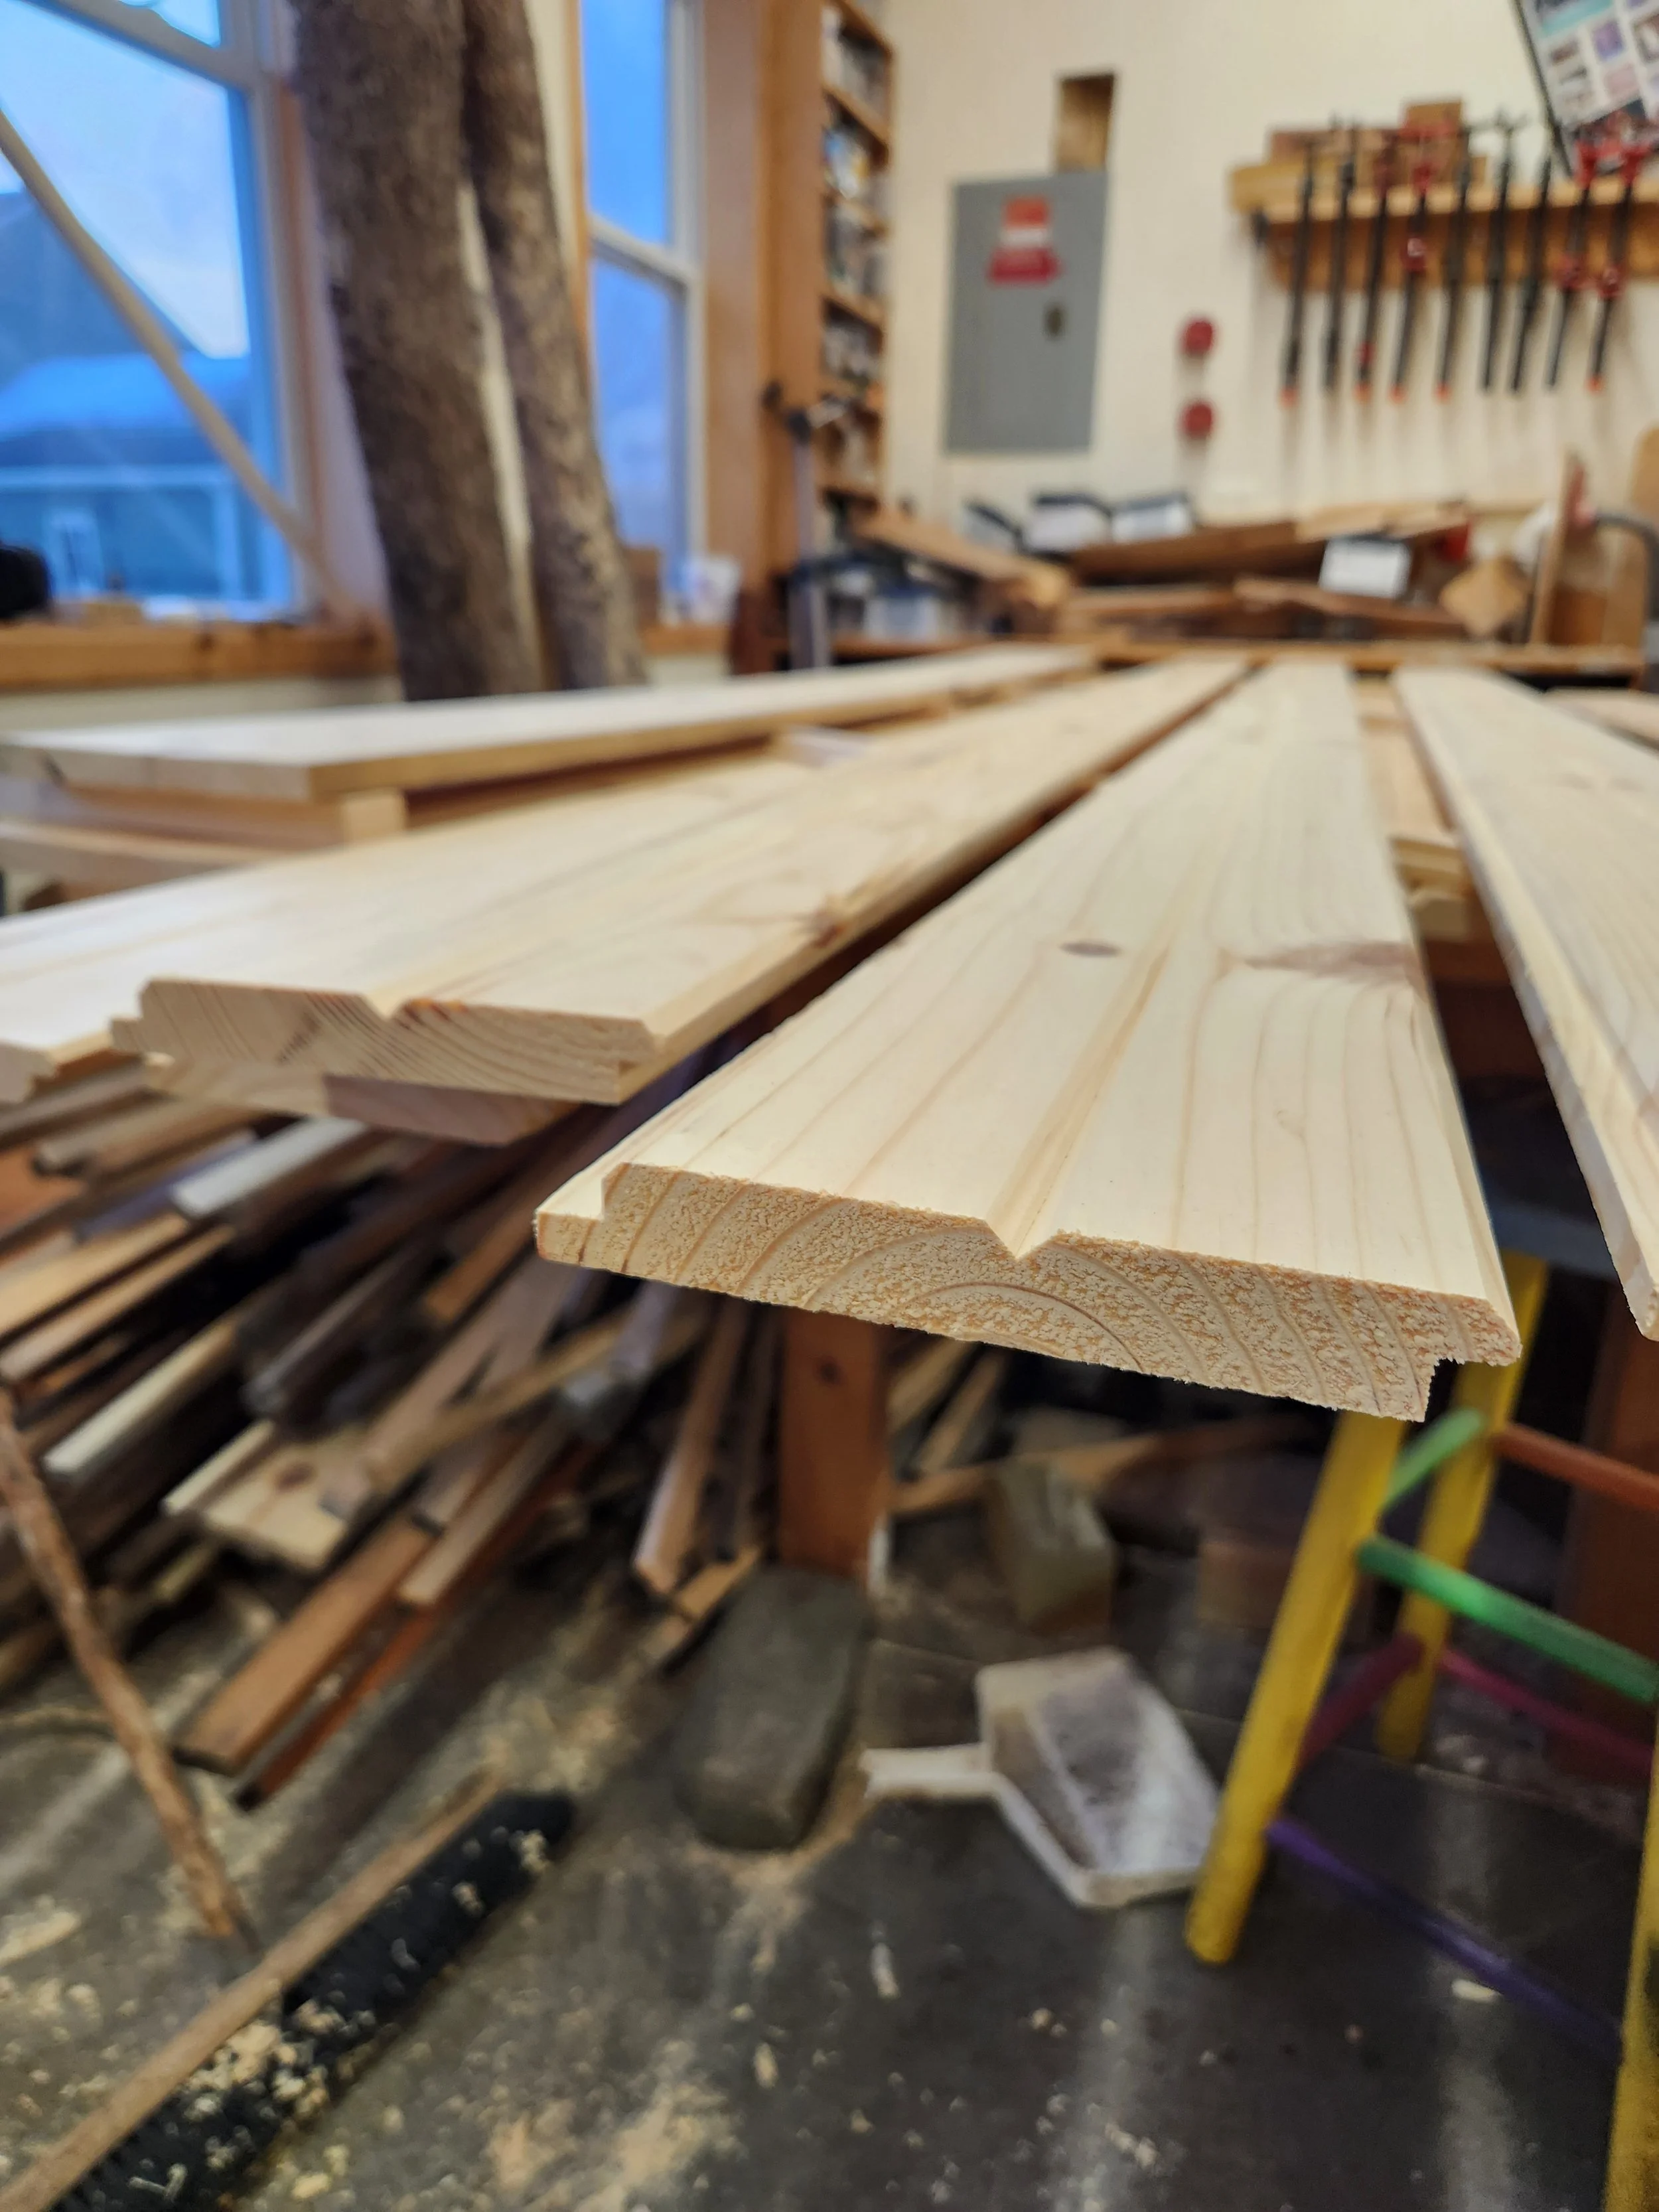
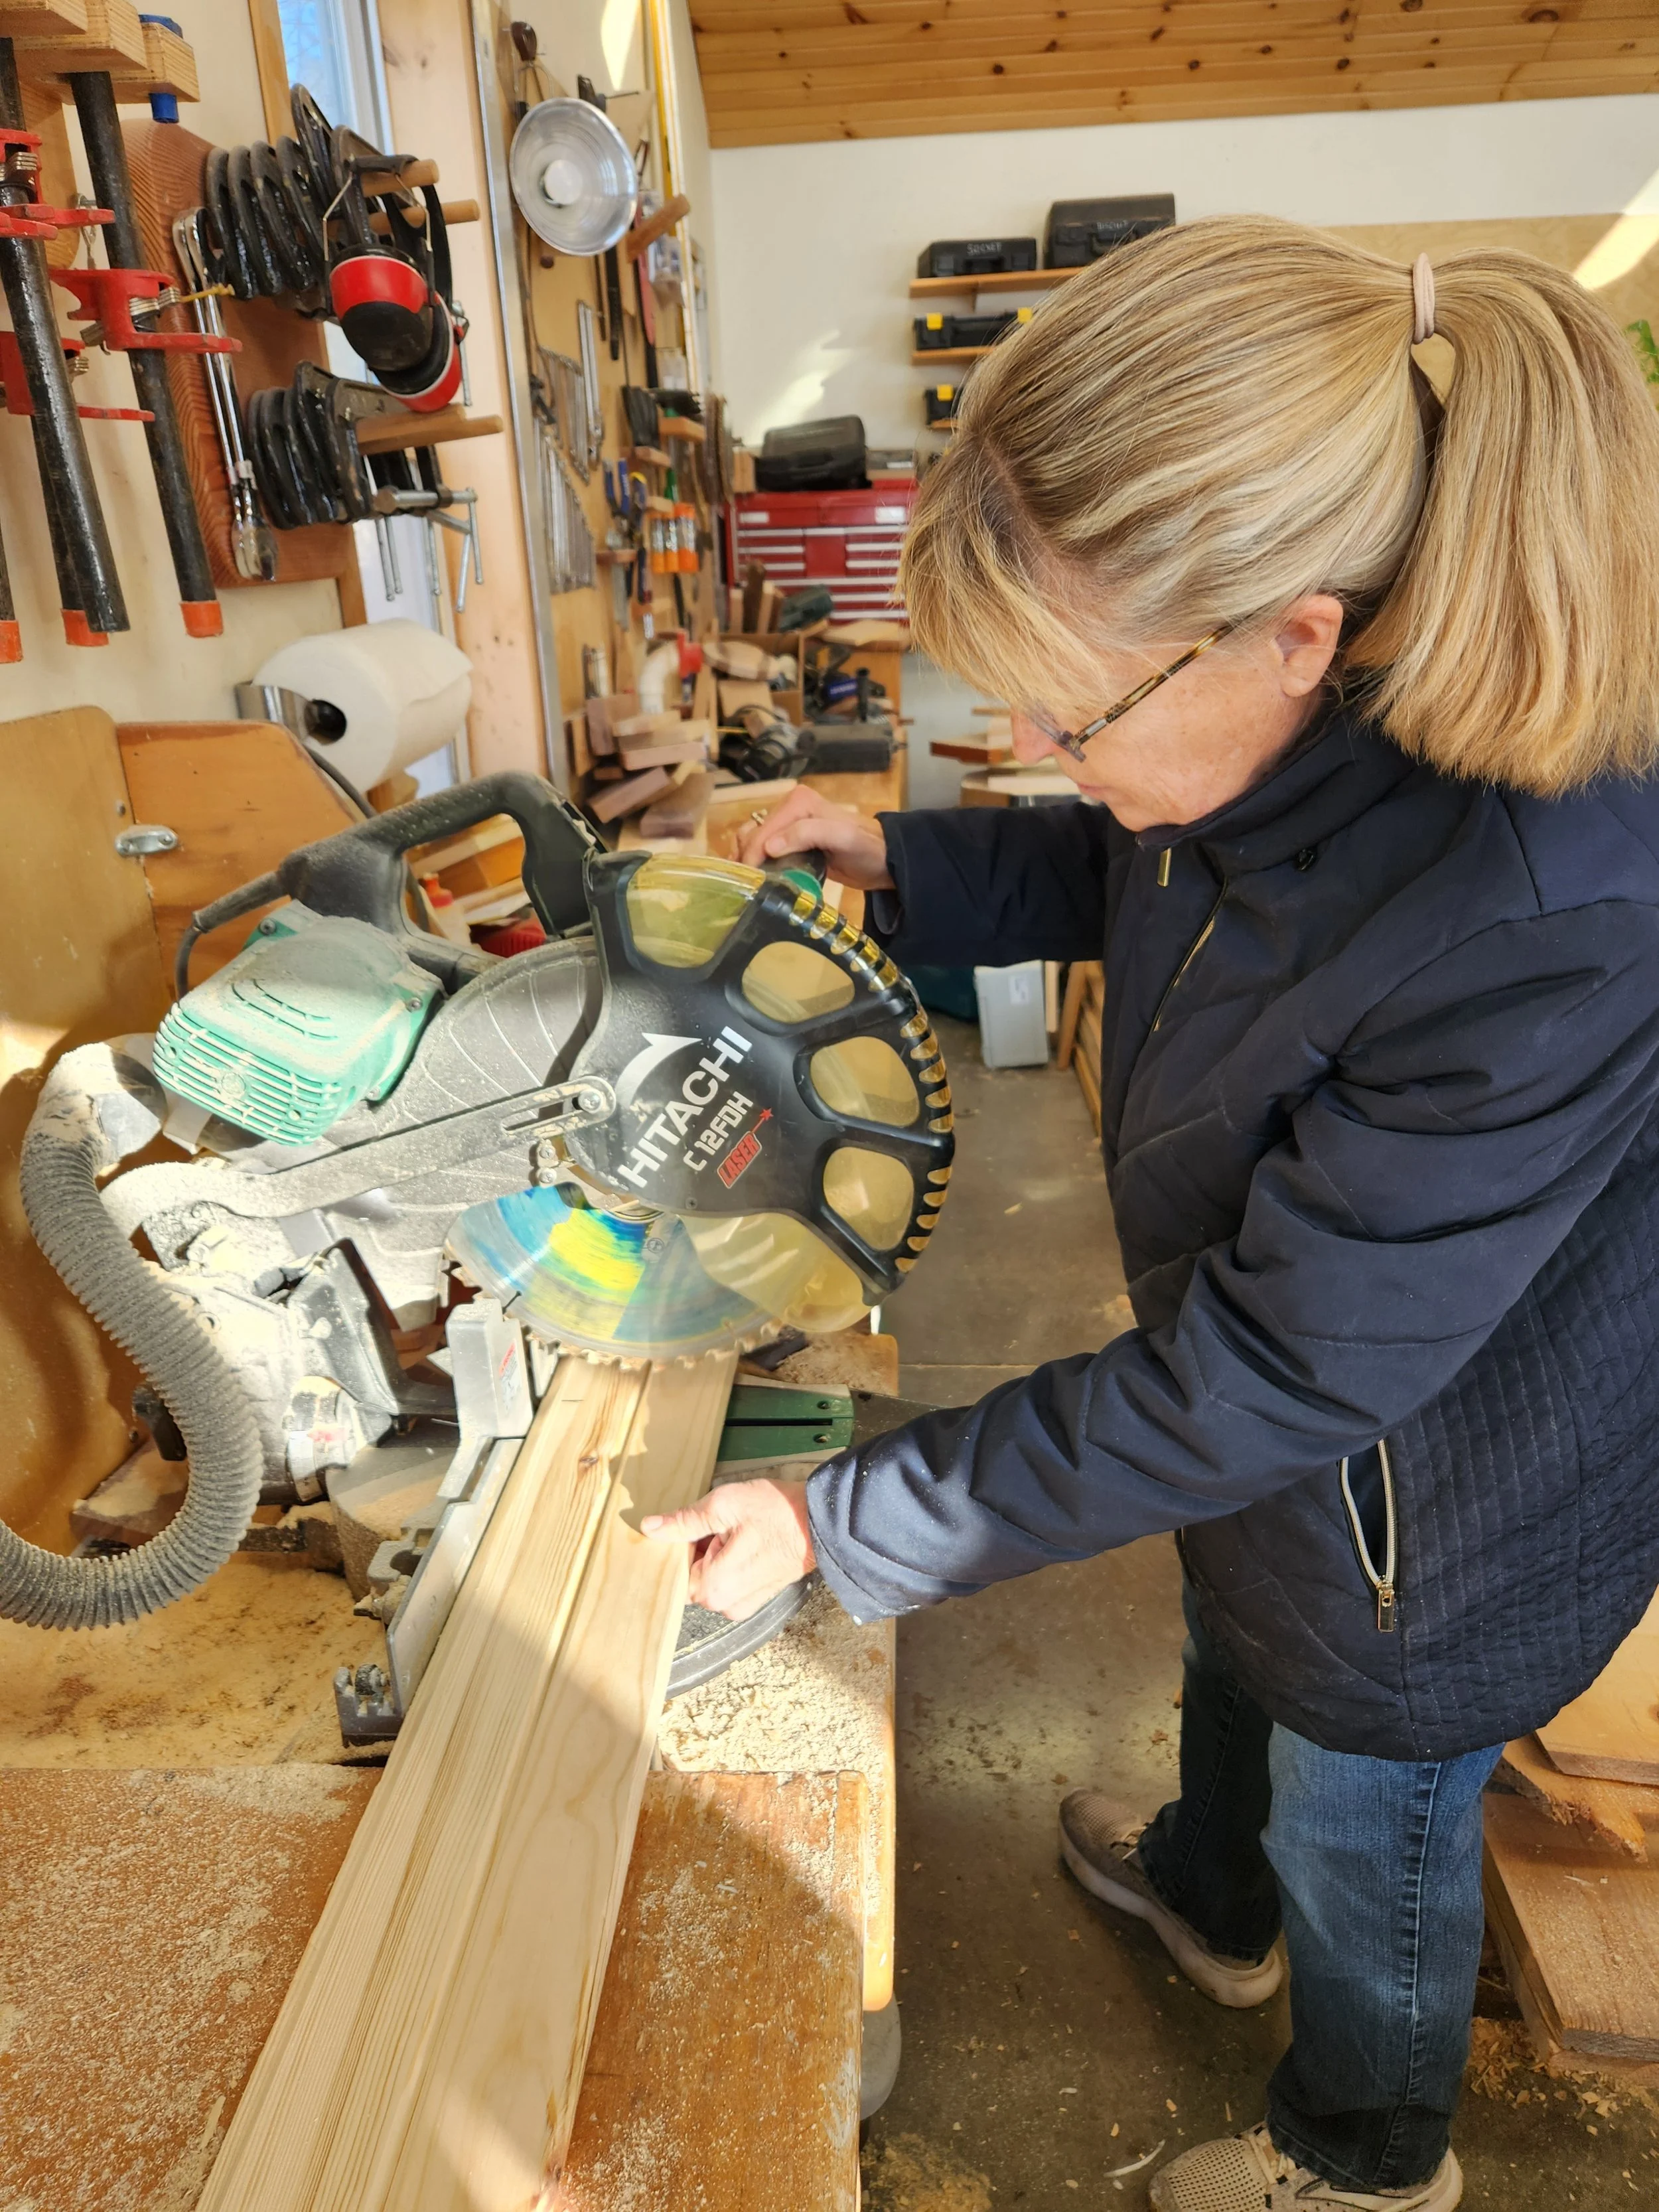
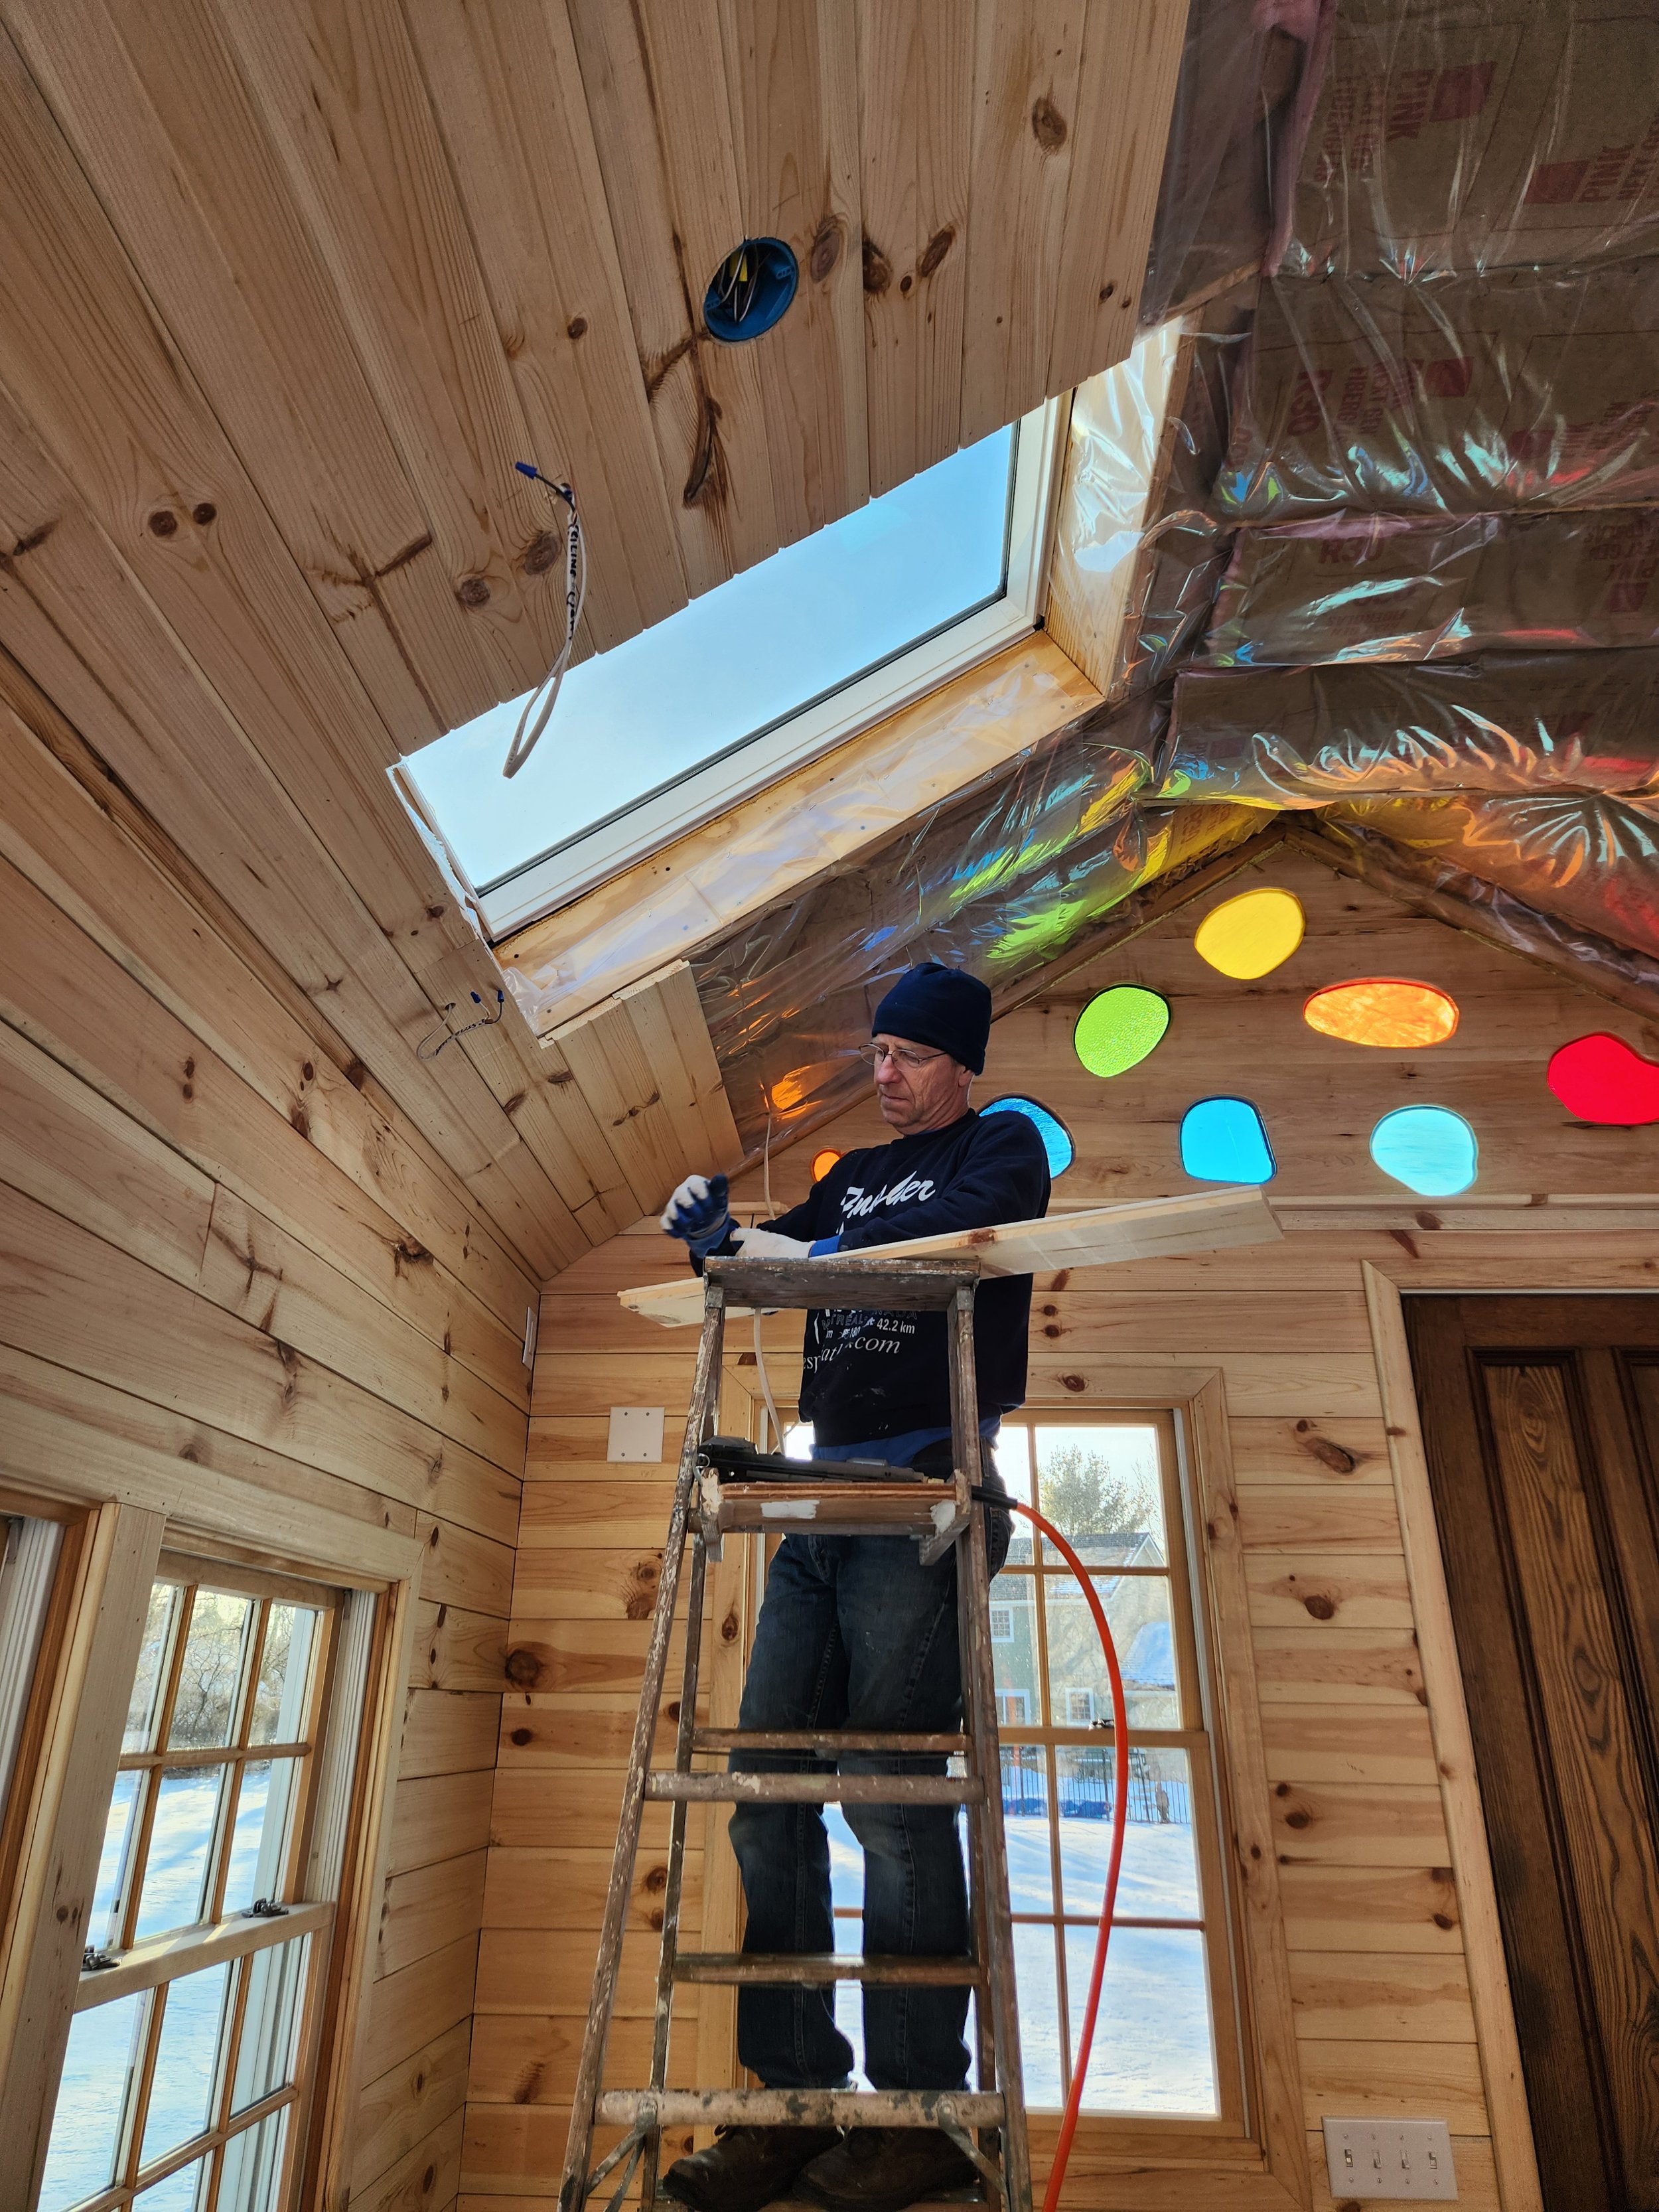
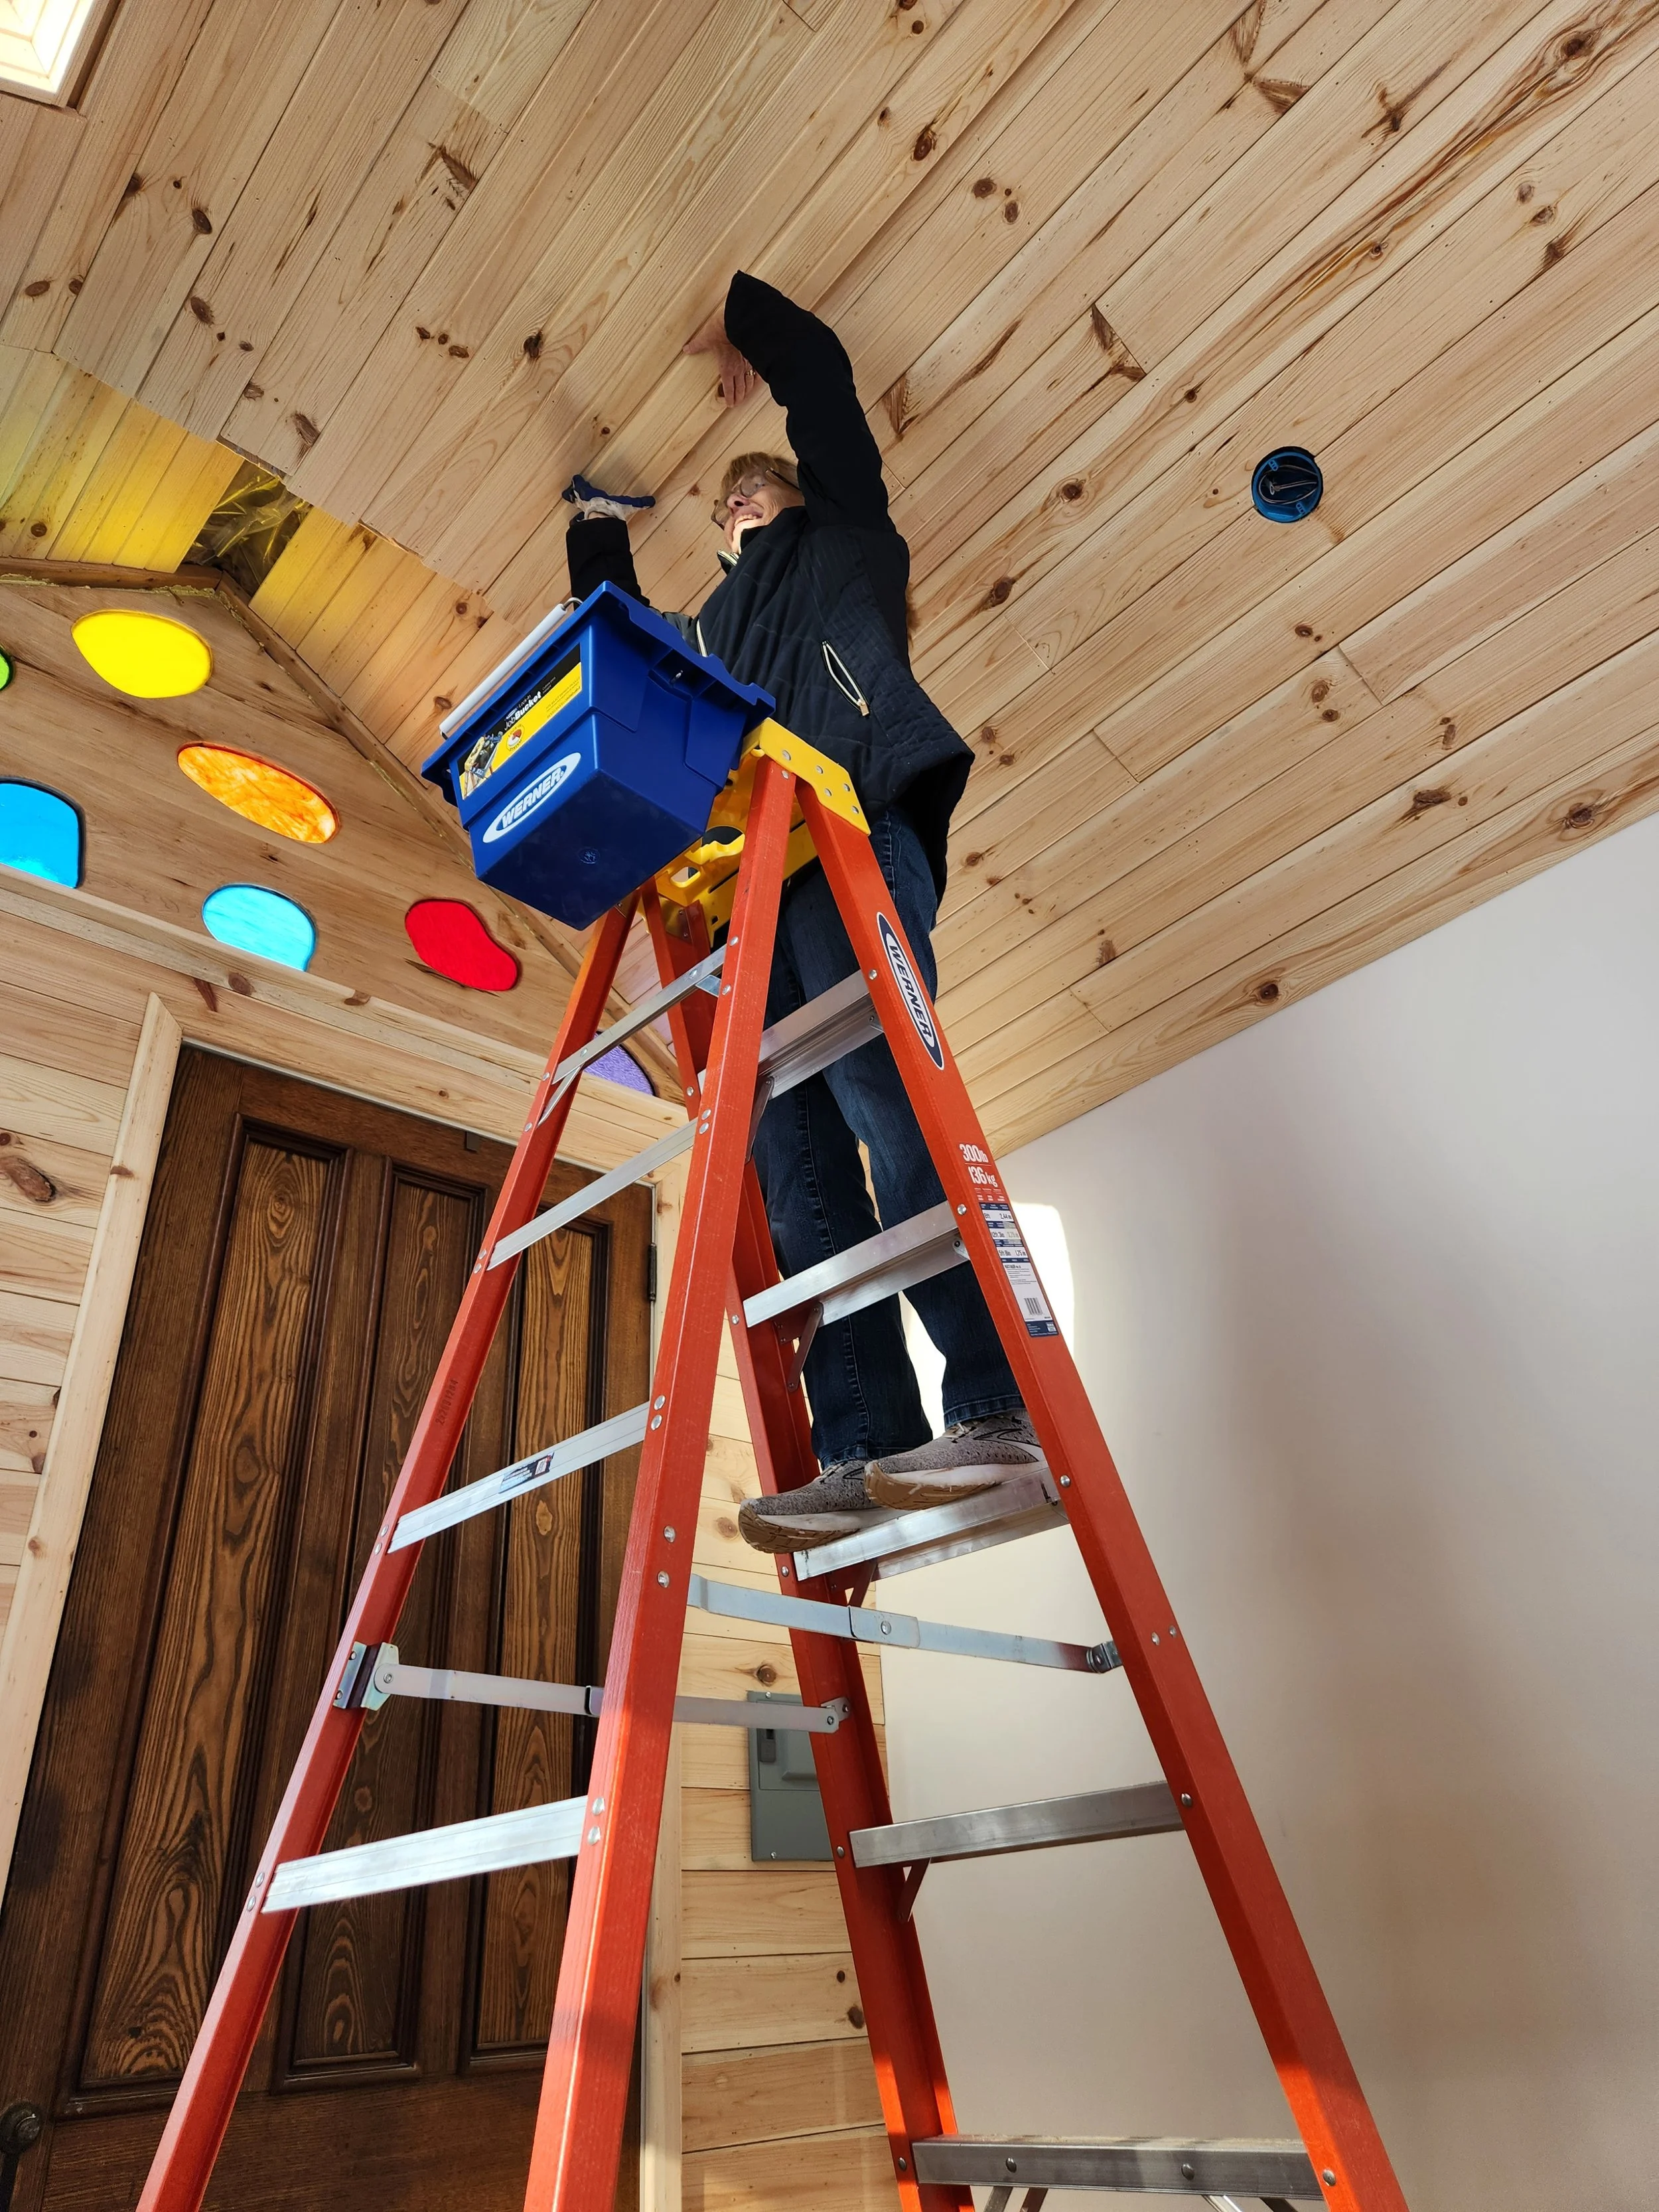
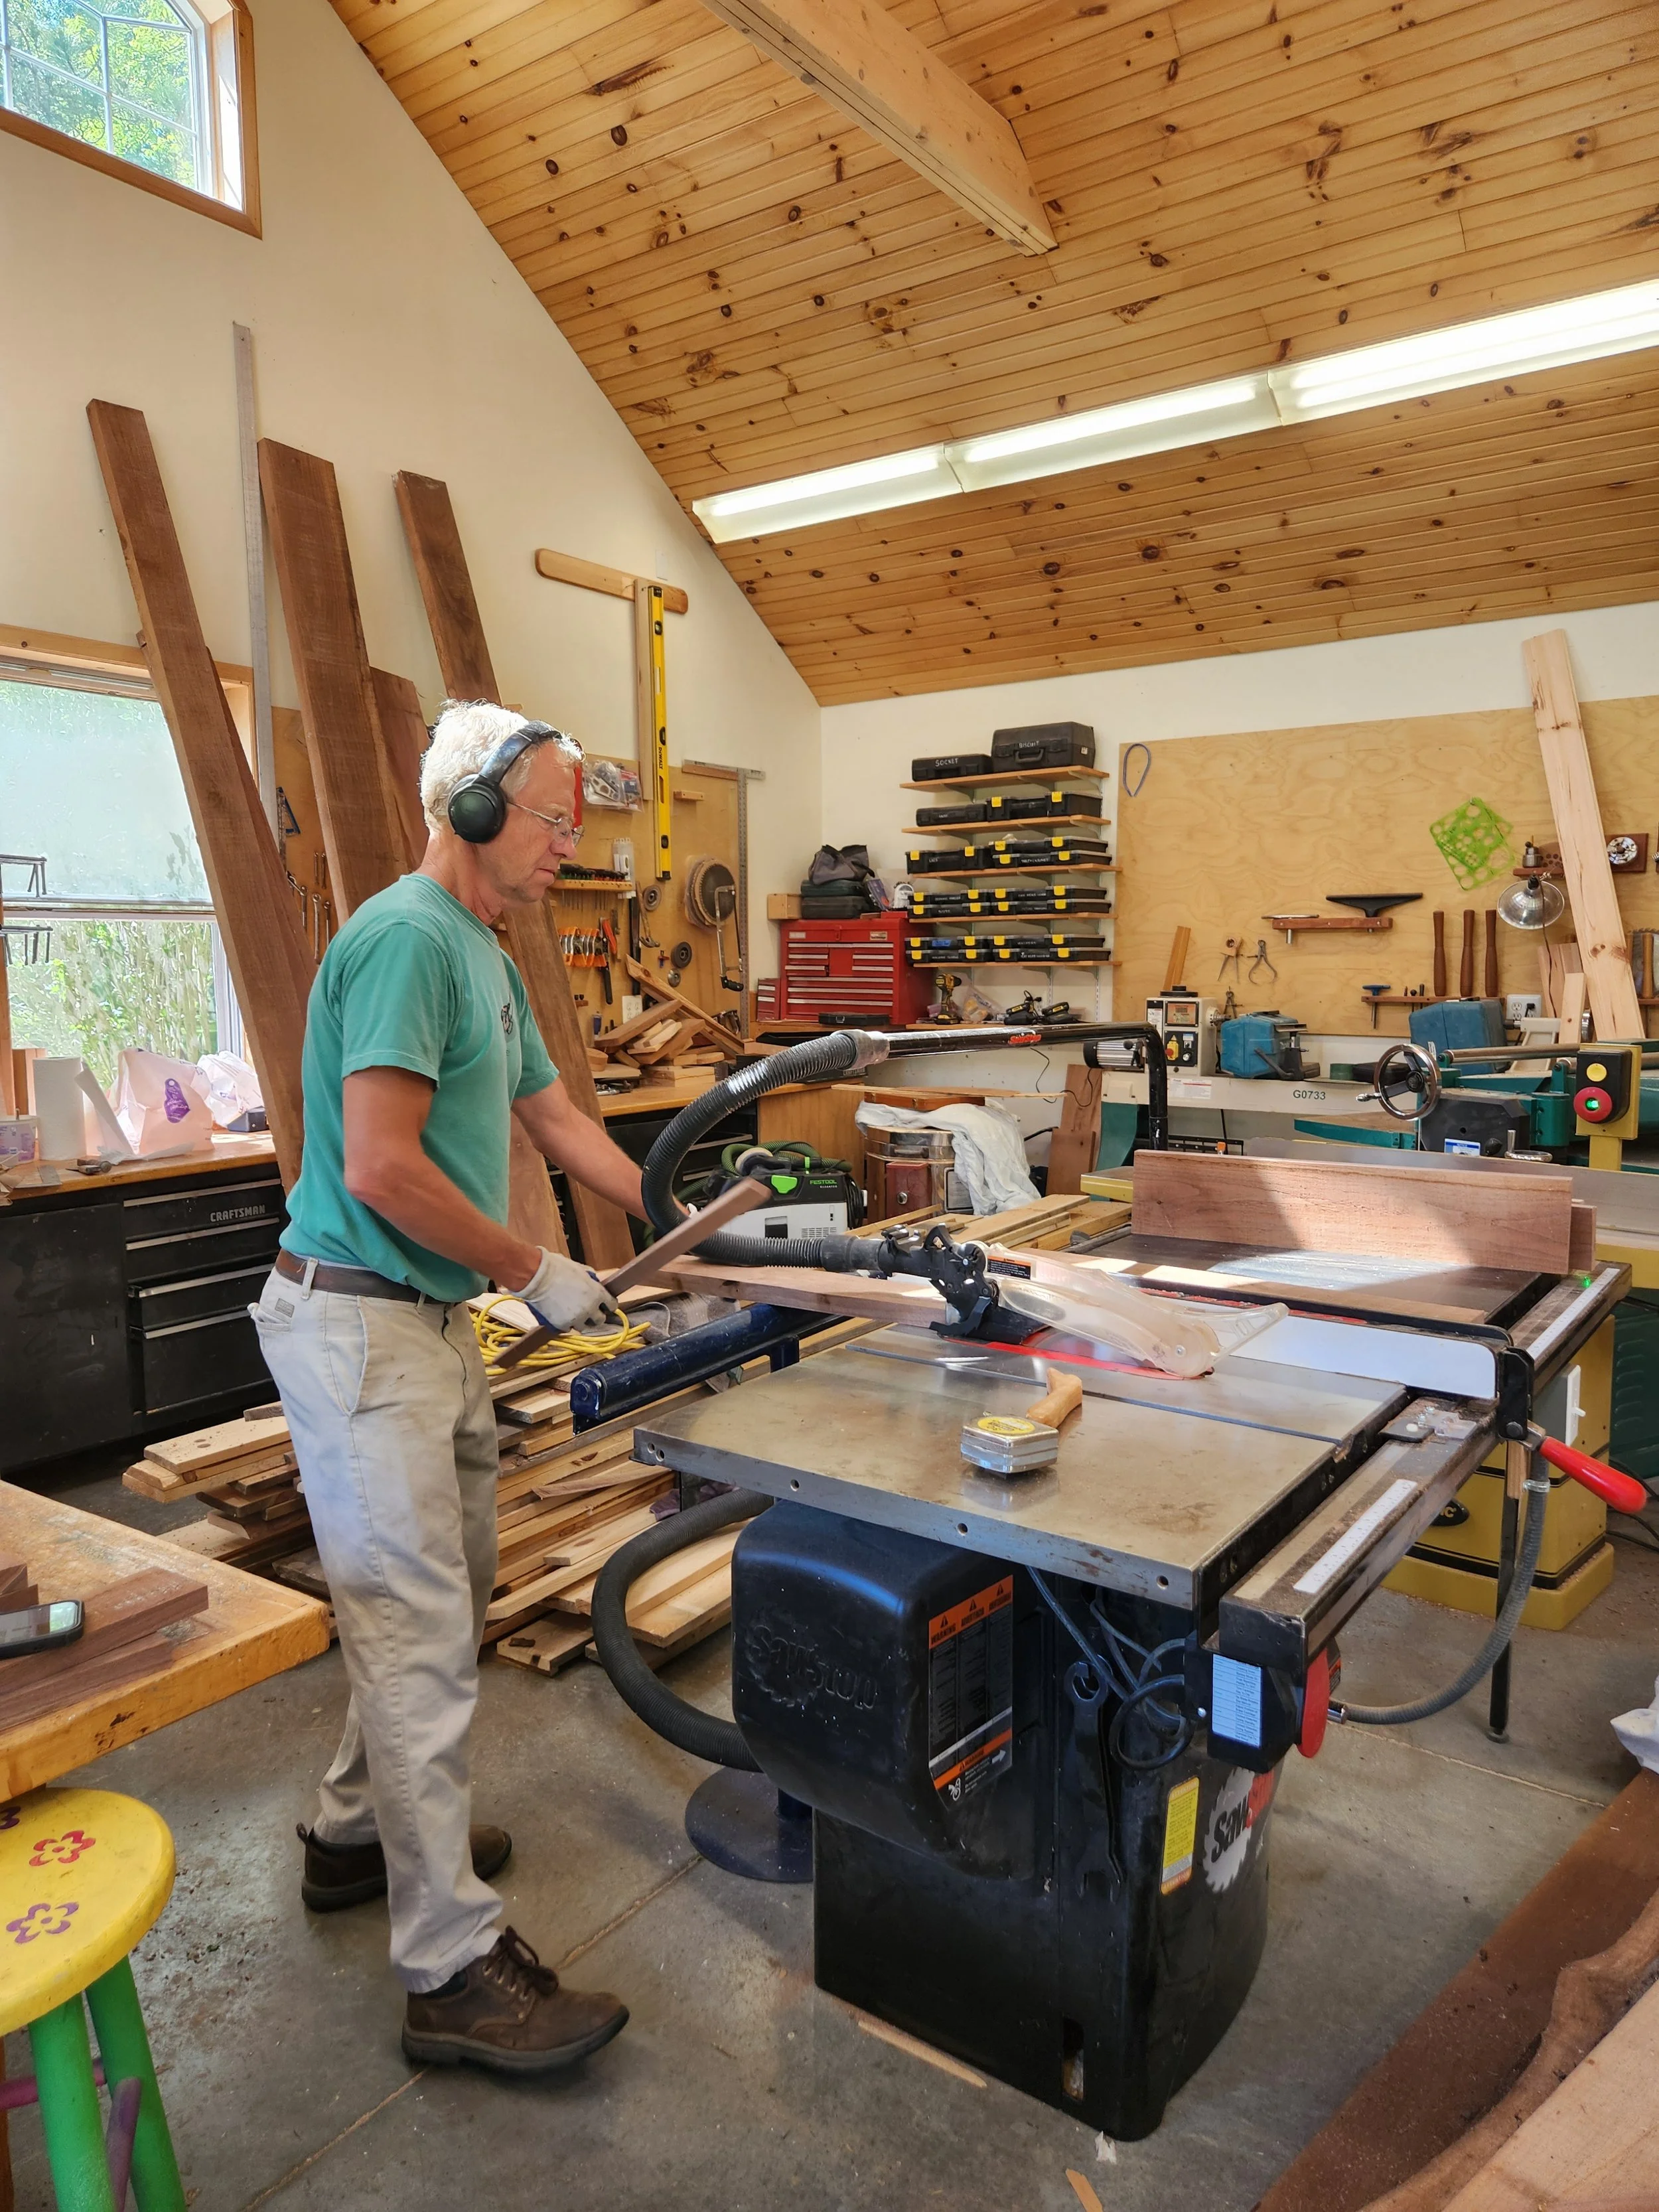
All of the wood for the interior was harvested a couple of years ago from the woods behind the studio. Moe milled each rough-cut pine board into shiplap for the walls. He crafted each tongue-and-groove piece for the ceiling. Every board was cut, sanded and carefully installed, creating warm walls that highlight the wood's natural beauty.
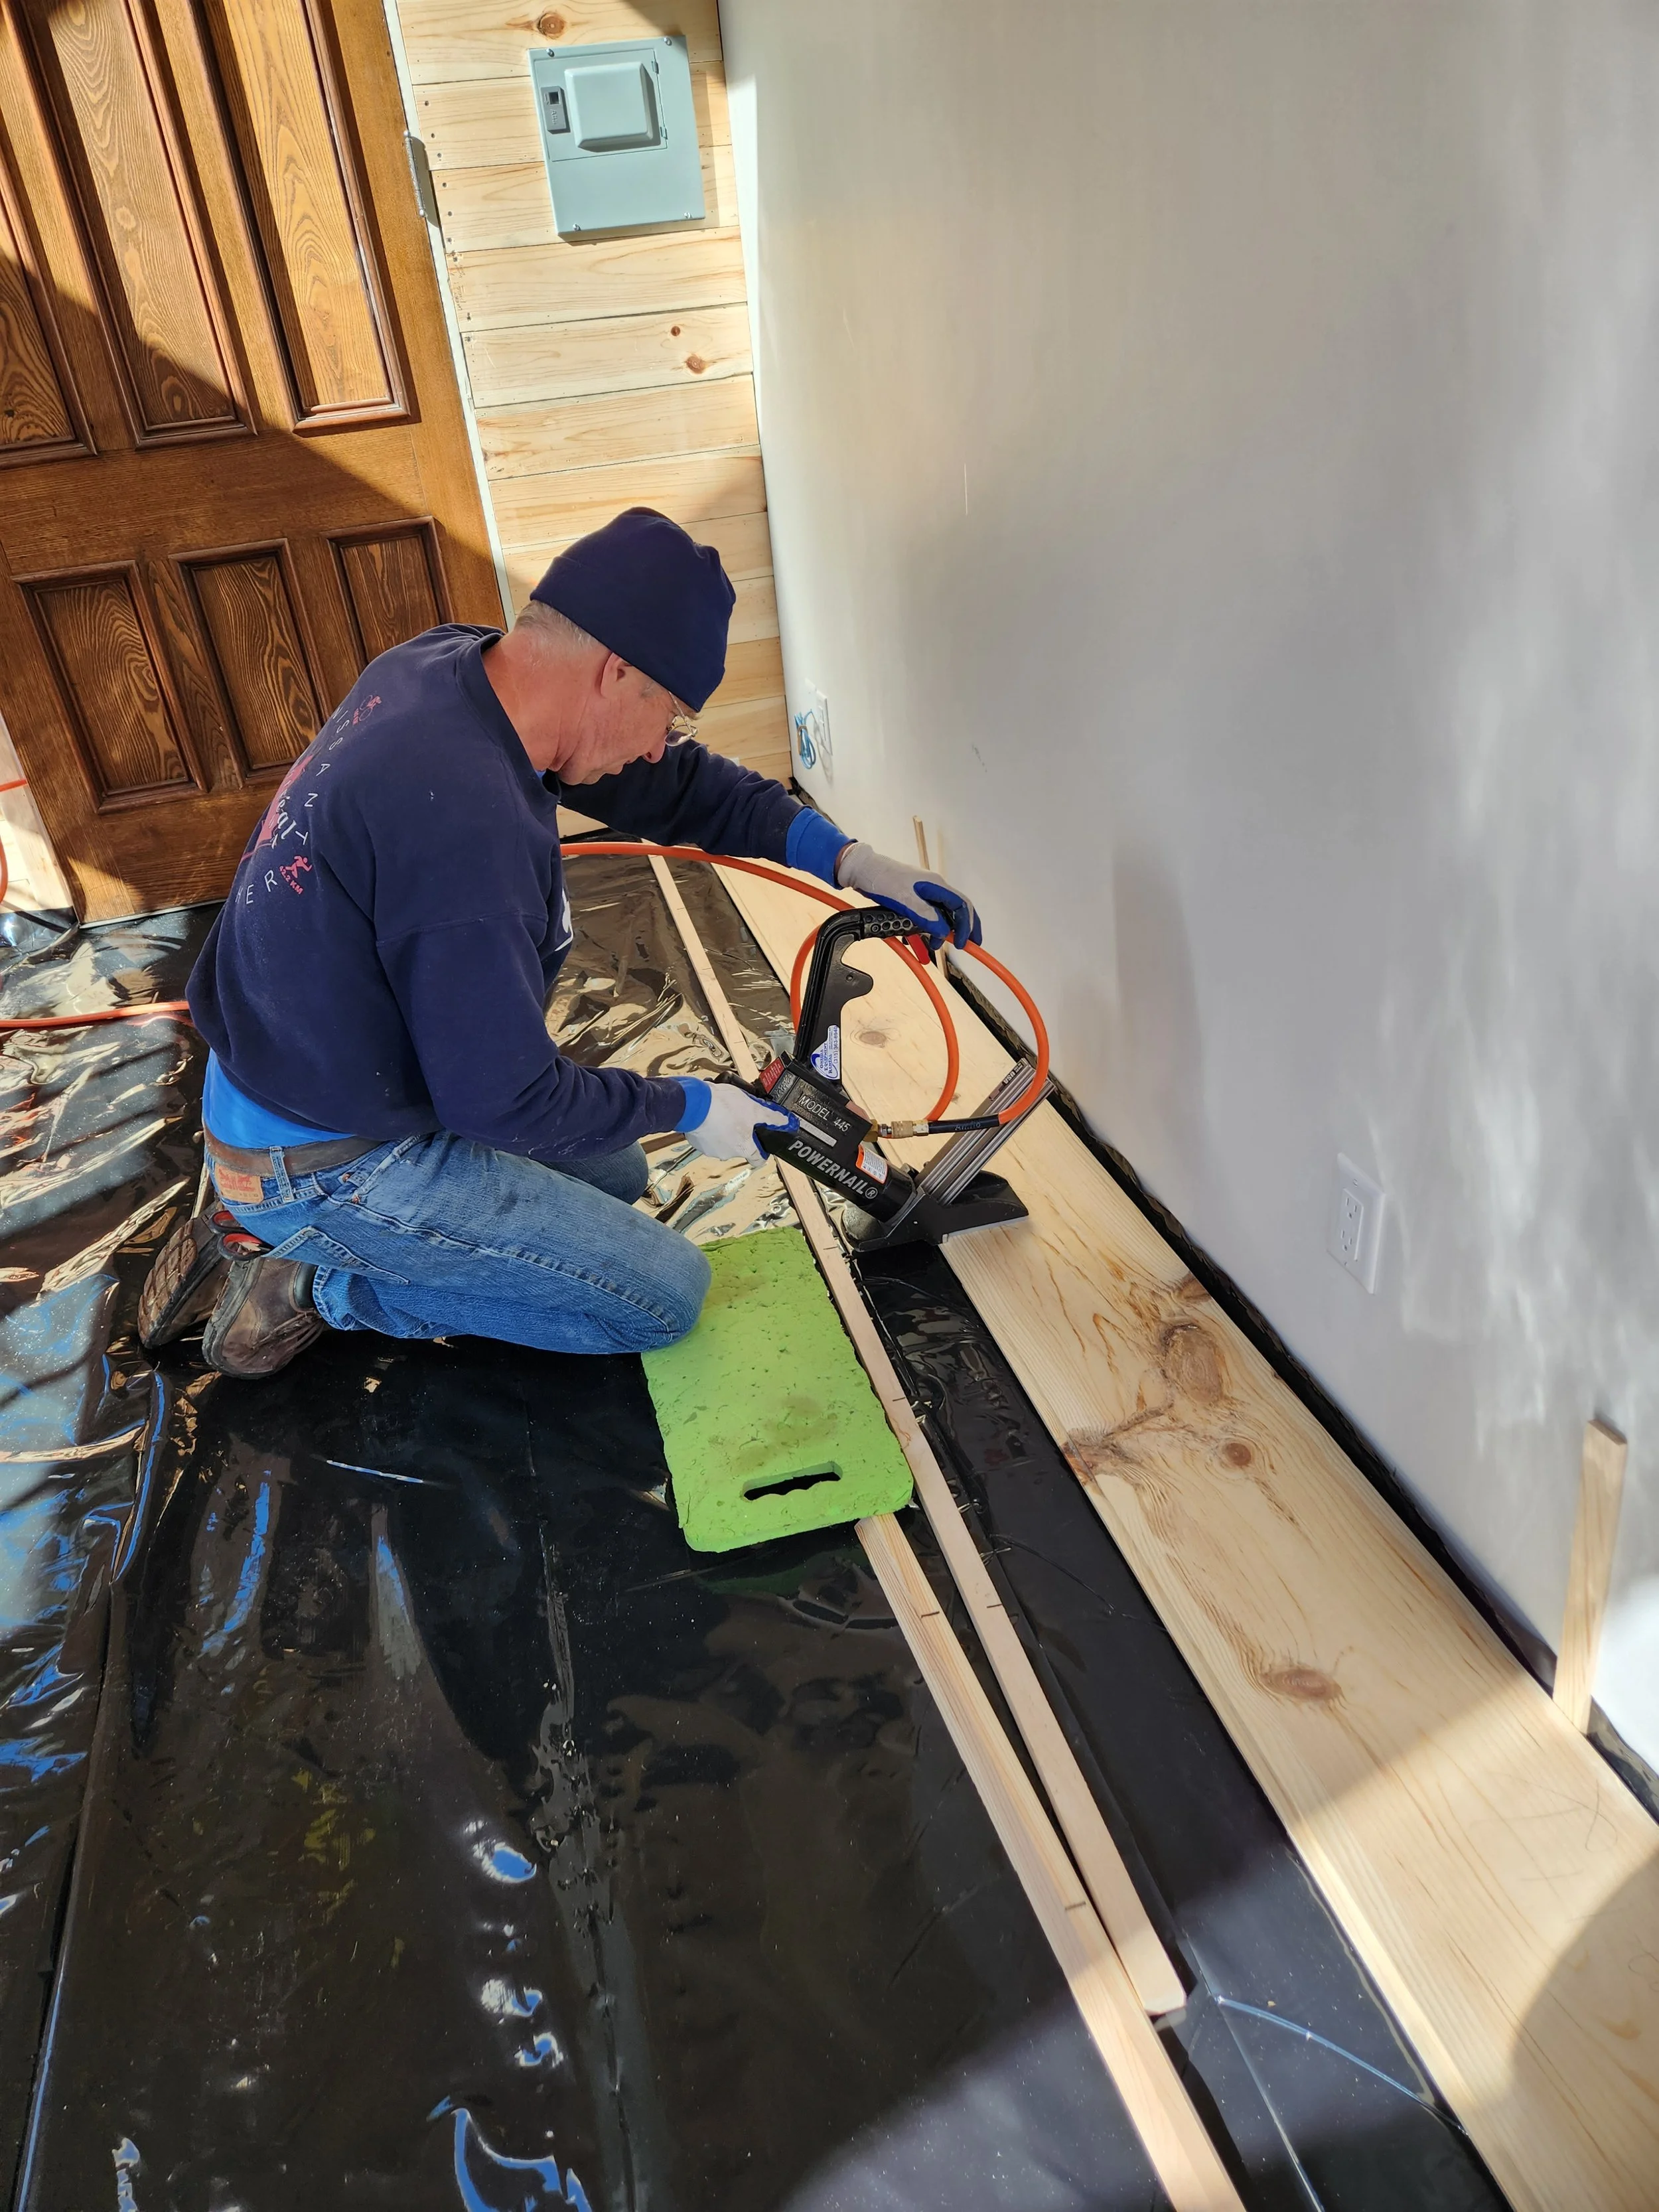
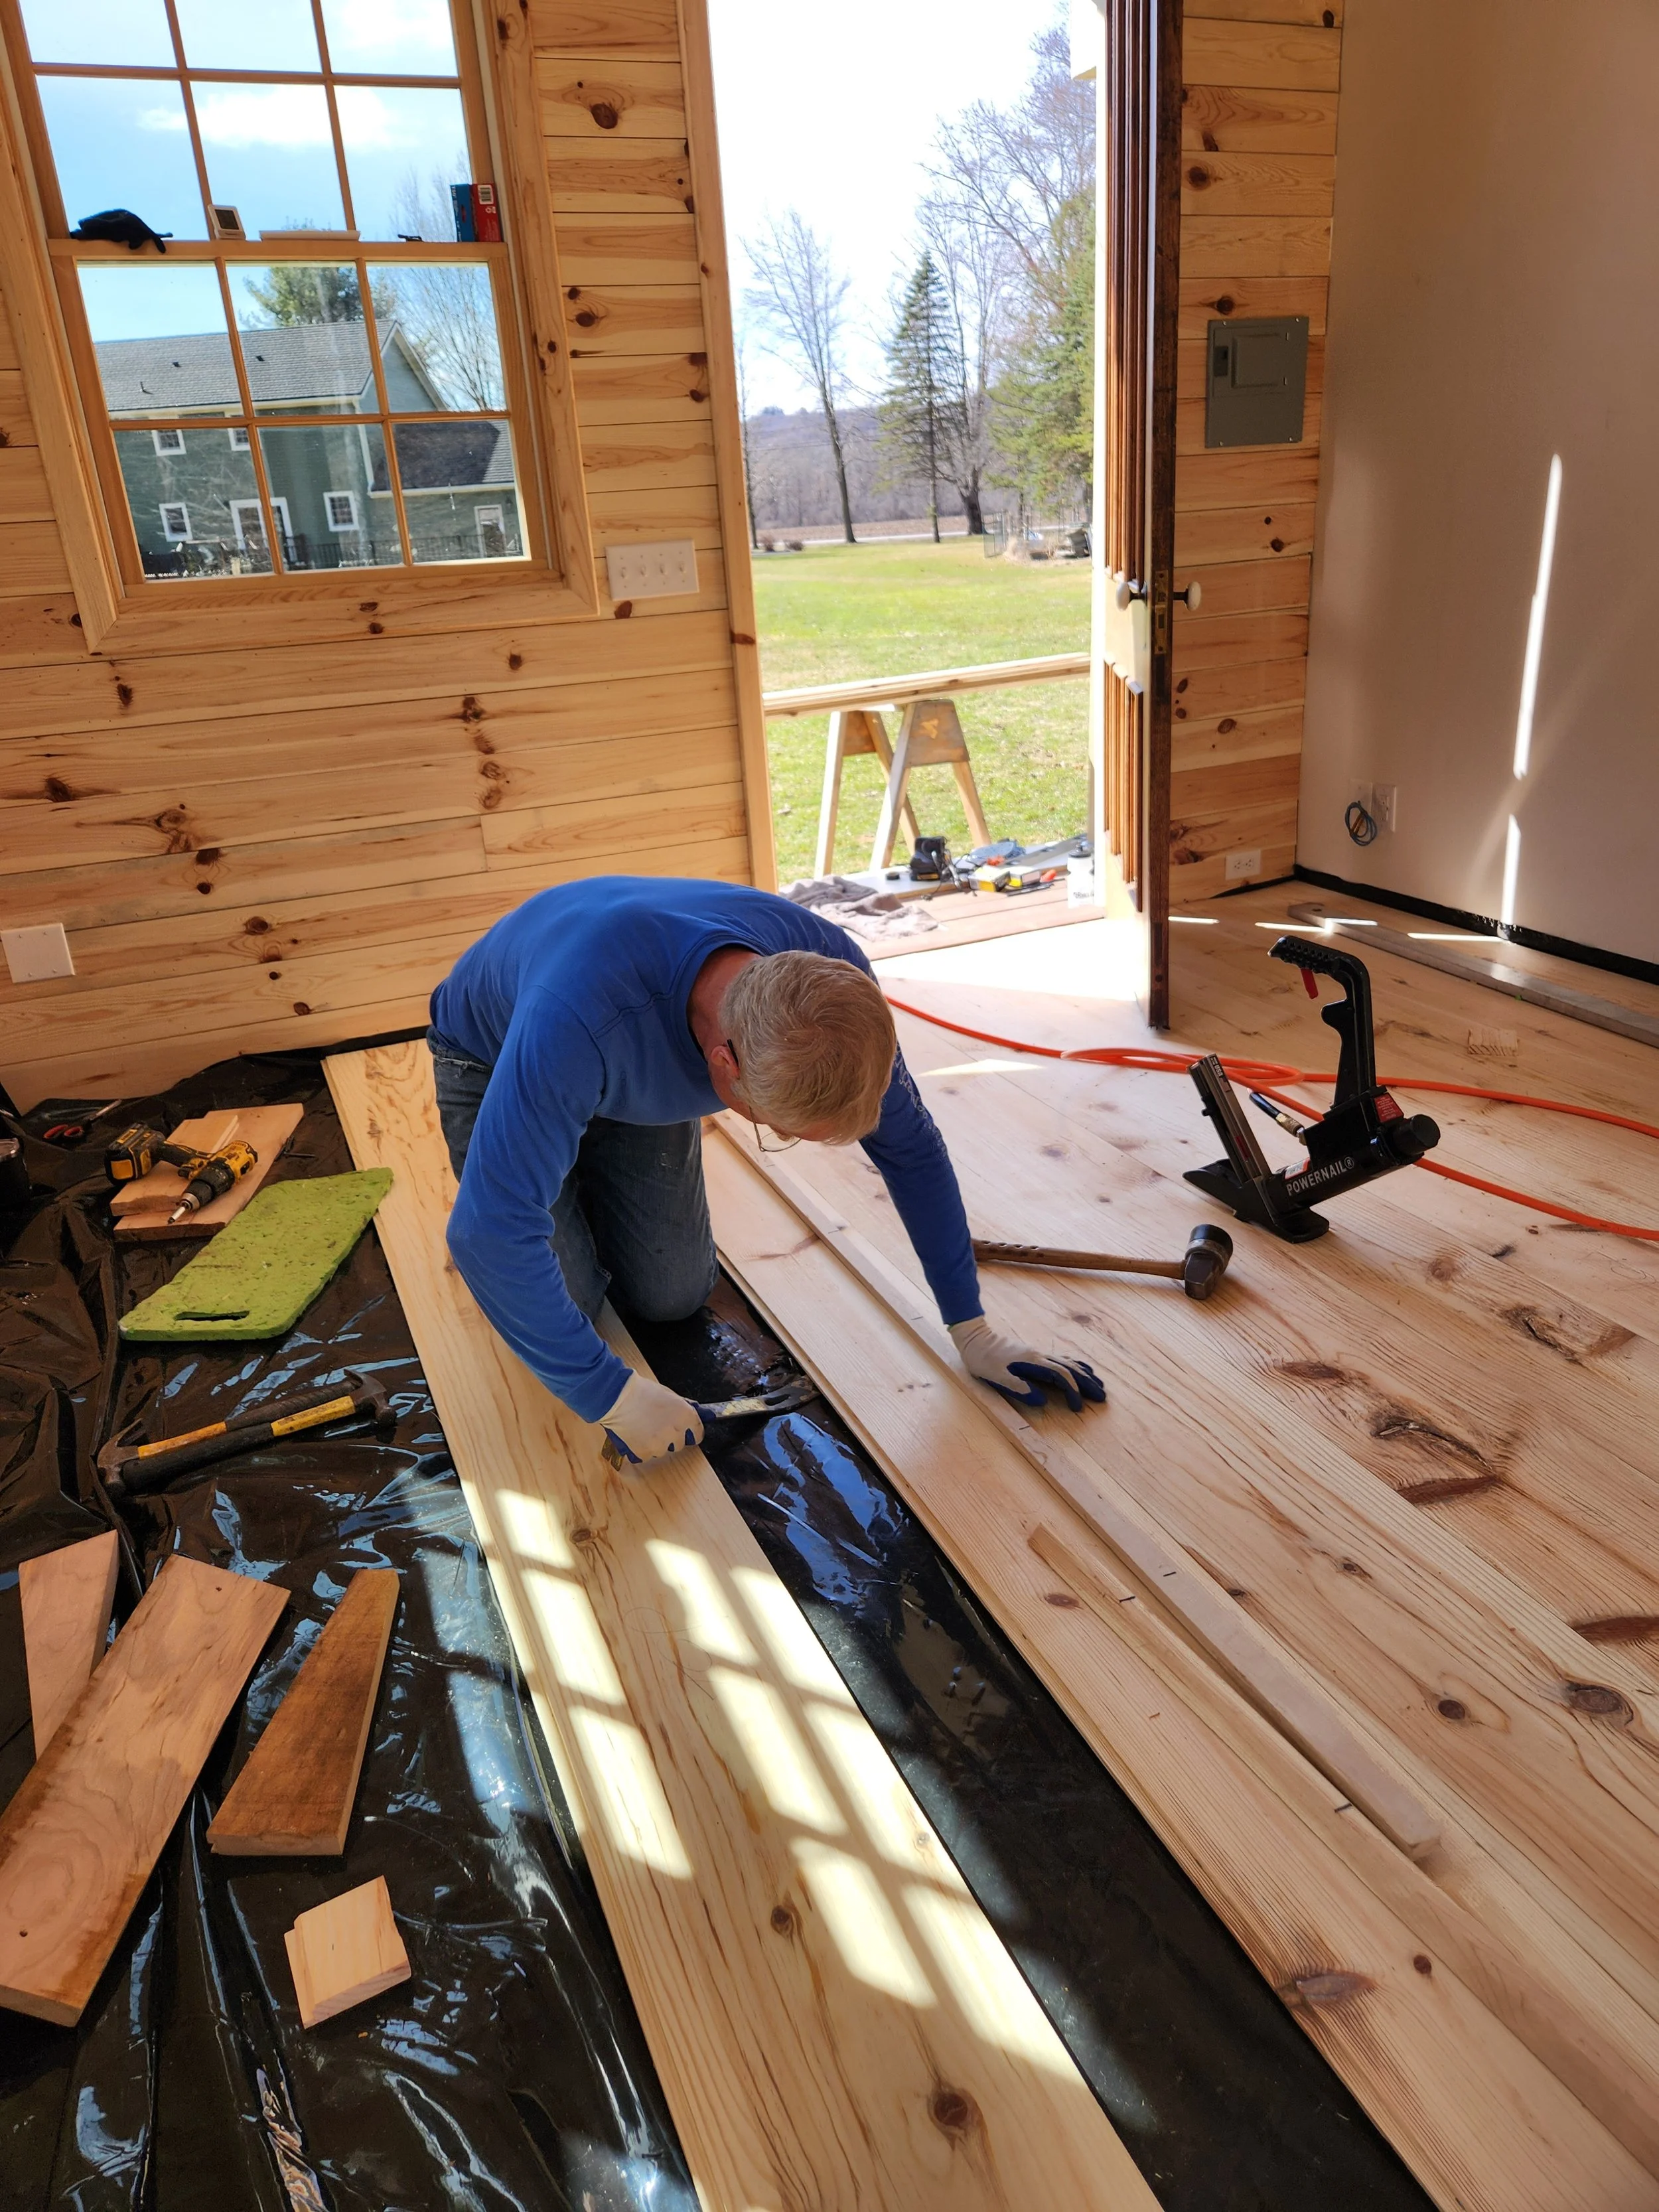
Wide Plank Pine Floors Full of Character
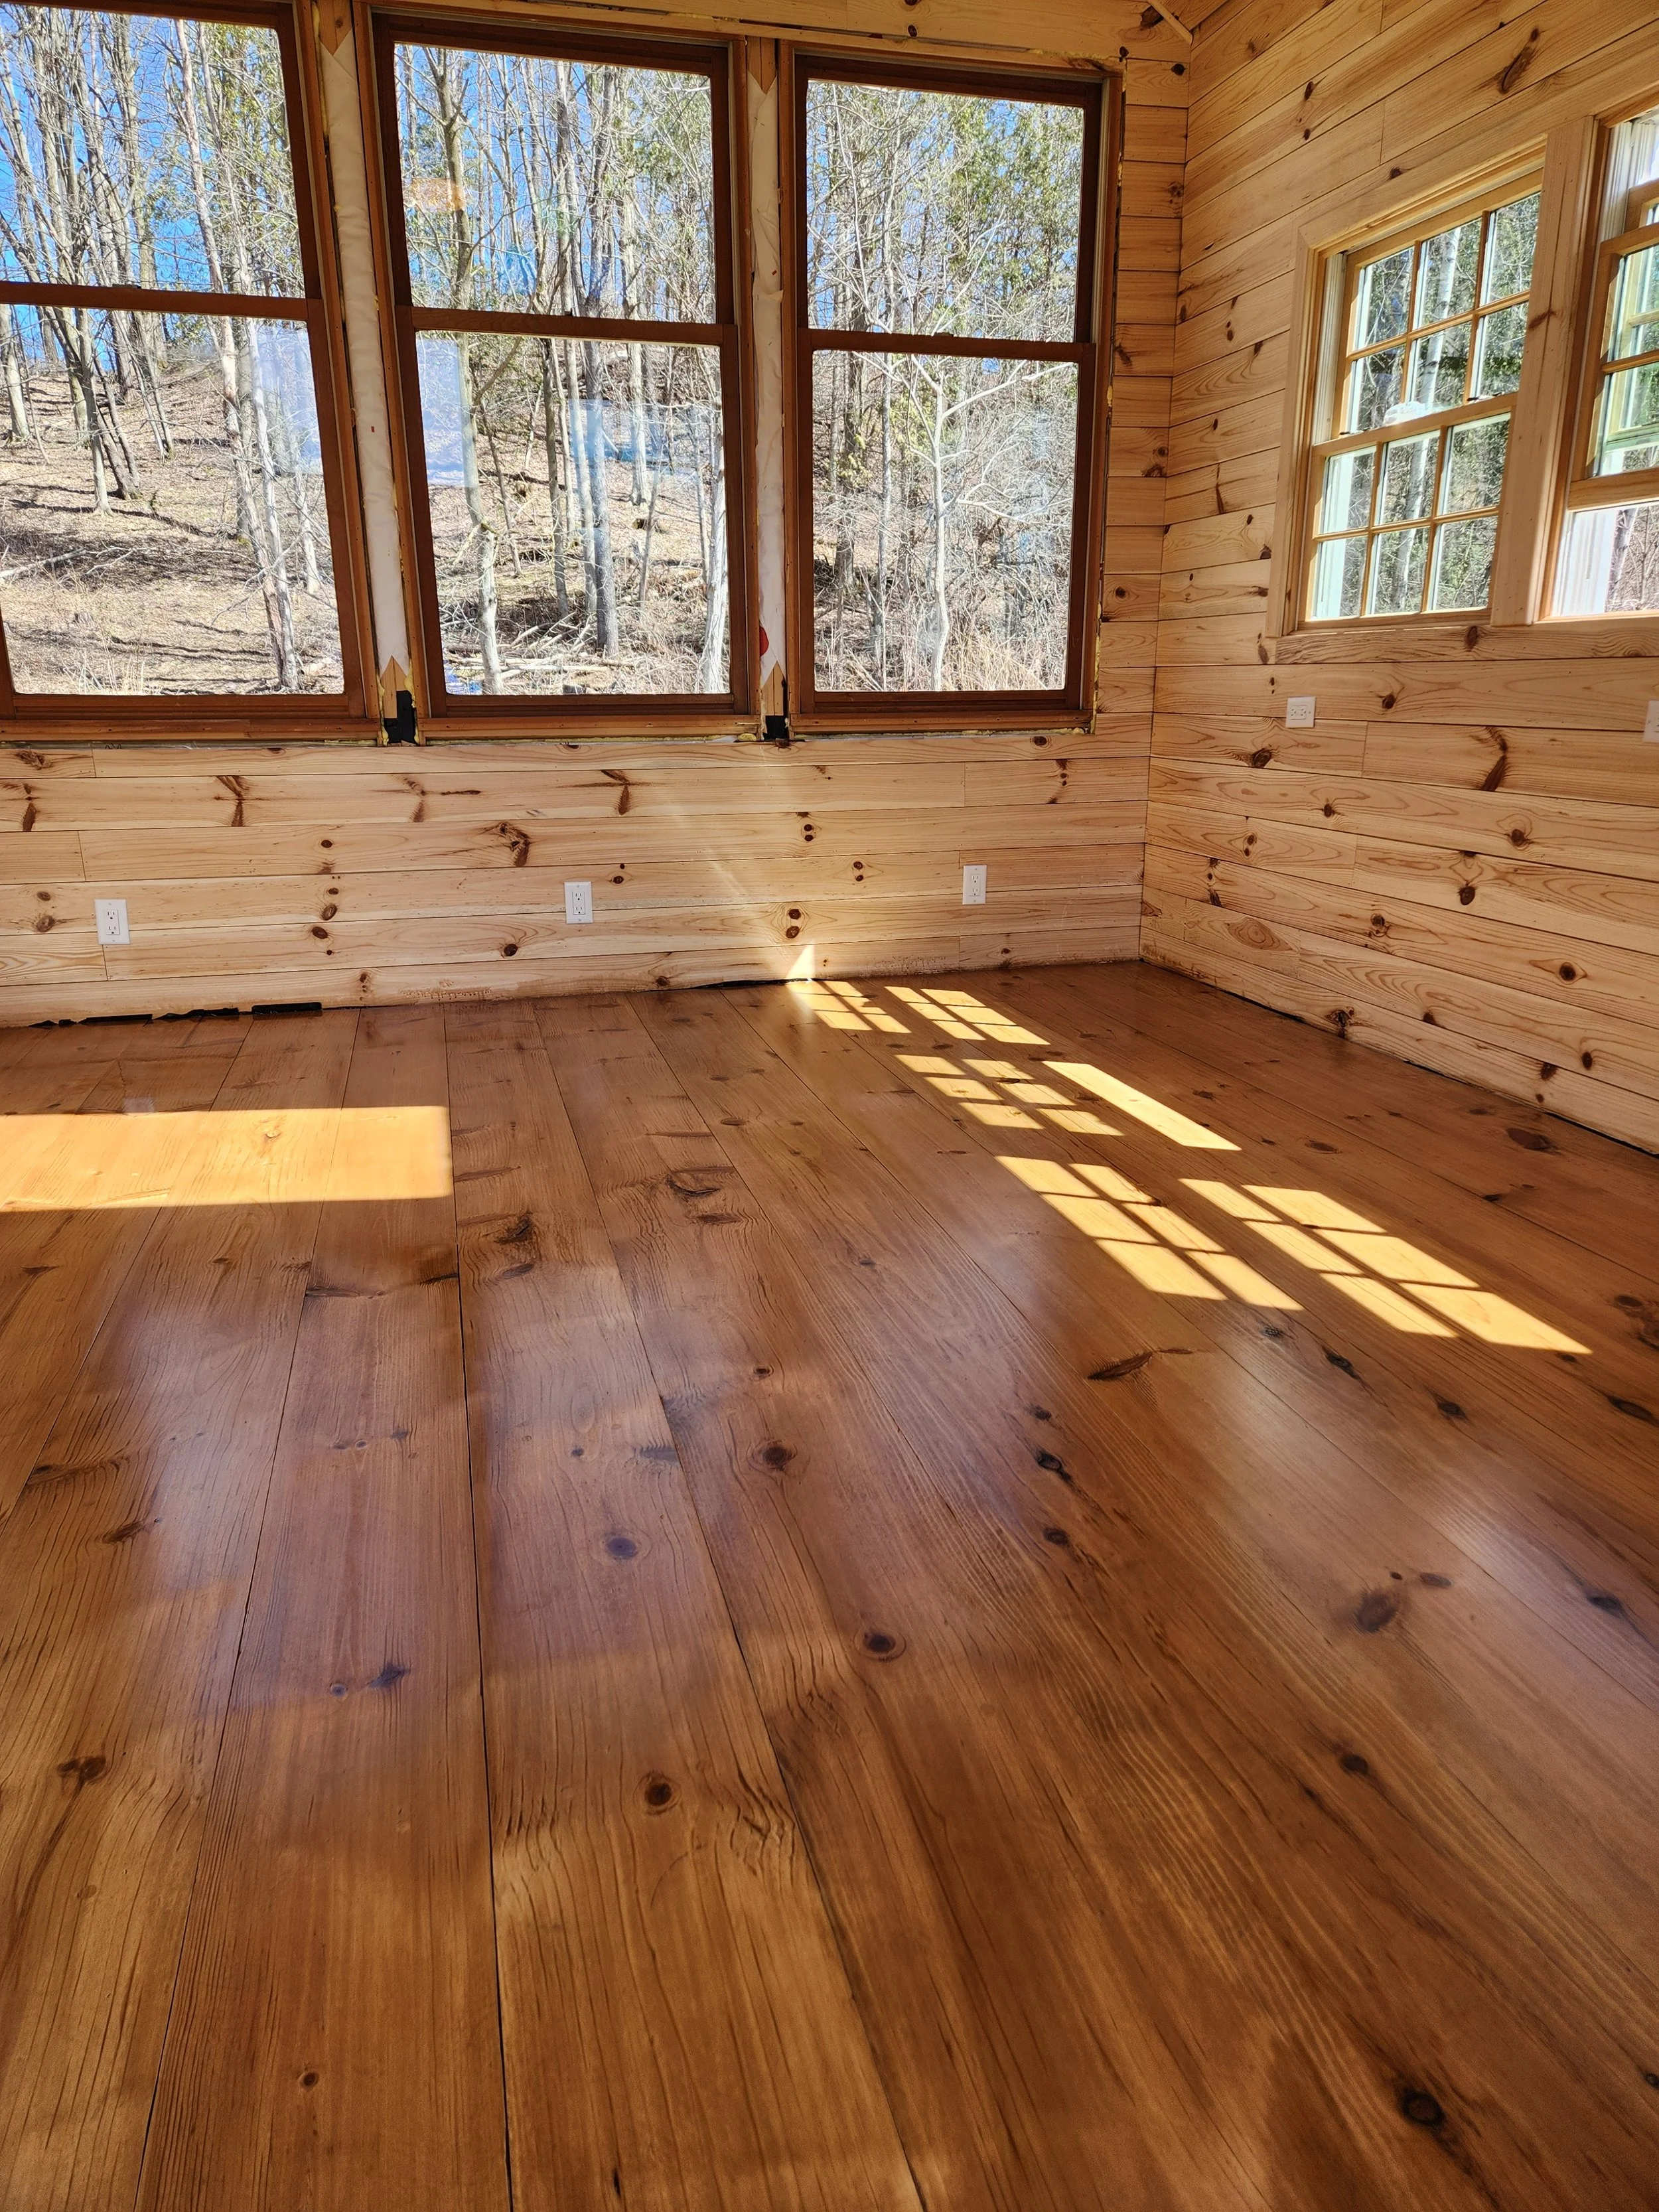
The wide plank flooring is a thing of beauty. They add warmth and a timelessness to the space.
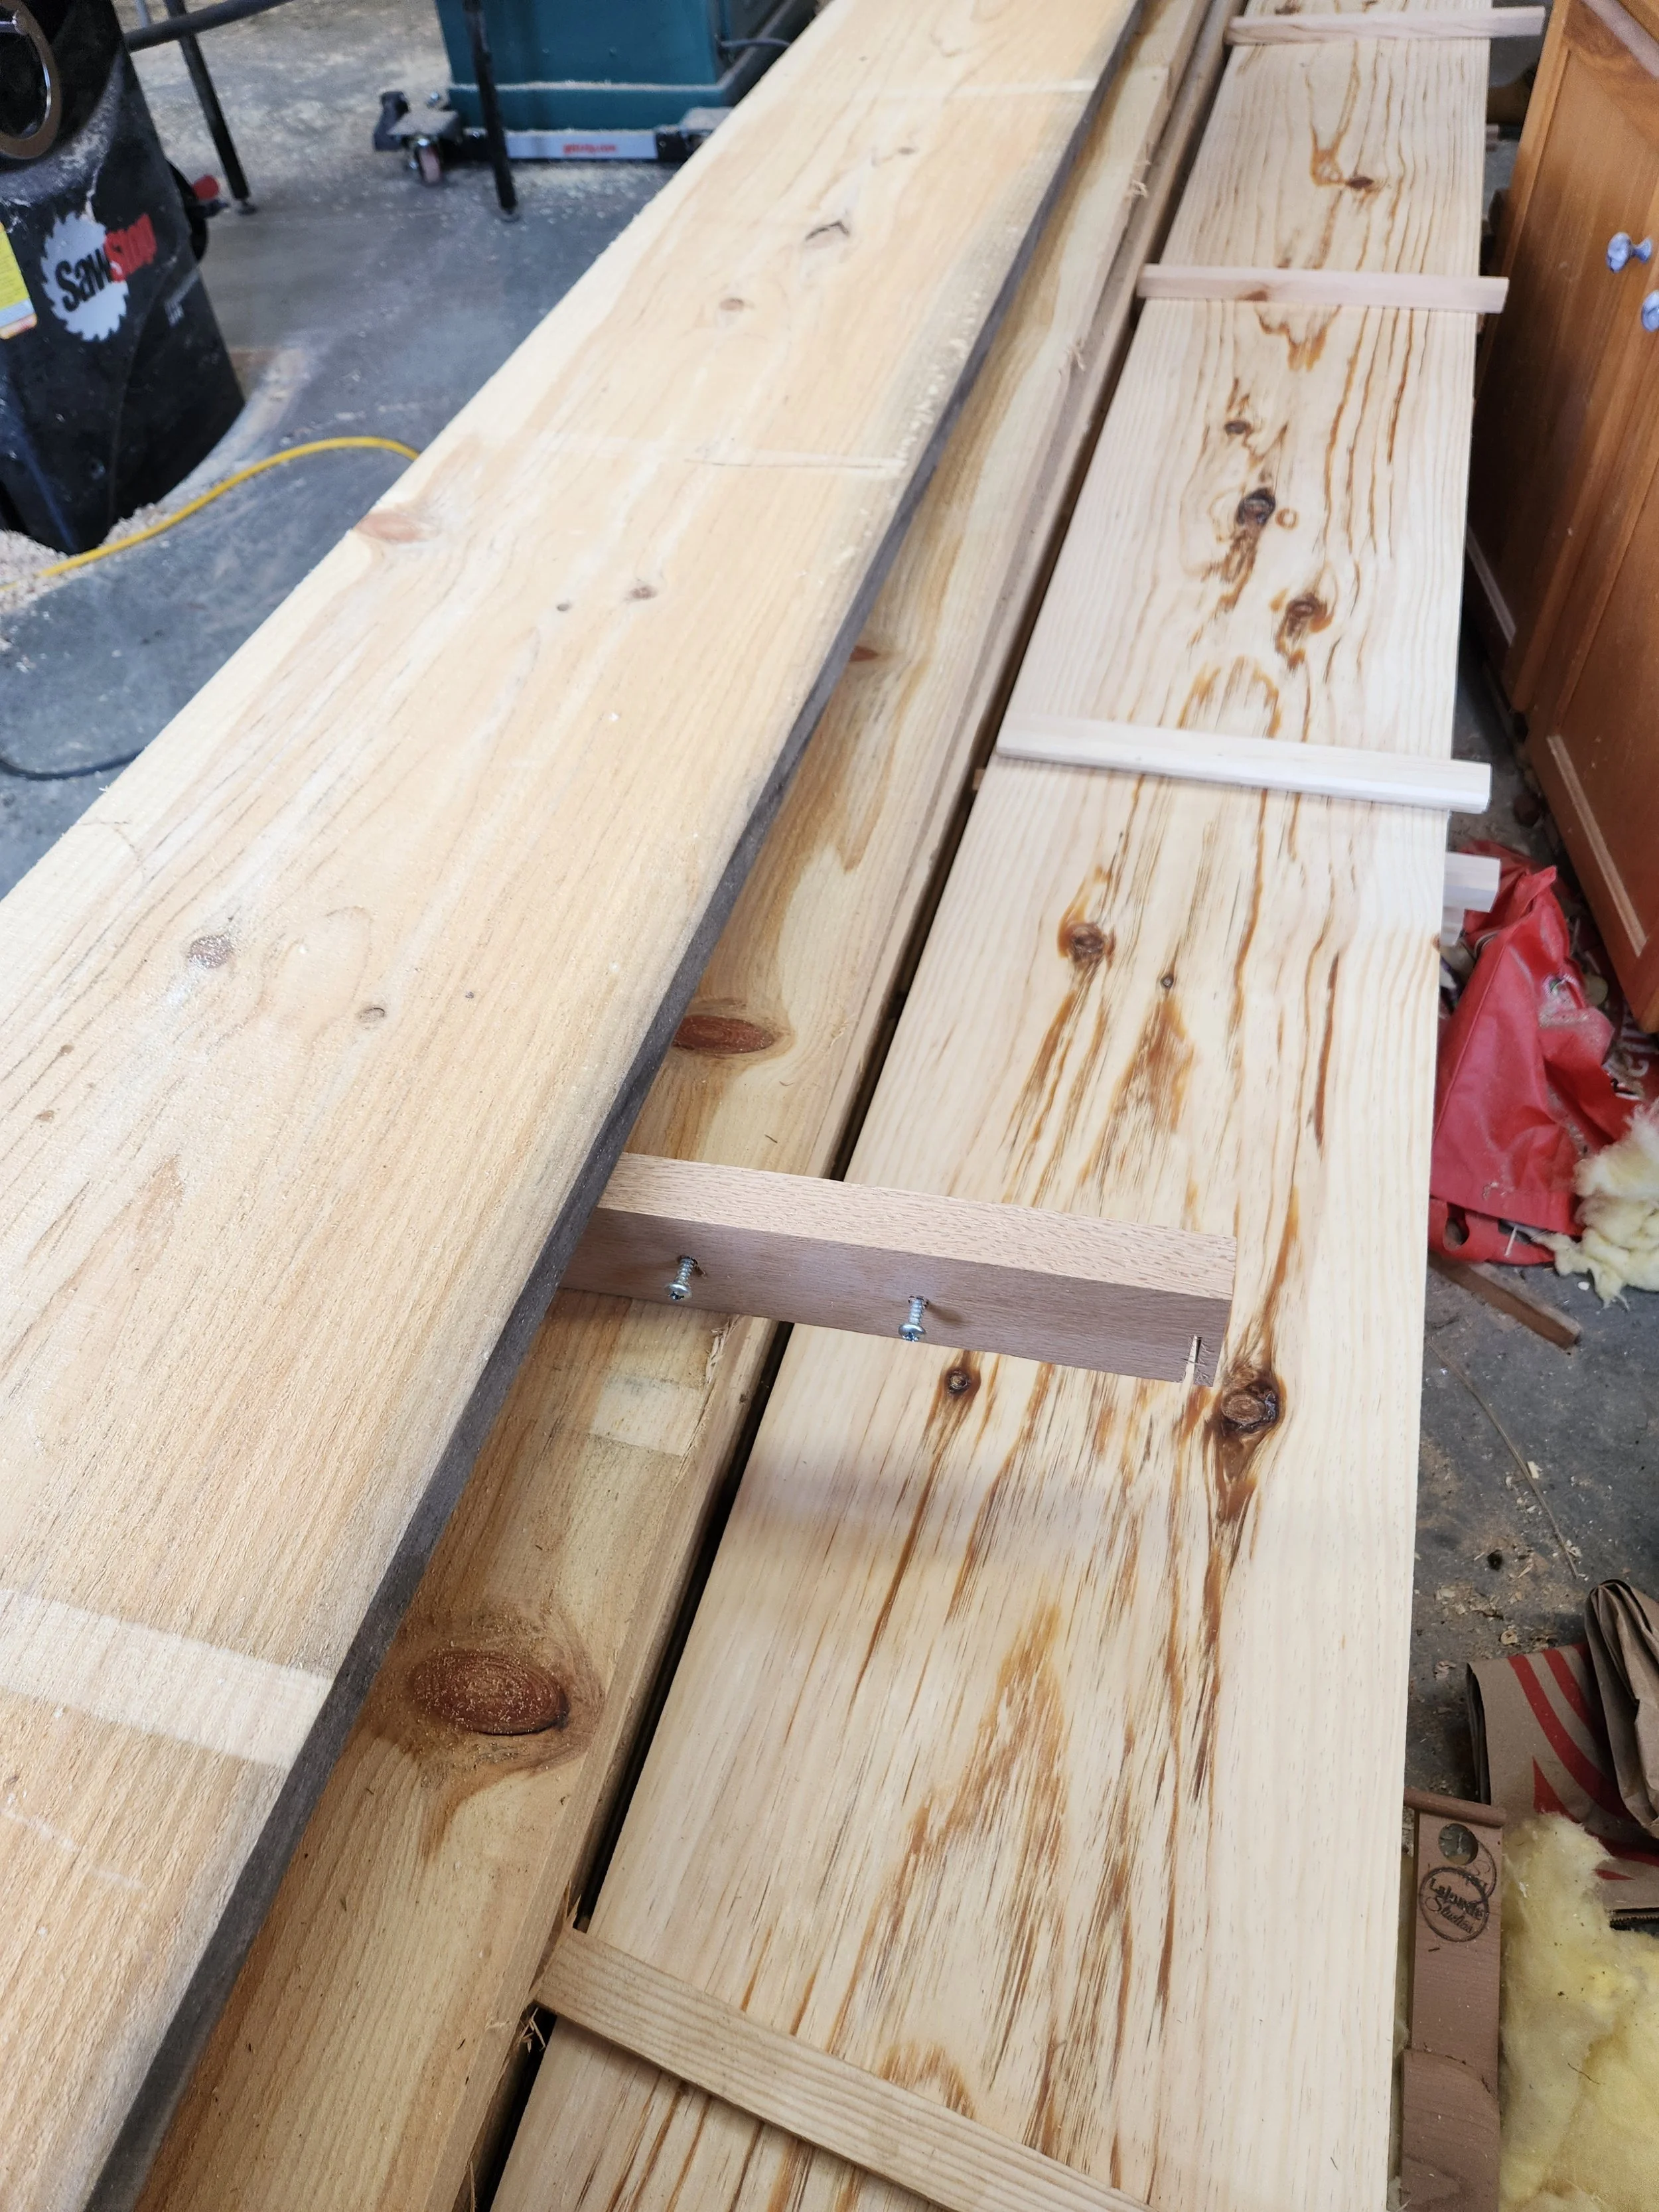
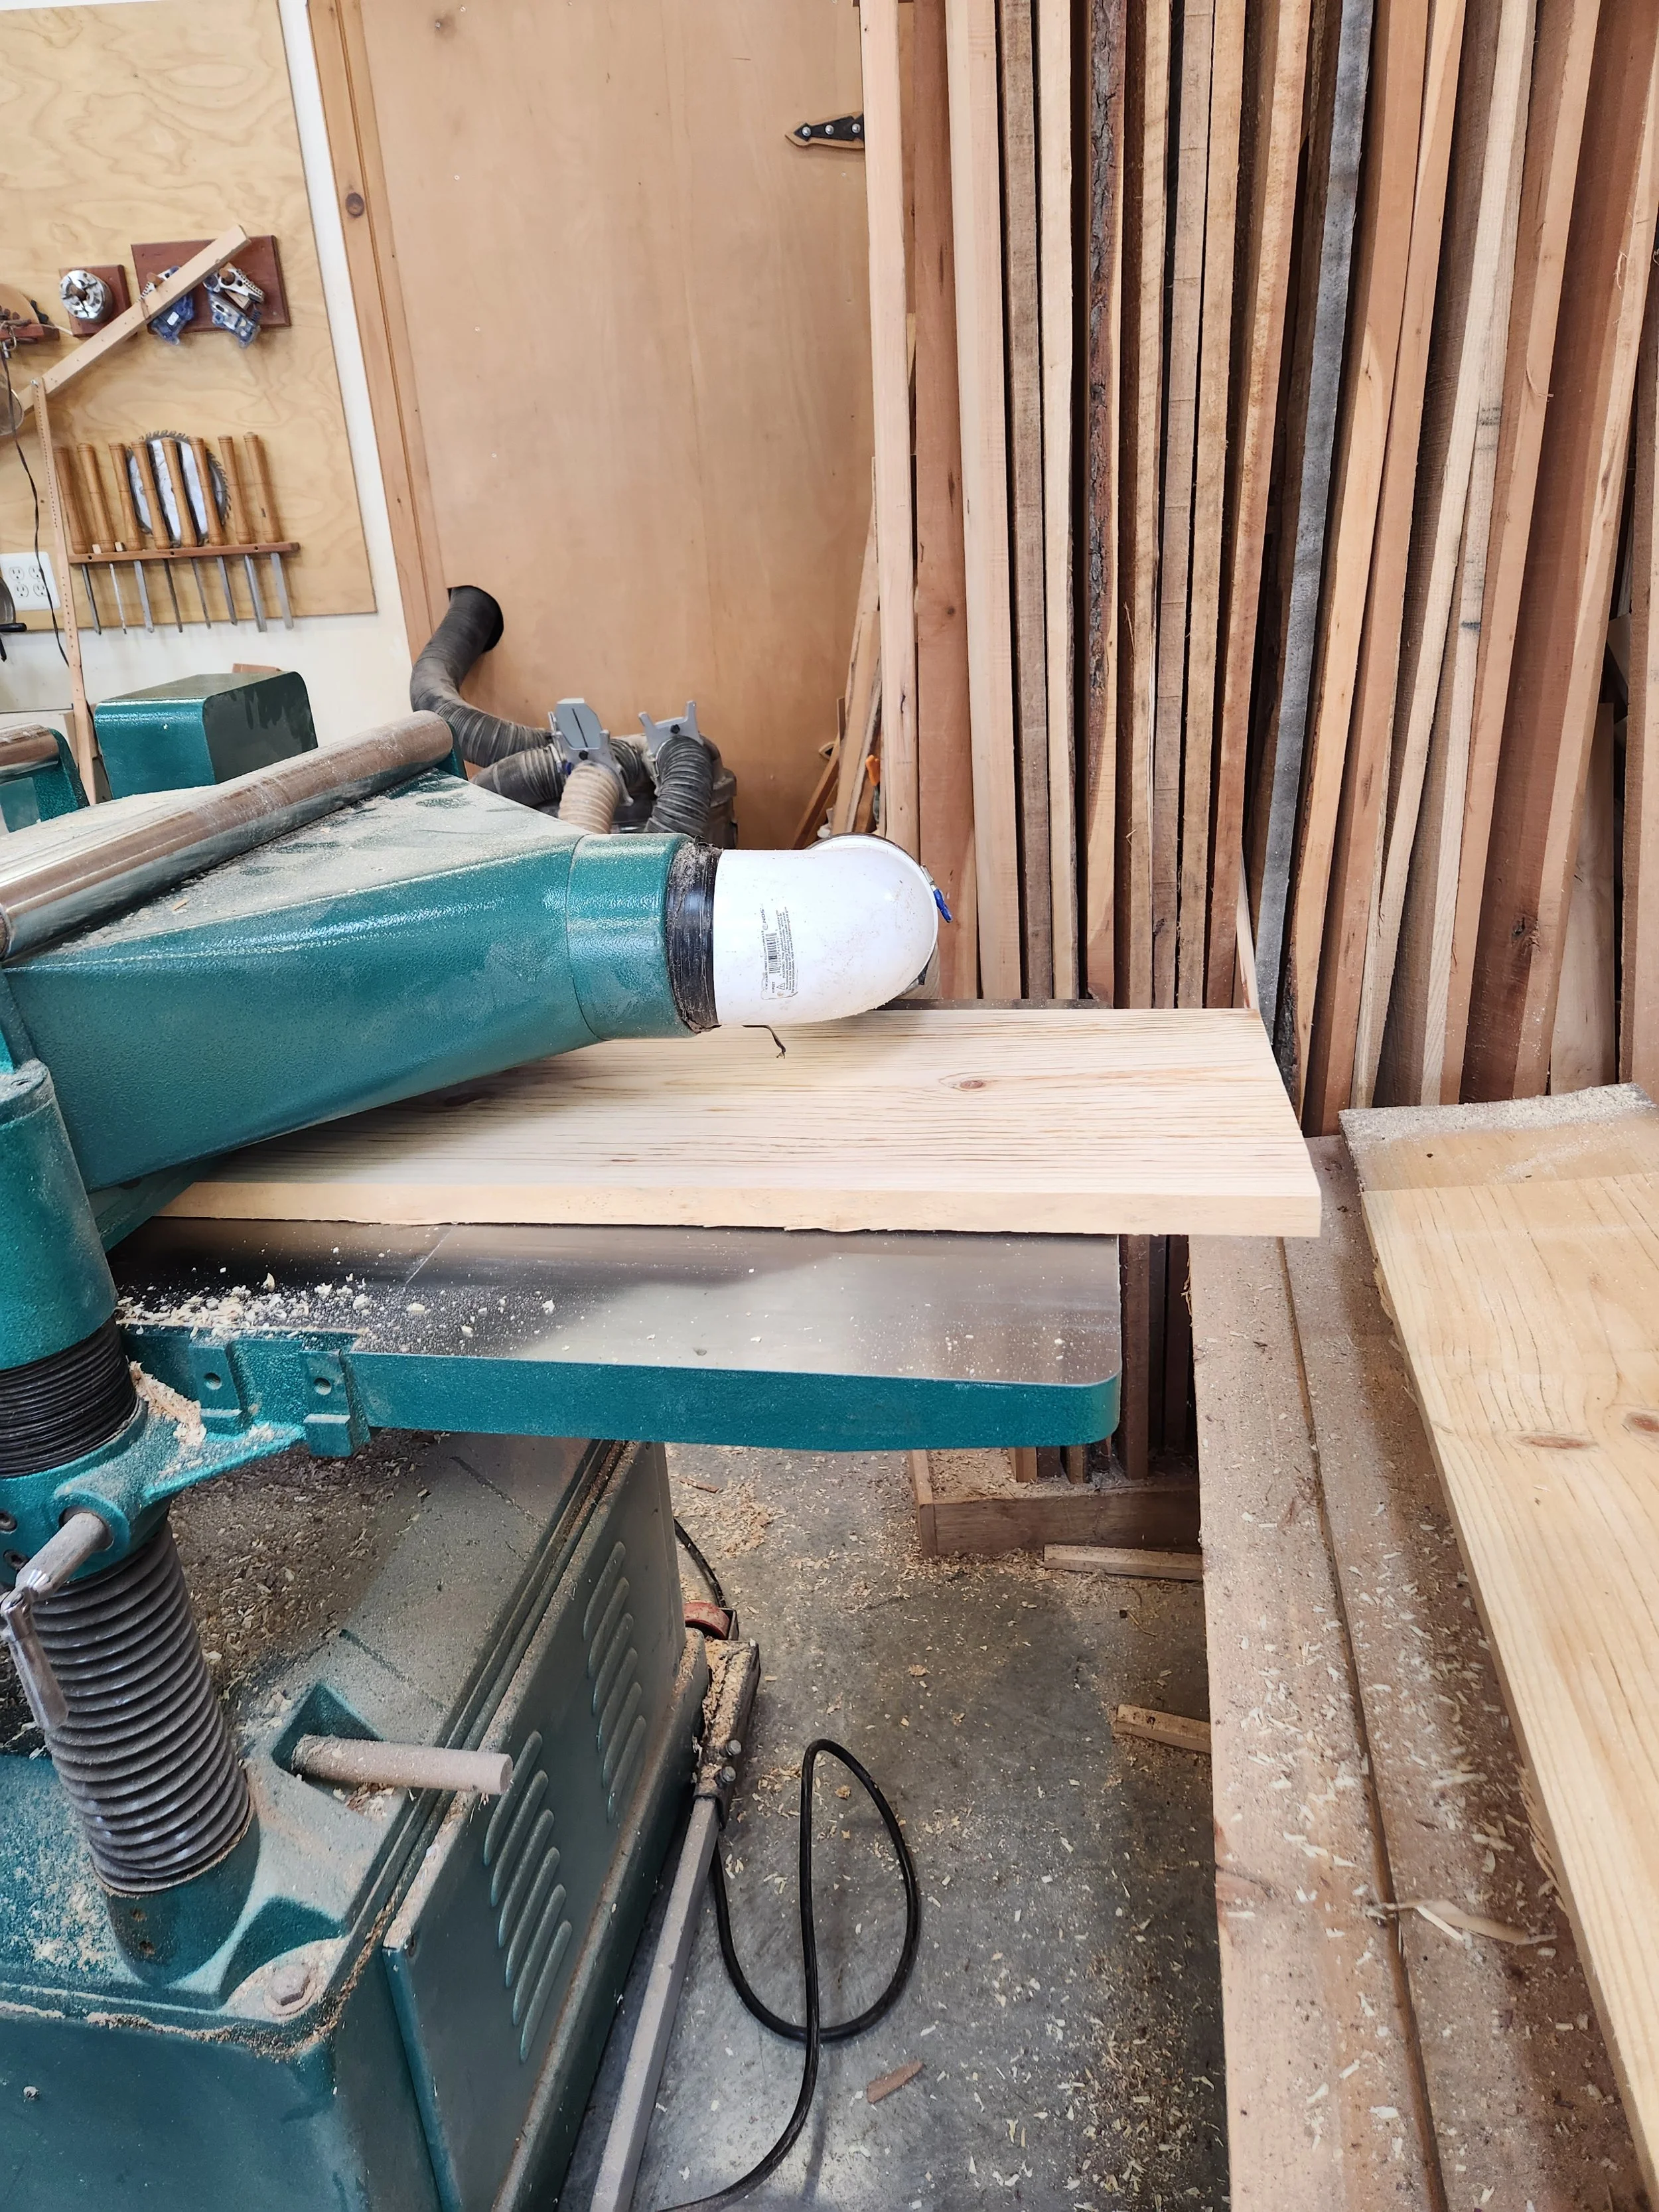
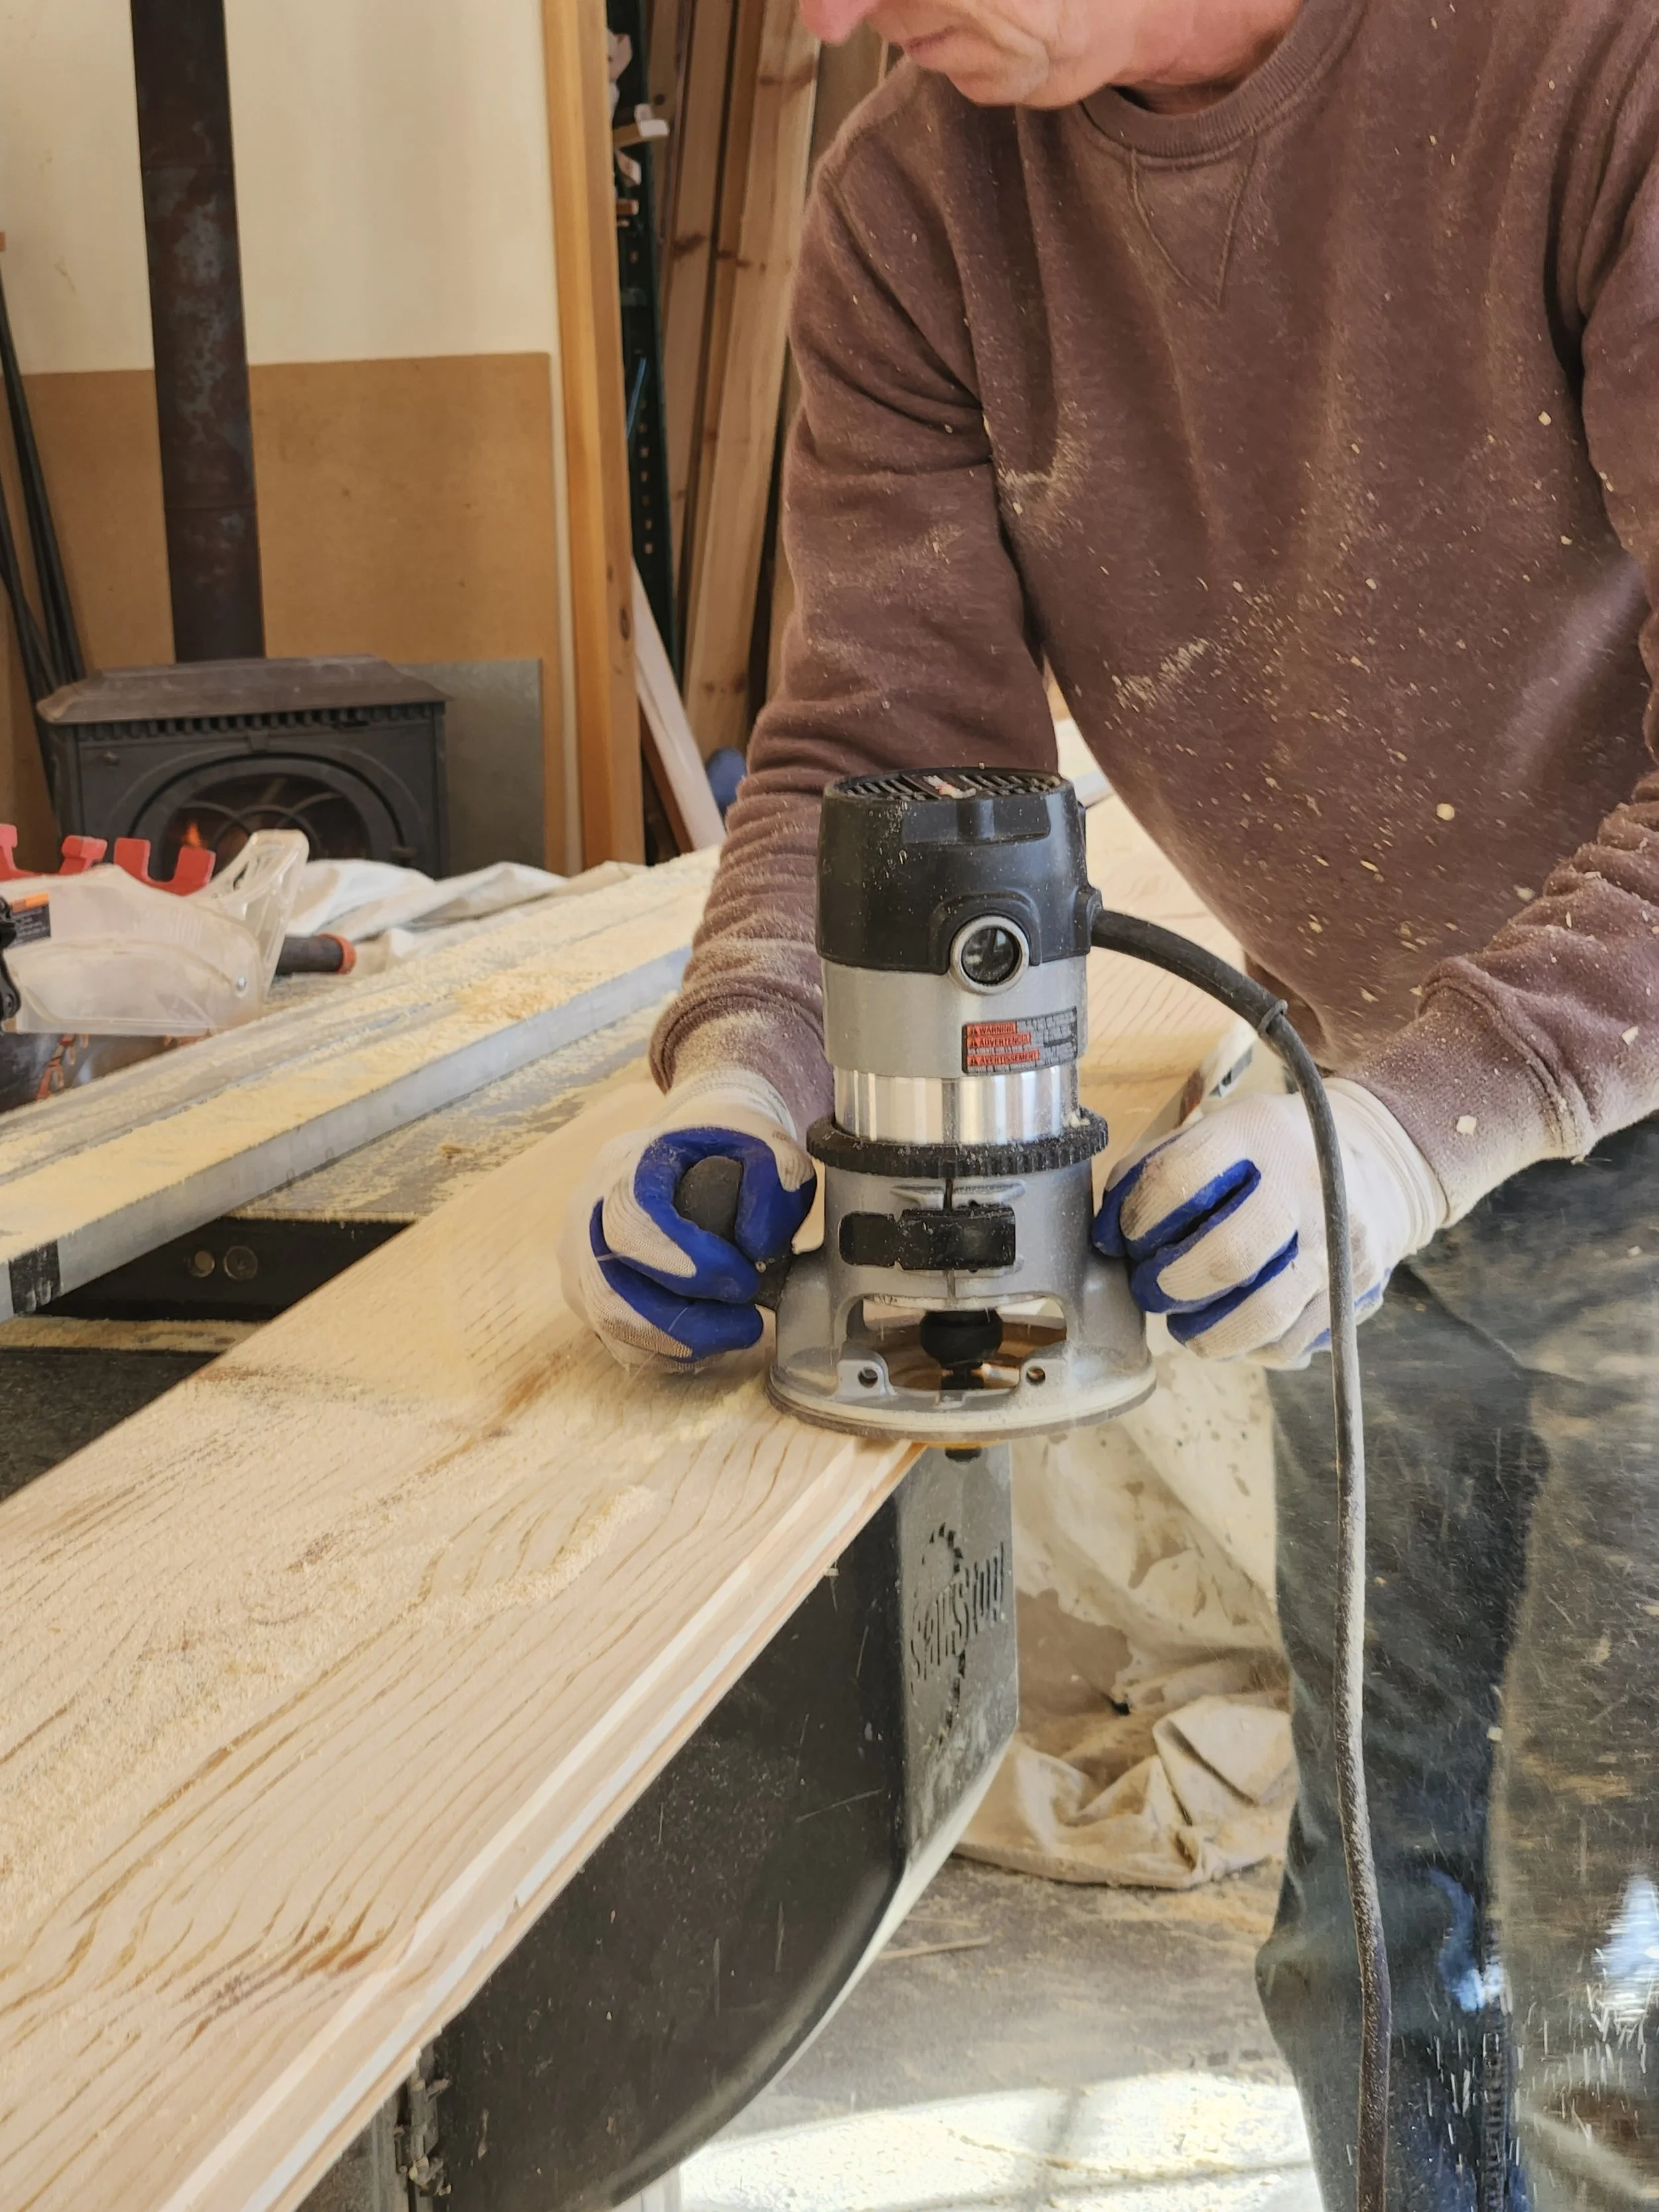
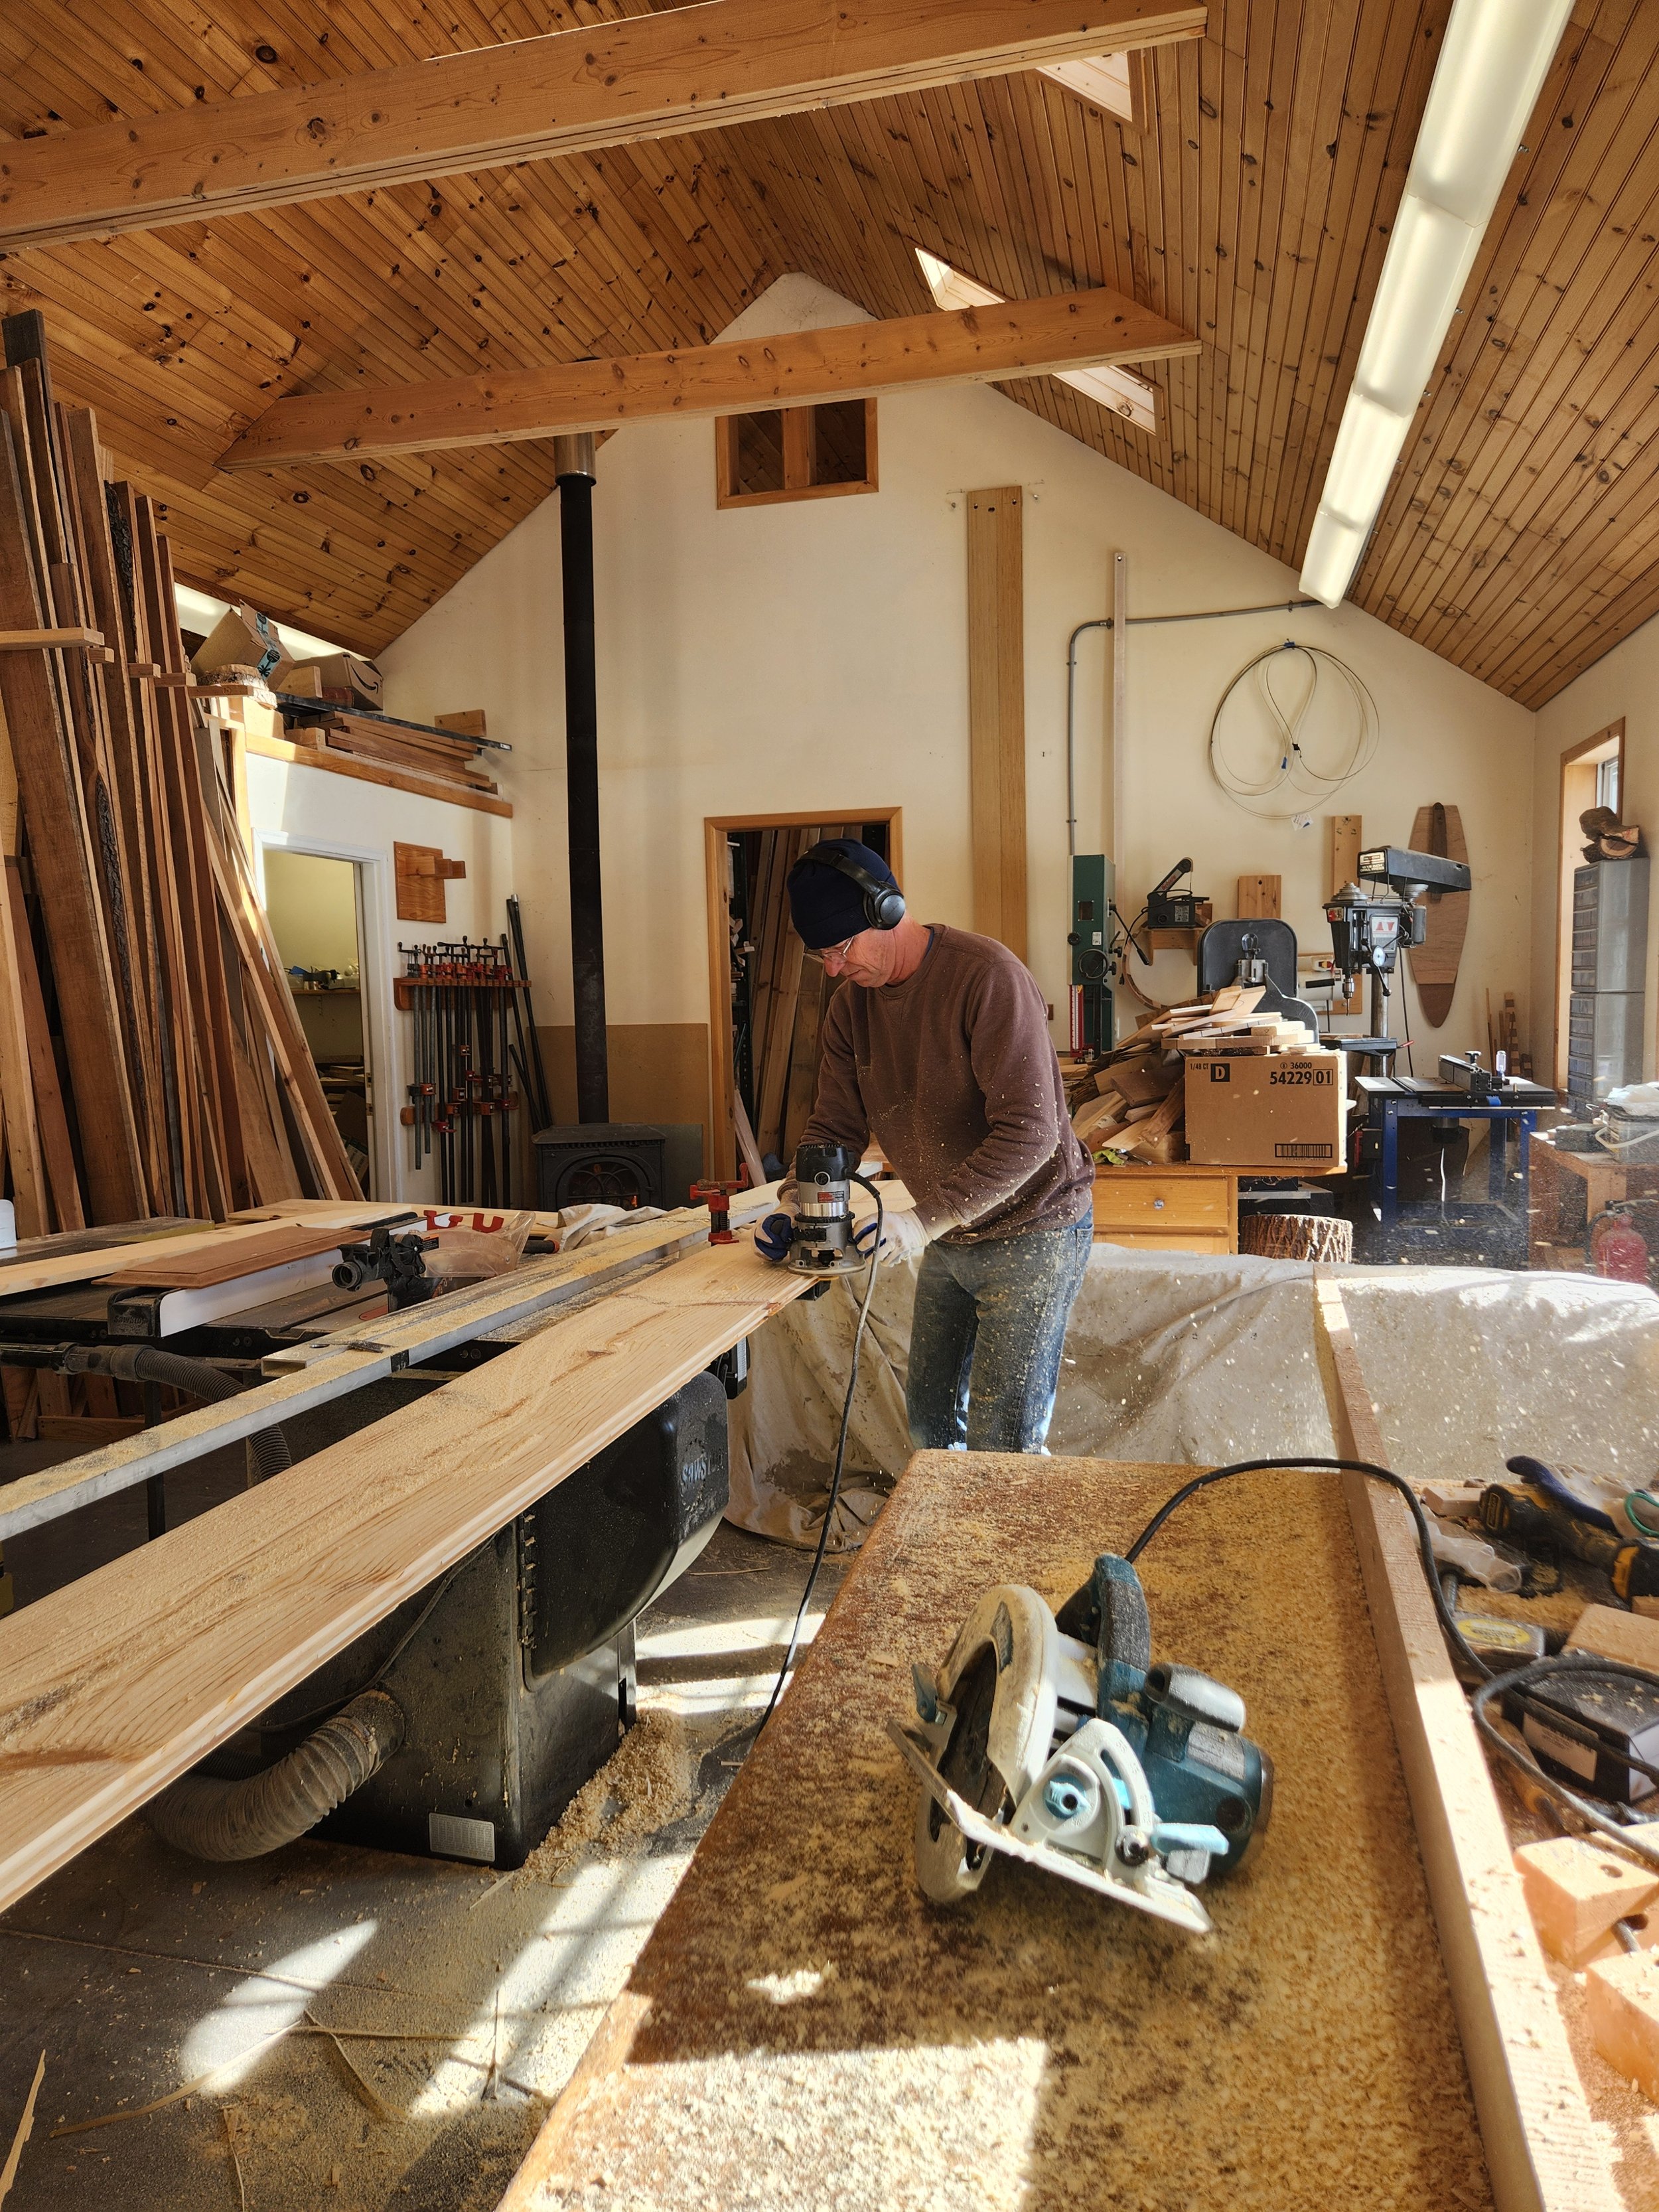
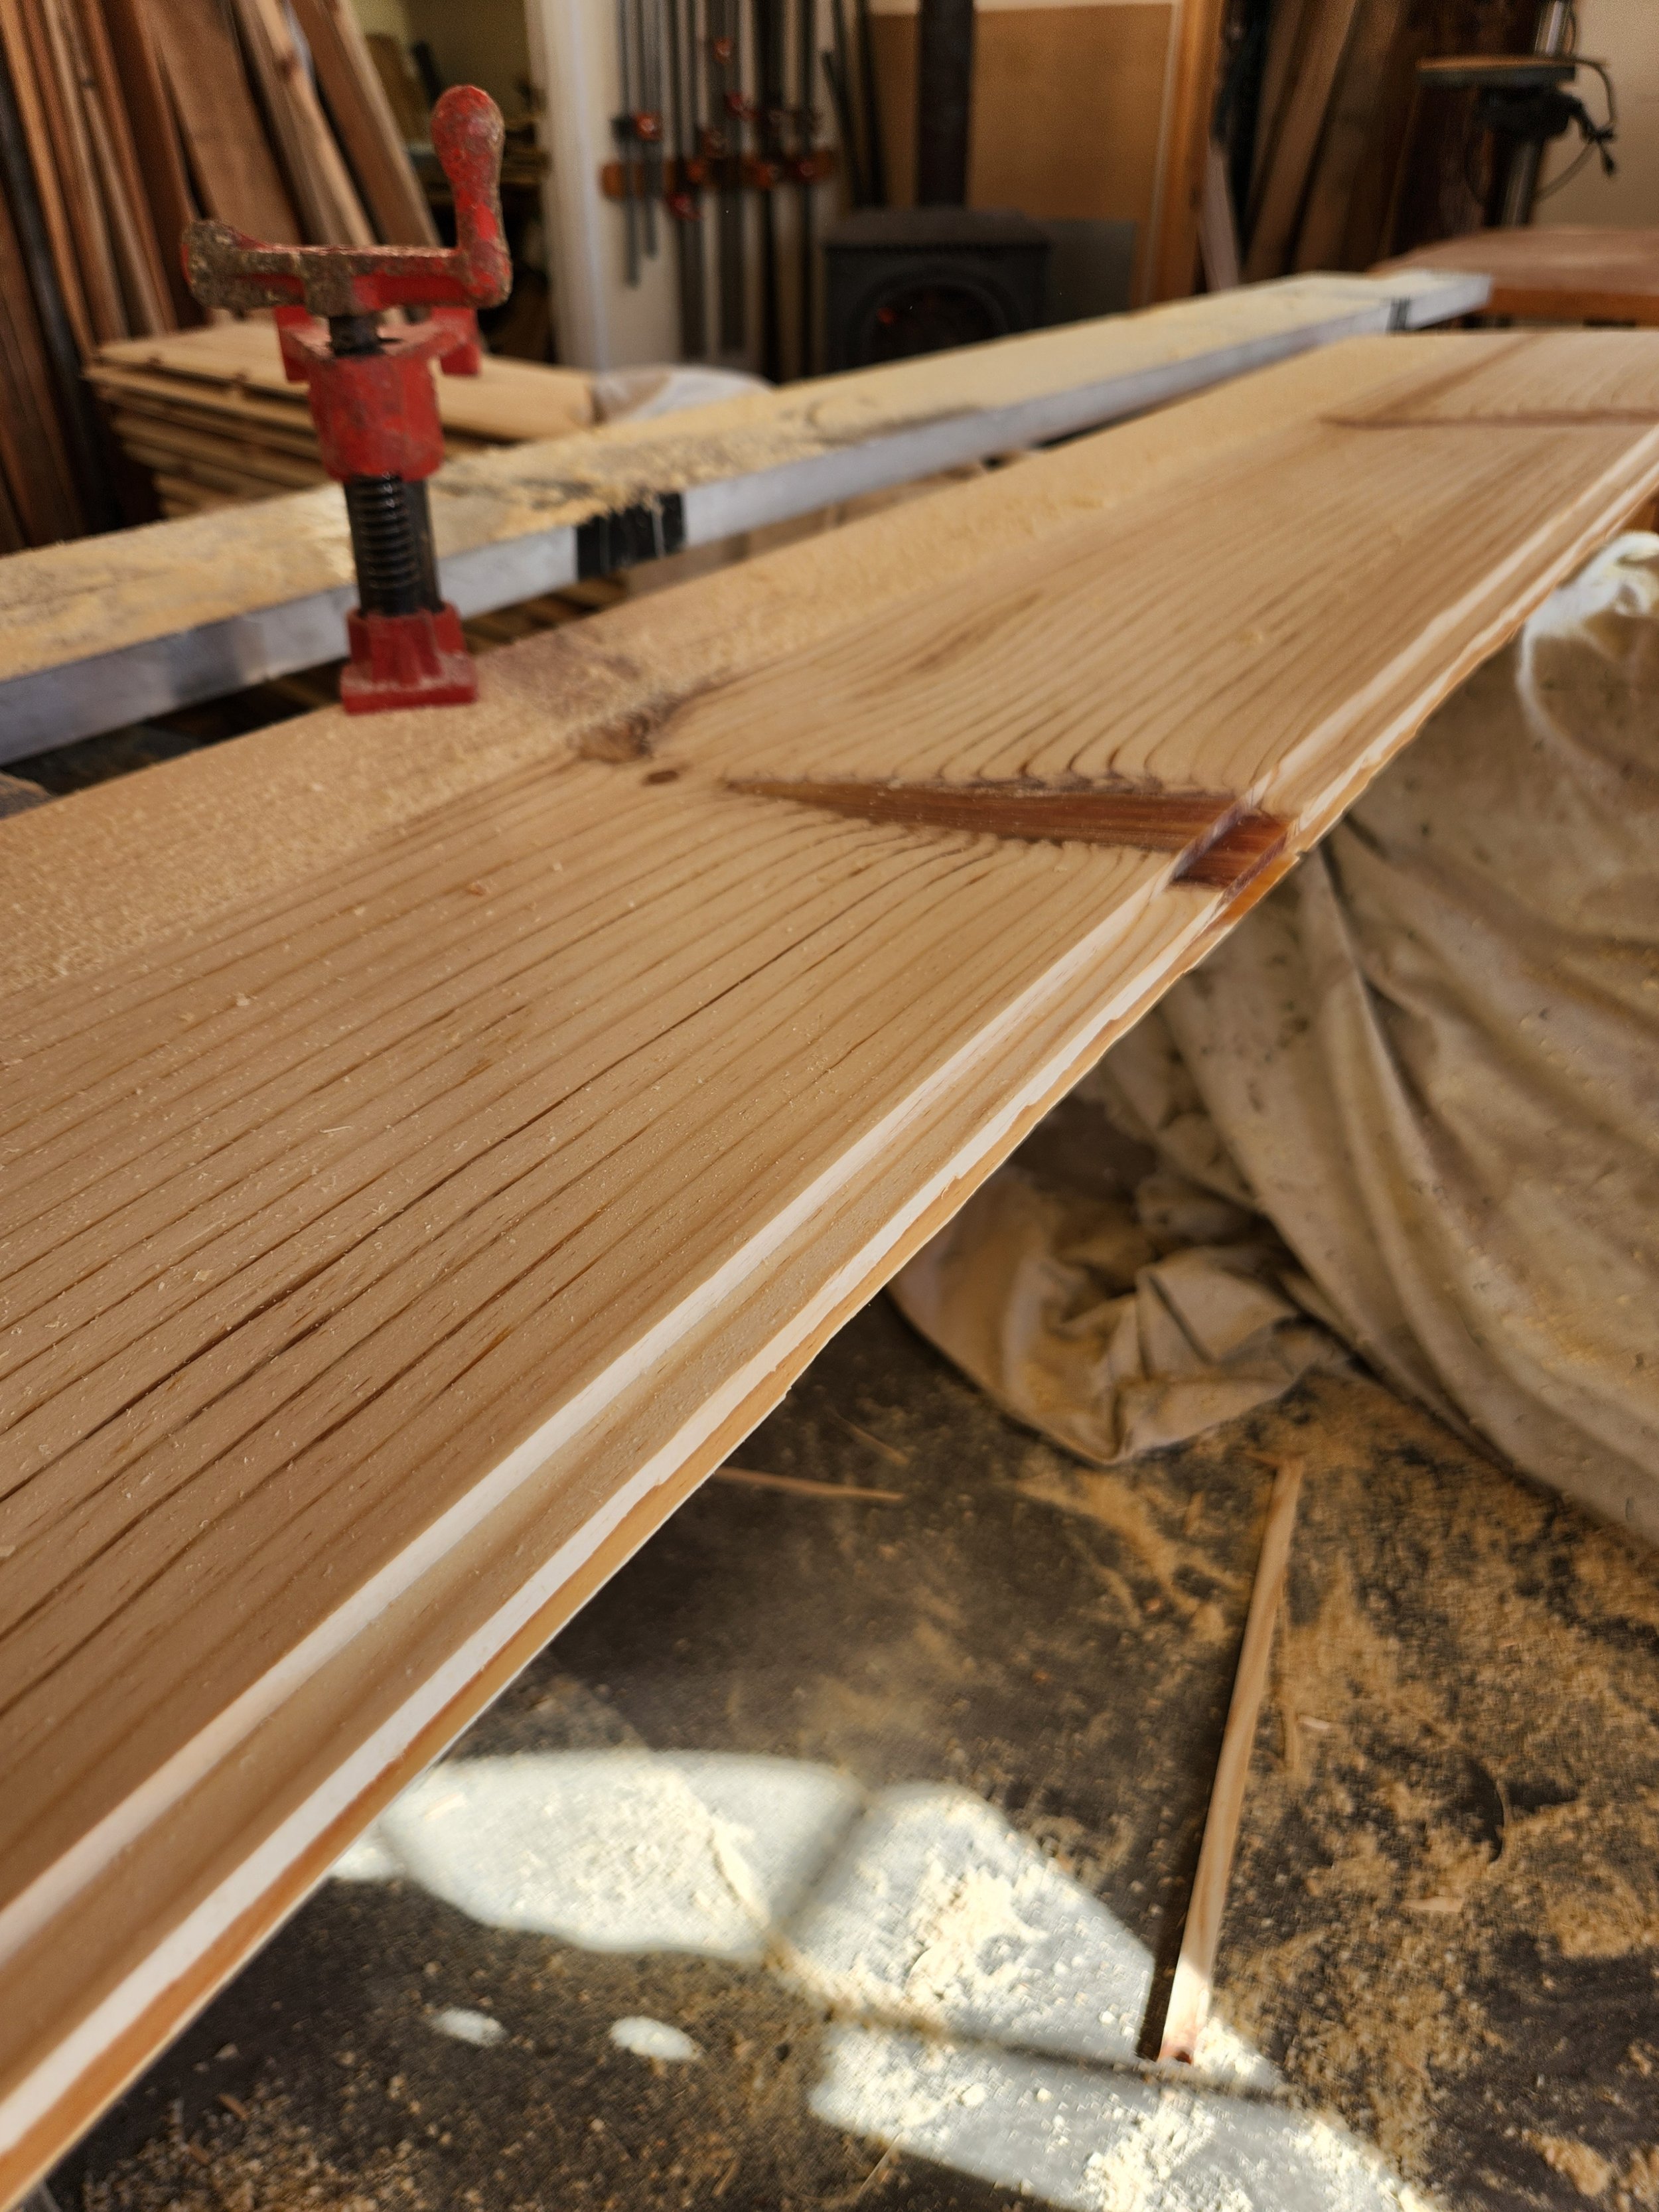
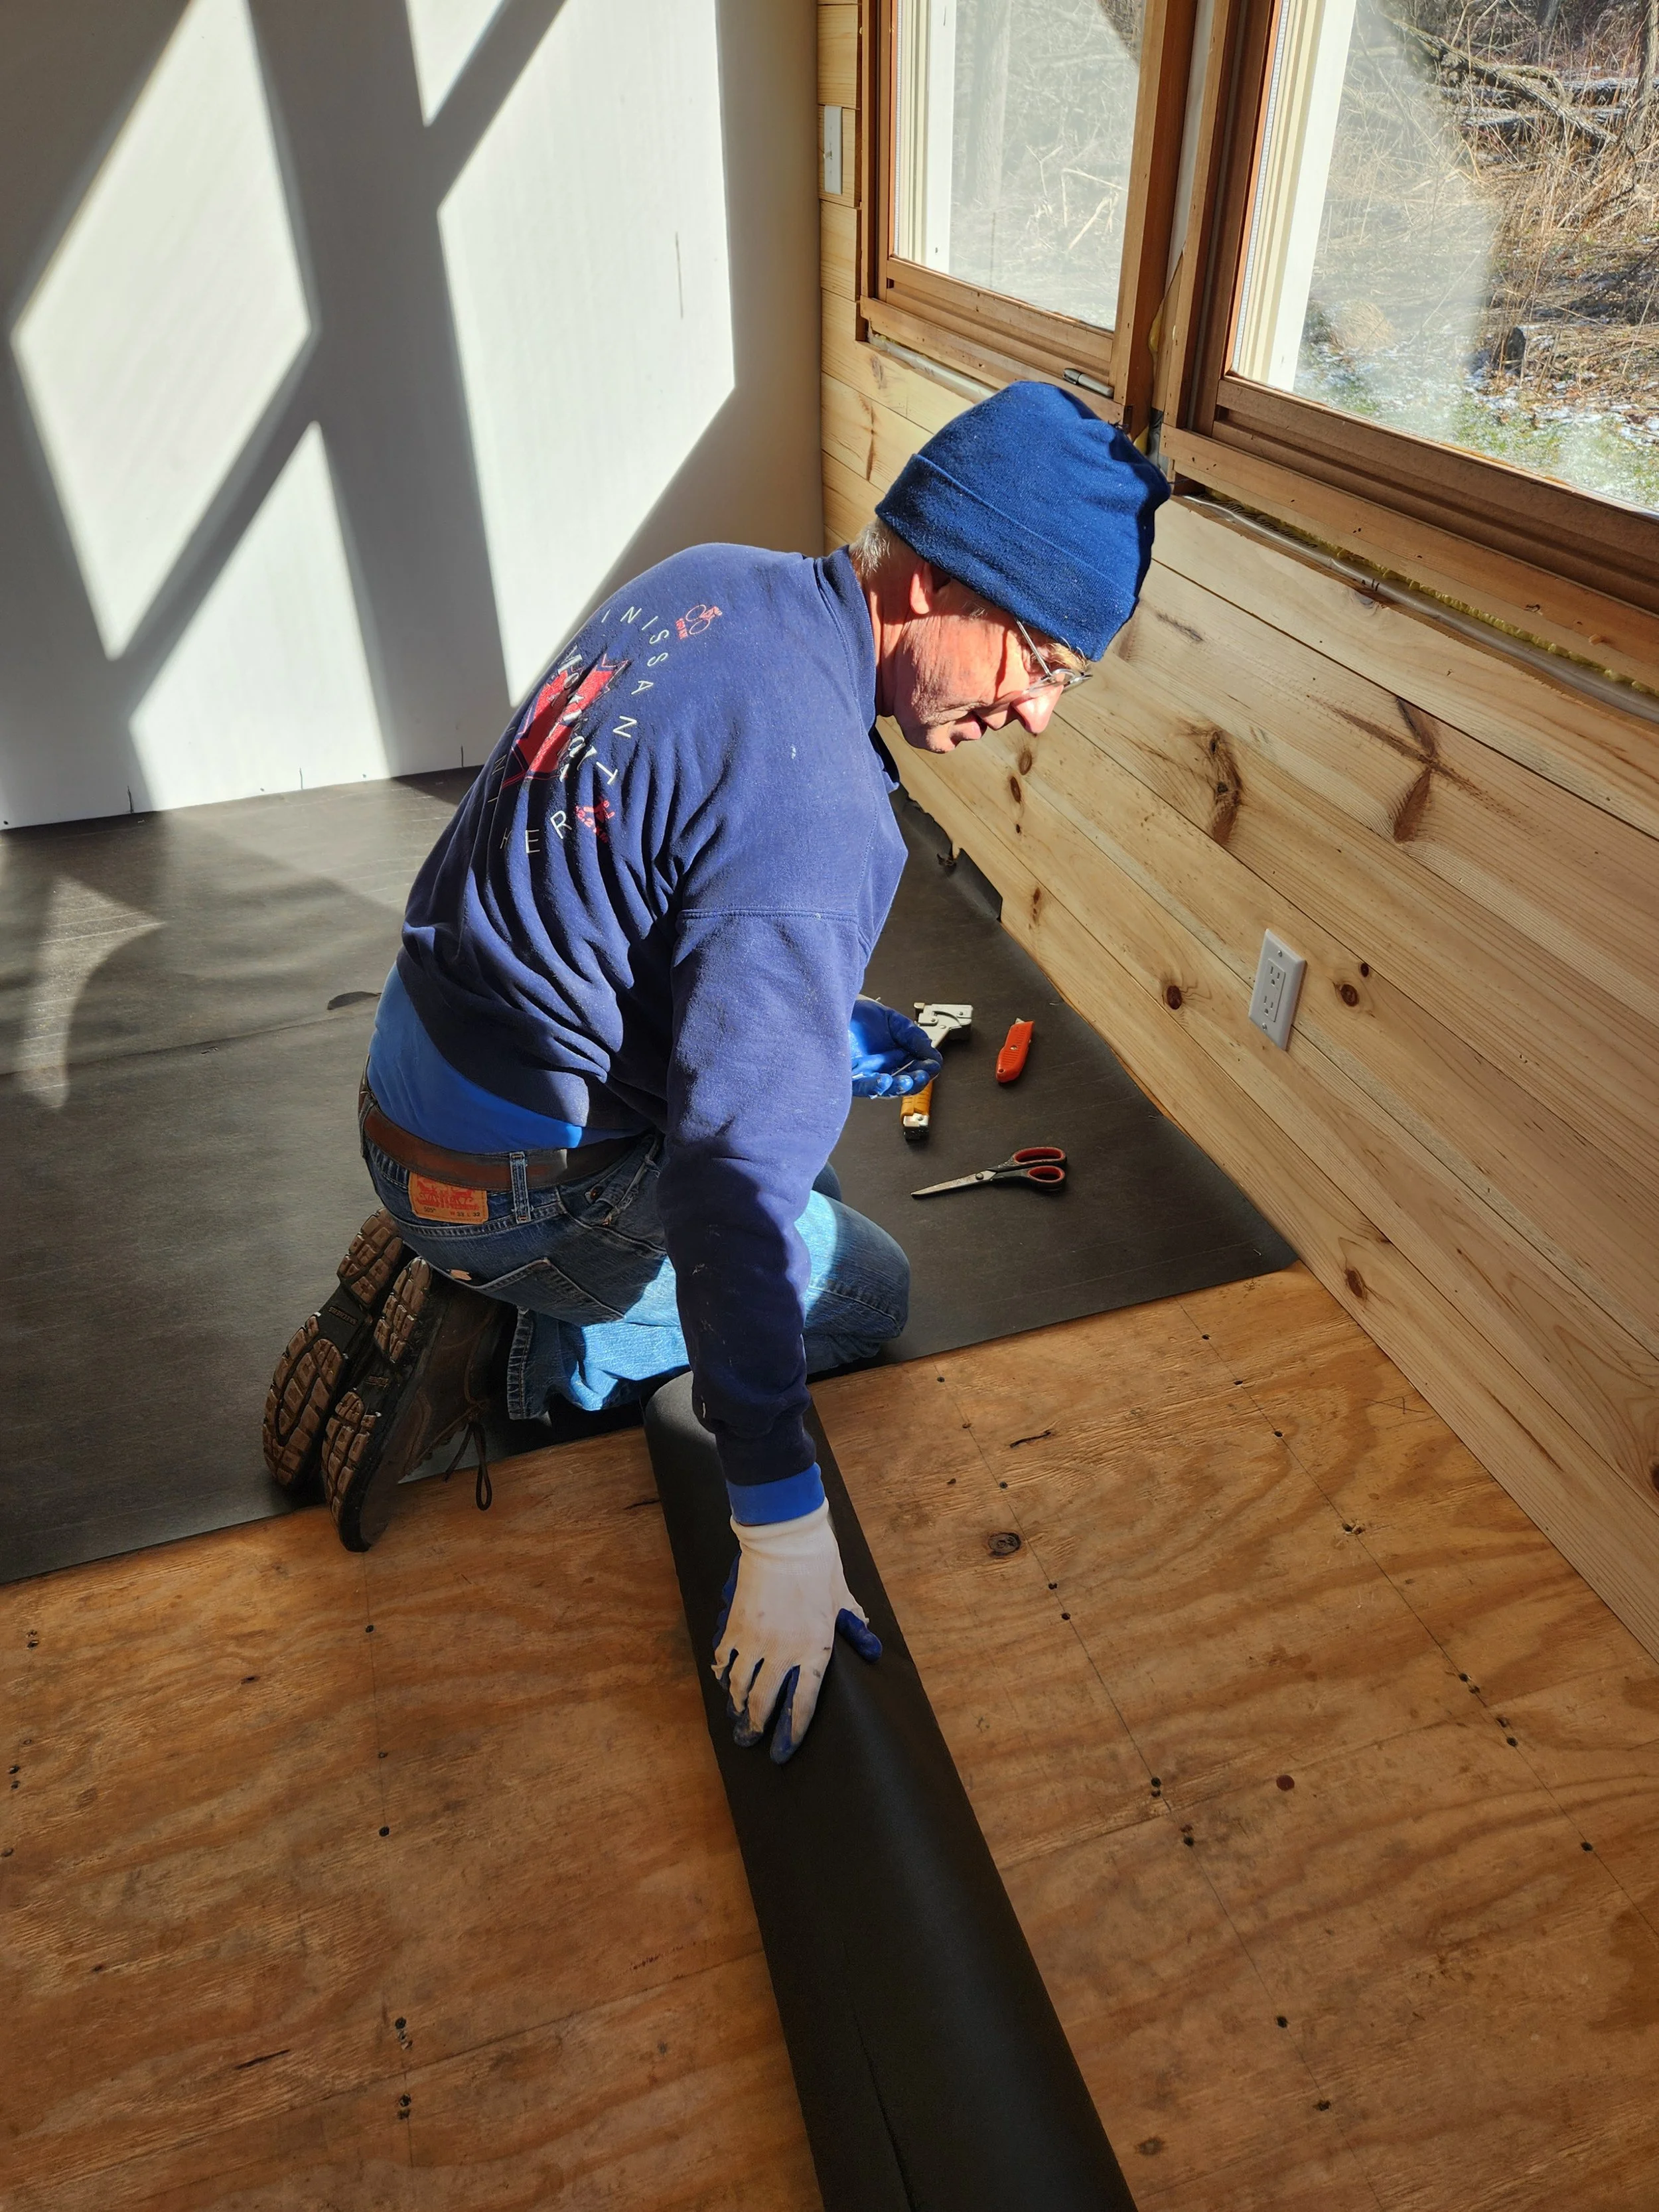
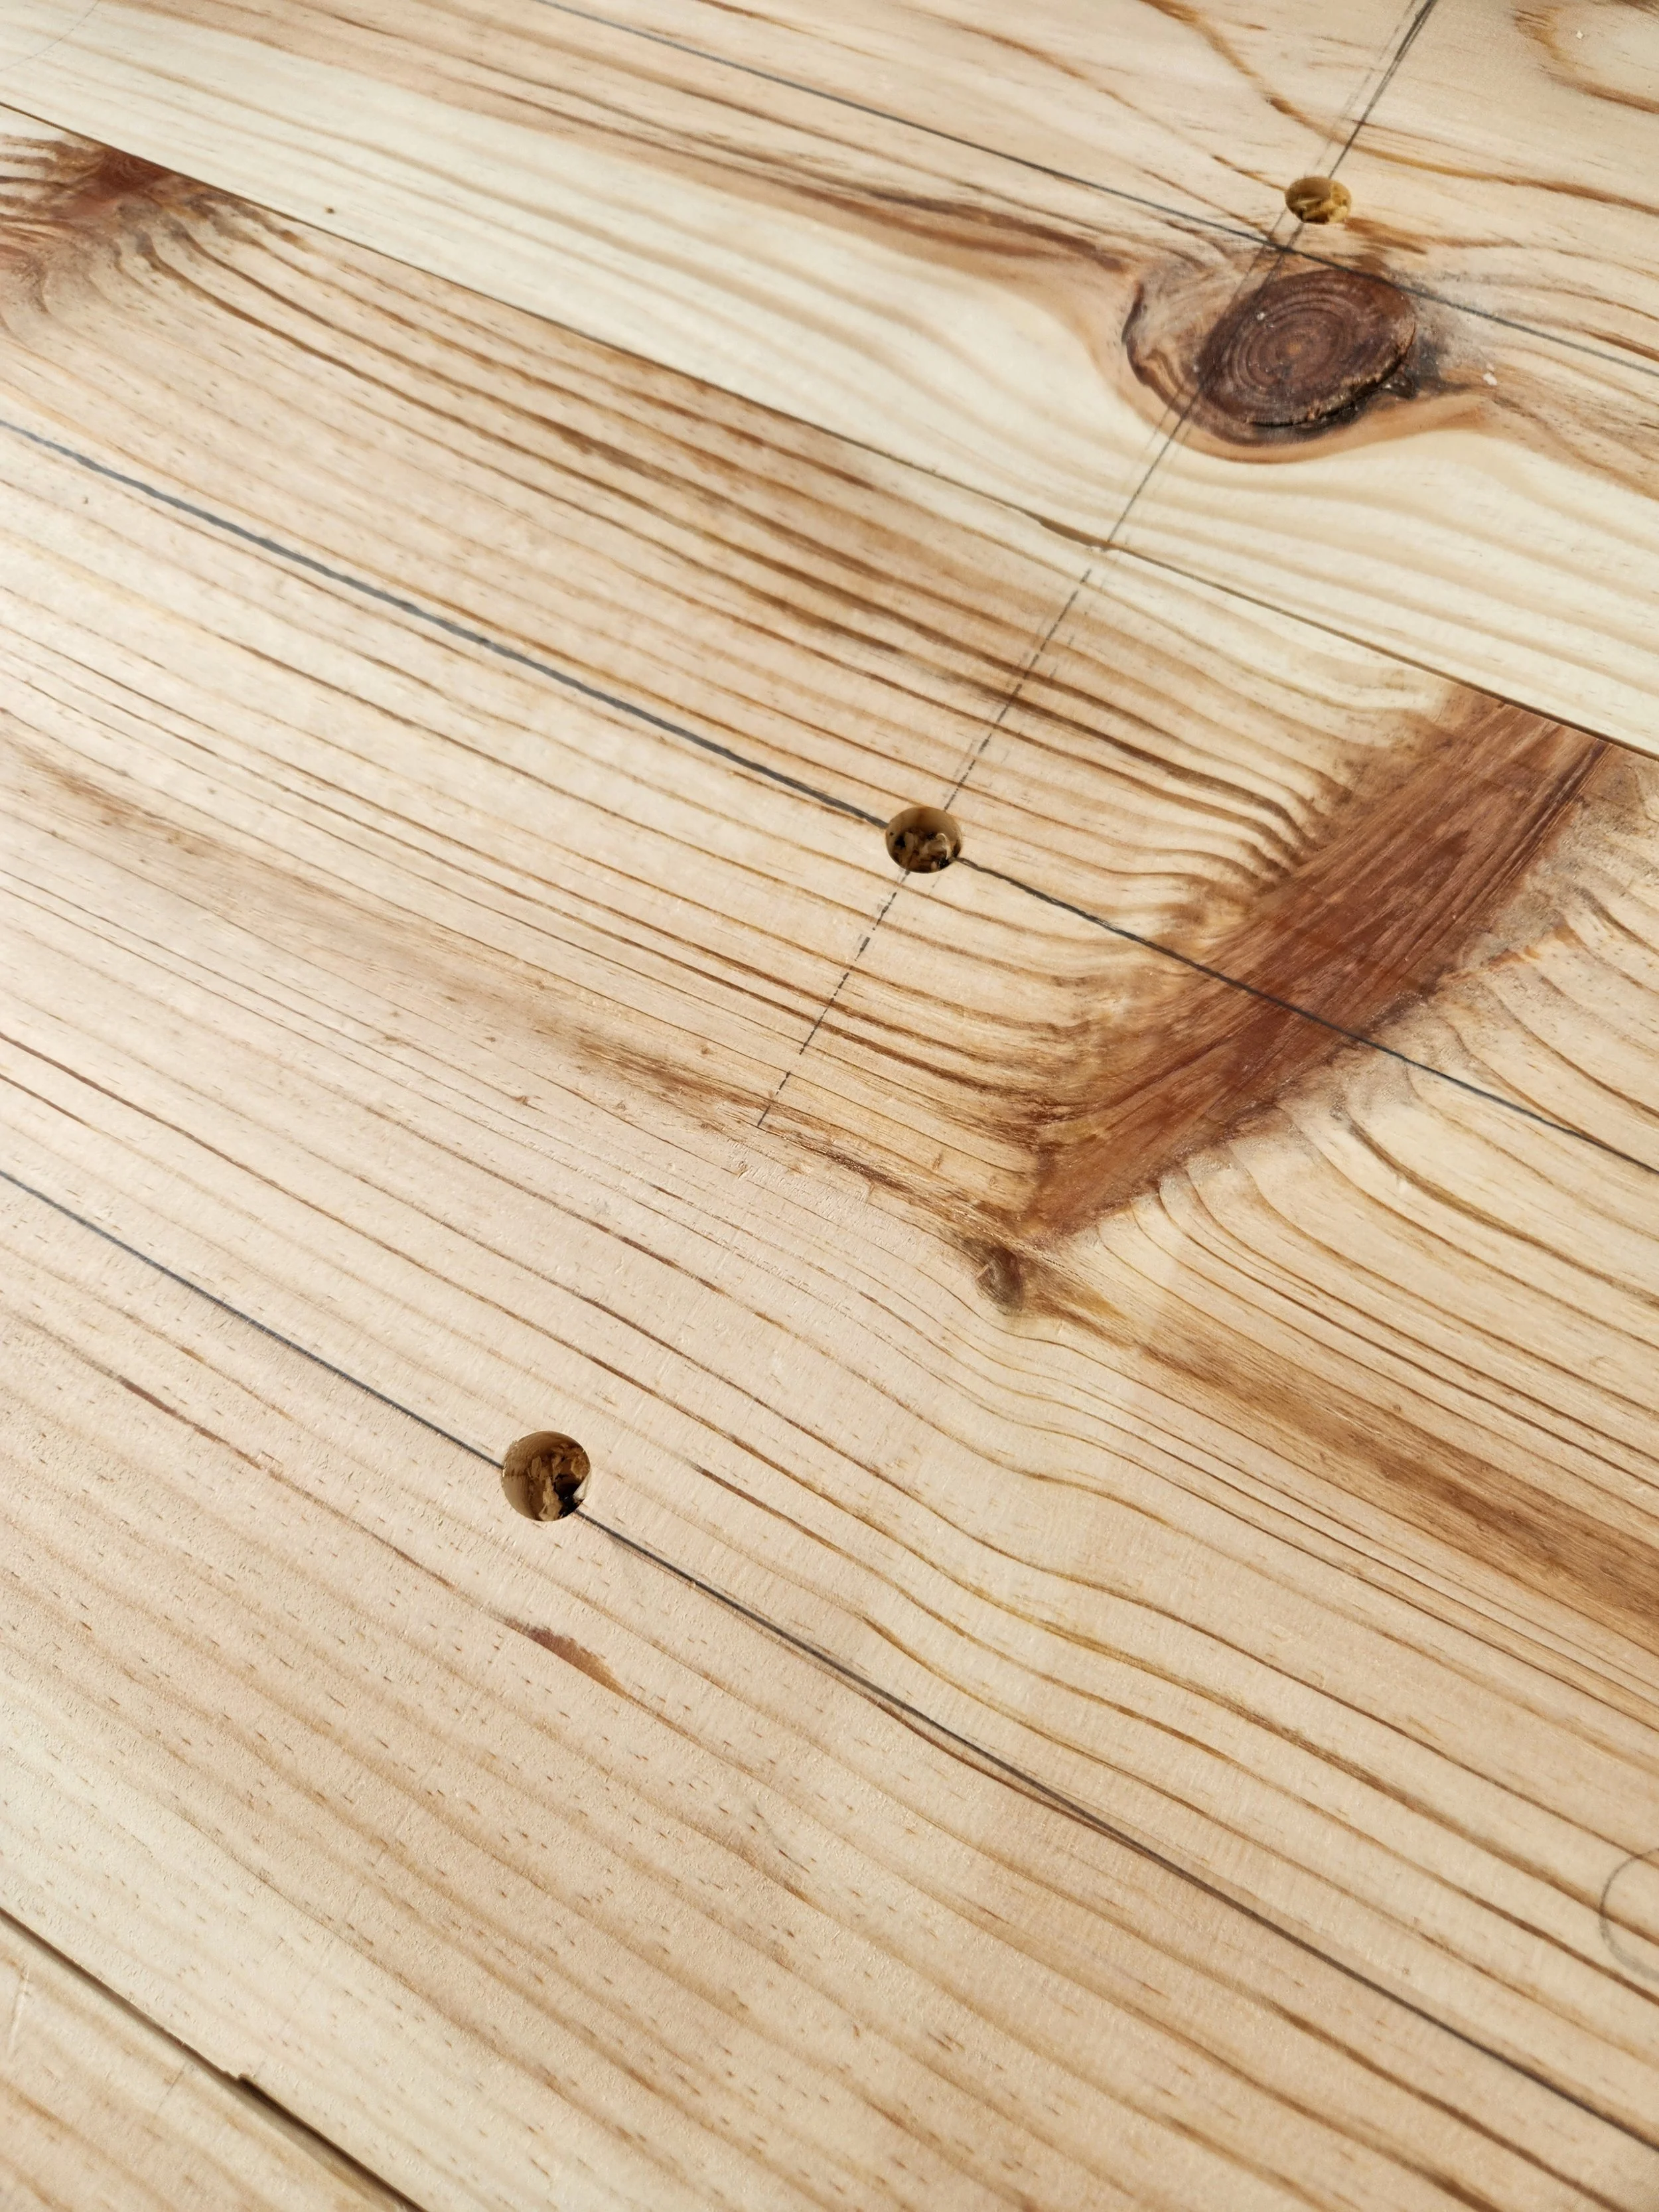
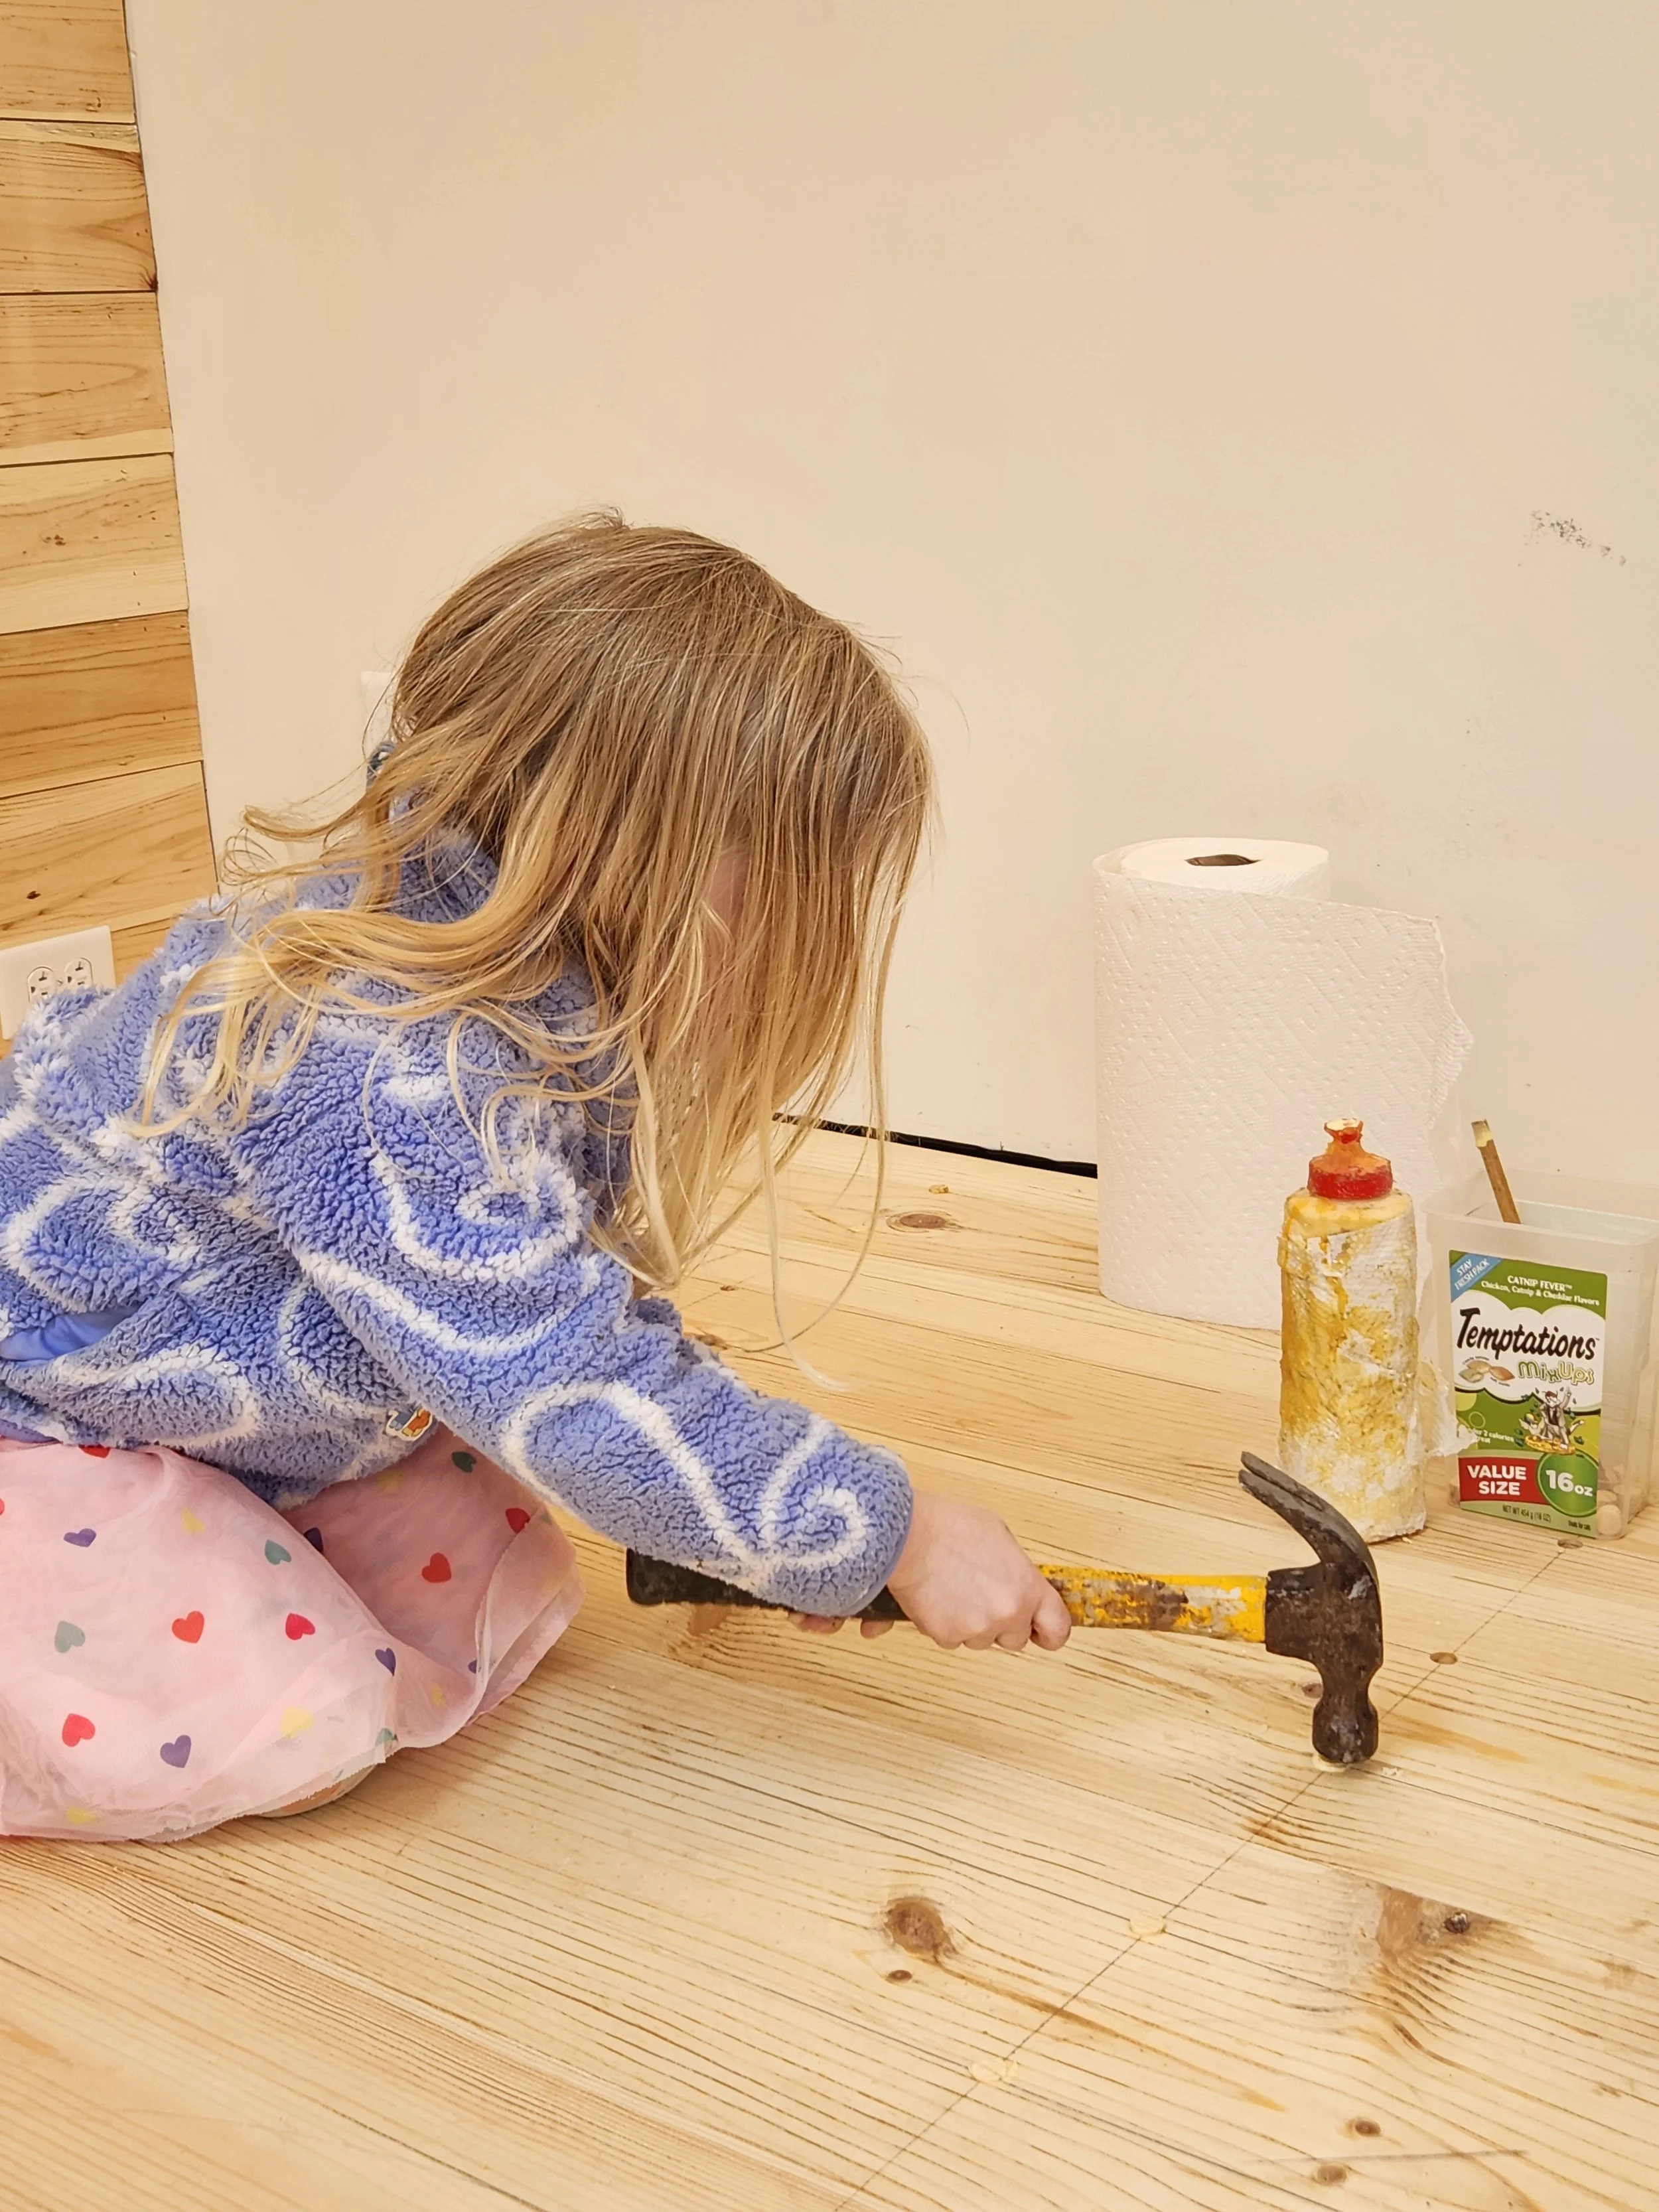
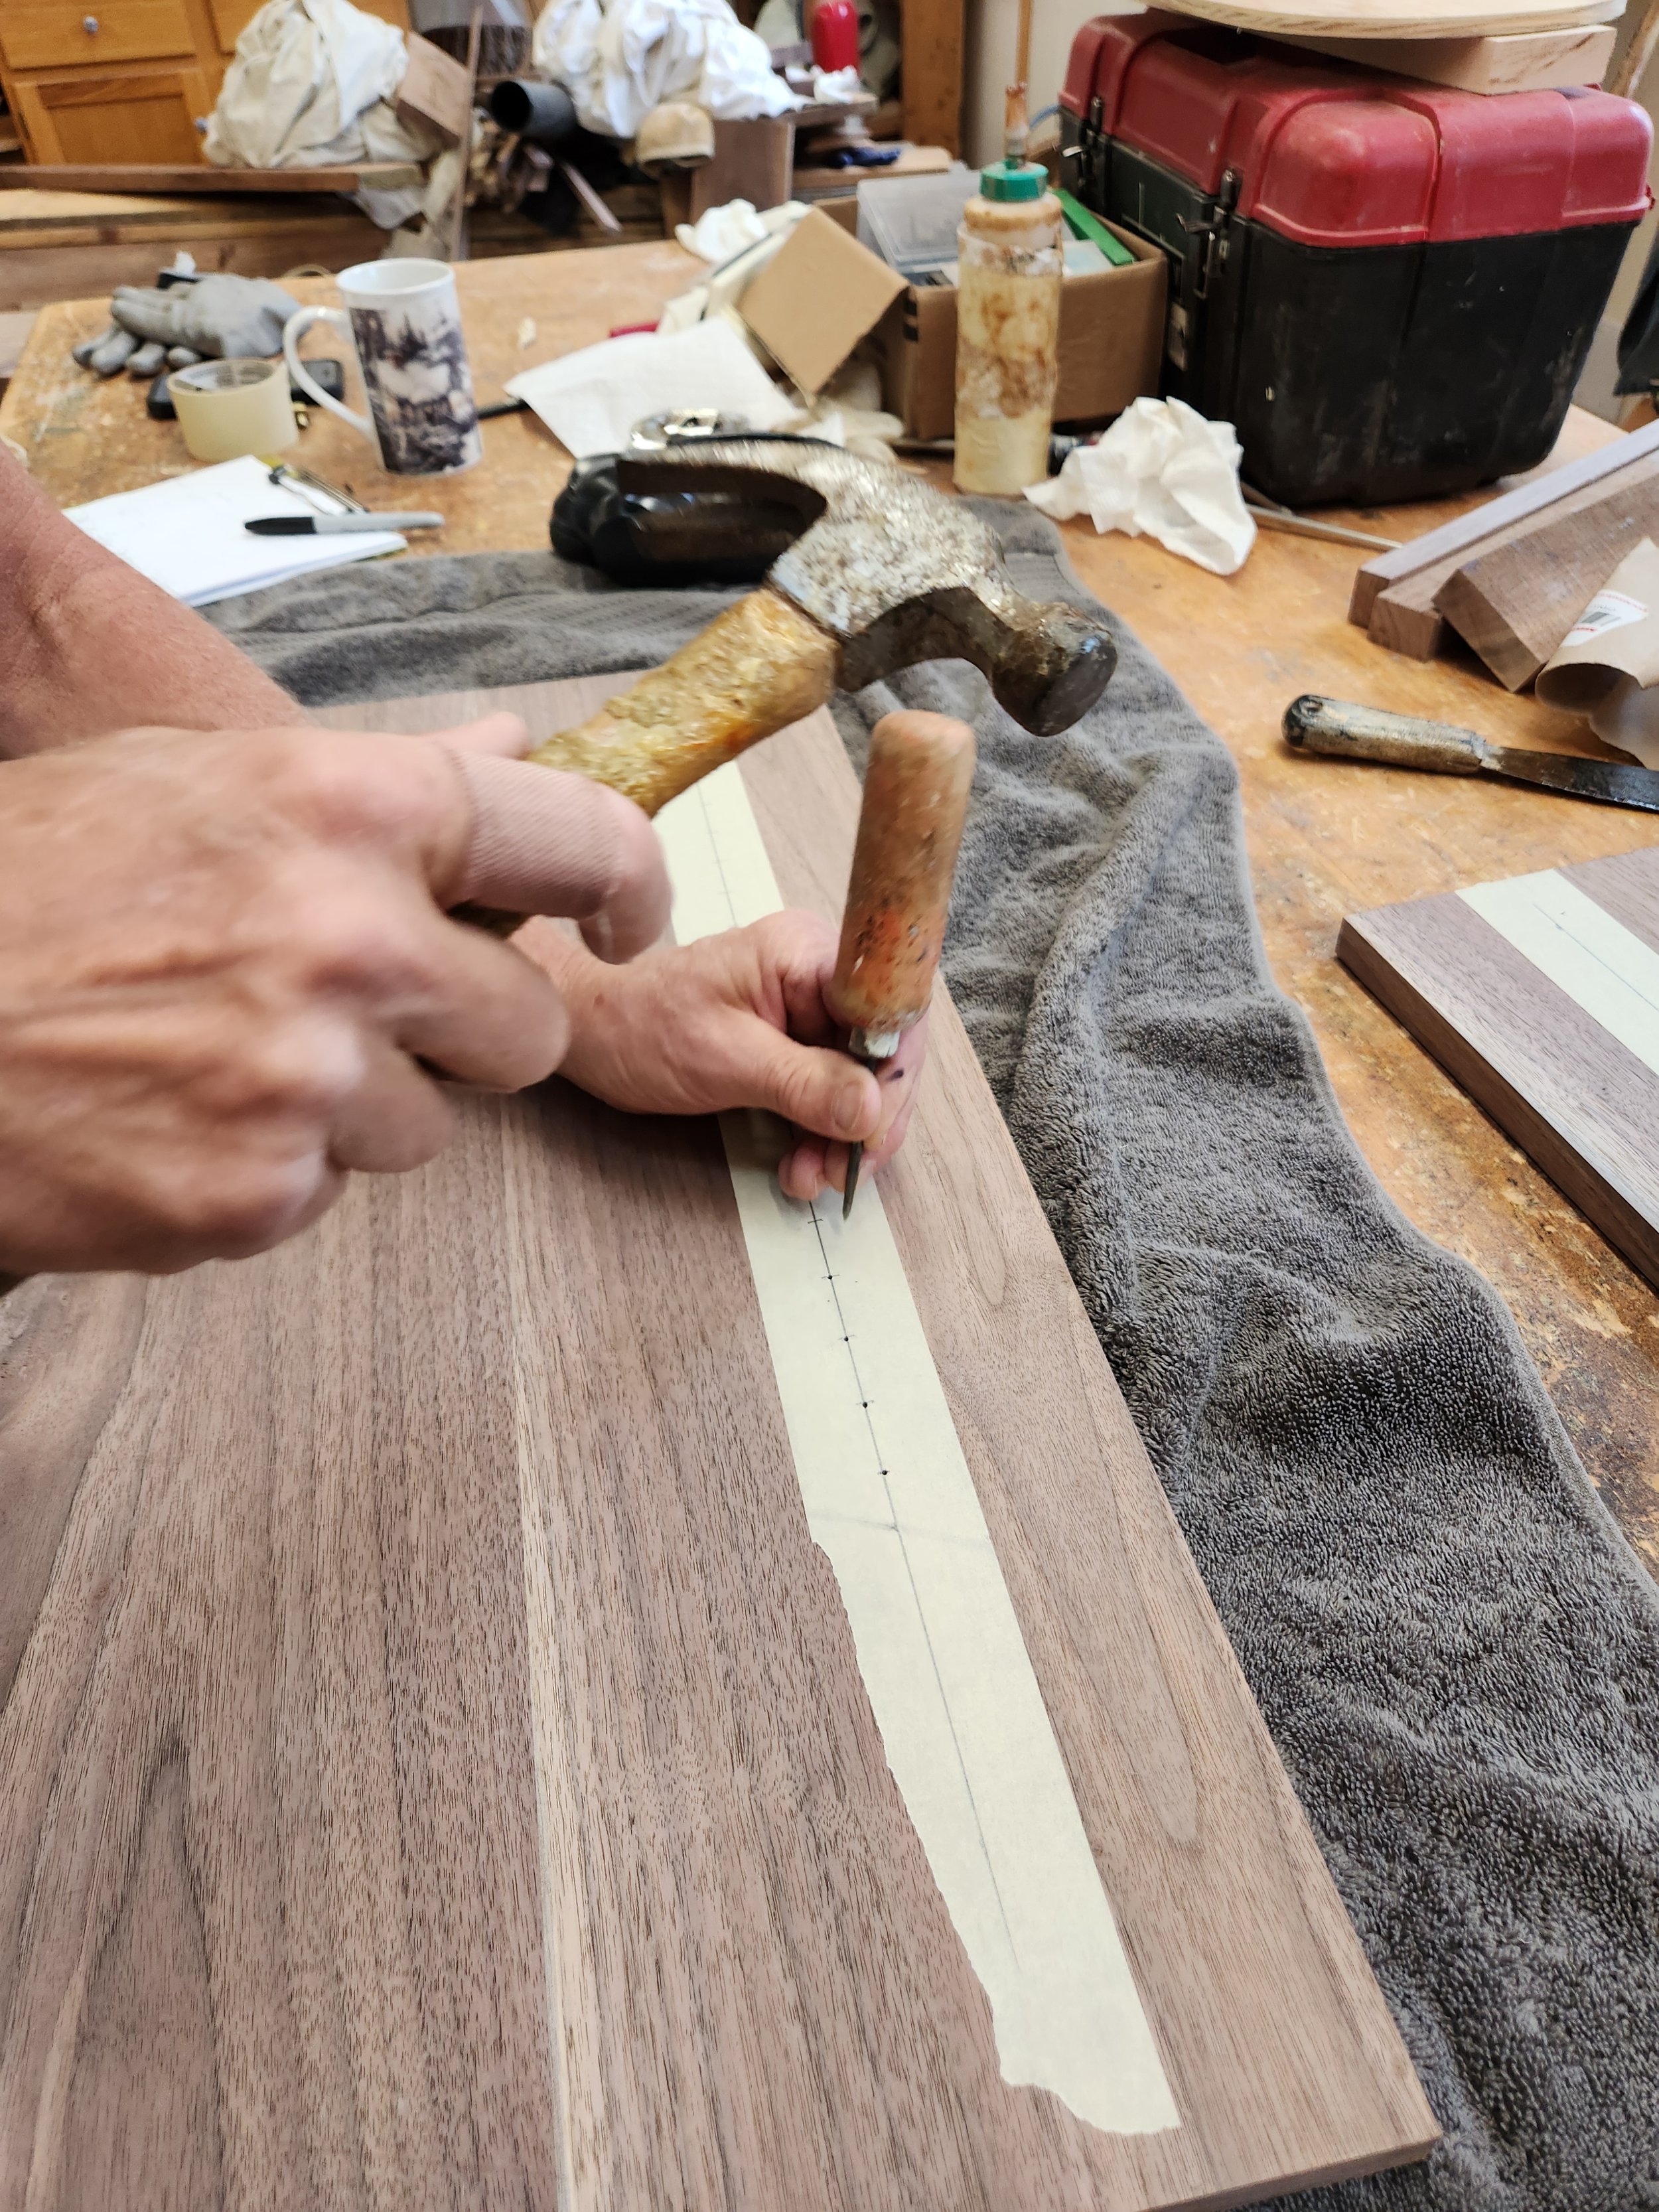
Moe took each board, ran it through the planer, routered the edges, cut each plank to size, and installed it. He drilled and set screws to keep the wide boards from warping. After that, he made custom plugs, and we hammered them in place and sanded. Two coats of polyurethane were applied to give the floor color the depth we wanted.
The Finishing Details Add to the Uniqueness of My Art Studio
Besides the custom trim around the windows and in the corners and the handmade baseboards, there are other fabulous handcrafted features inside my studio.
The Cozy Window Seat
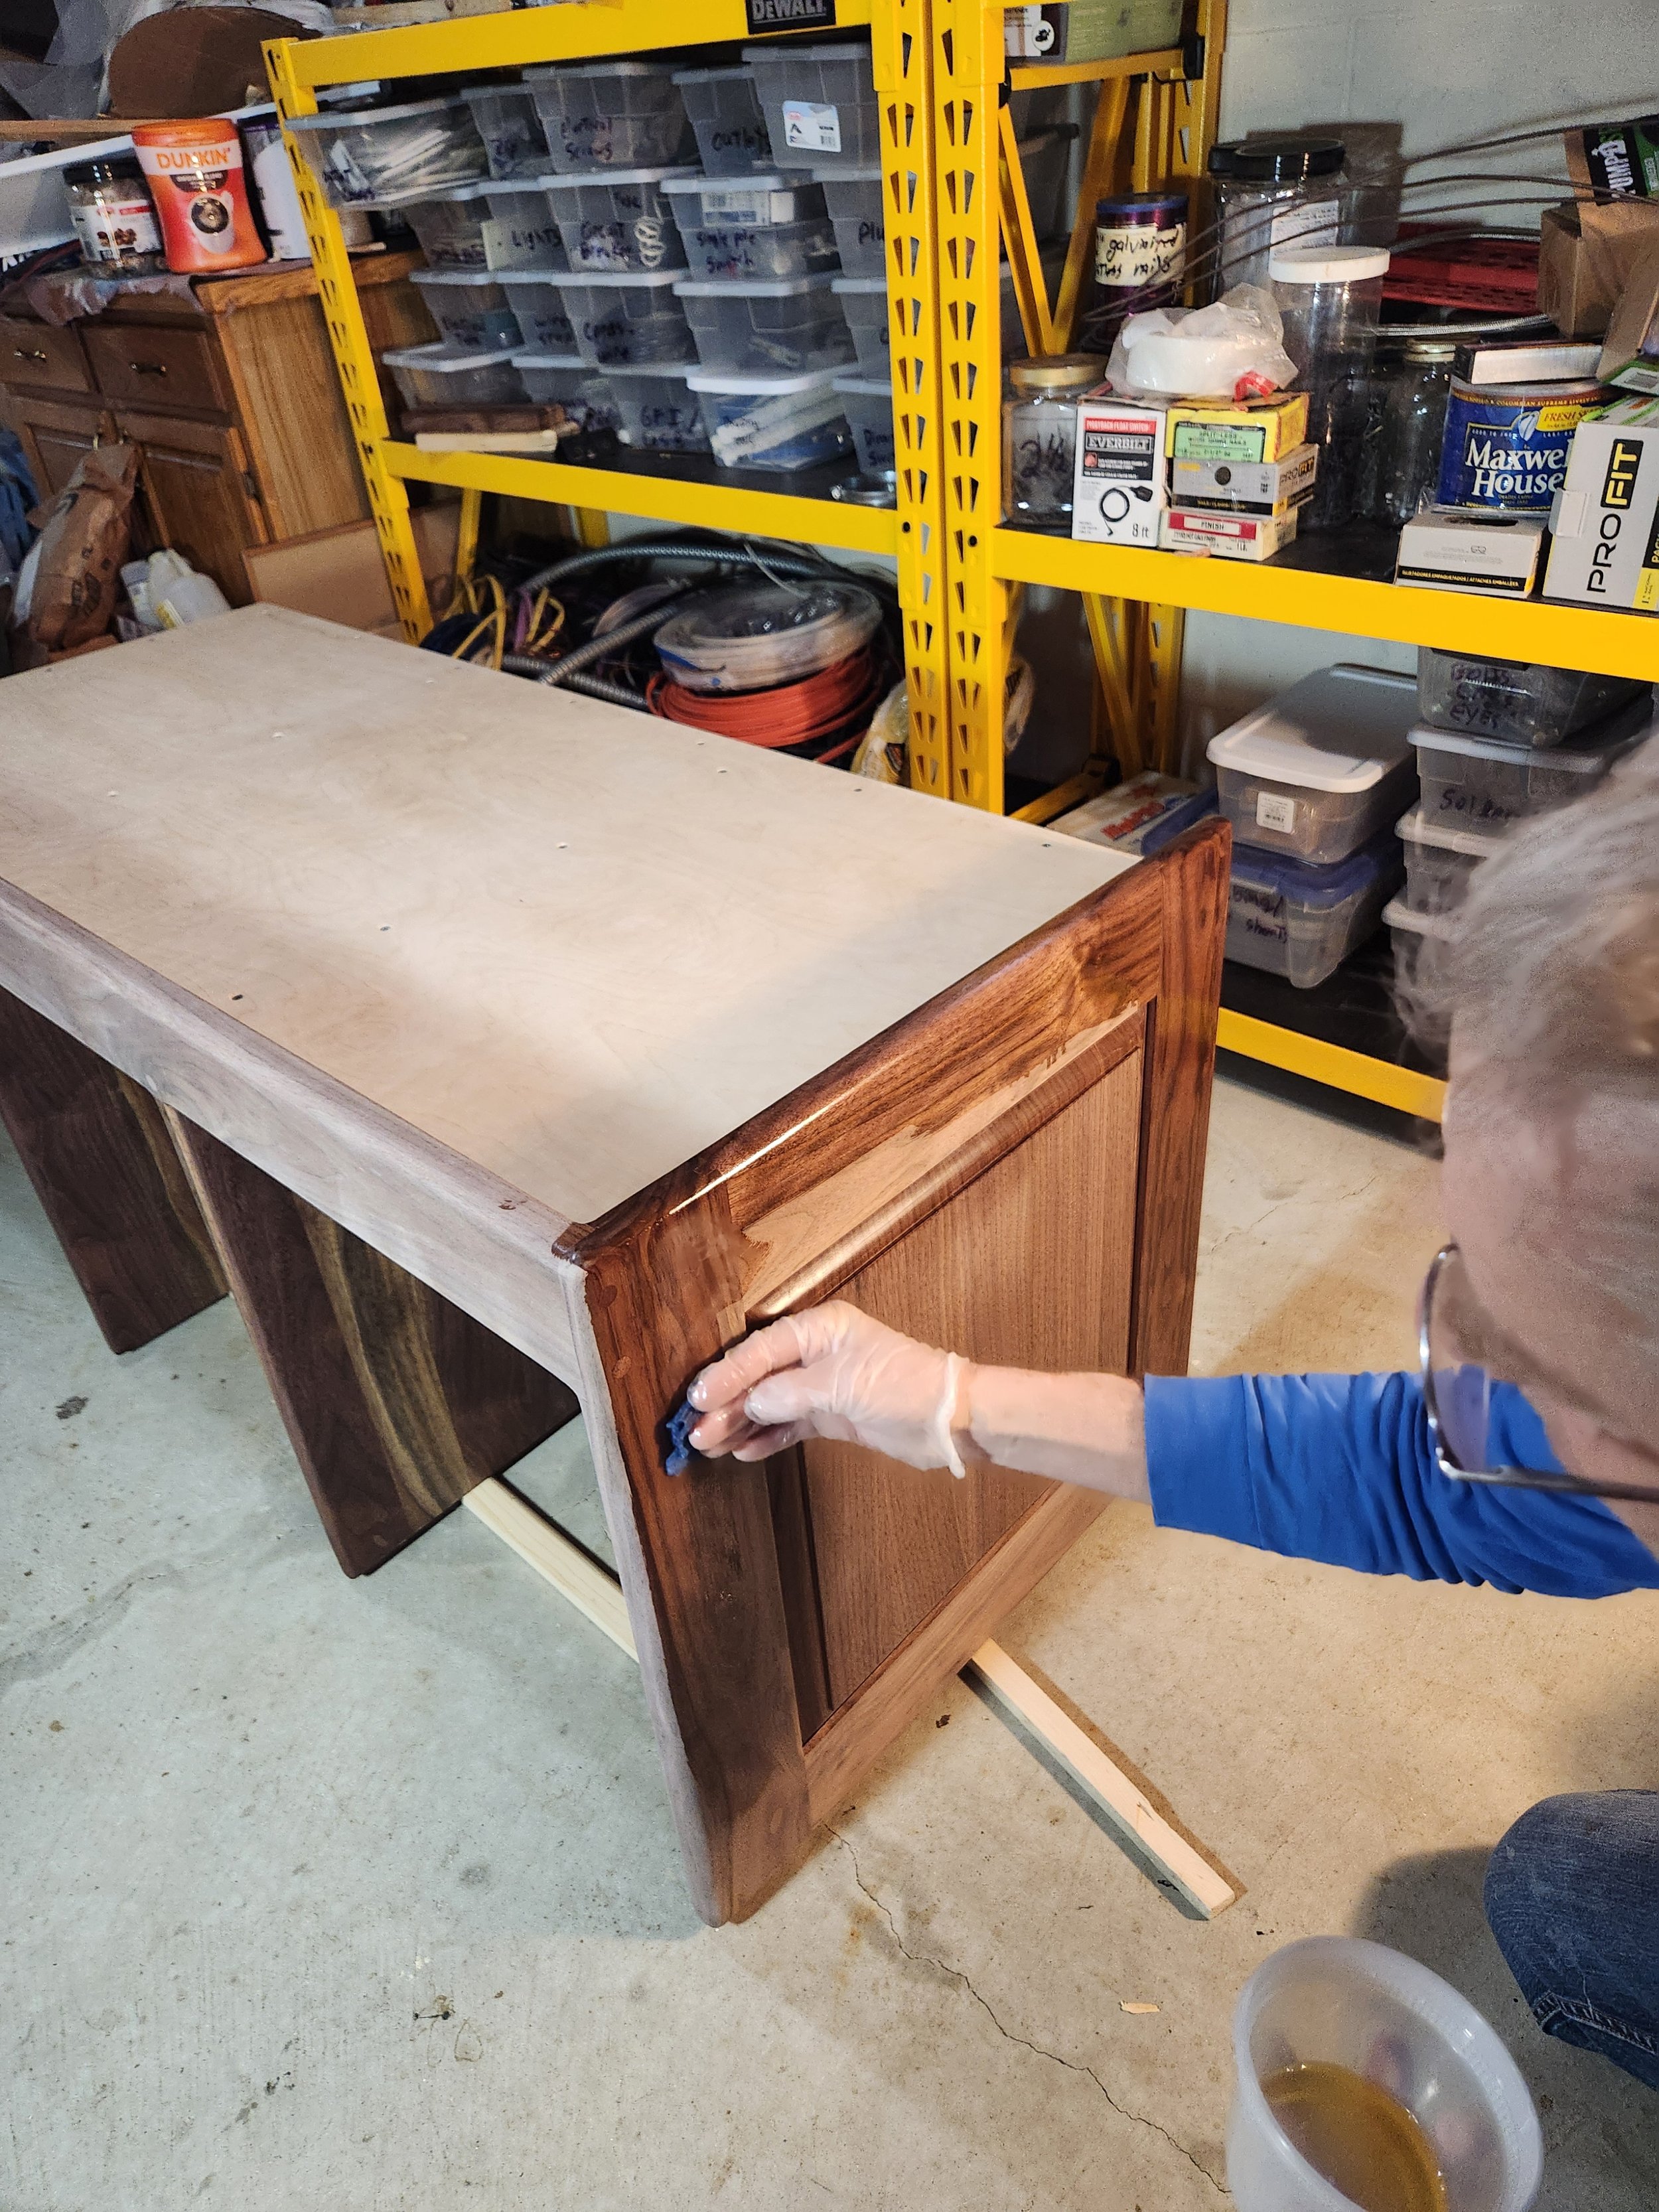
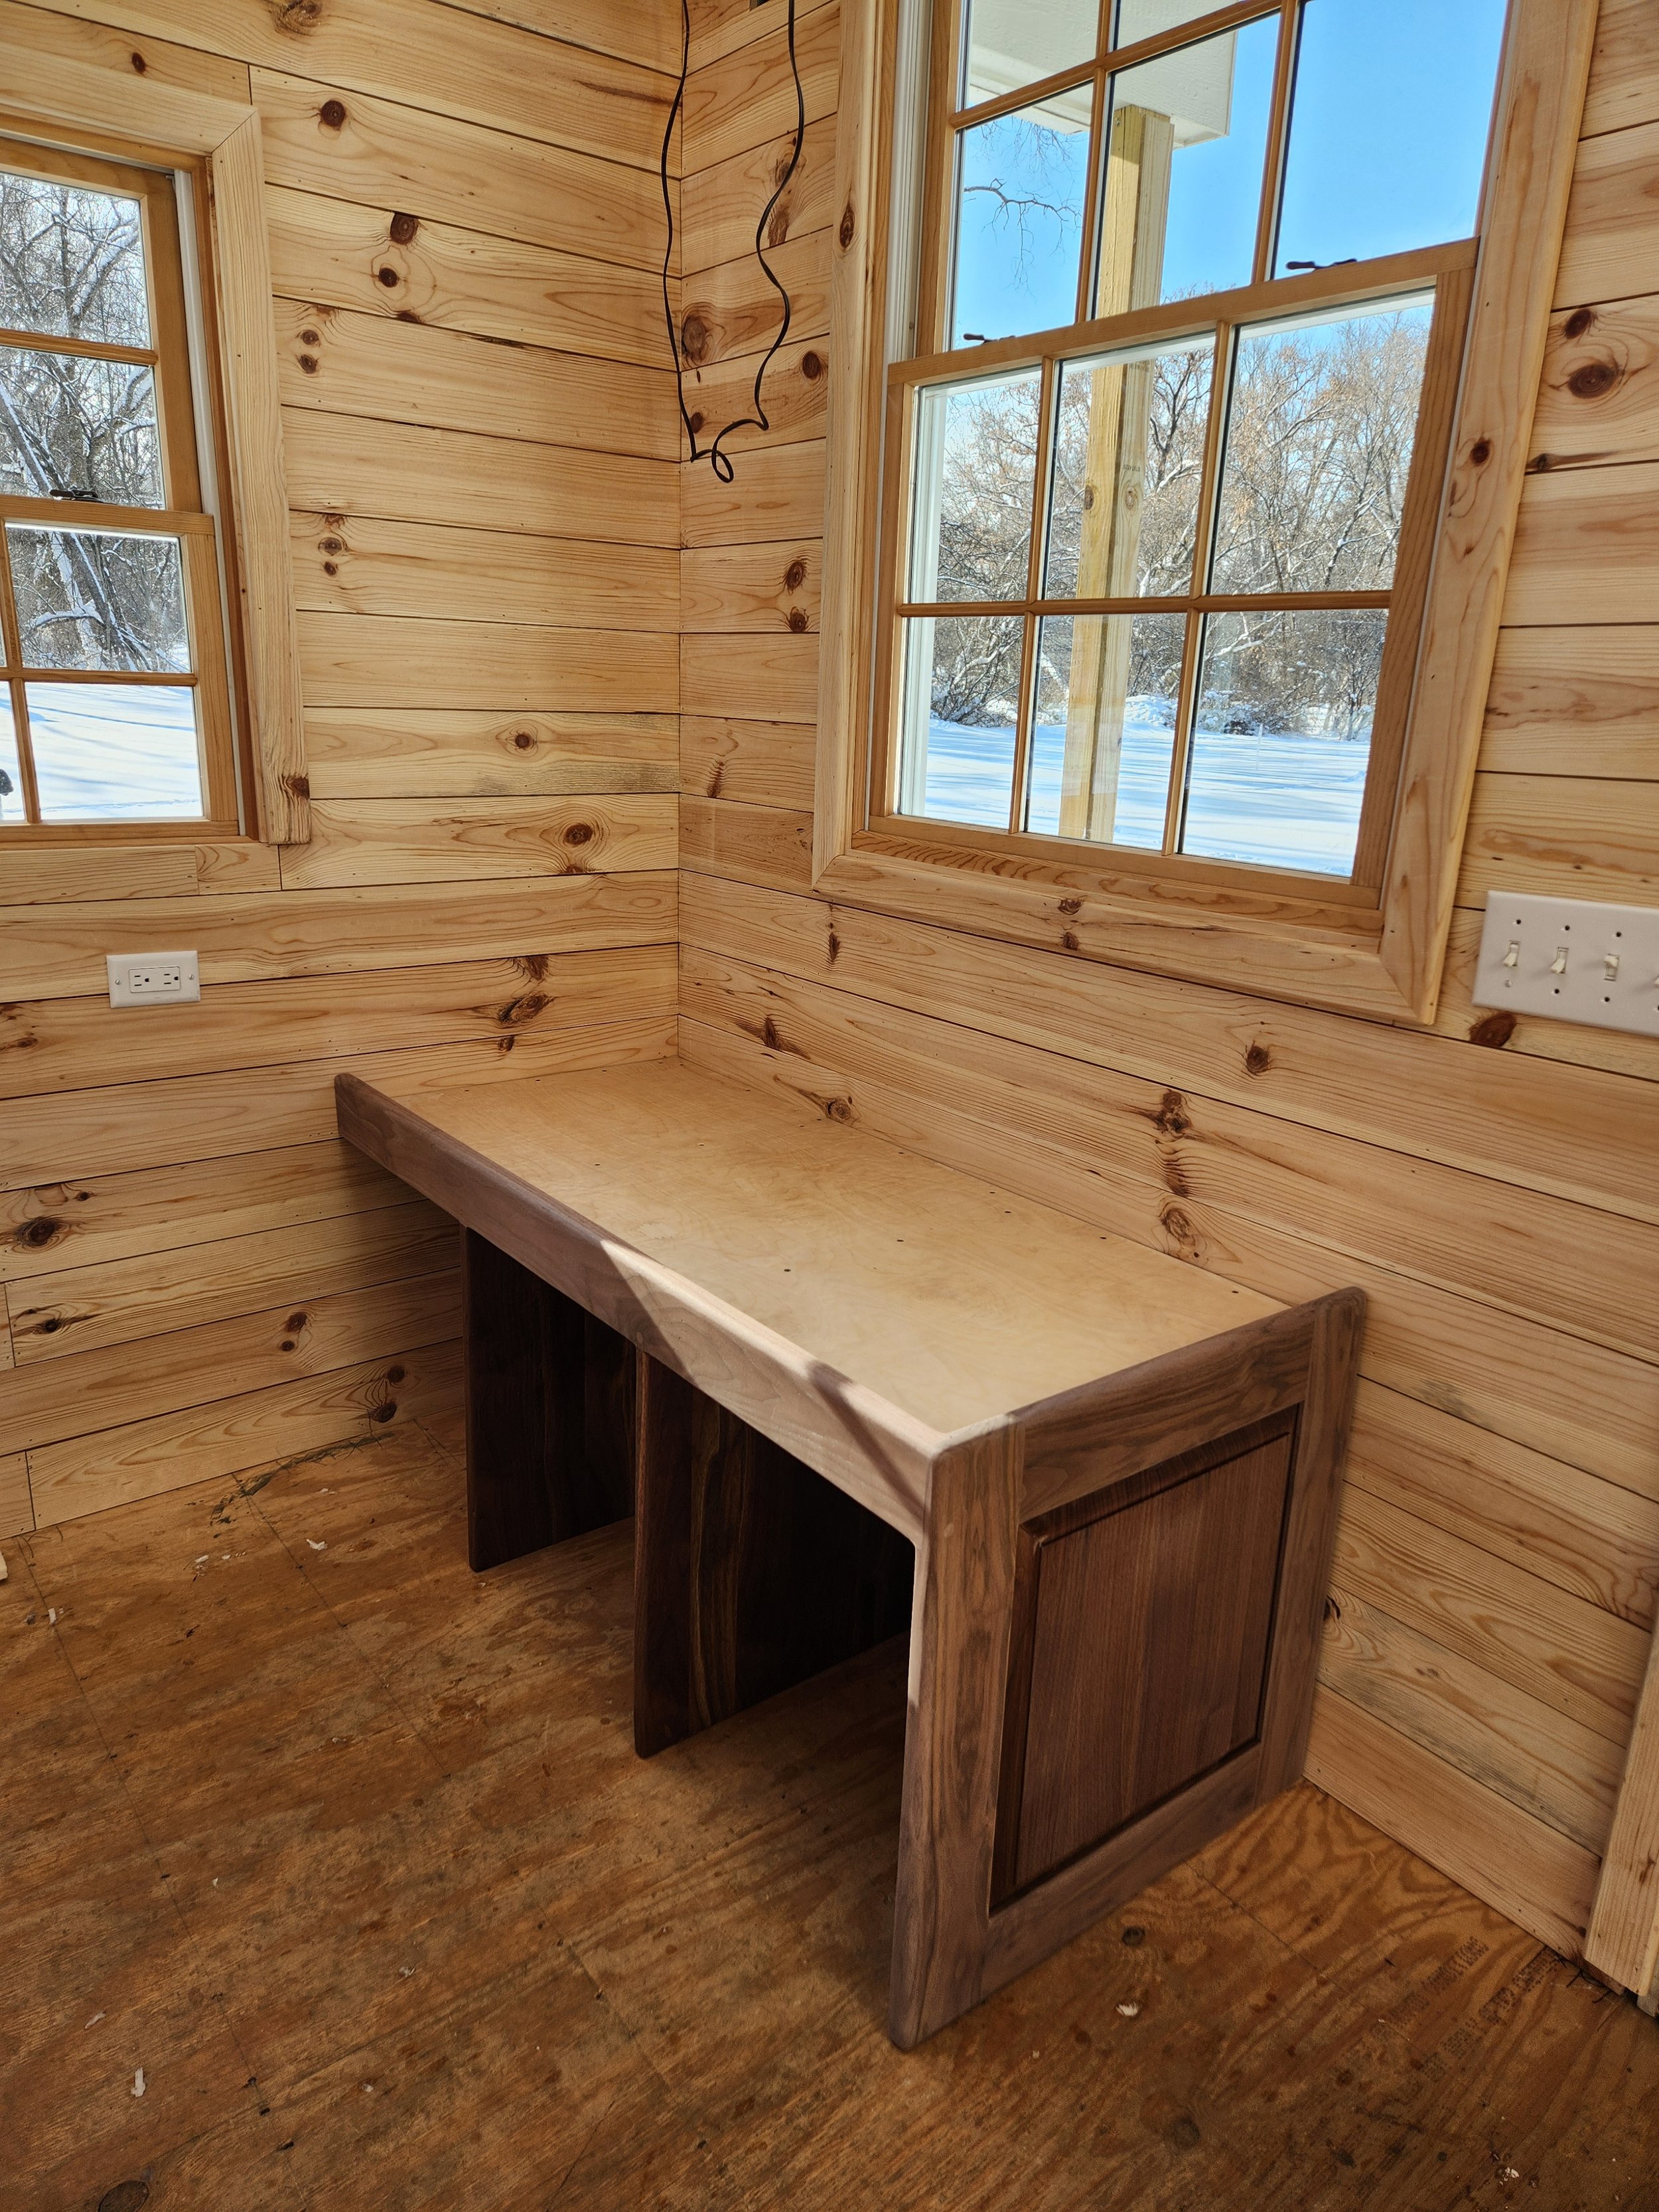
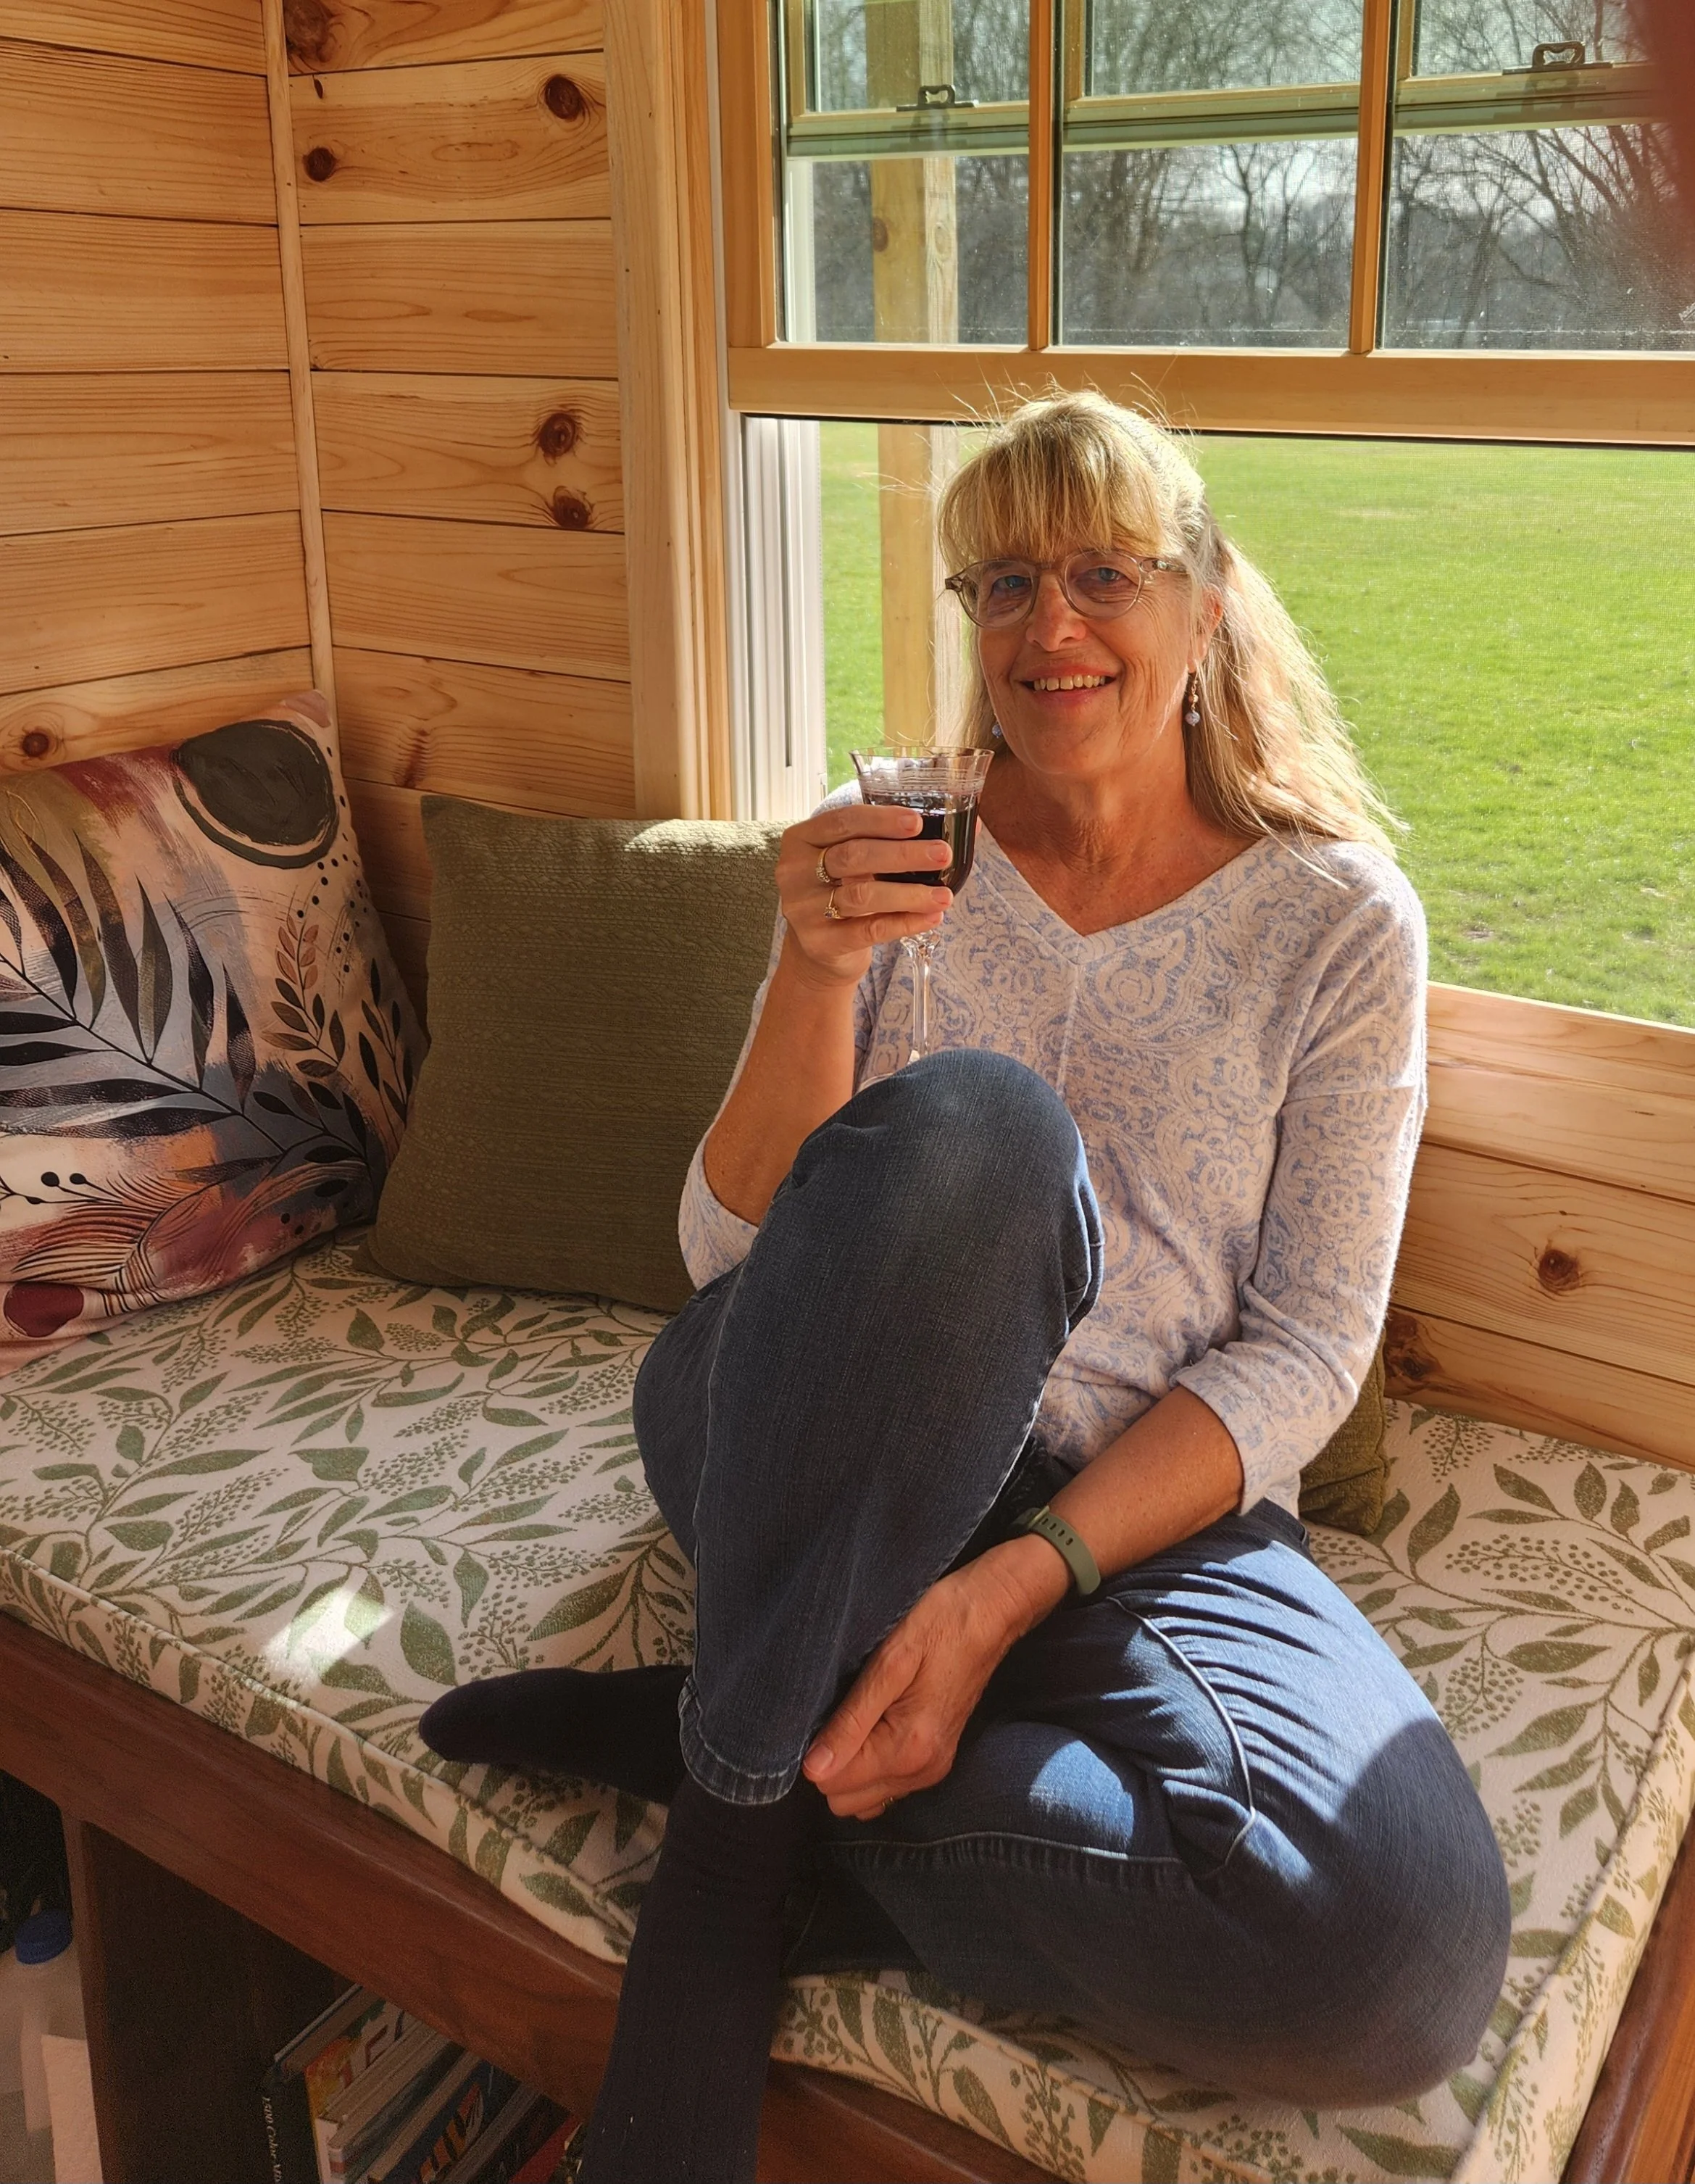
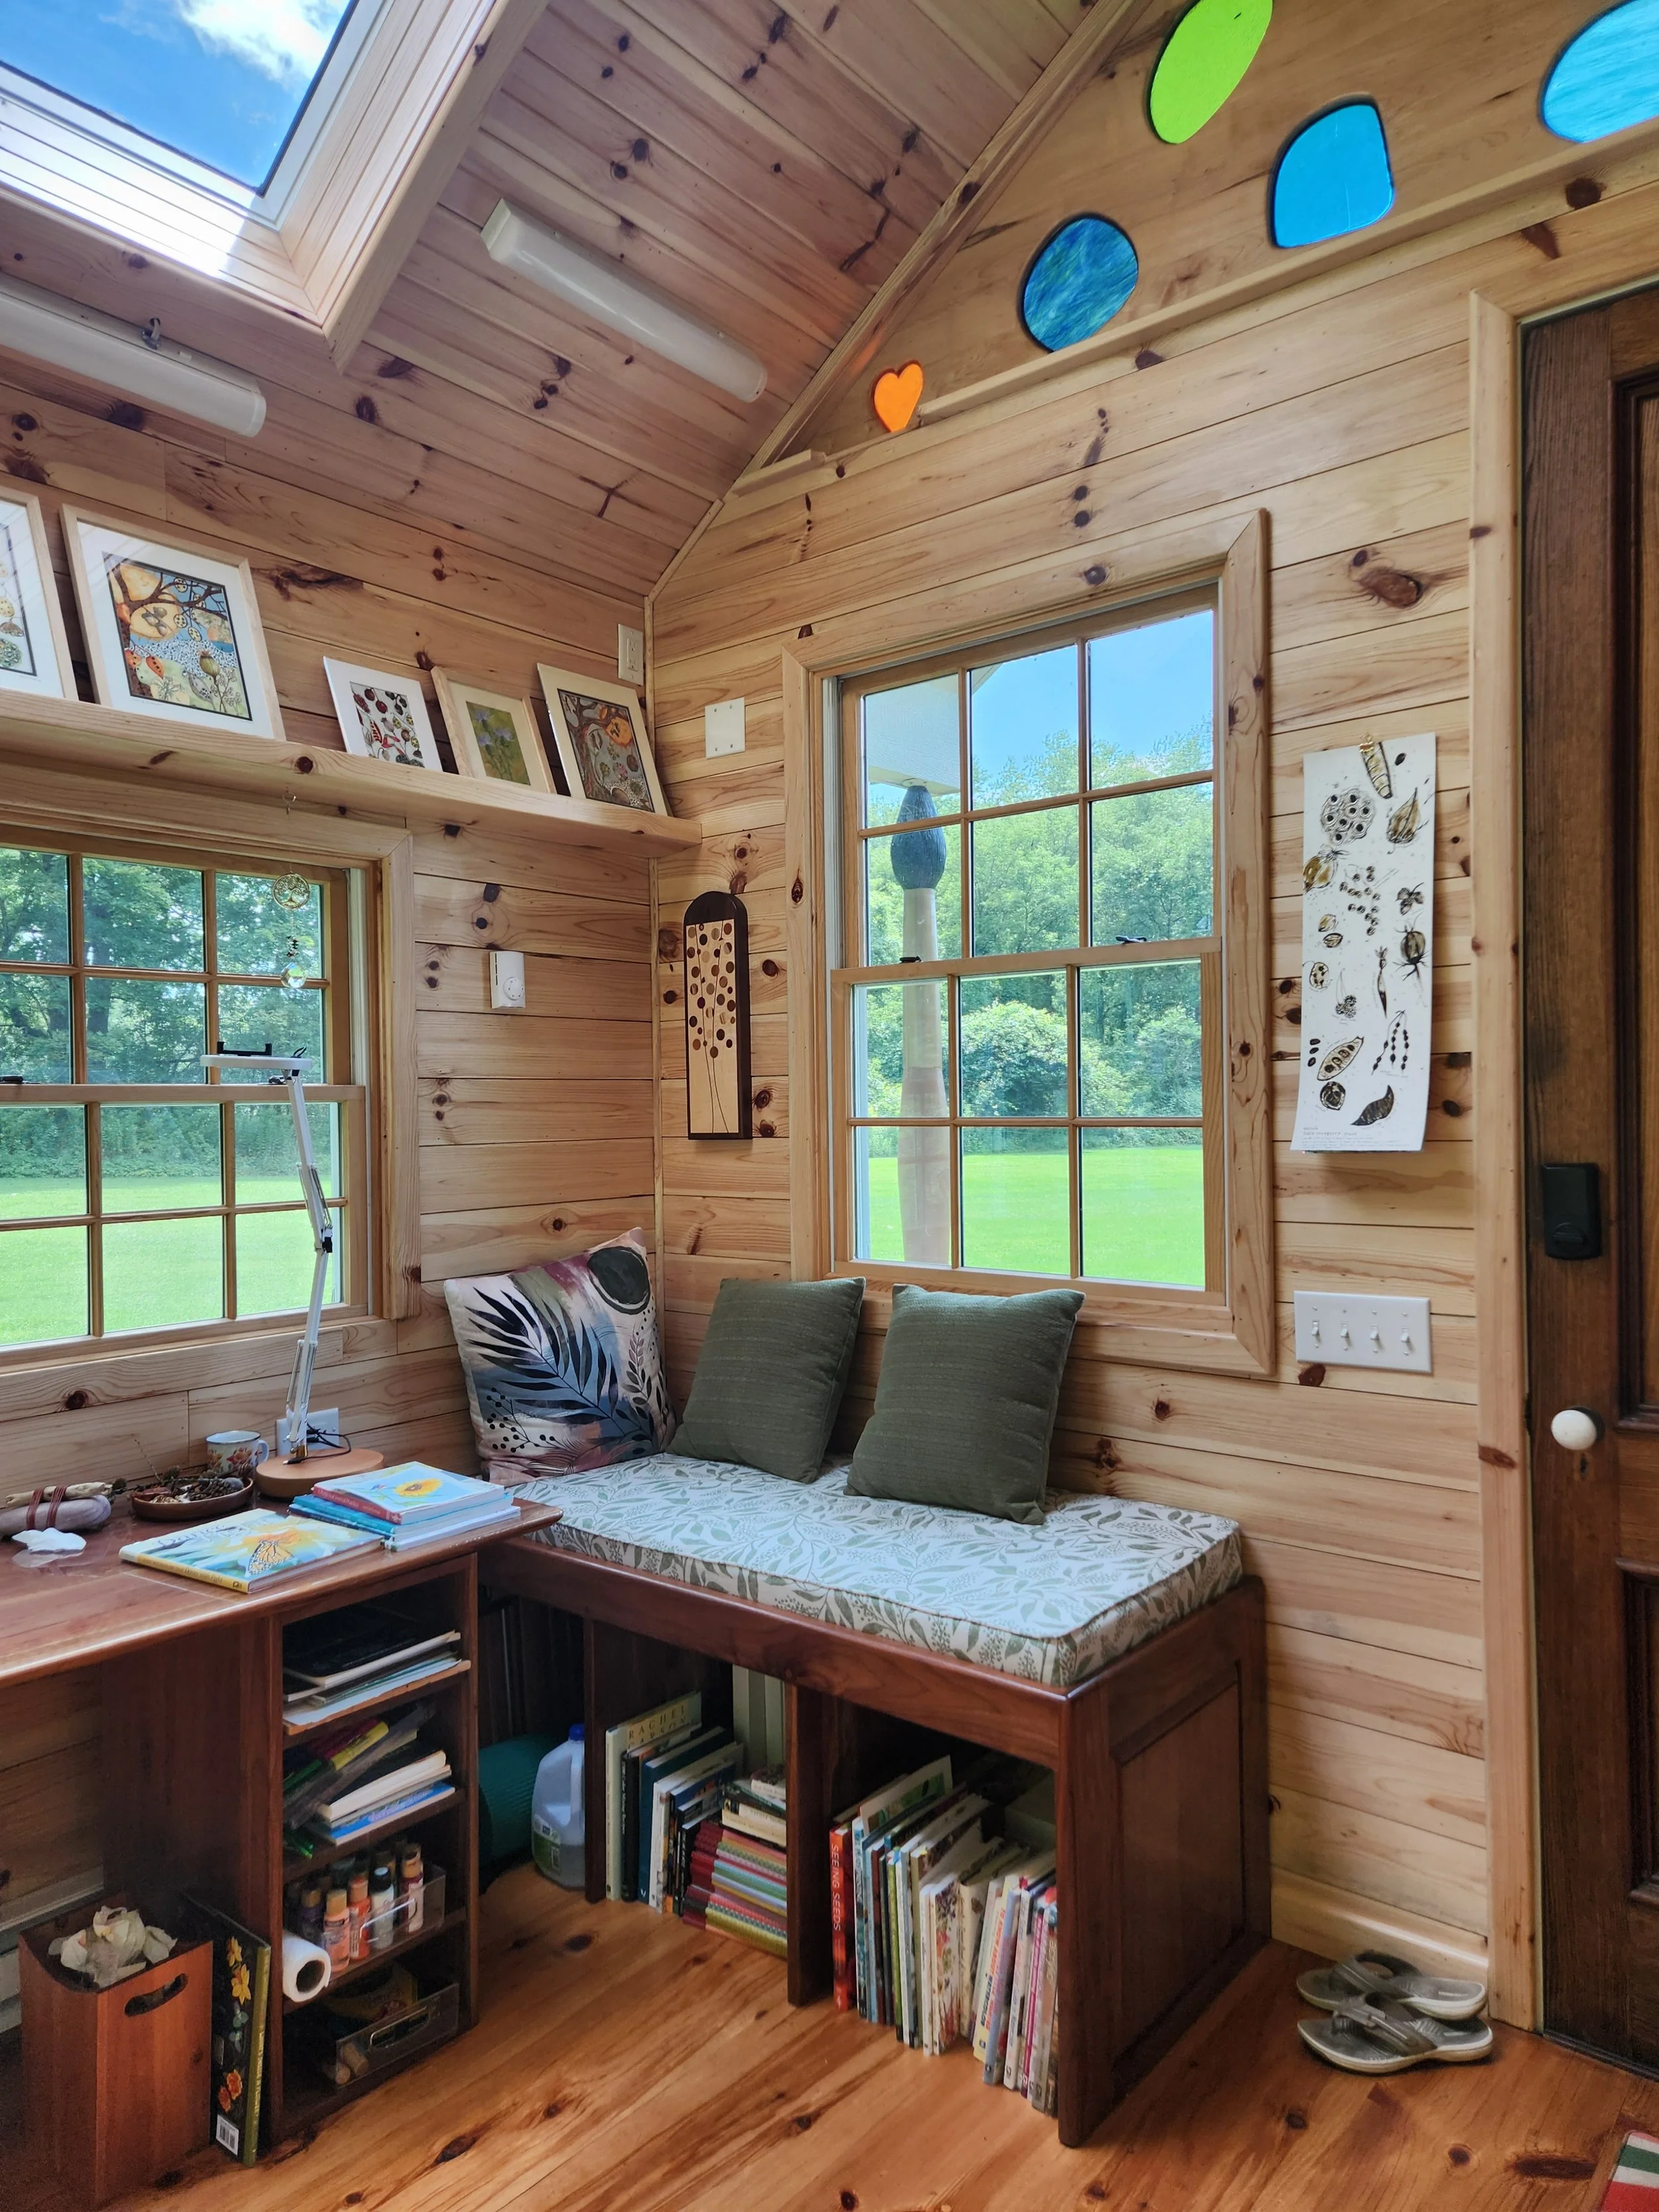
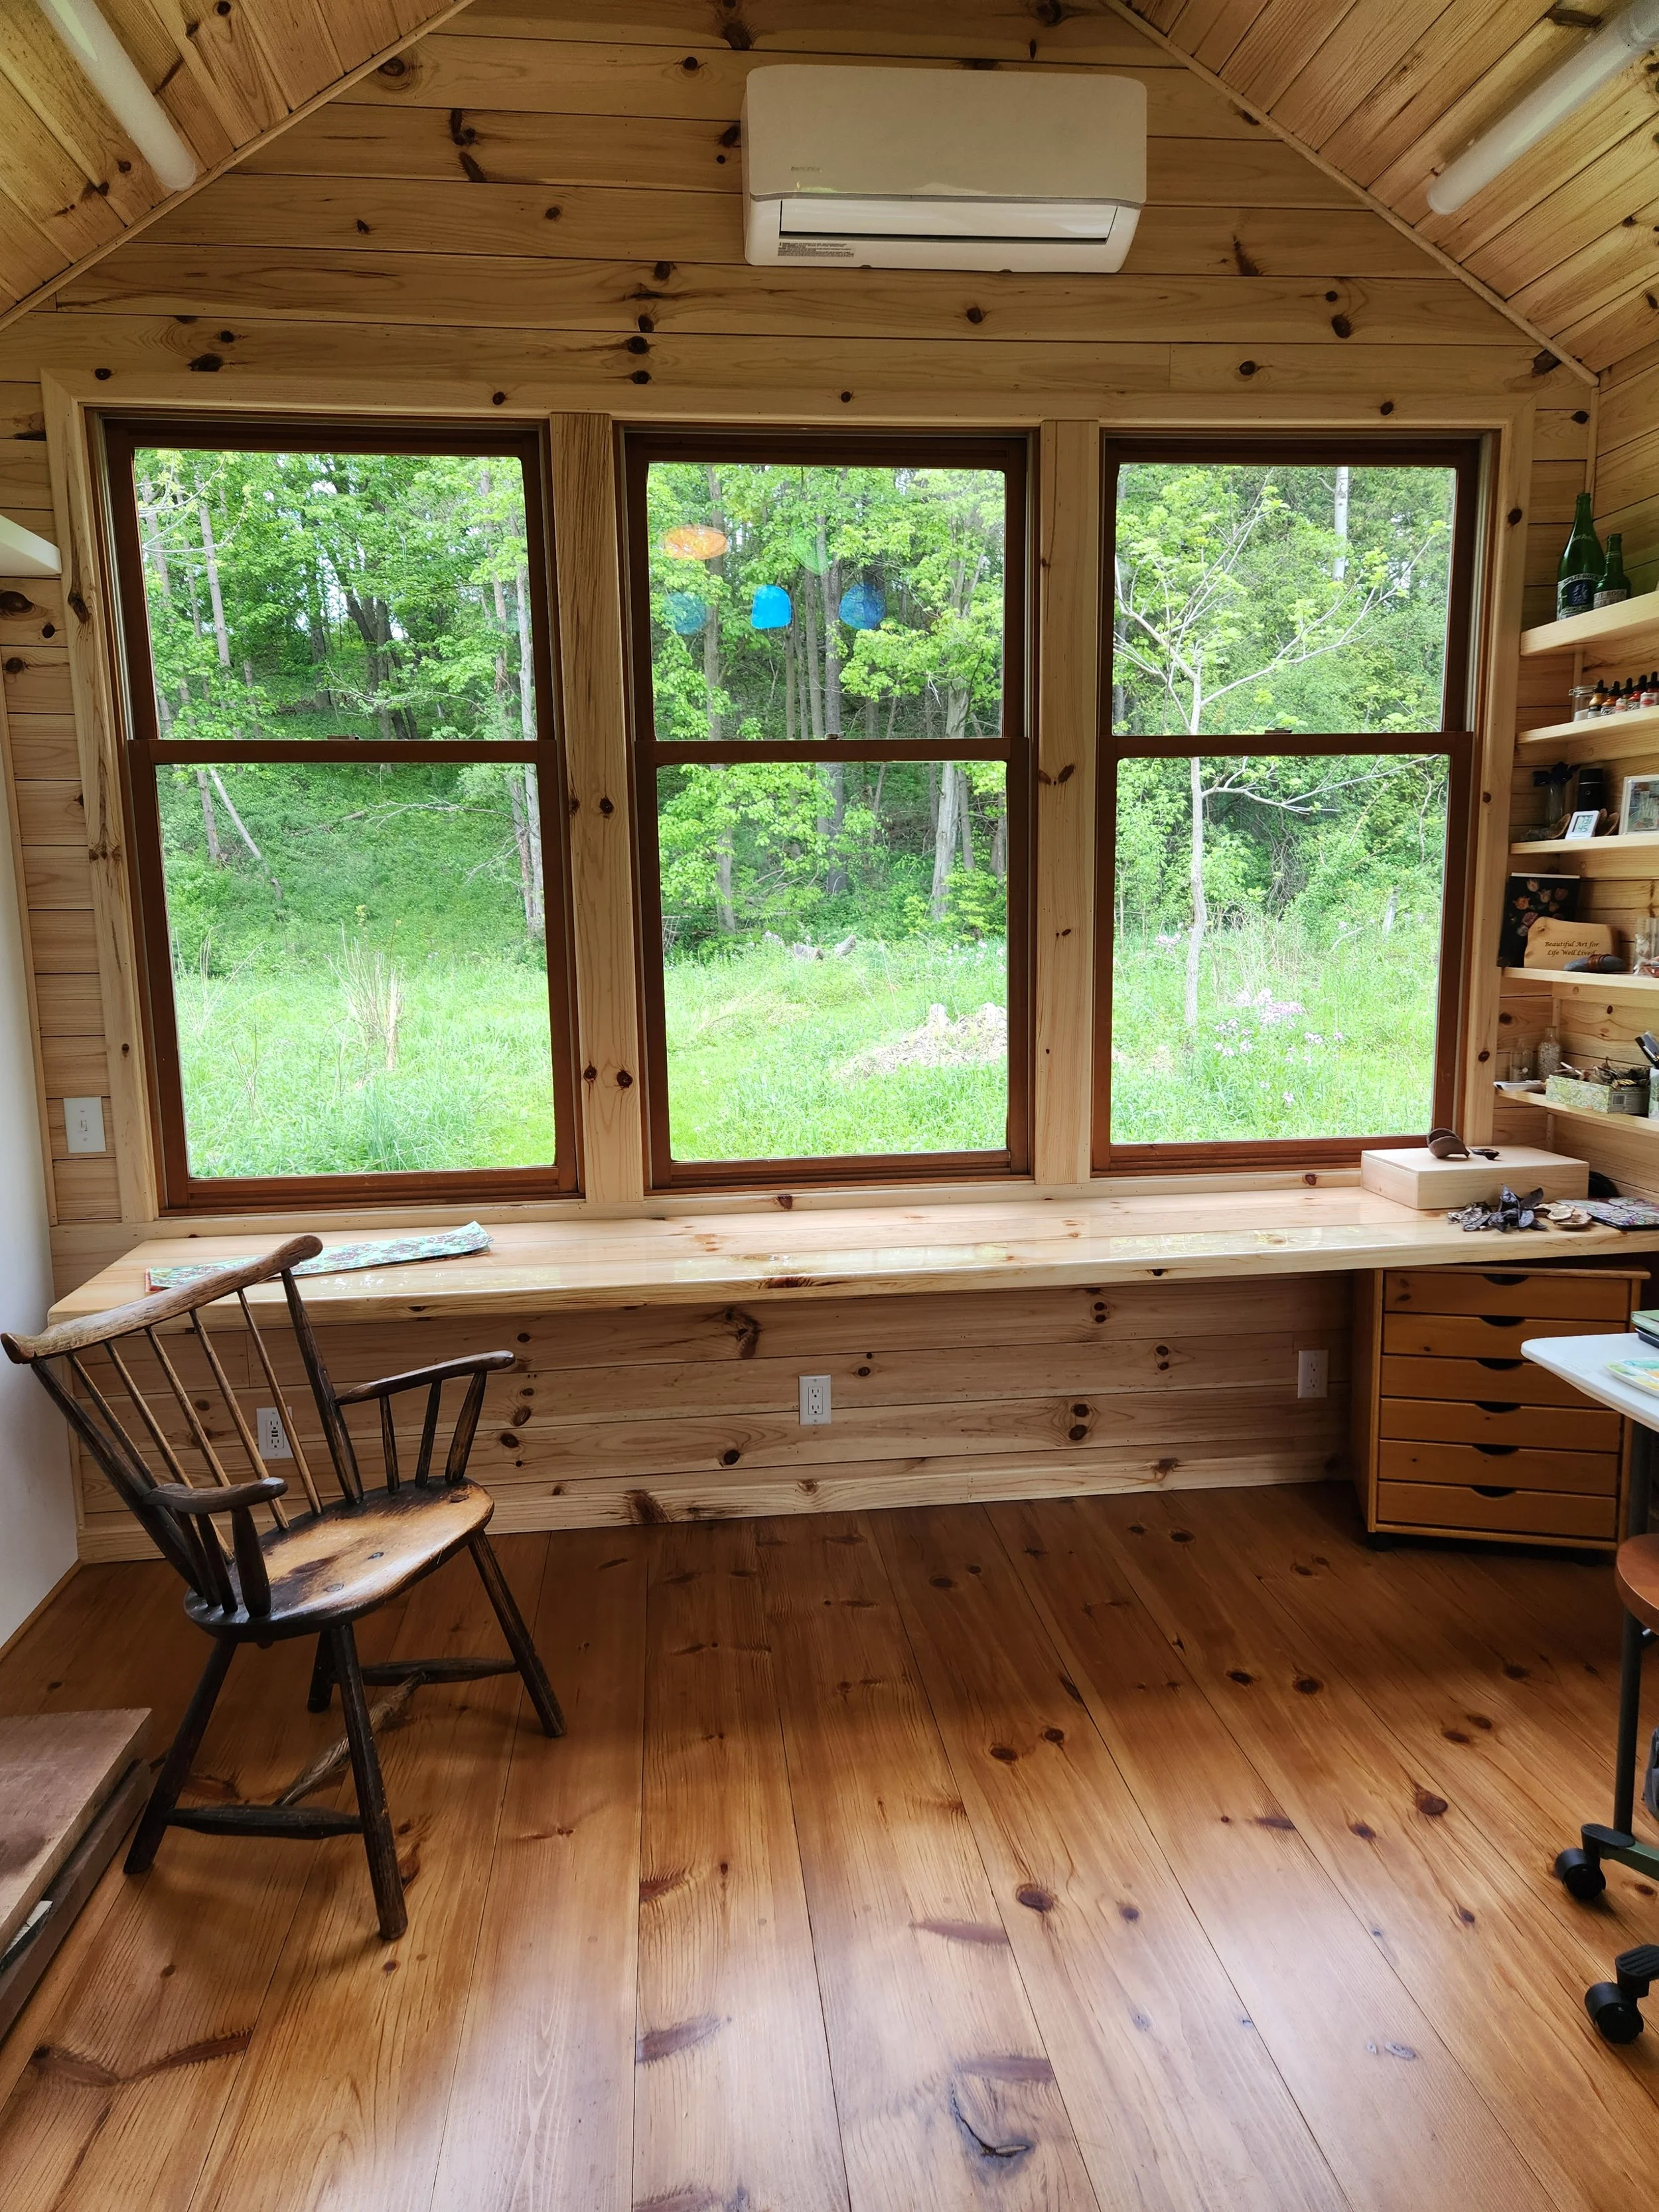
I have always dreamed of having a window seat, so having one in my art studio seemed like the perfect fit. We decided to use black walnut as an accent wood for some of the interior pieces. The walnut came from a tree that Moe had planted as a teenager. Unfortunately, it was struck by lightning and had to be taken down. Before Moe began making it, I custom-ordered a cushion. We wanted to know that it would fit perfectly. The bench has storage for small canvases and art books underneath. It is the perfect place for me to browse for inspiration, doodle, add some pen and ink to paintings, and have an occasional glass of wine!
Perfectly Placed Shelving
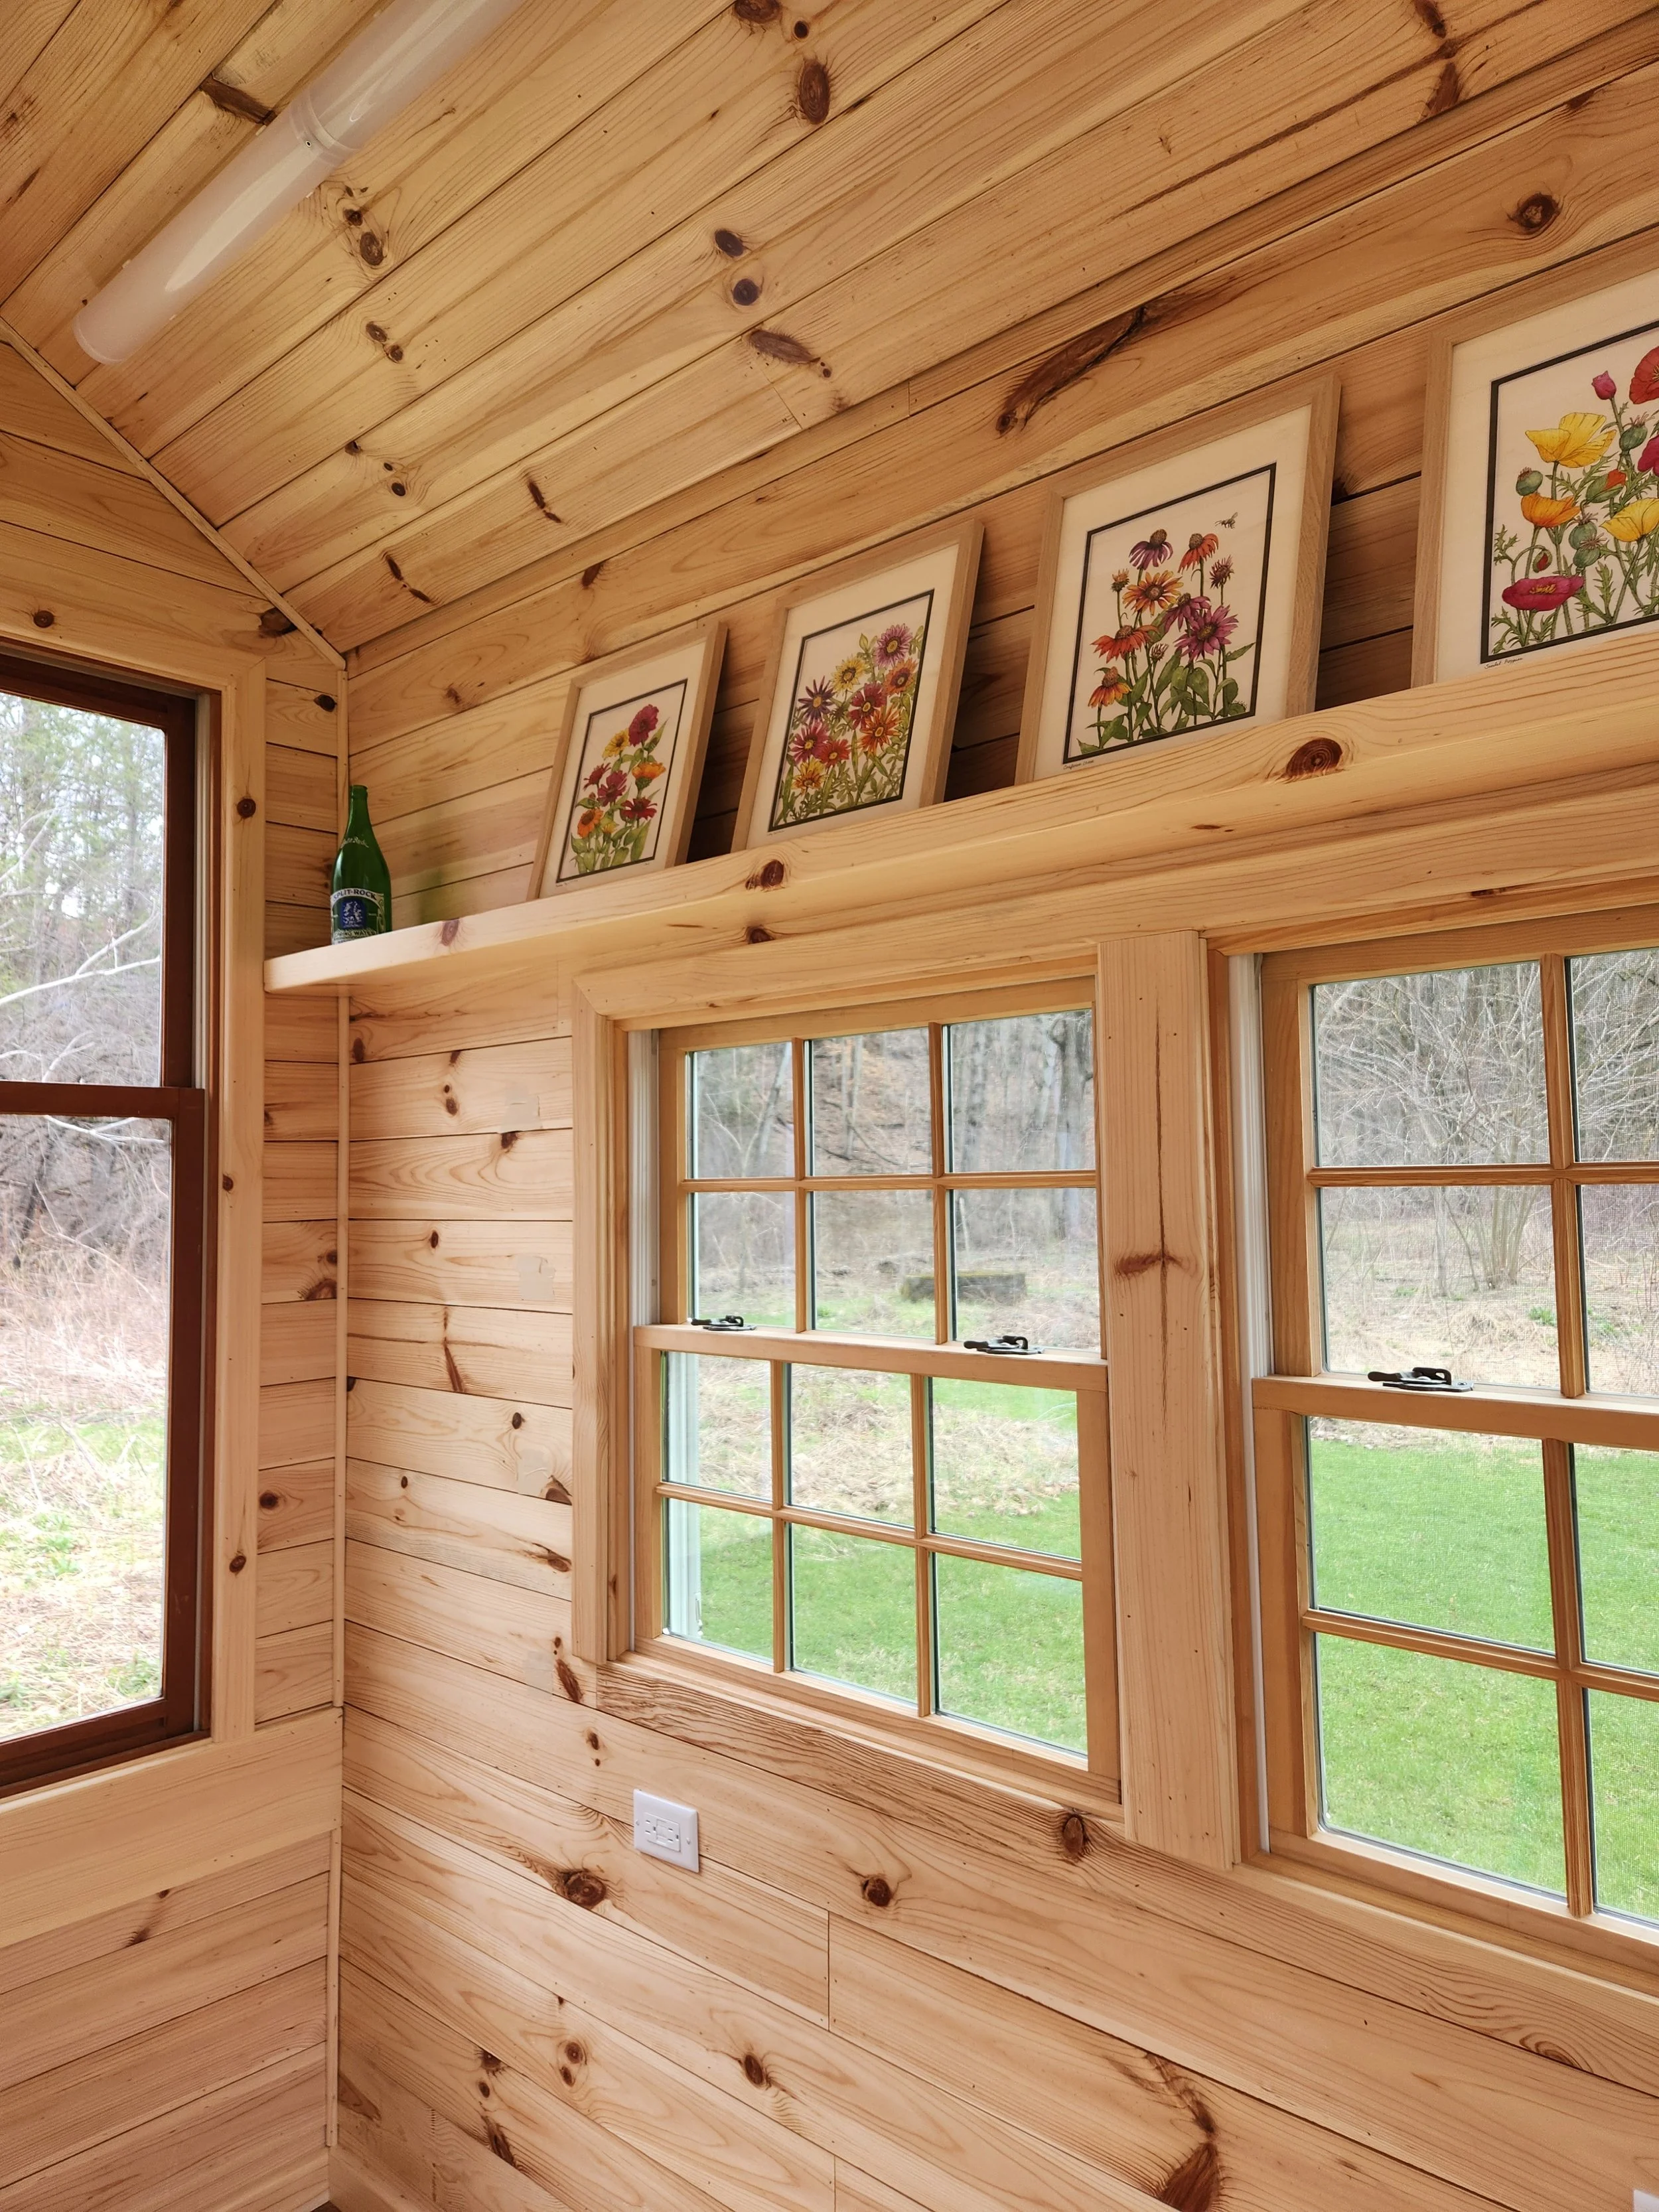
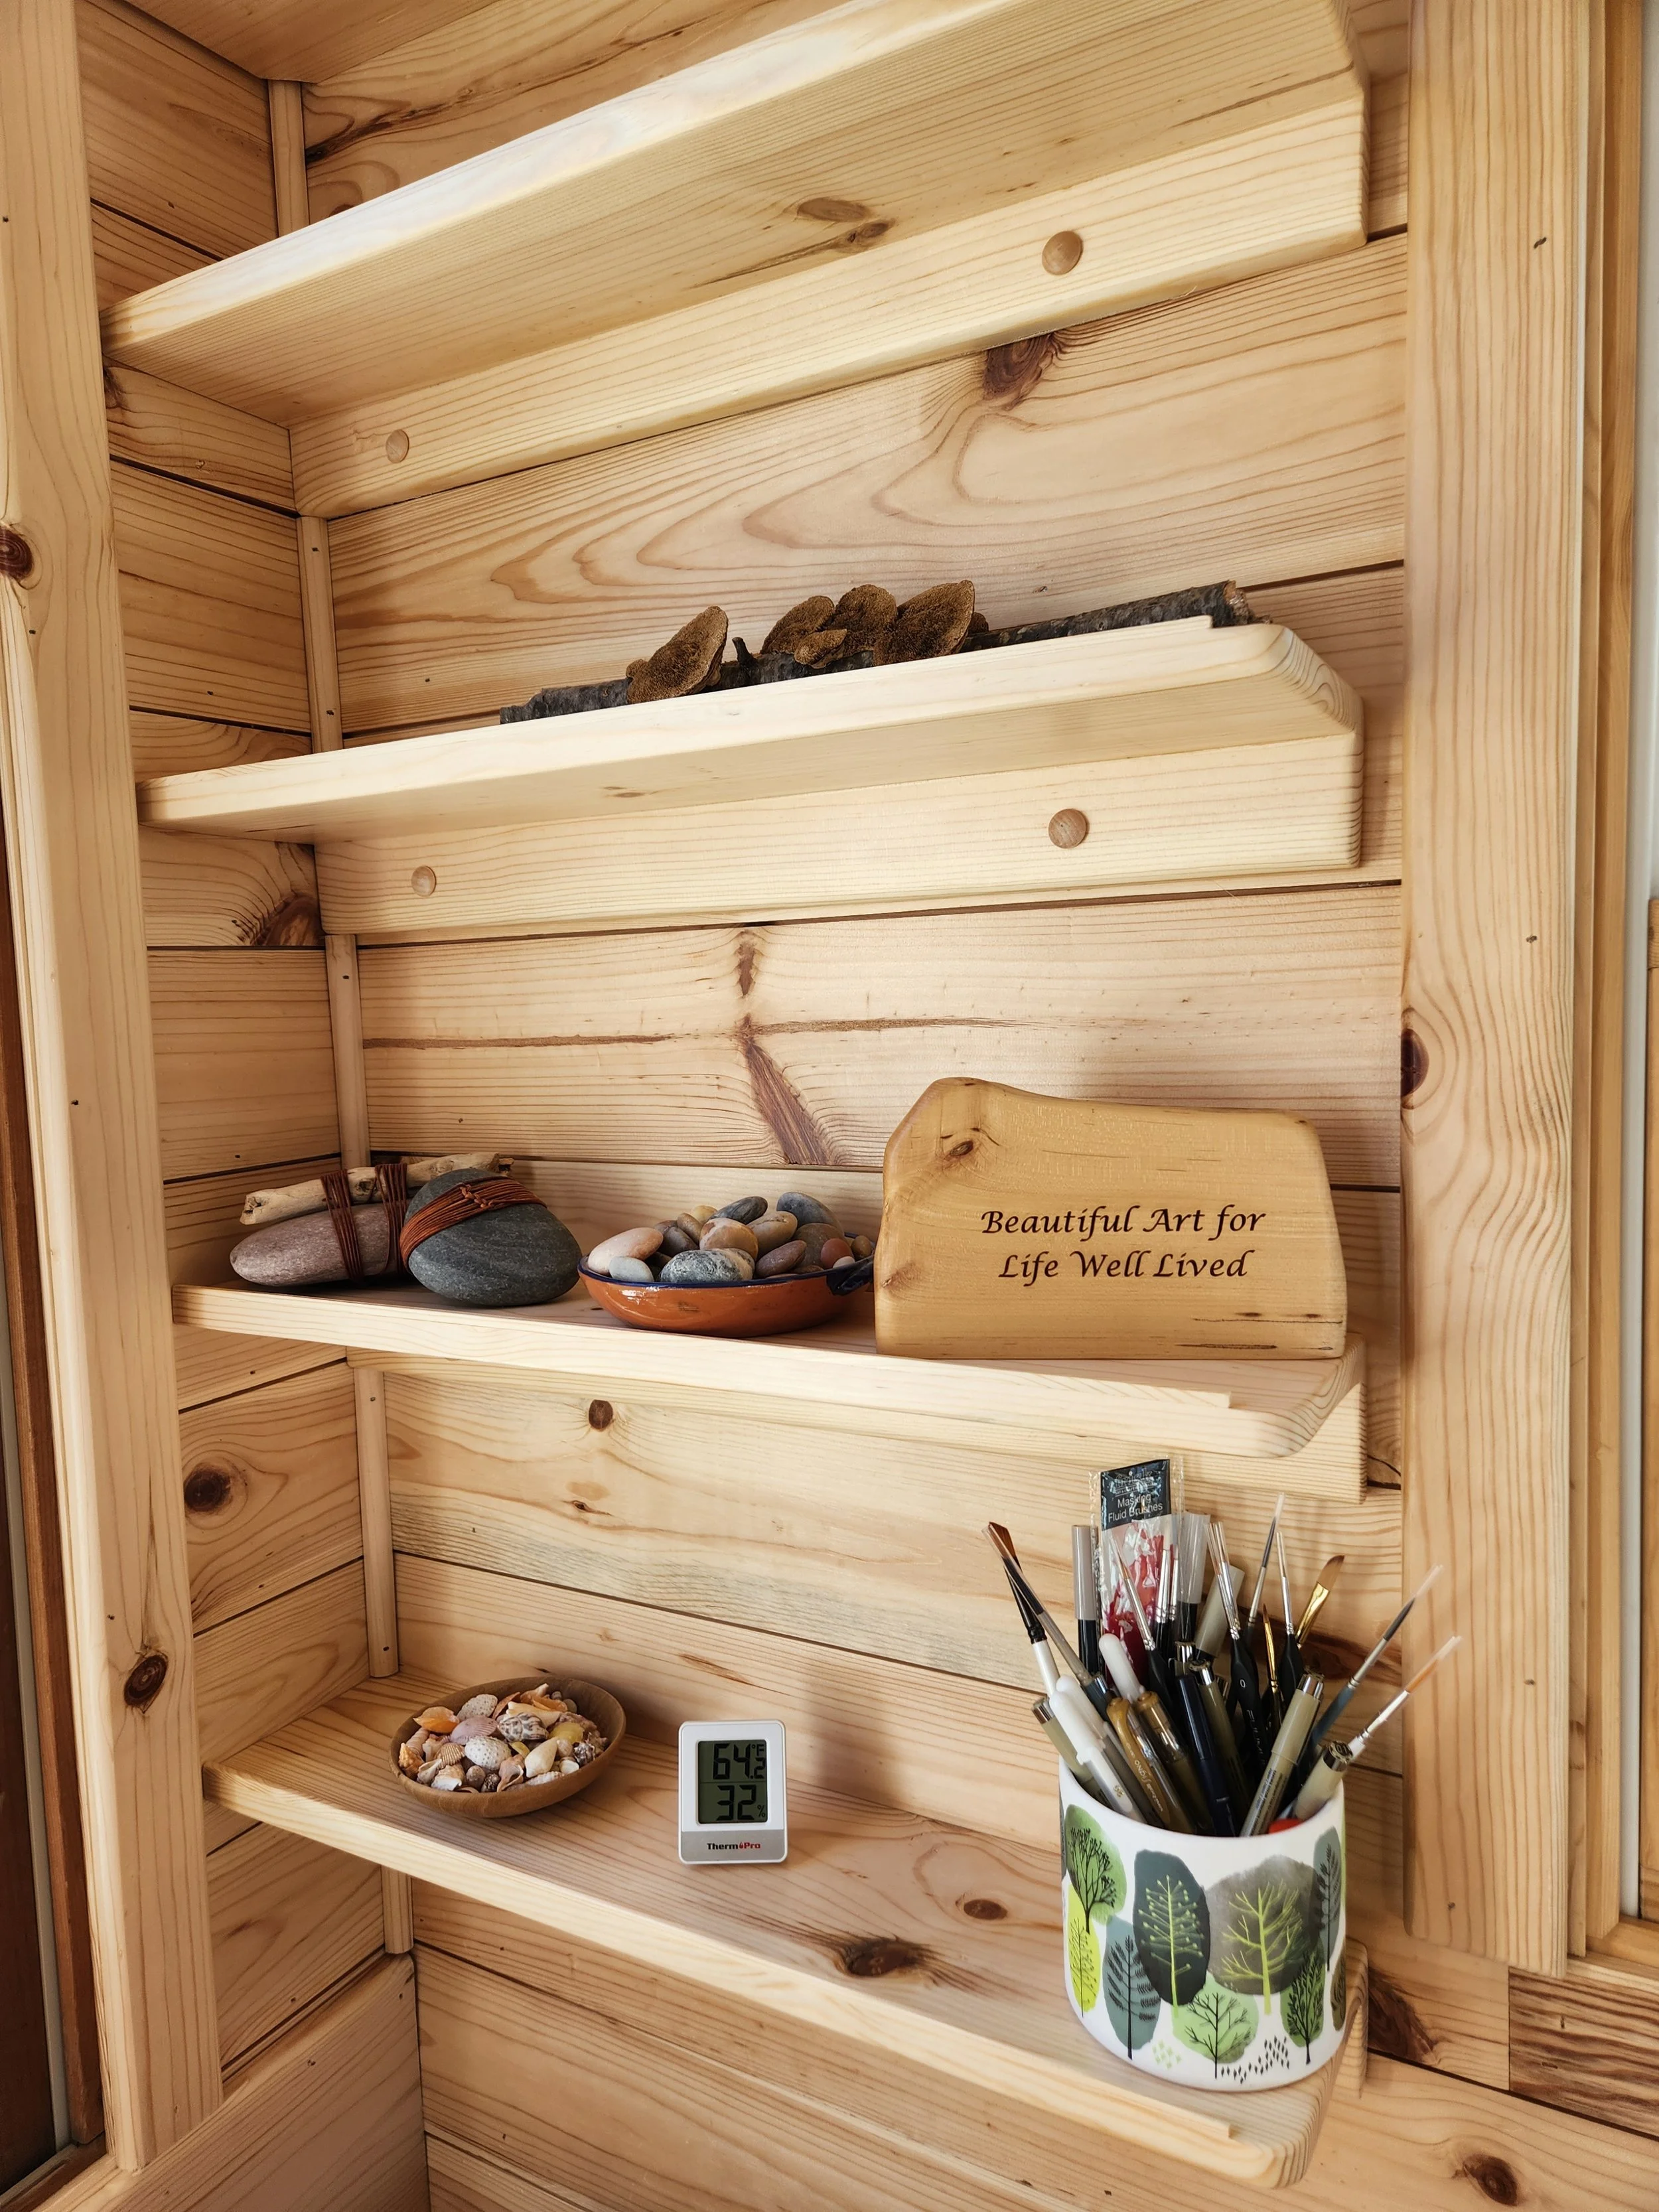
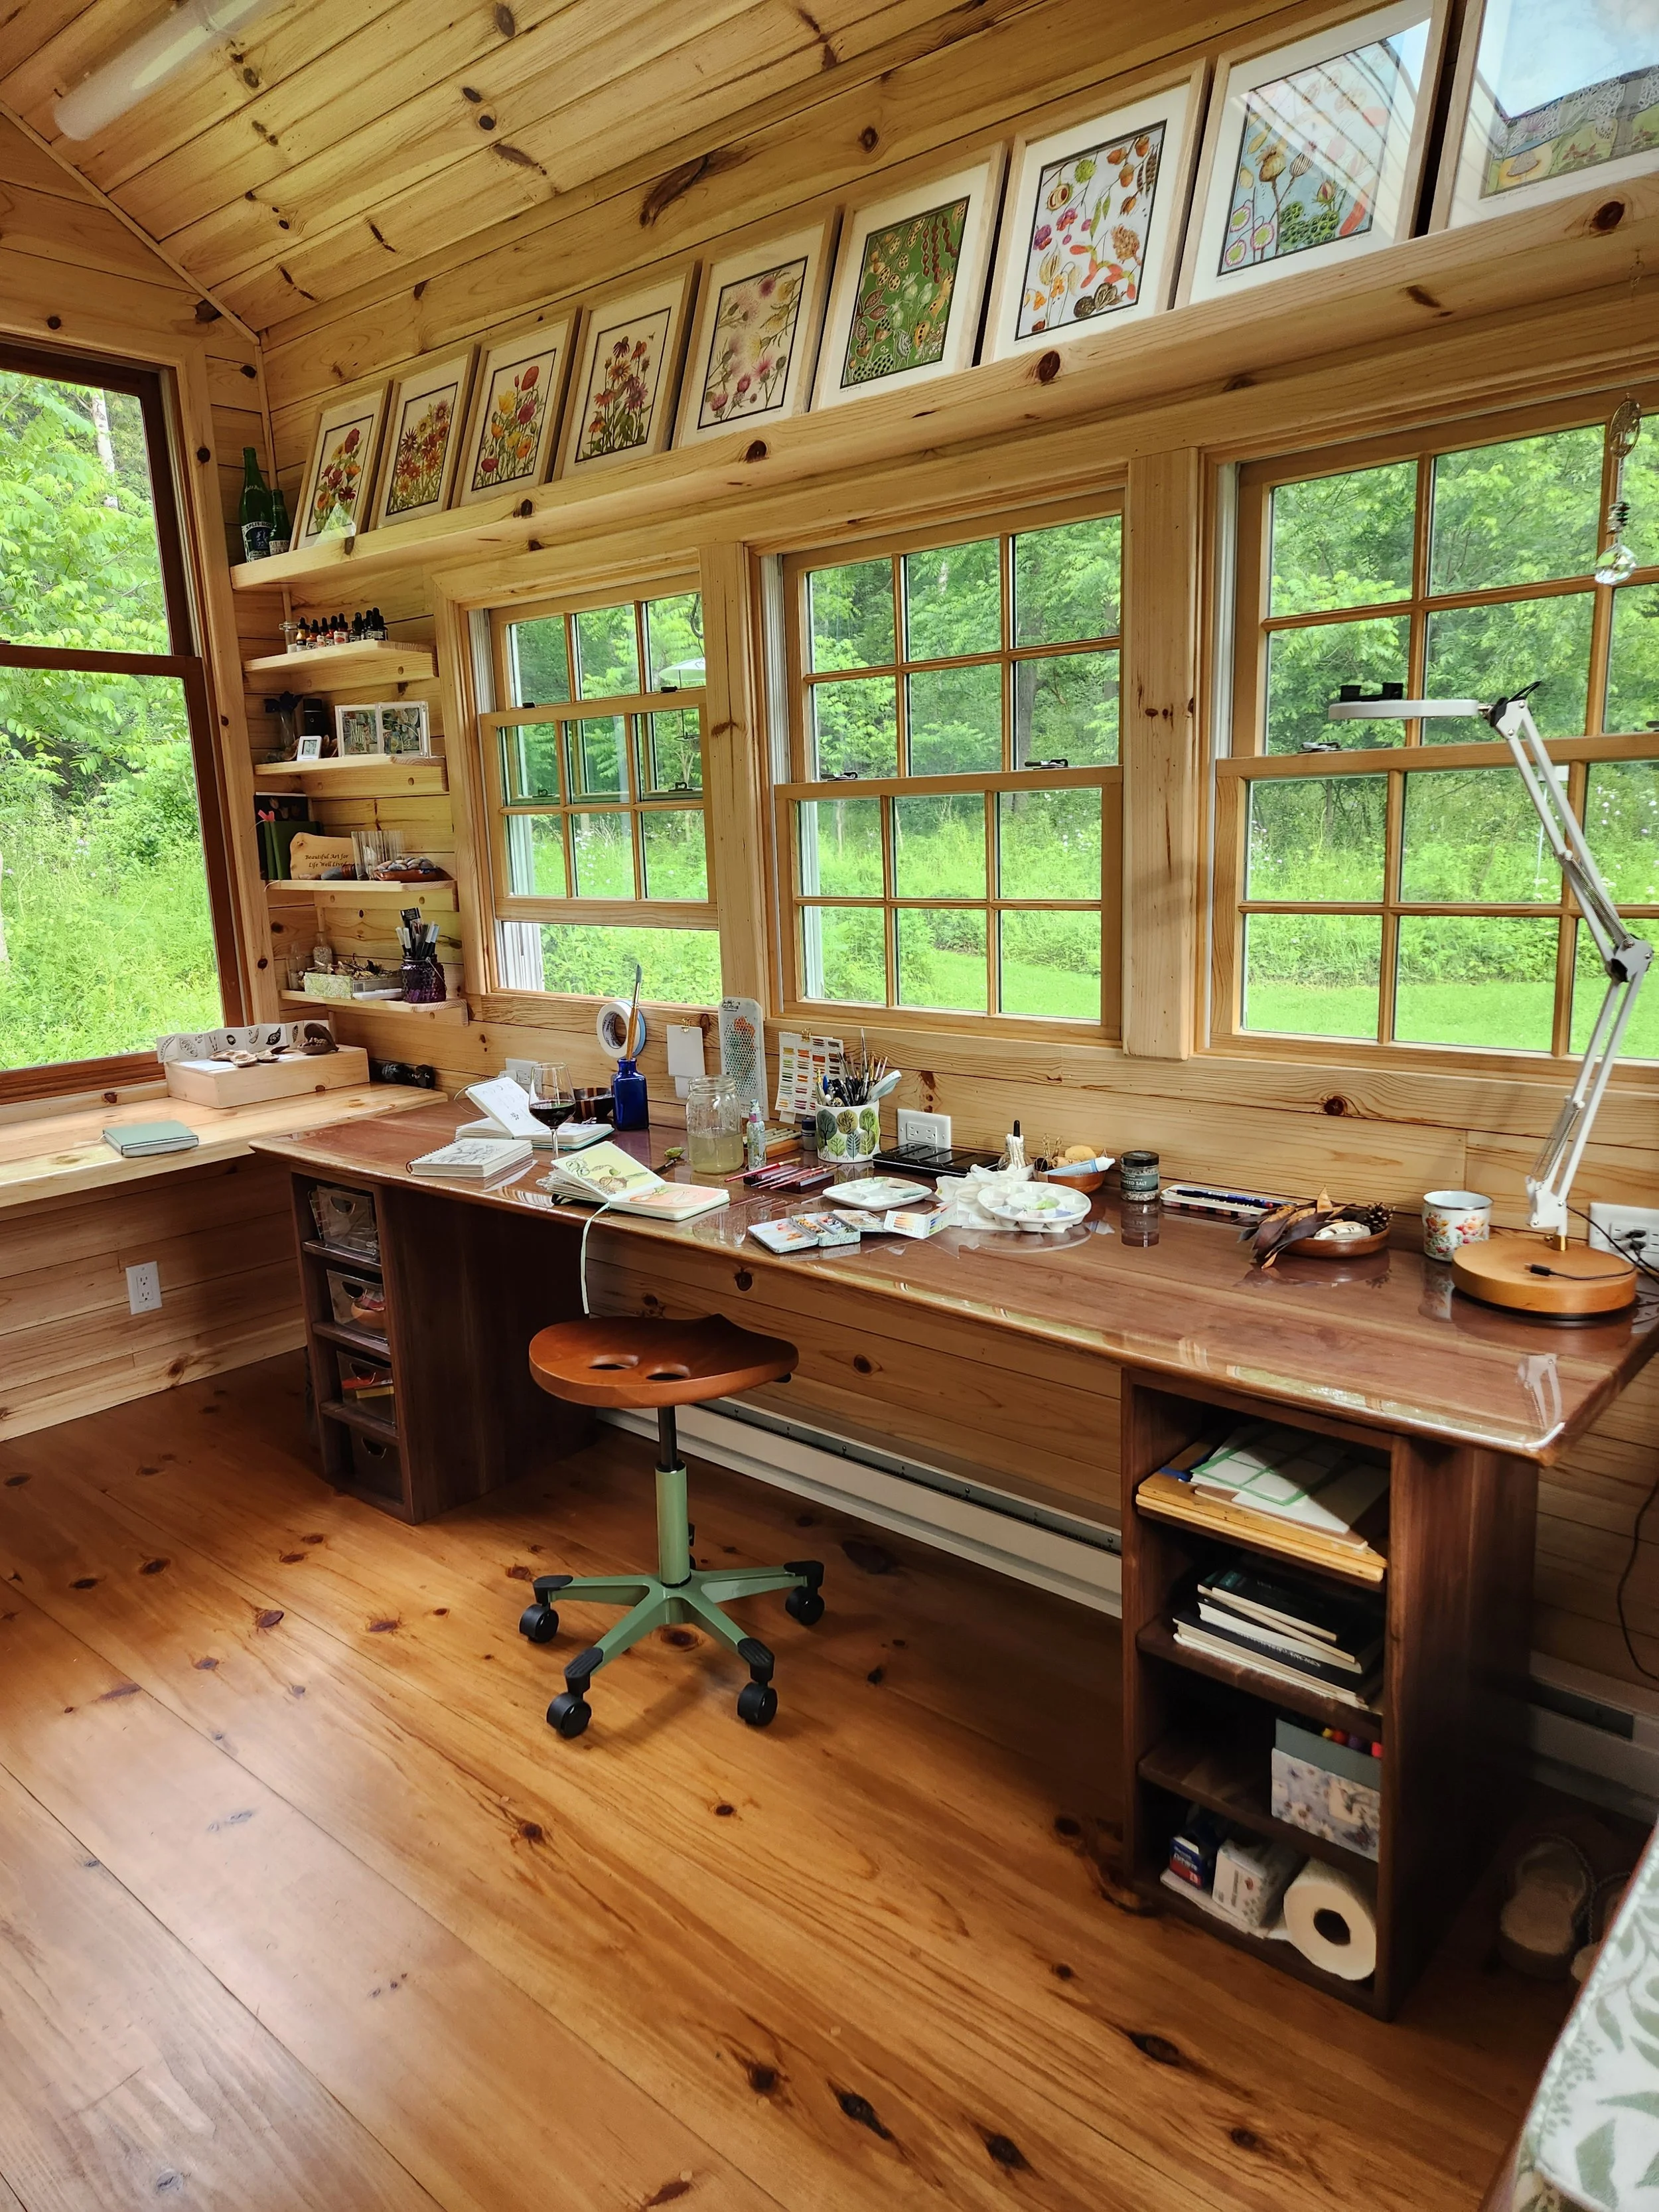
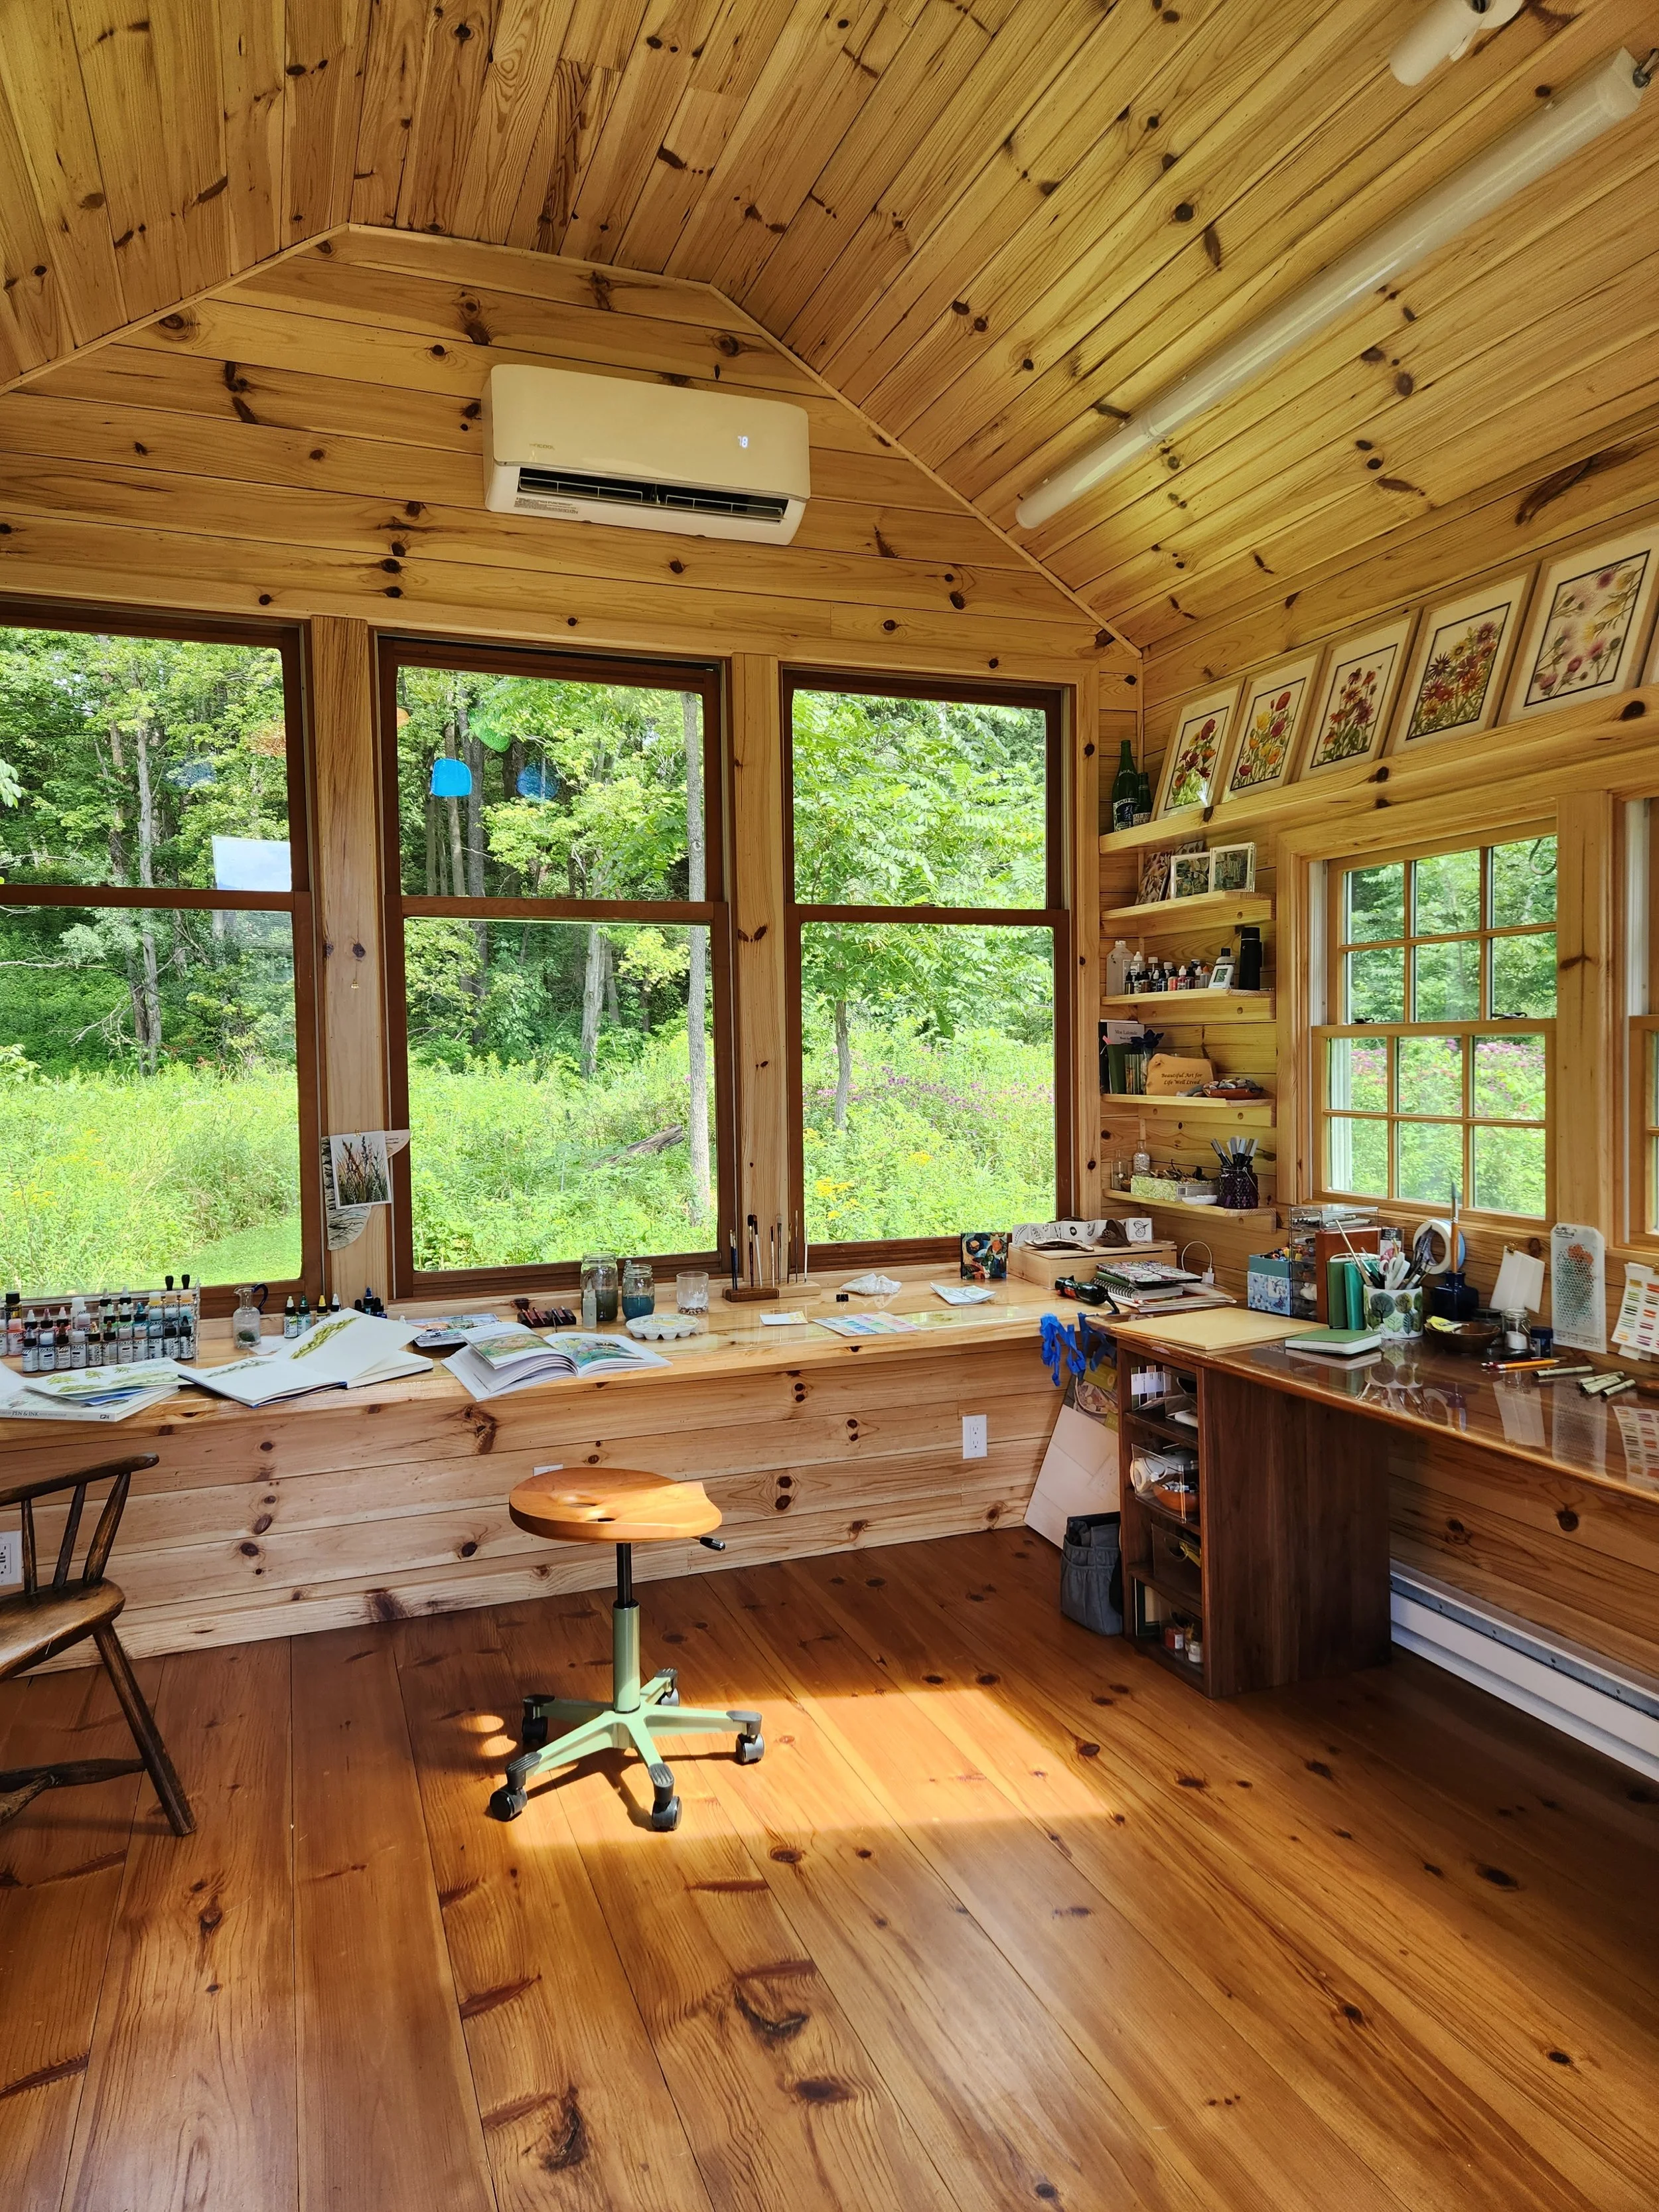
Moe crafted shelving for above the side windows. This is where I keep some of my finished watercolors. I also wanted smaller shelving to display some of my nature finds. As you can see, it has evolved to have many craft supplies on it, too. The opposite wall has shelving up high, too. This is where I display my acrylic paintings.
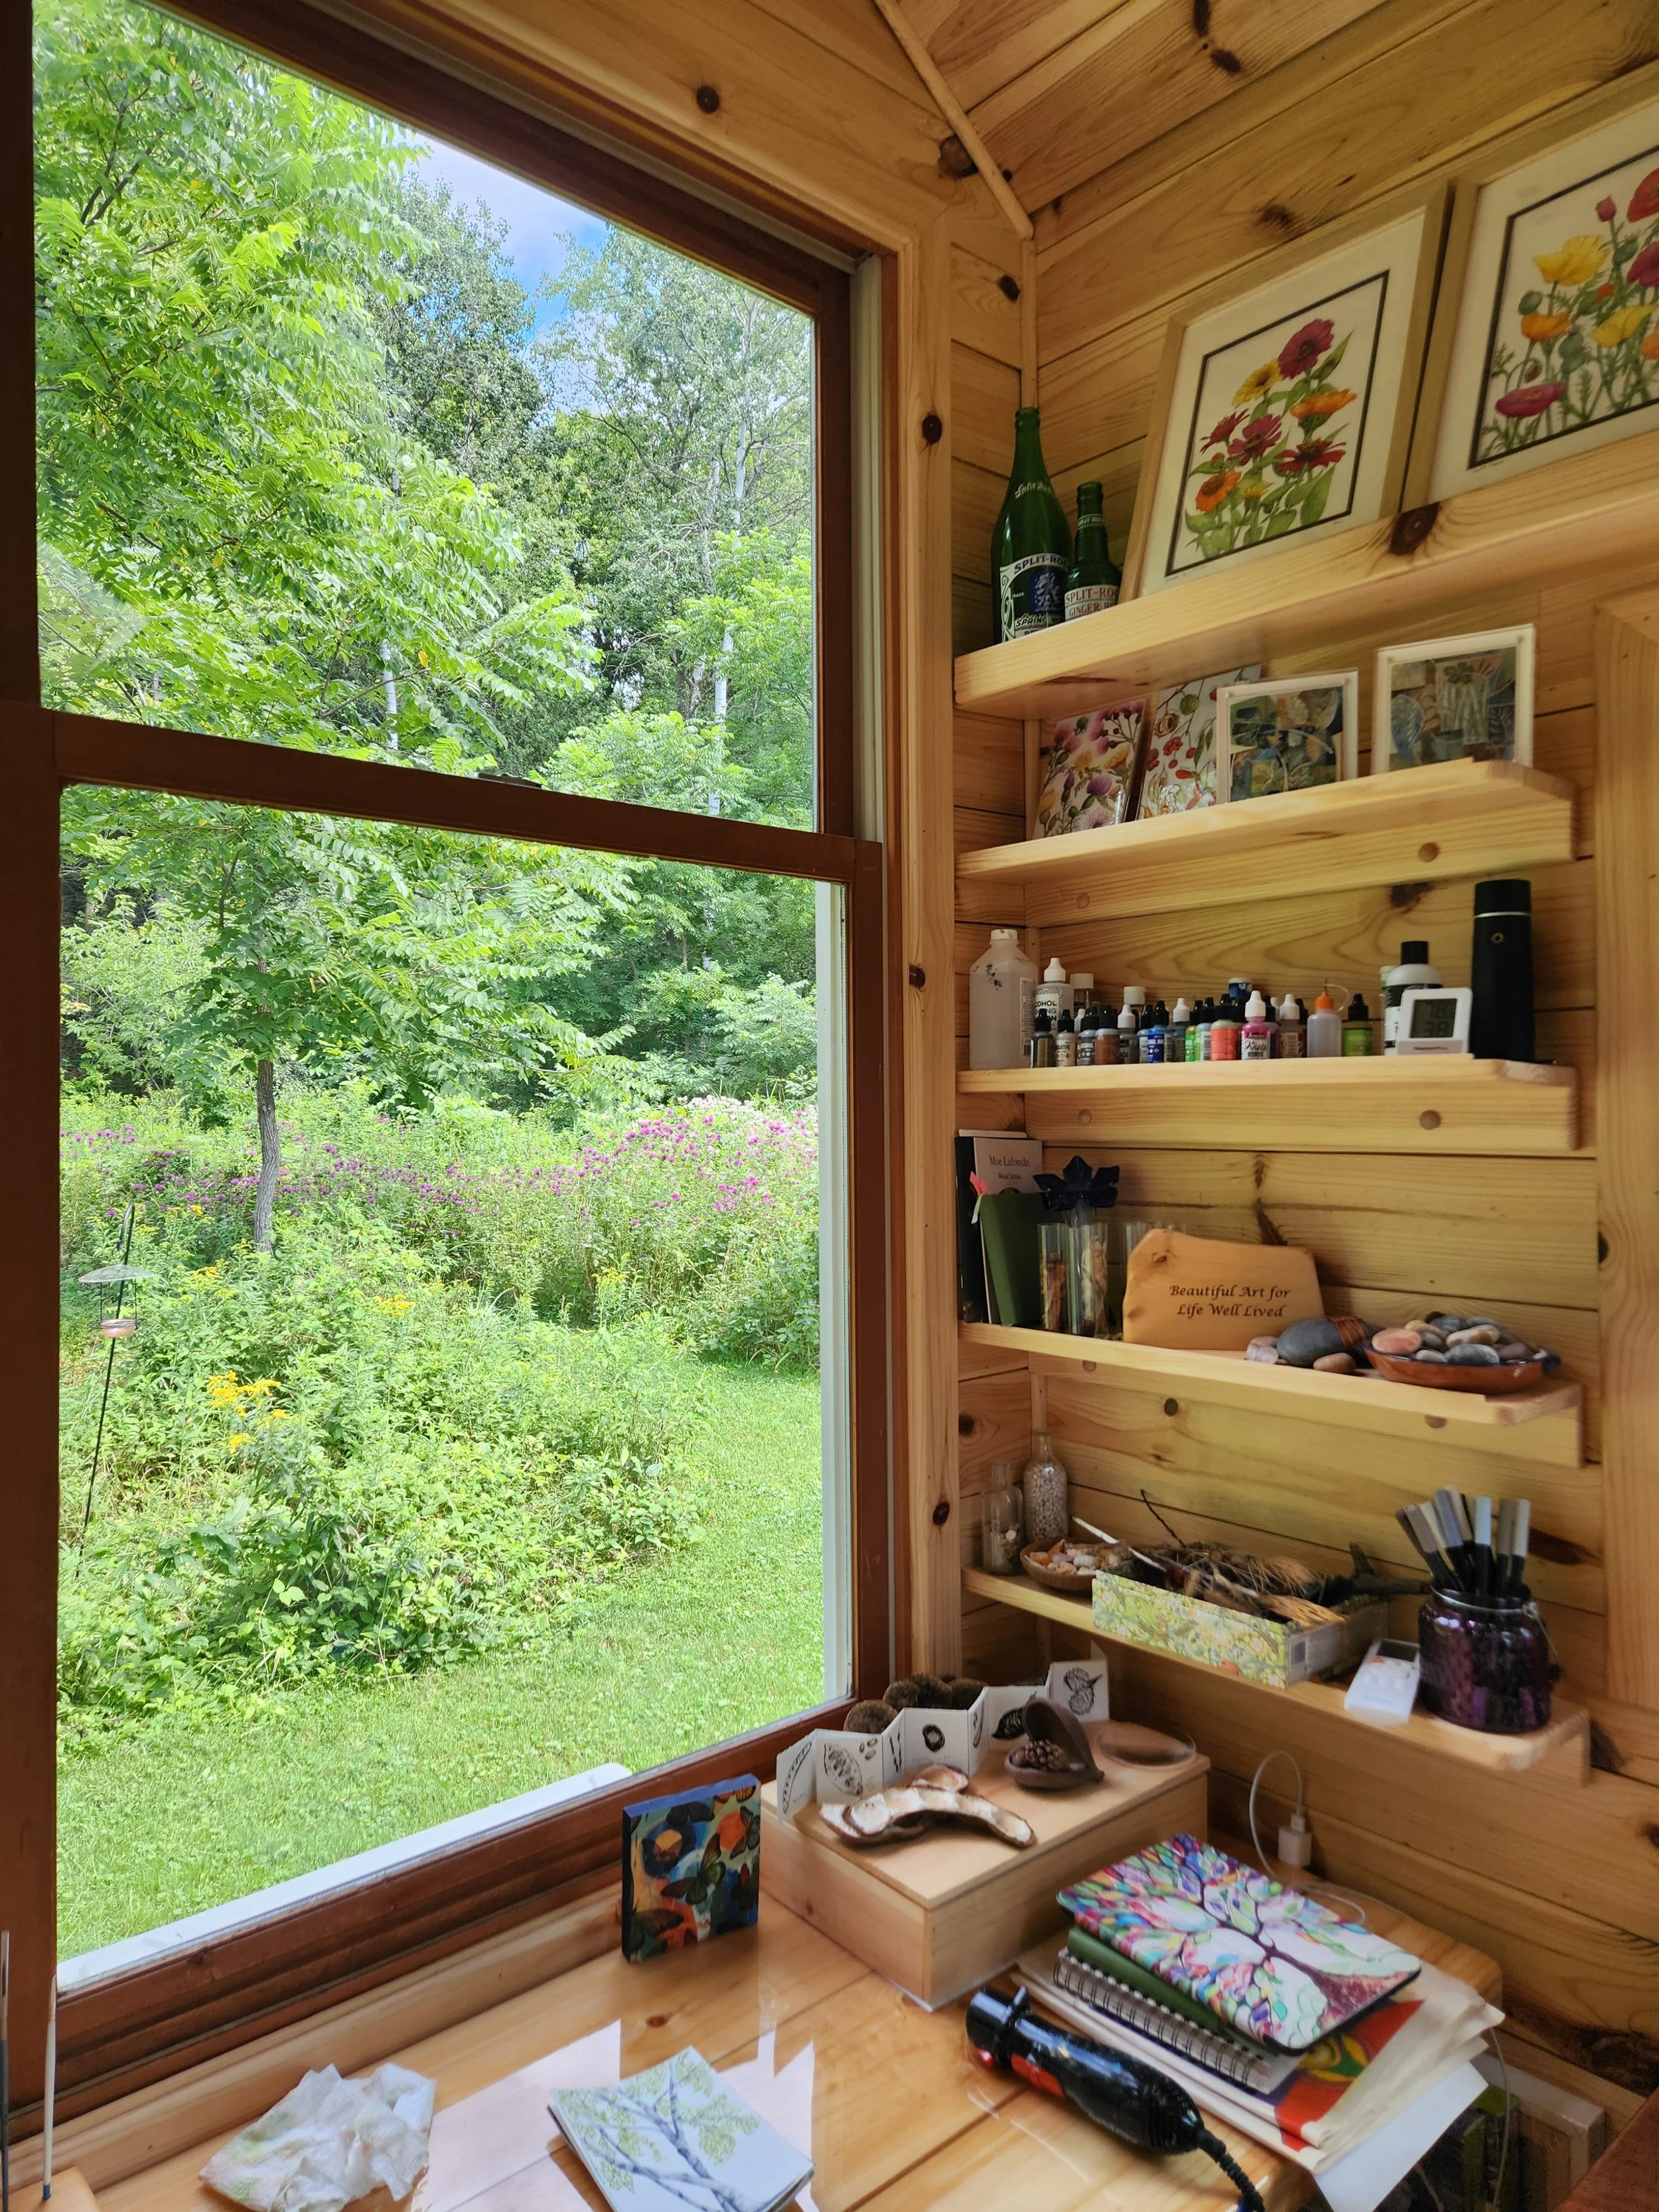
A Custom Walnut Work Bench
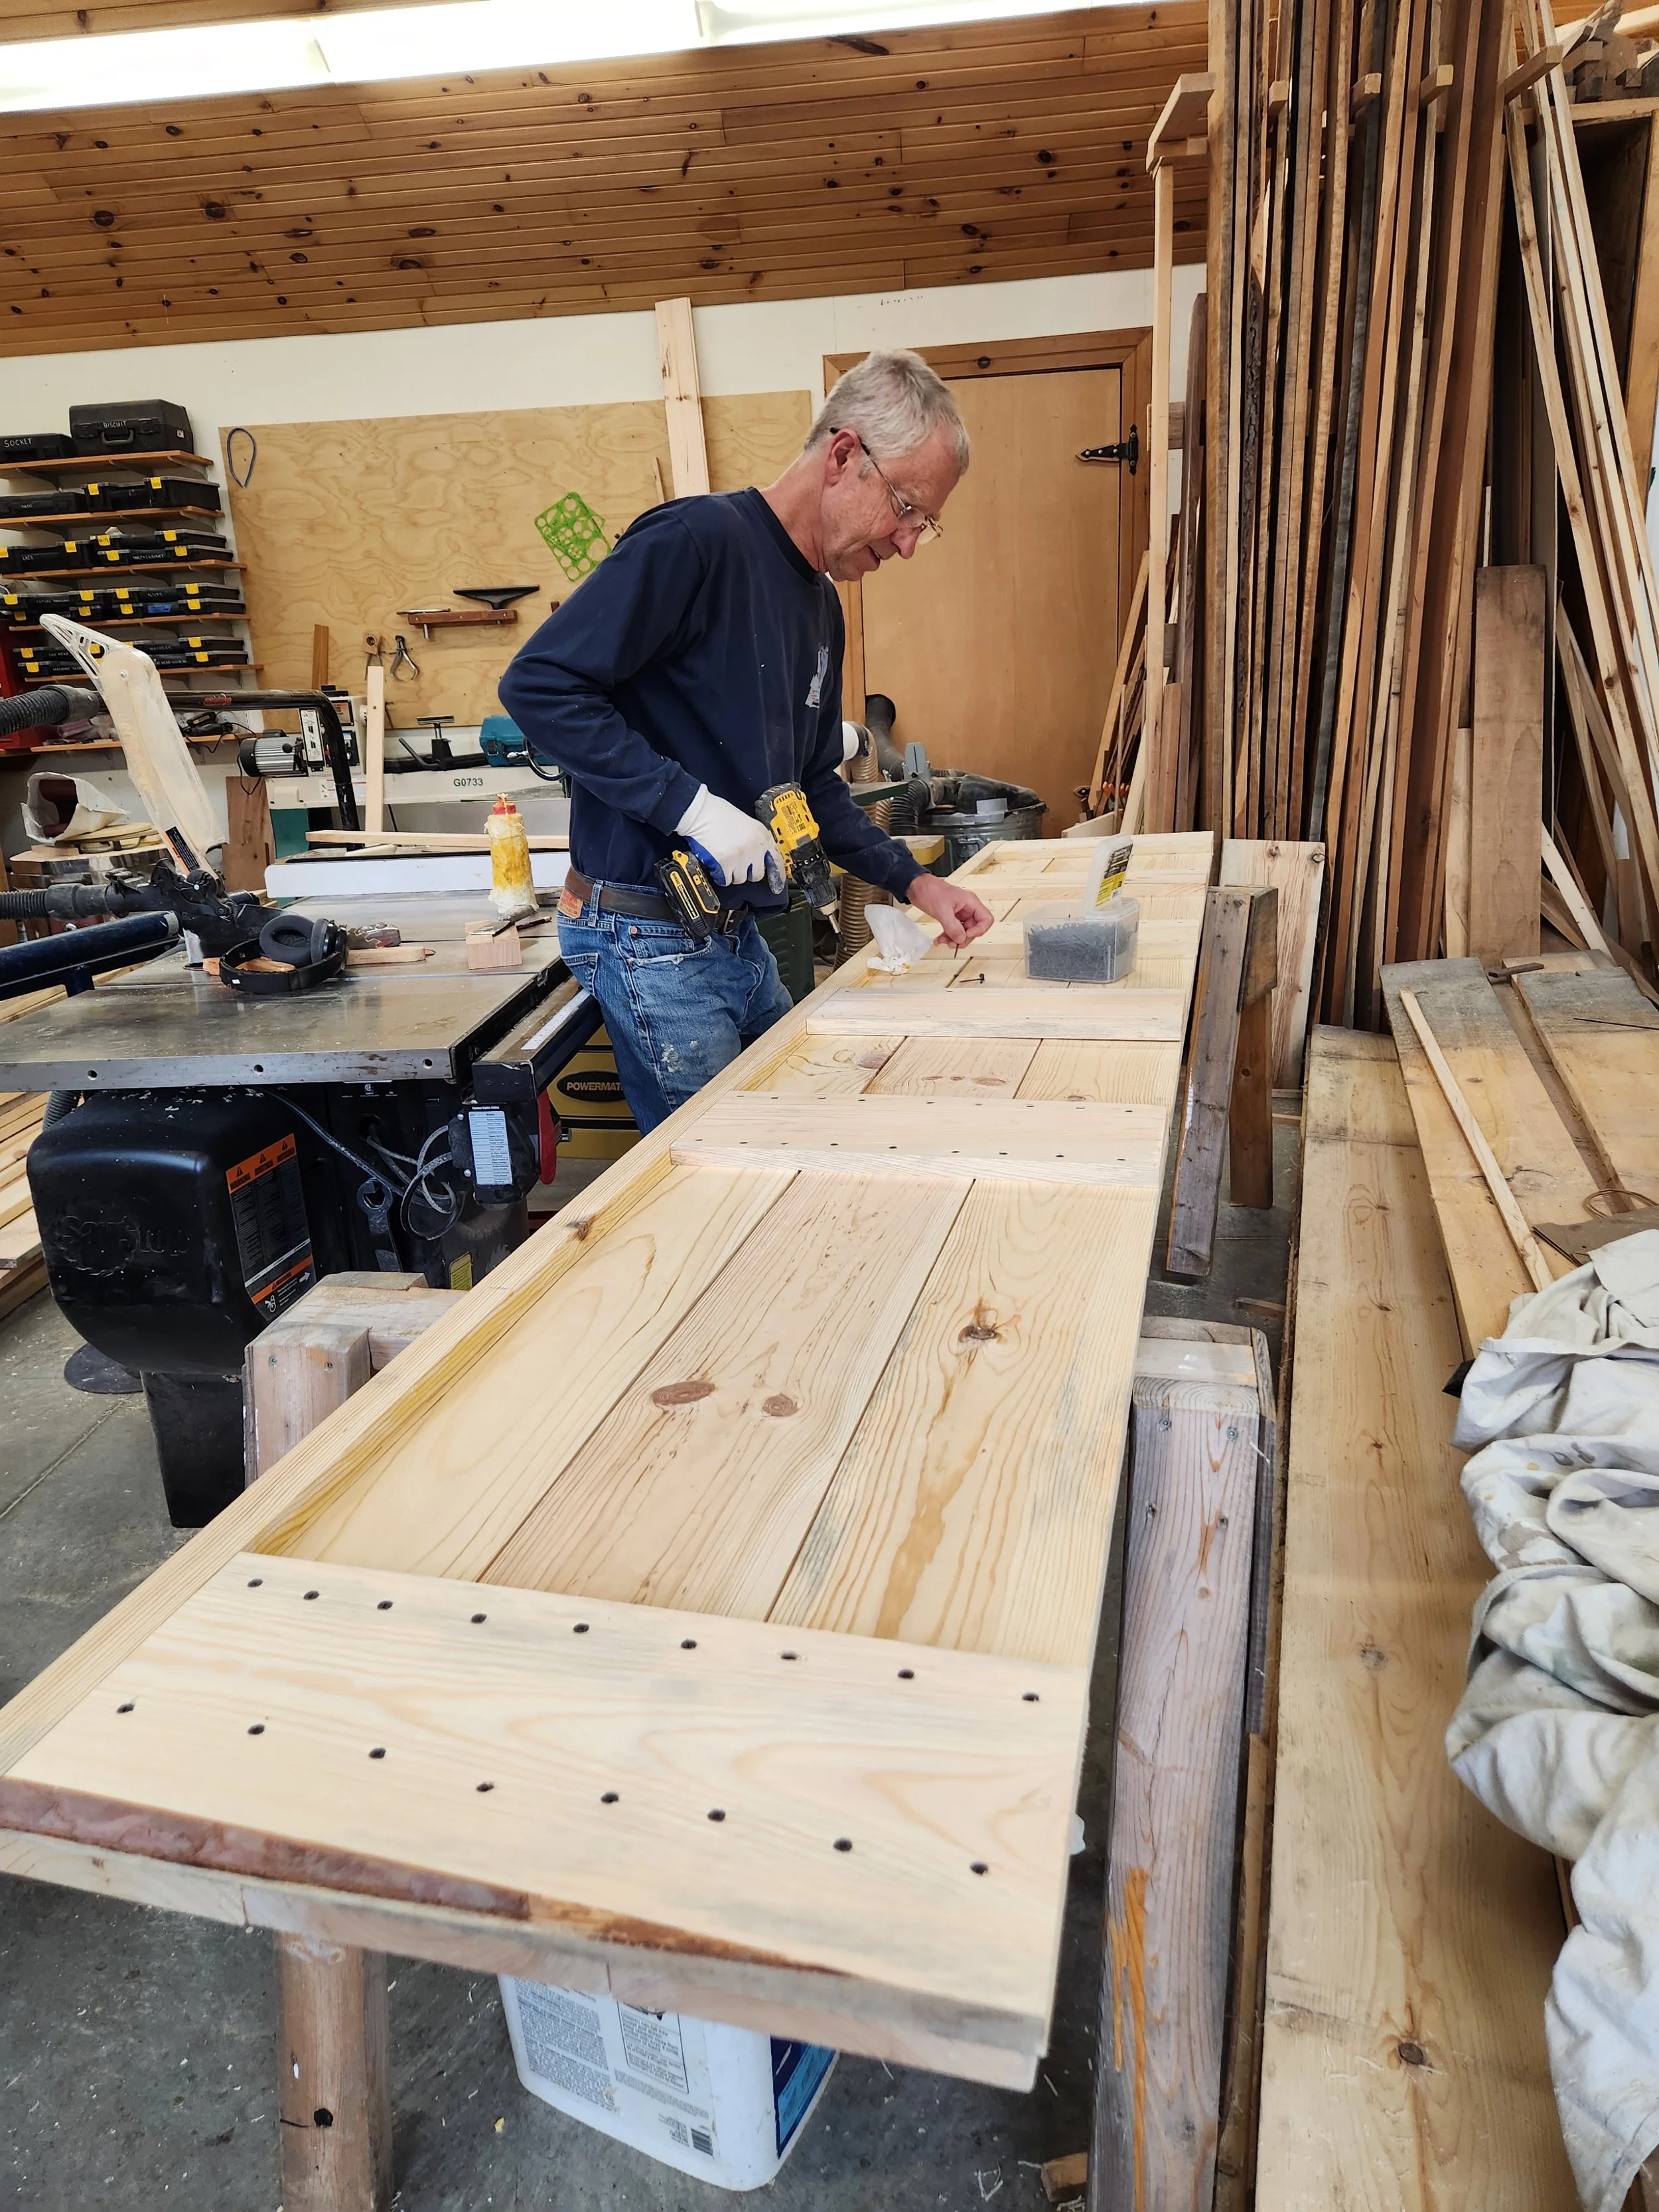
I wanted the work table under the side windows to contrast with the pine walls, so again chose walnut. This was one of the pieces that I thought about long and hard. I have a workspace upstairs in our house, and the bench there works well. We used that as a guide for height and width. Originally, the plans were for it to be a little smaller, but then the practical side said, “How about a little wider and a little longer?” Moe had no problem accommodating that.
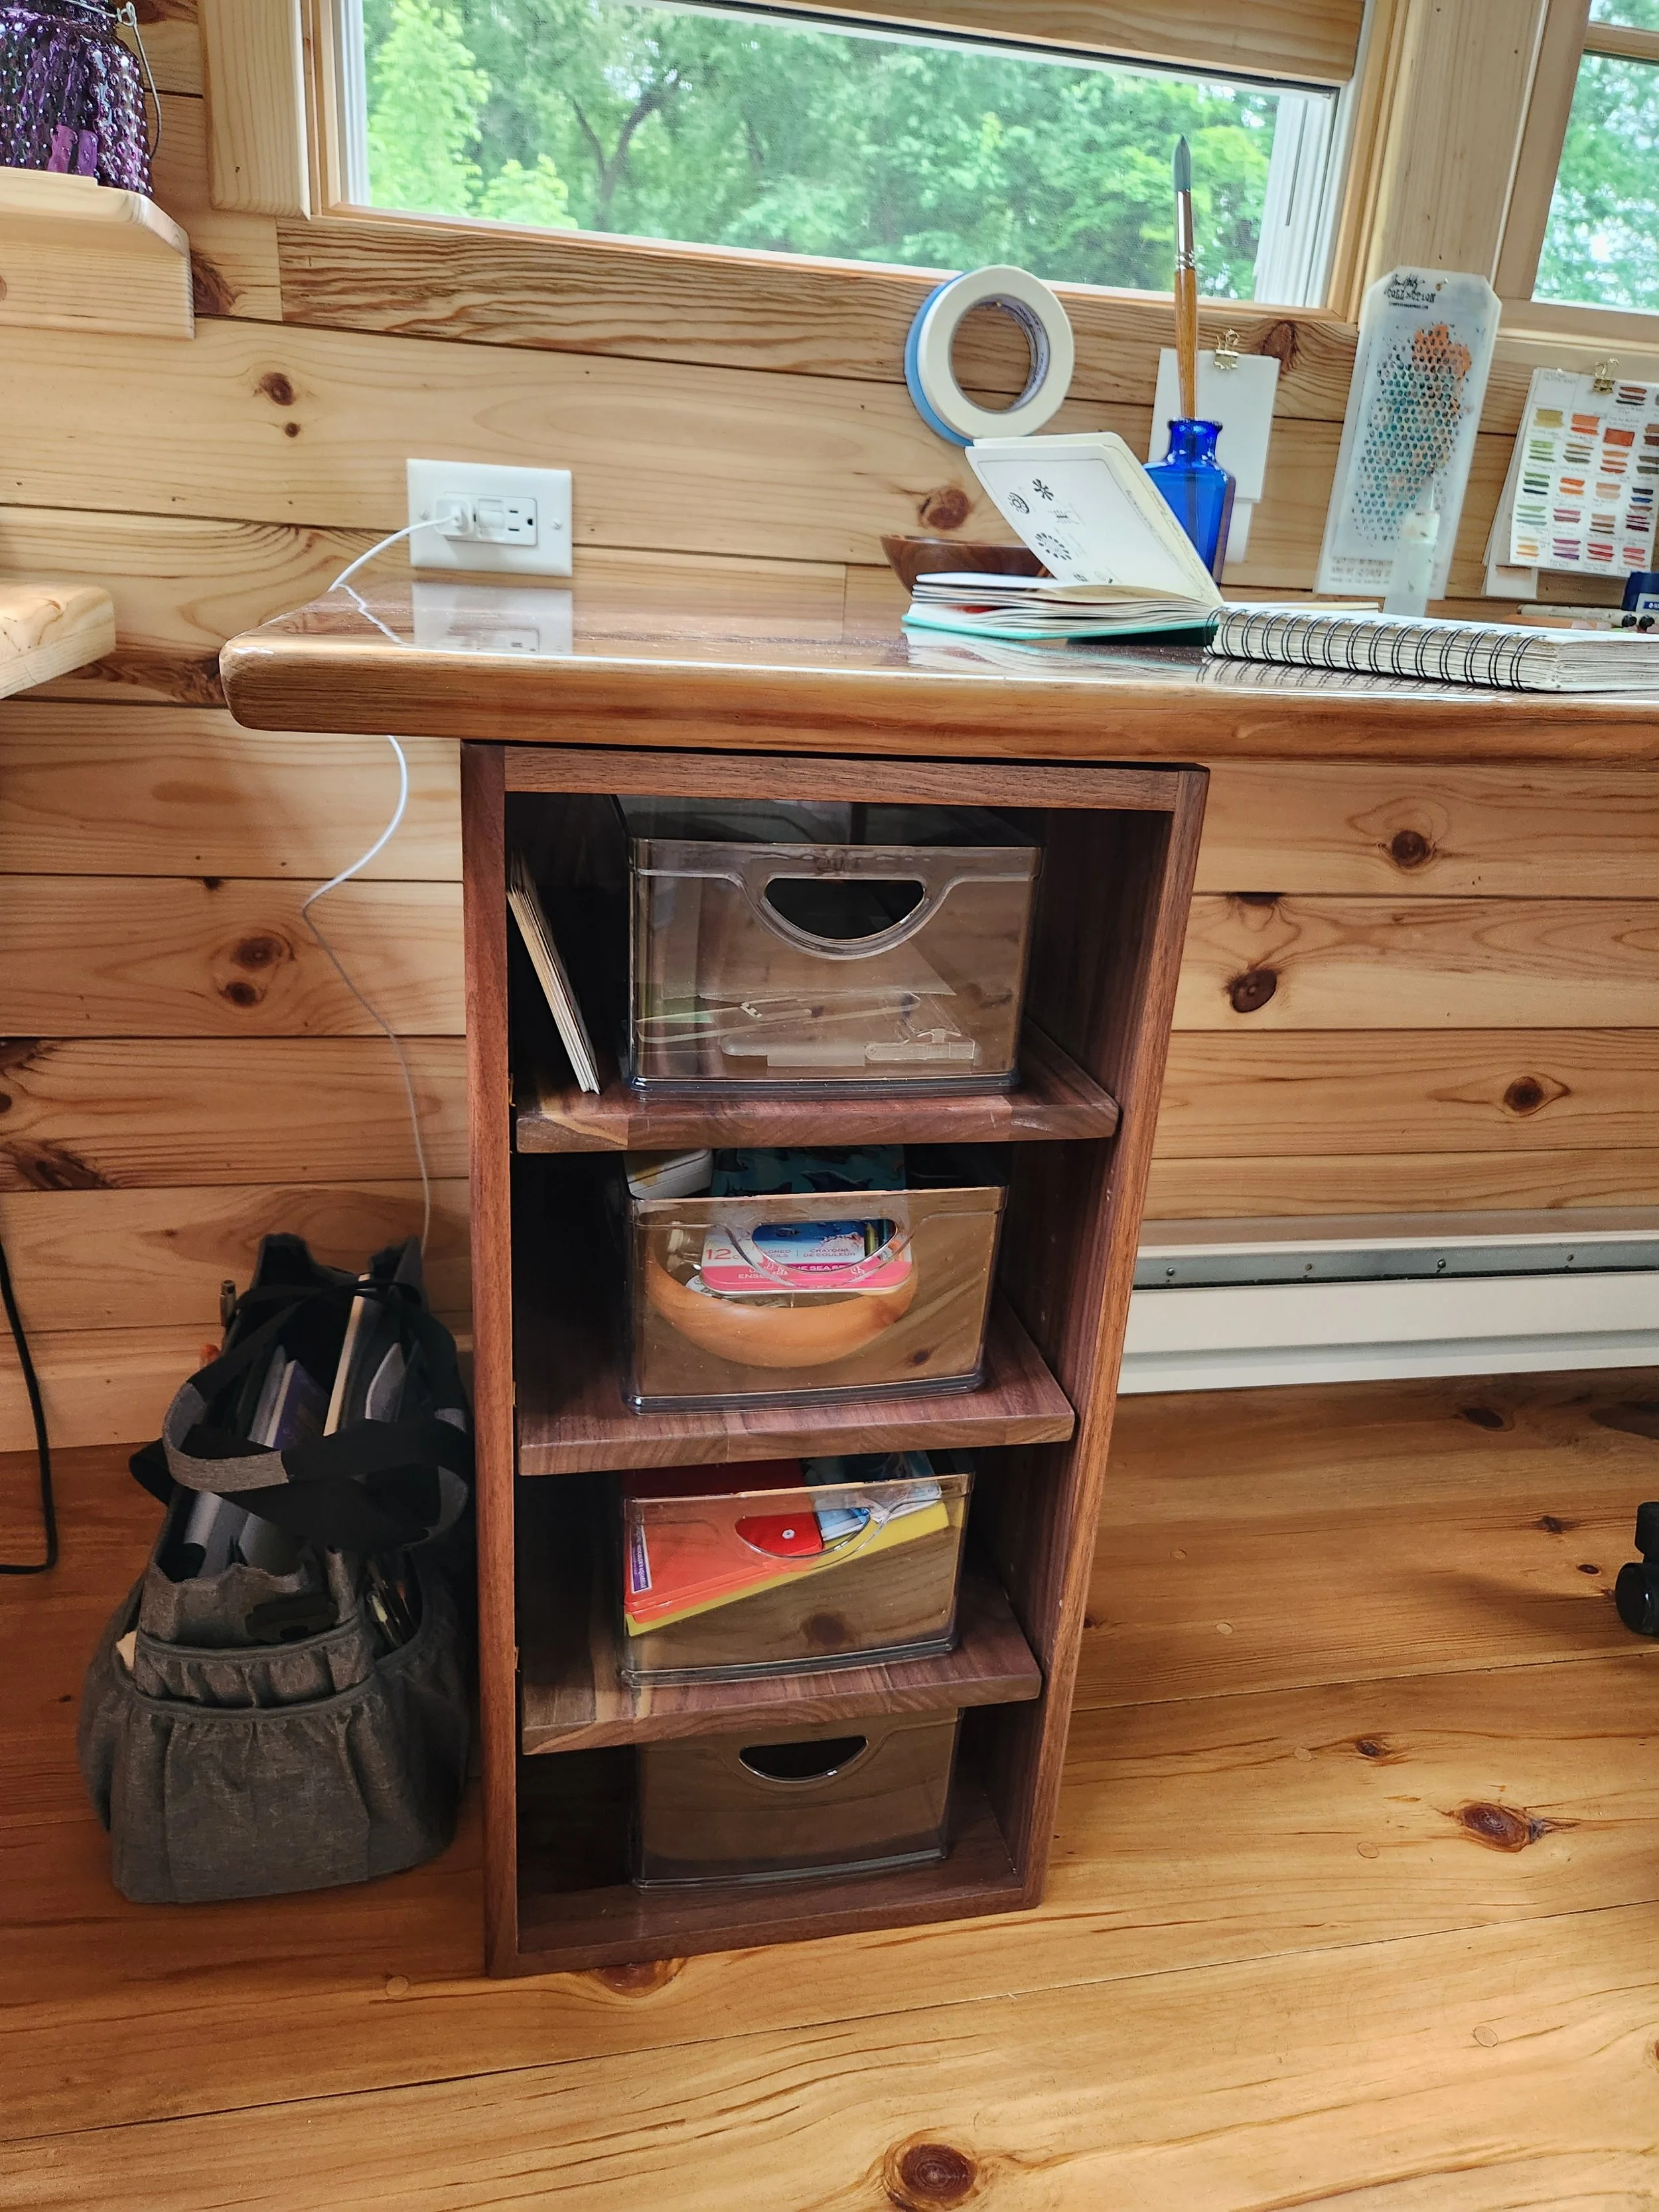
This studio bench is held up by two walnut shelving units Moe made. The shelves are adjustable, so I can swap out materials as things change. Right now, they hold all of my papers, watercolors, inks, as well as our granddaughter Claire’s art supplies.
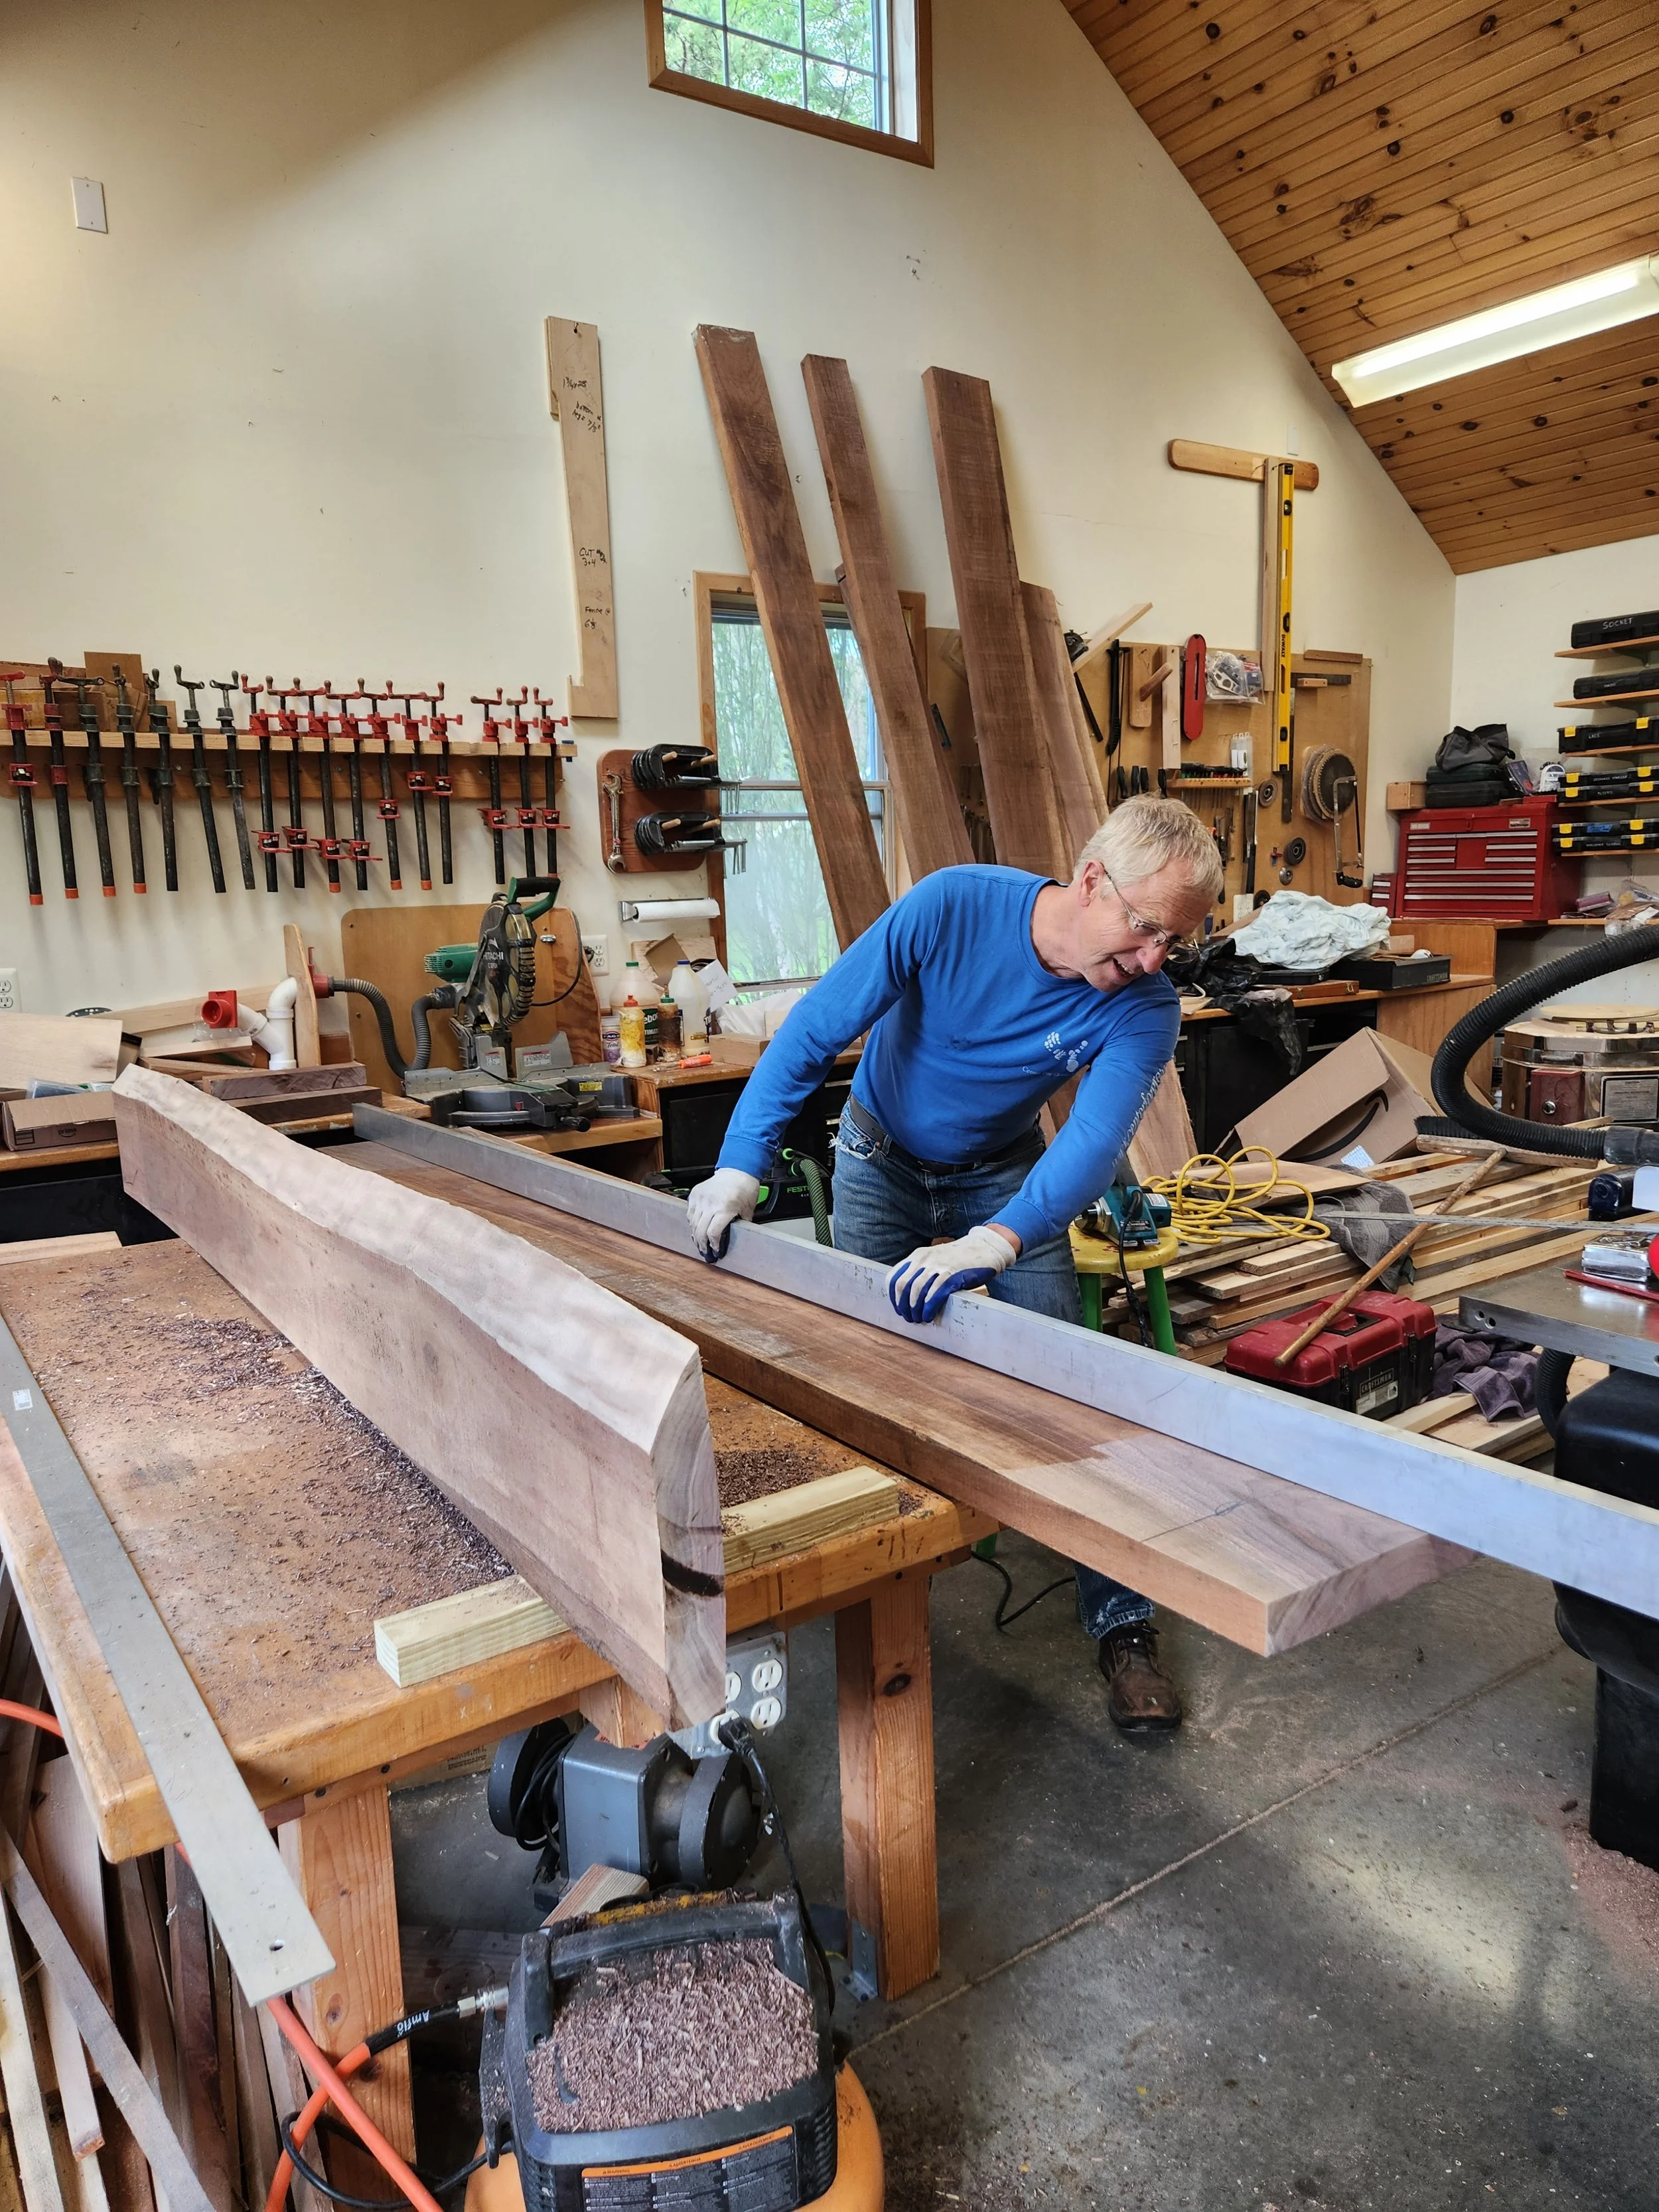
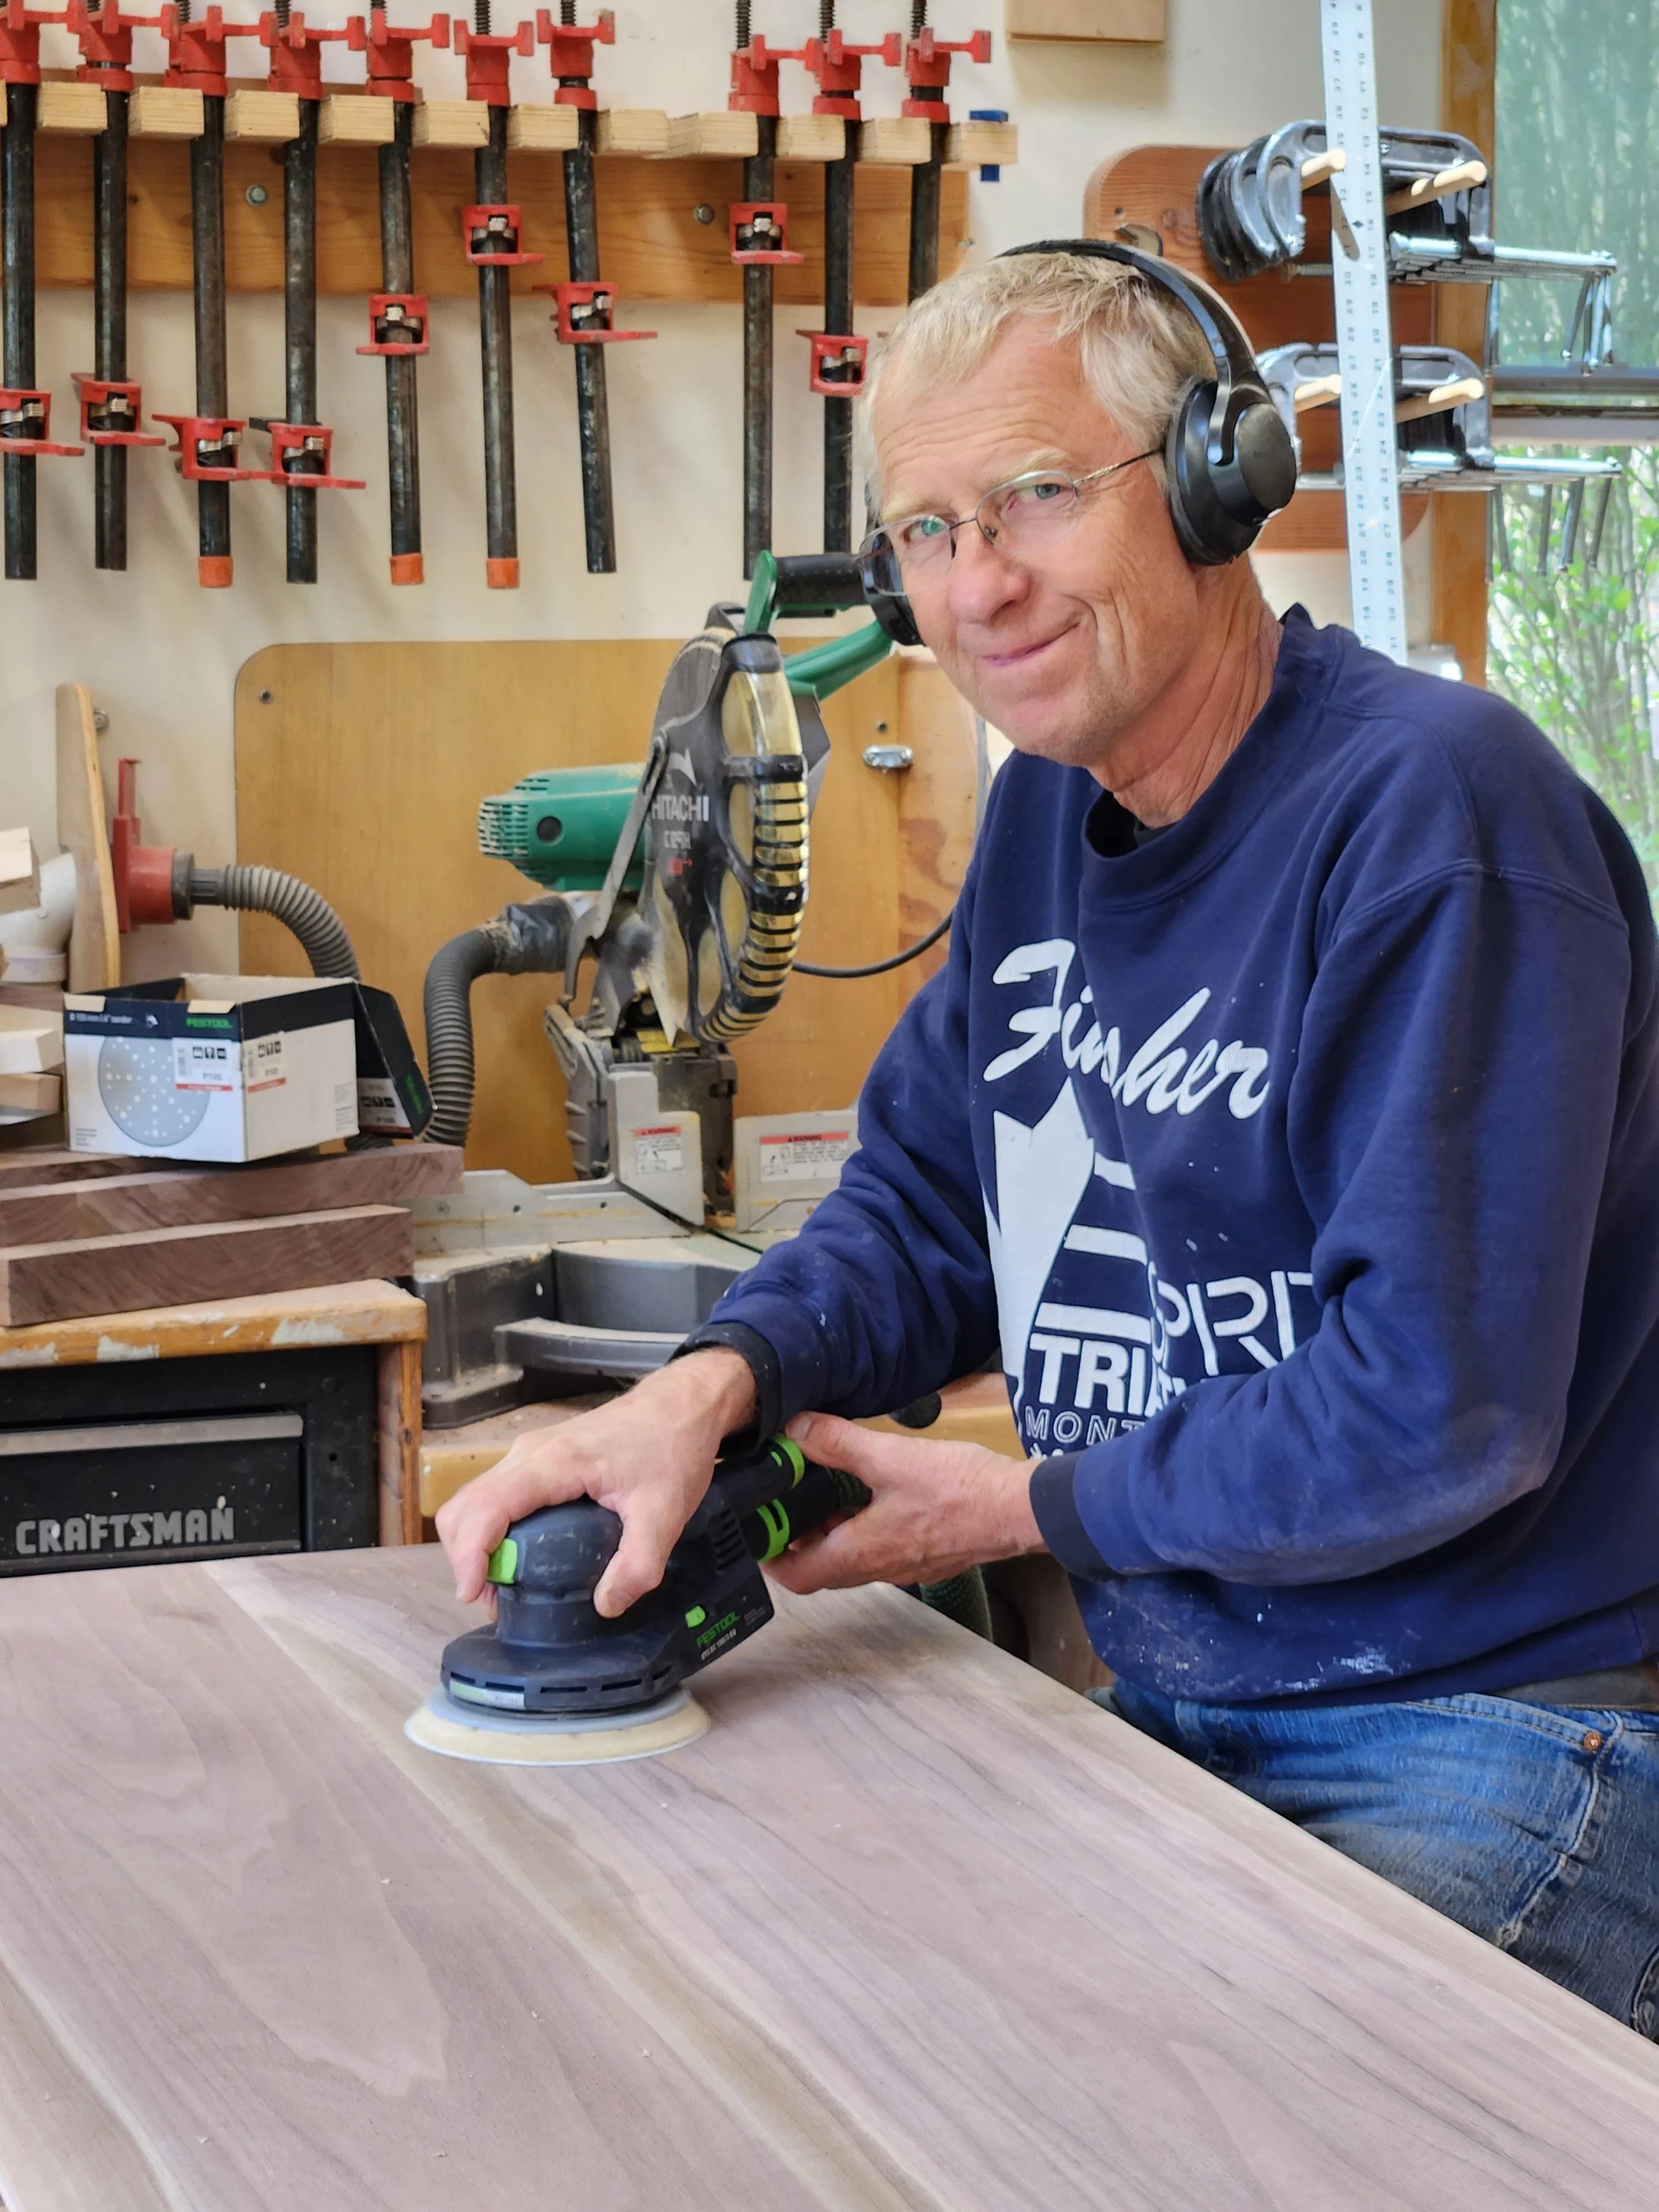
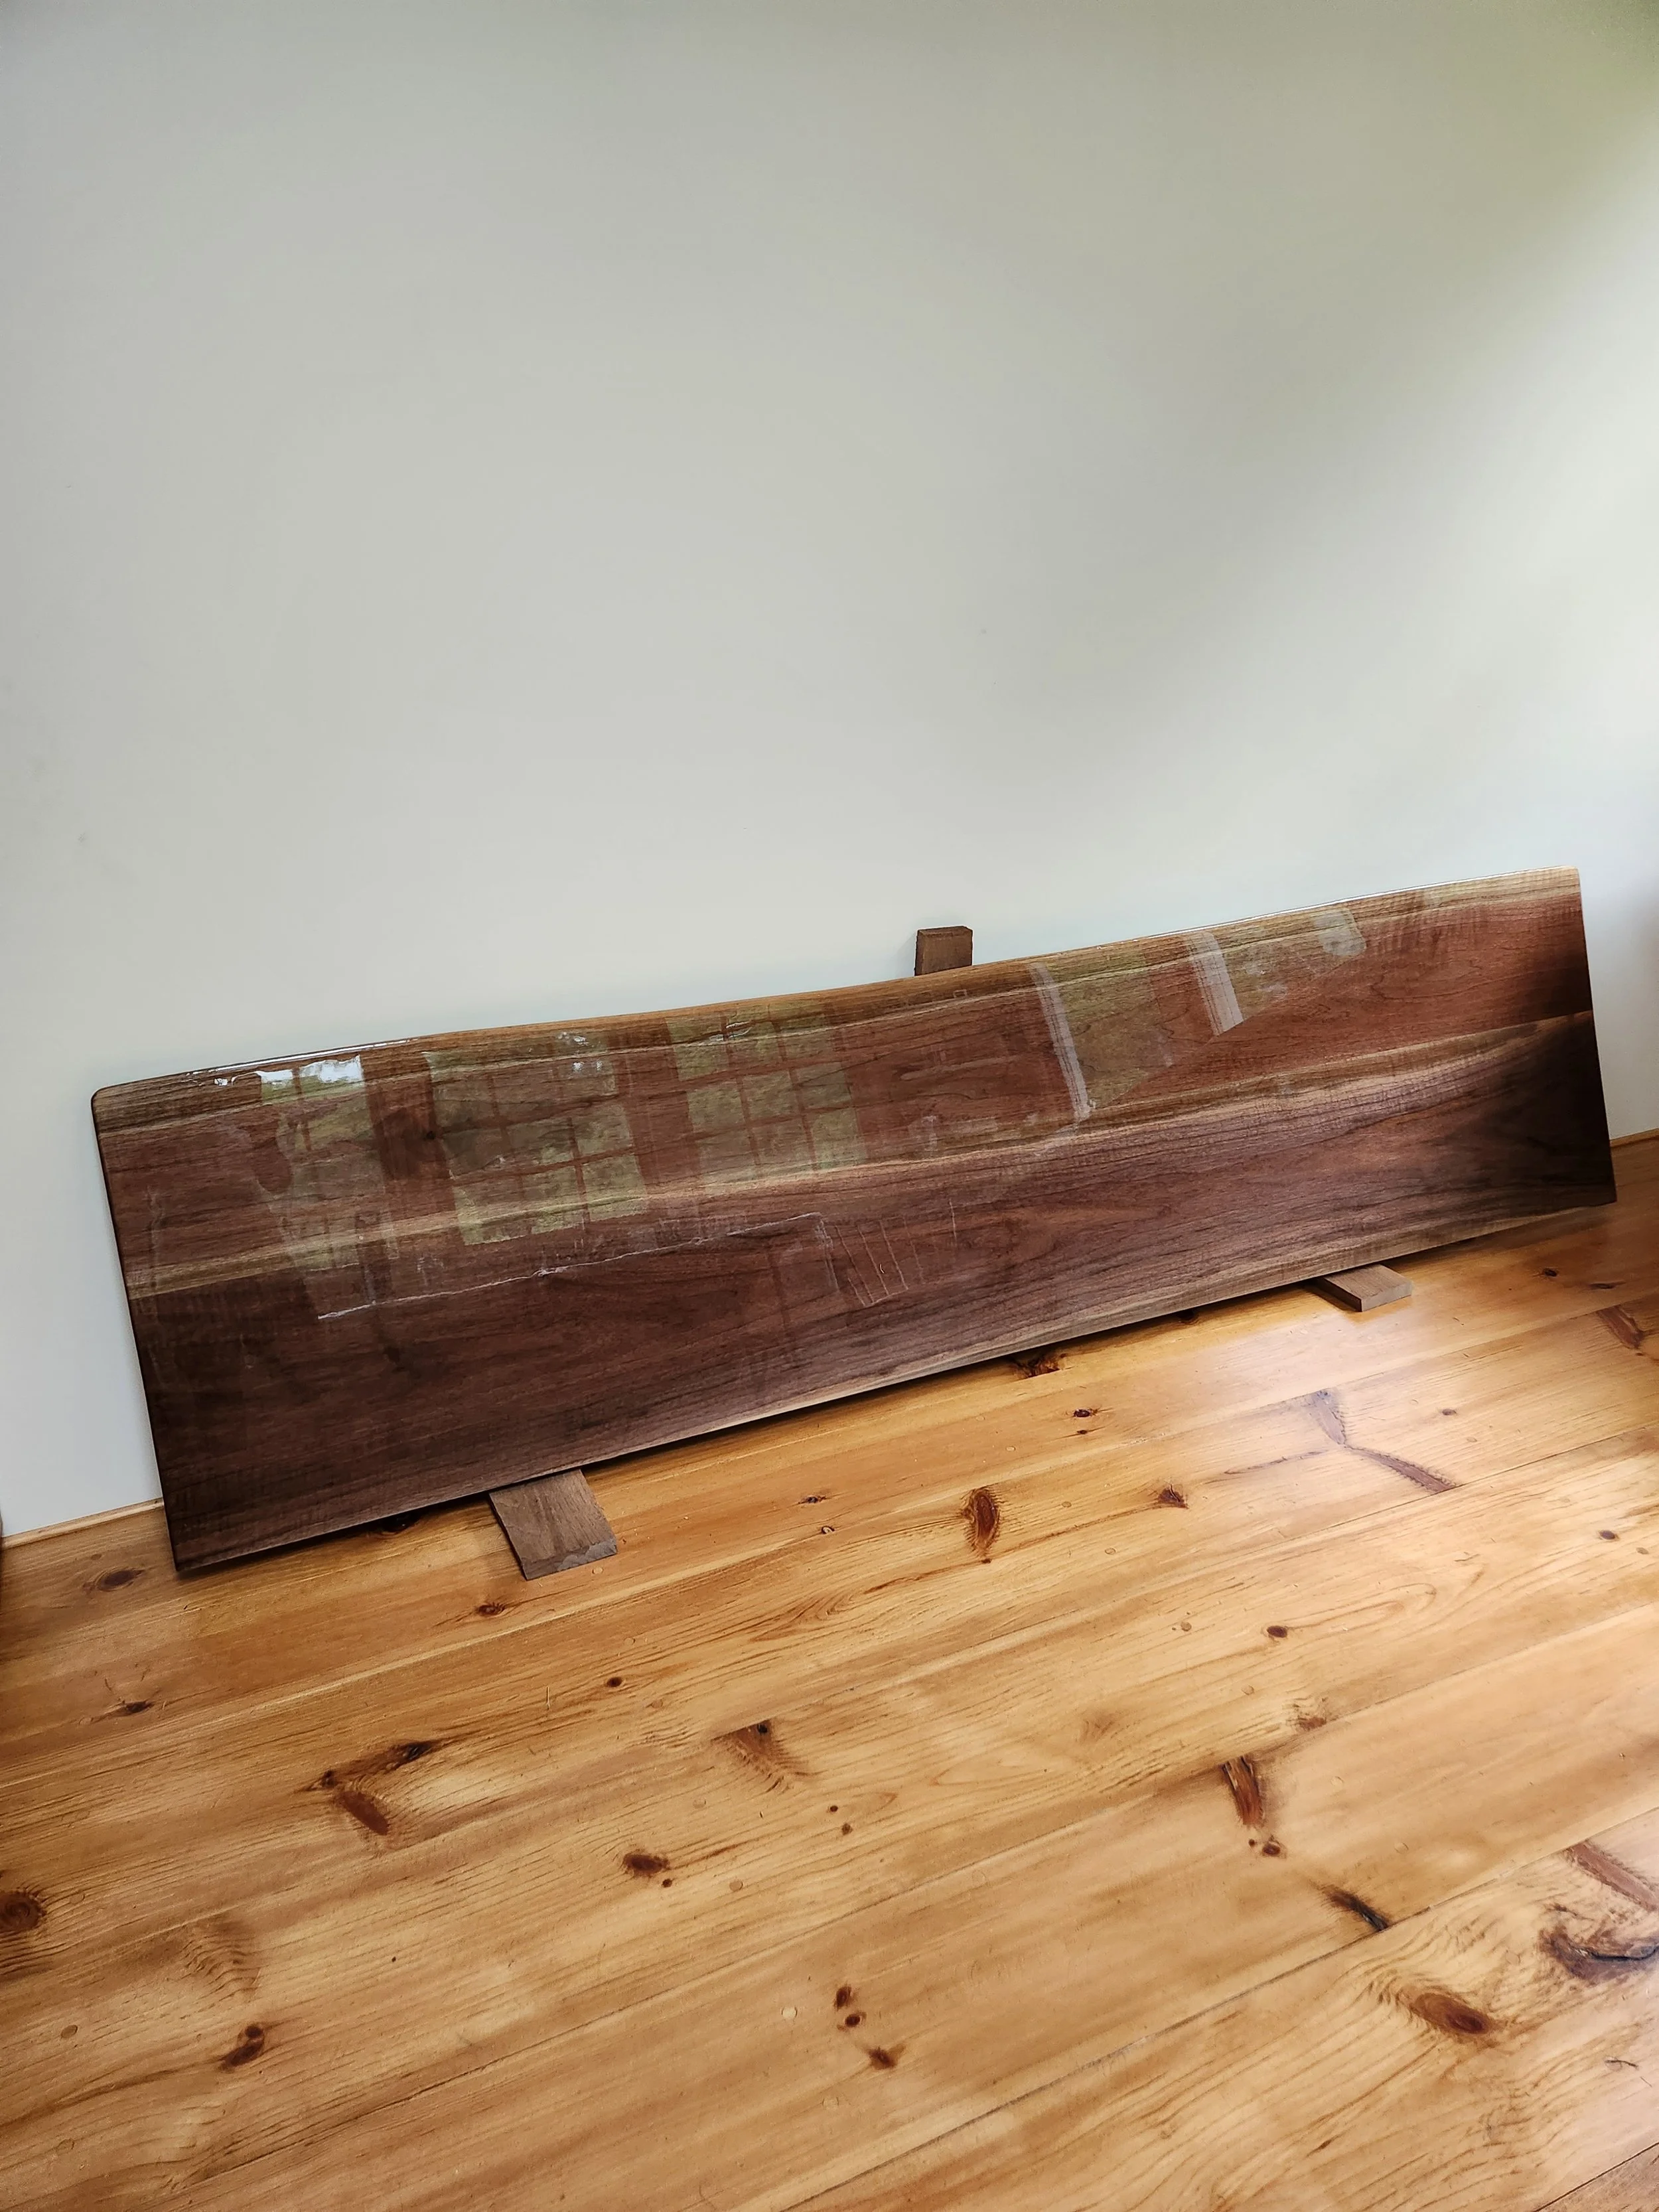
A Dropdown Worktable
The dropdown table was a last-minute idea. Moe made it so that it blends in with the back wall when it is down. Well, guess what? The table has never been down. I use it quite often, especially when the sun is shining on the walnut bench in the afternoon. The view from there is spectacular, as well!
A Cleat Wall to Paint At
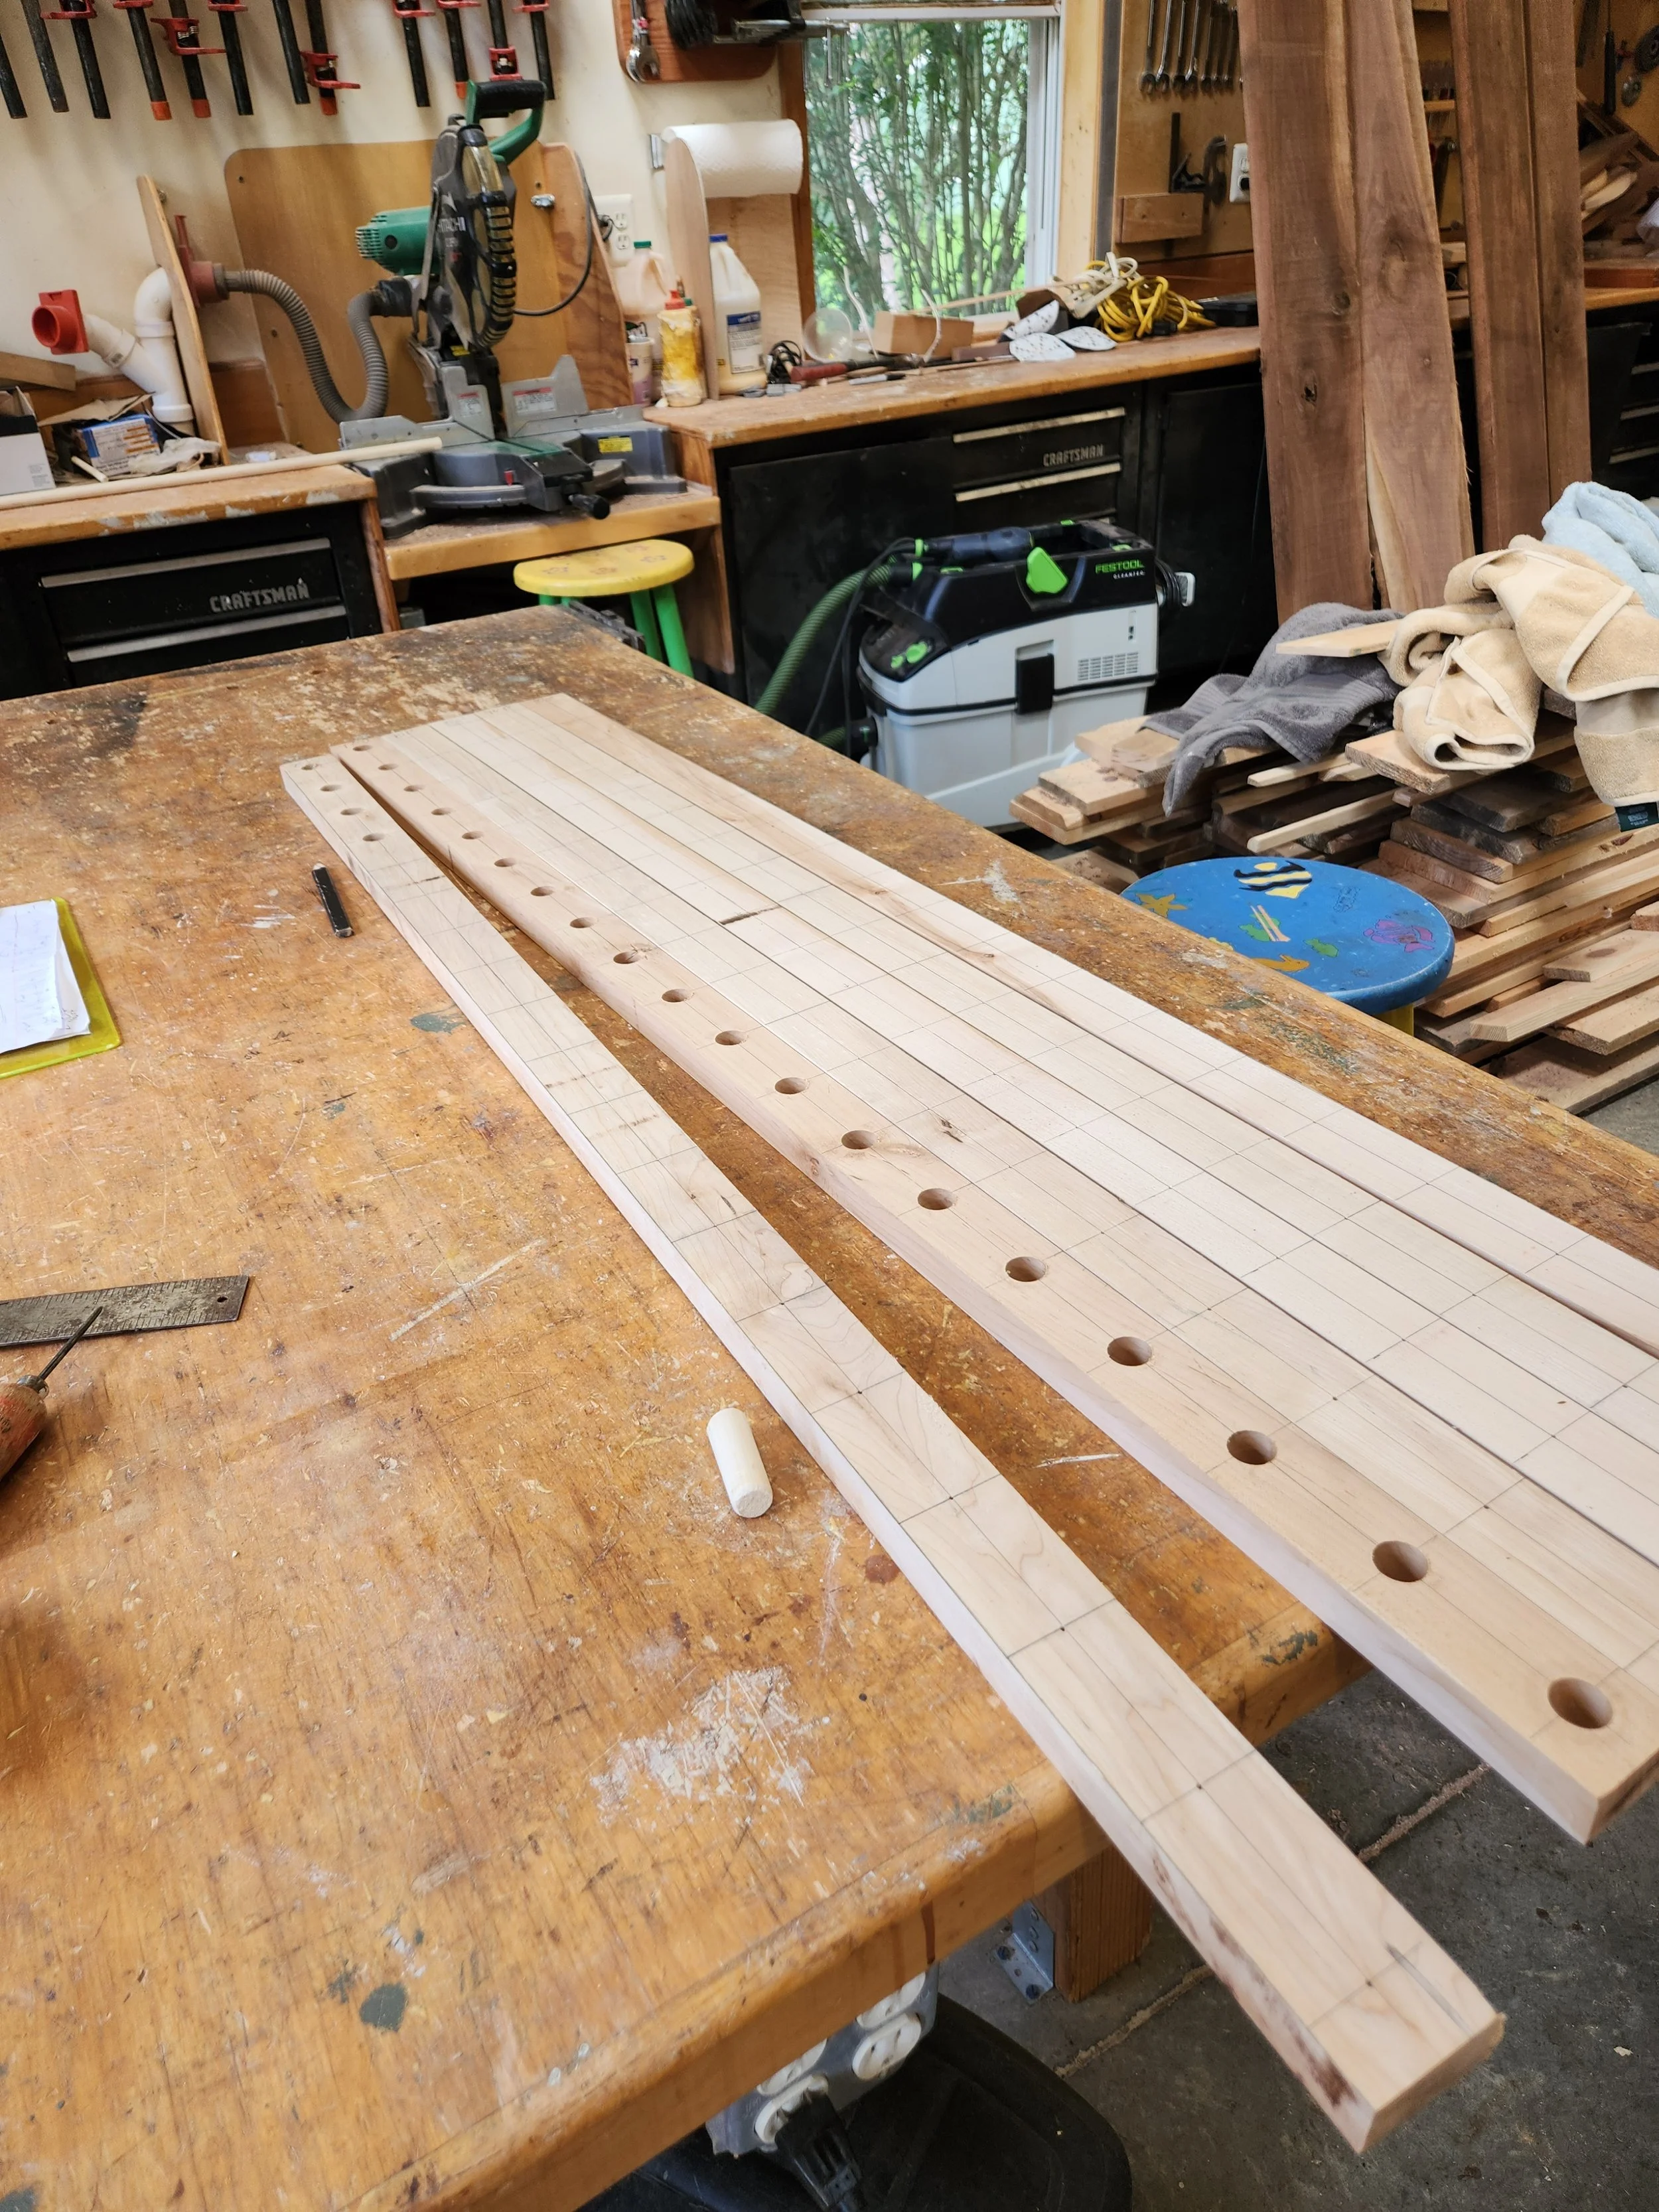
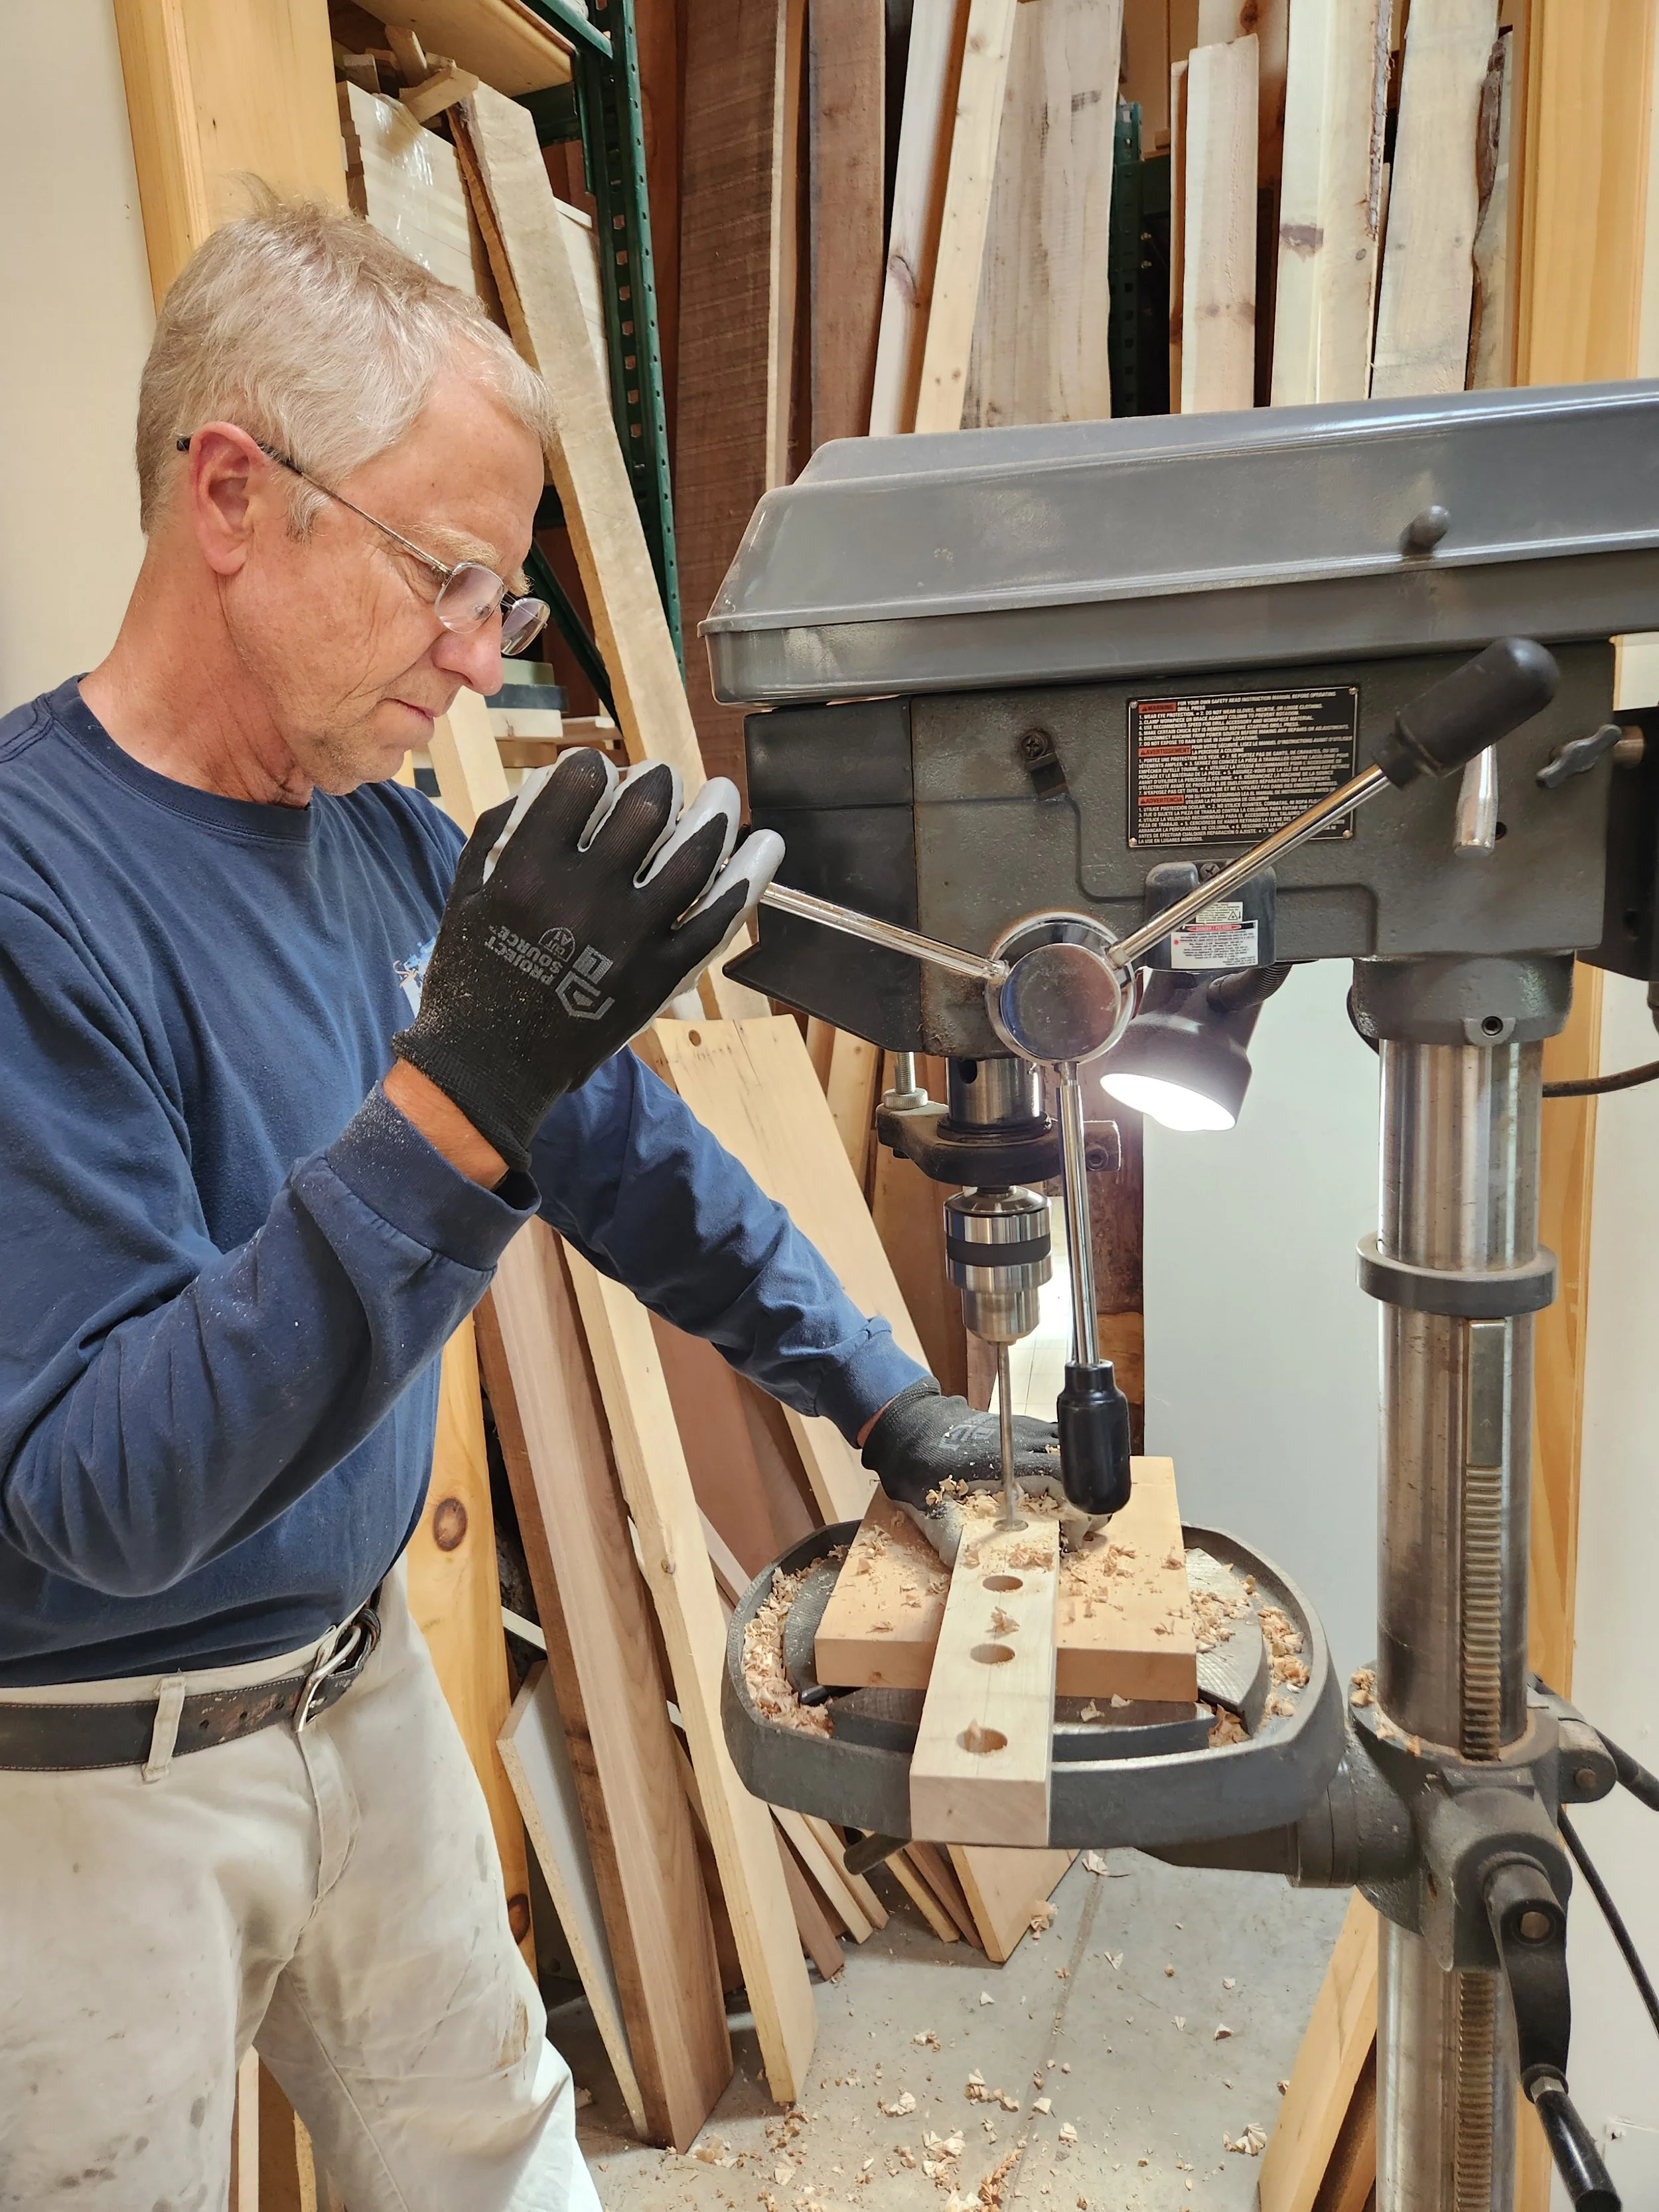
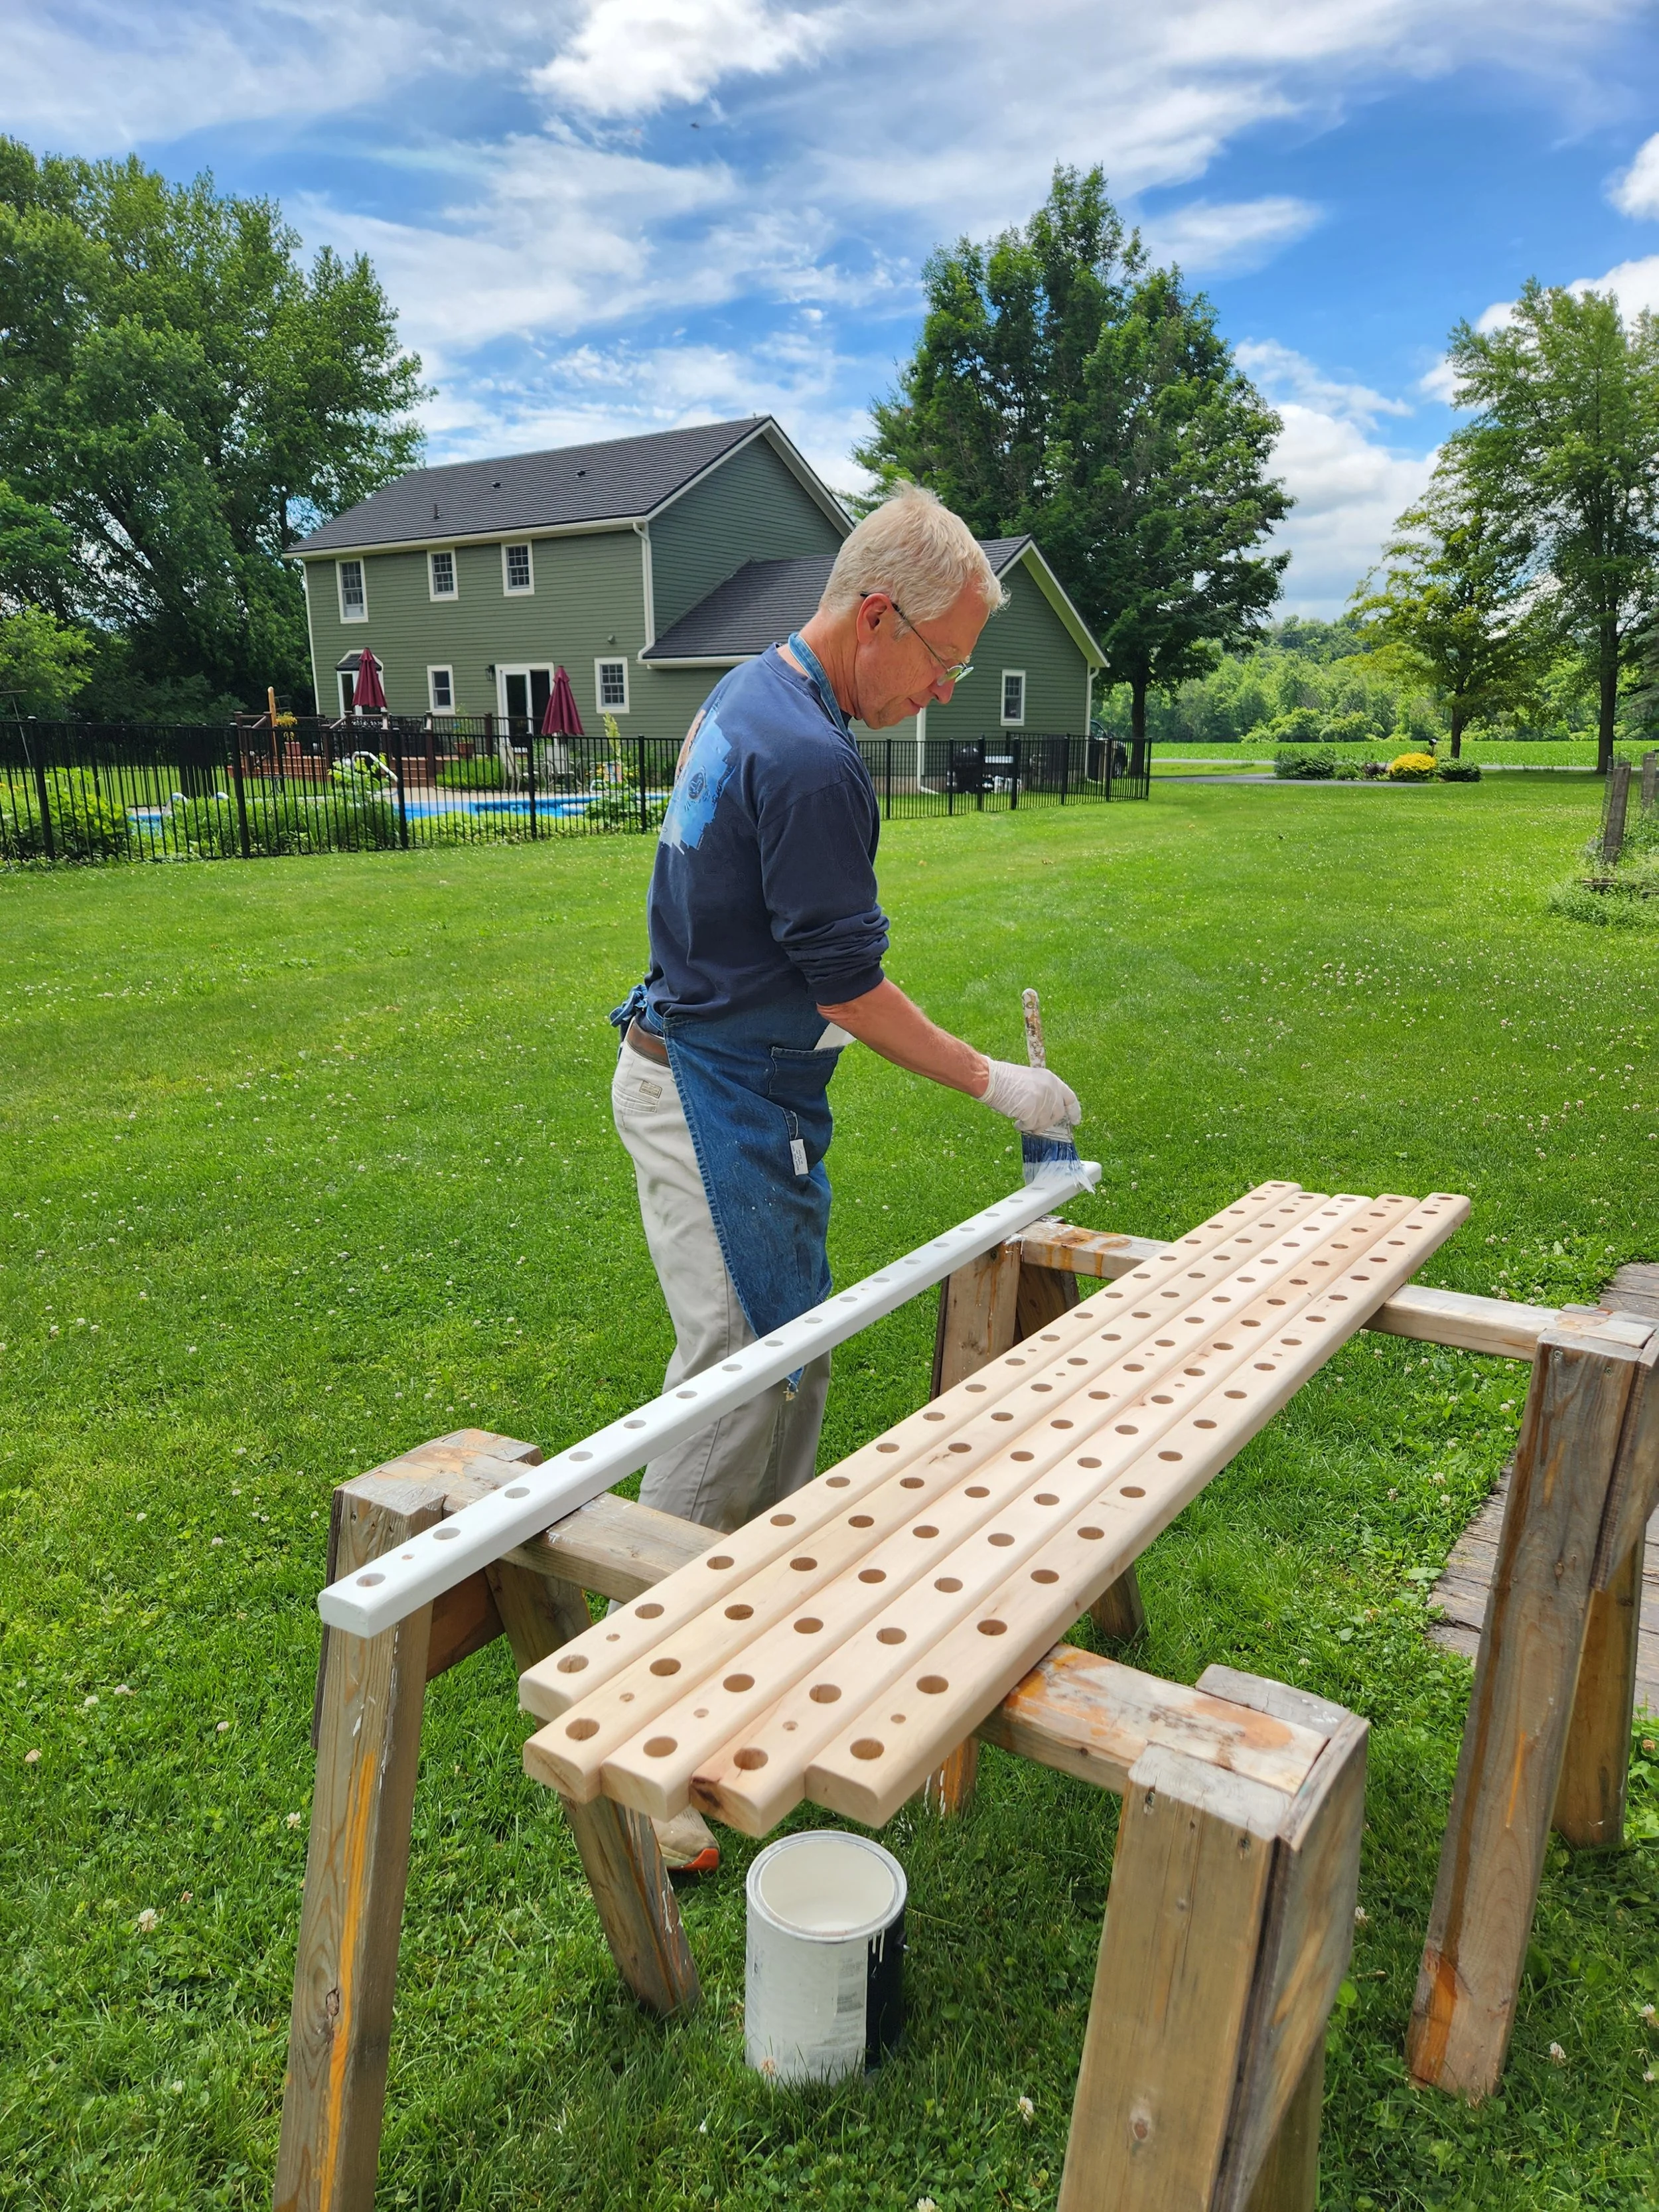
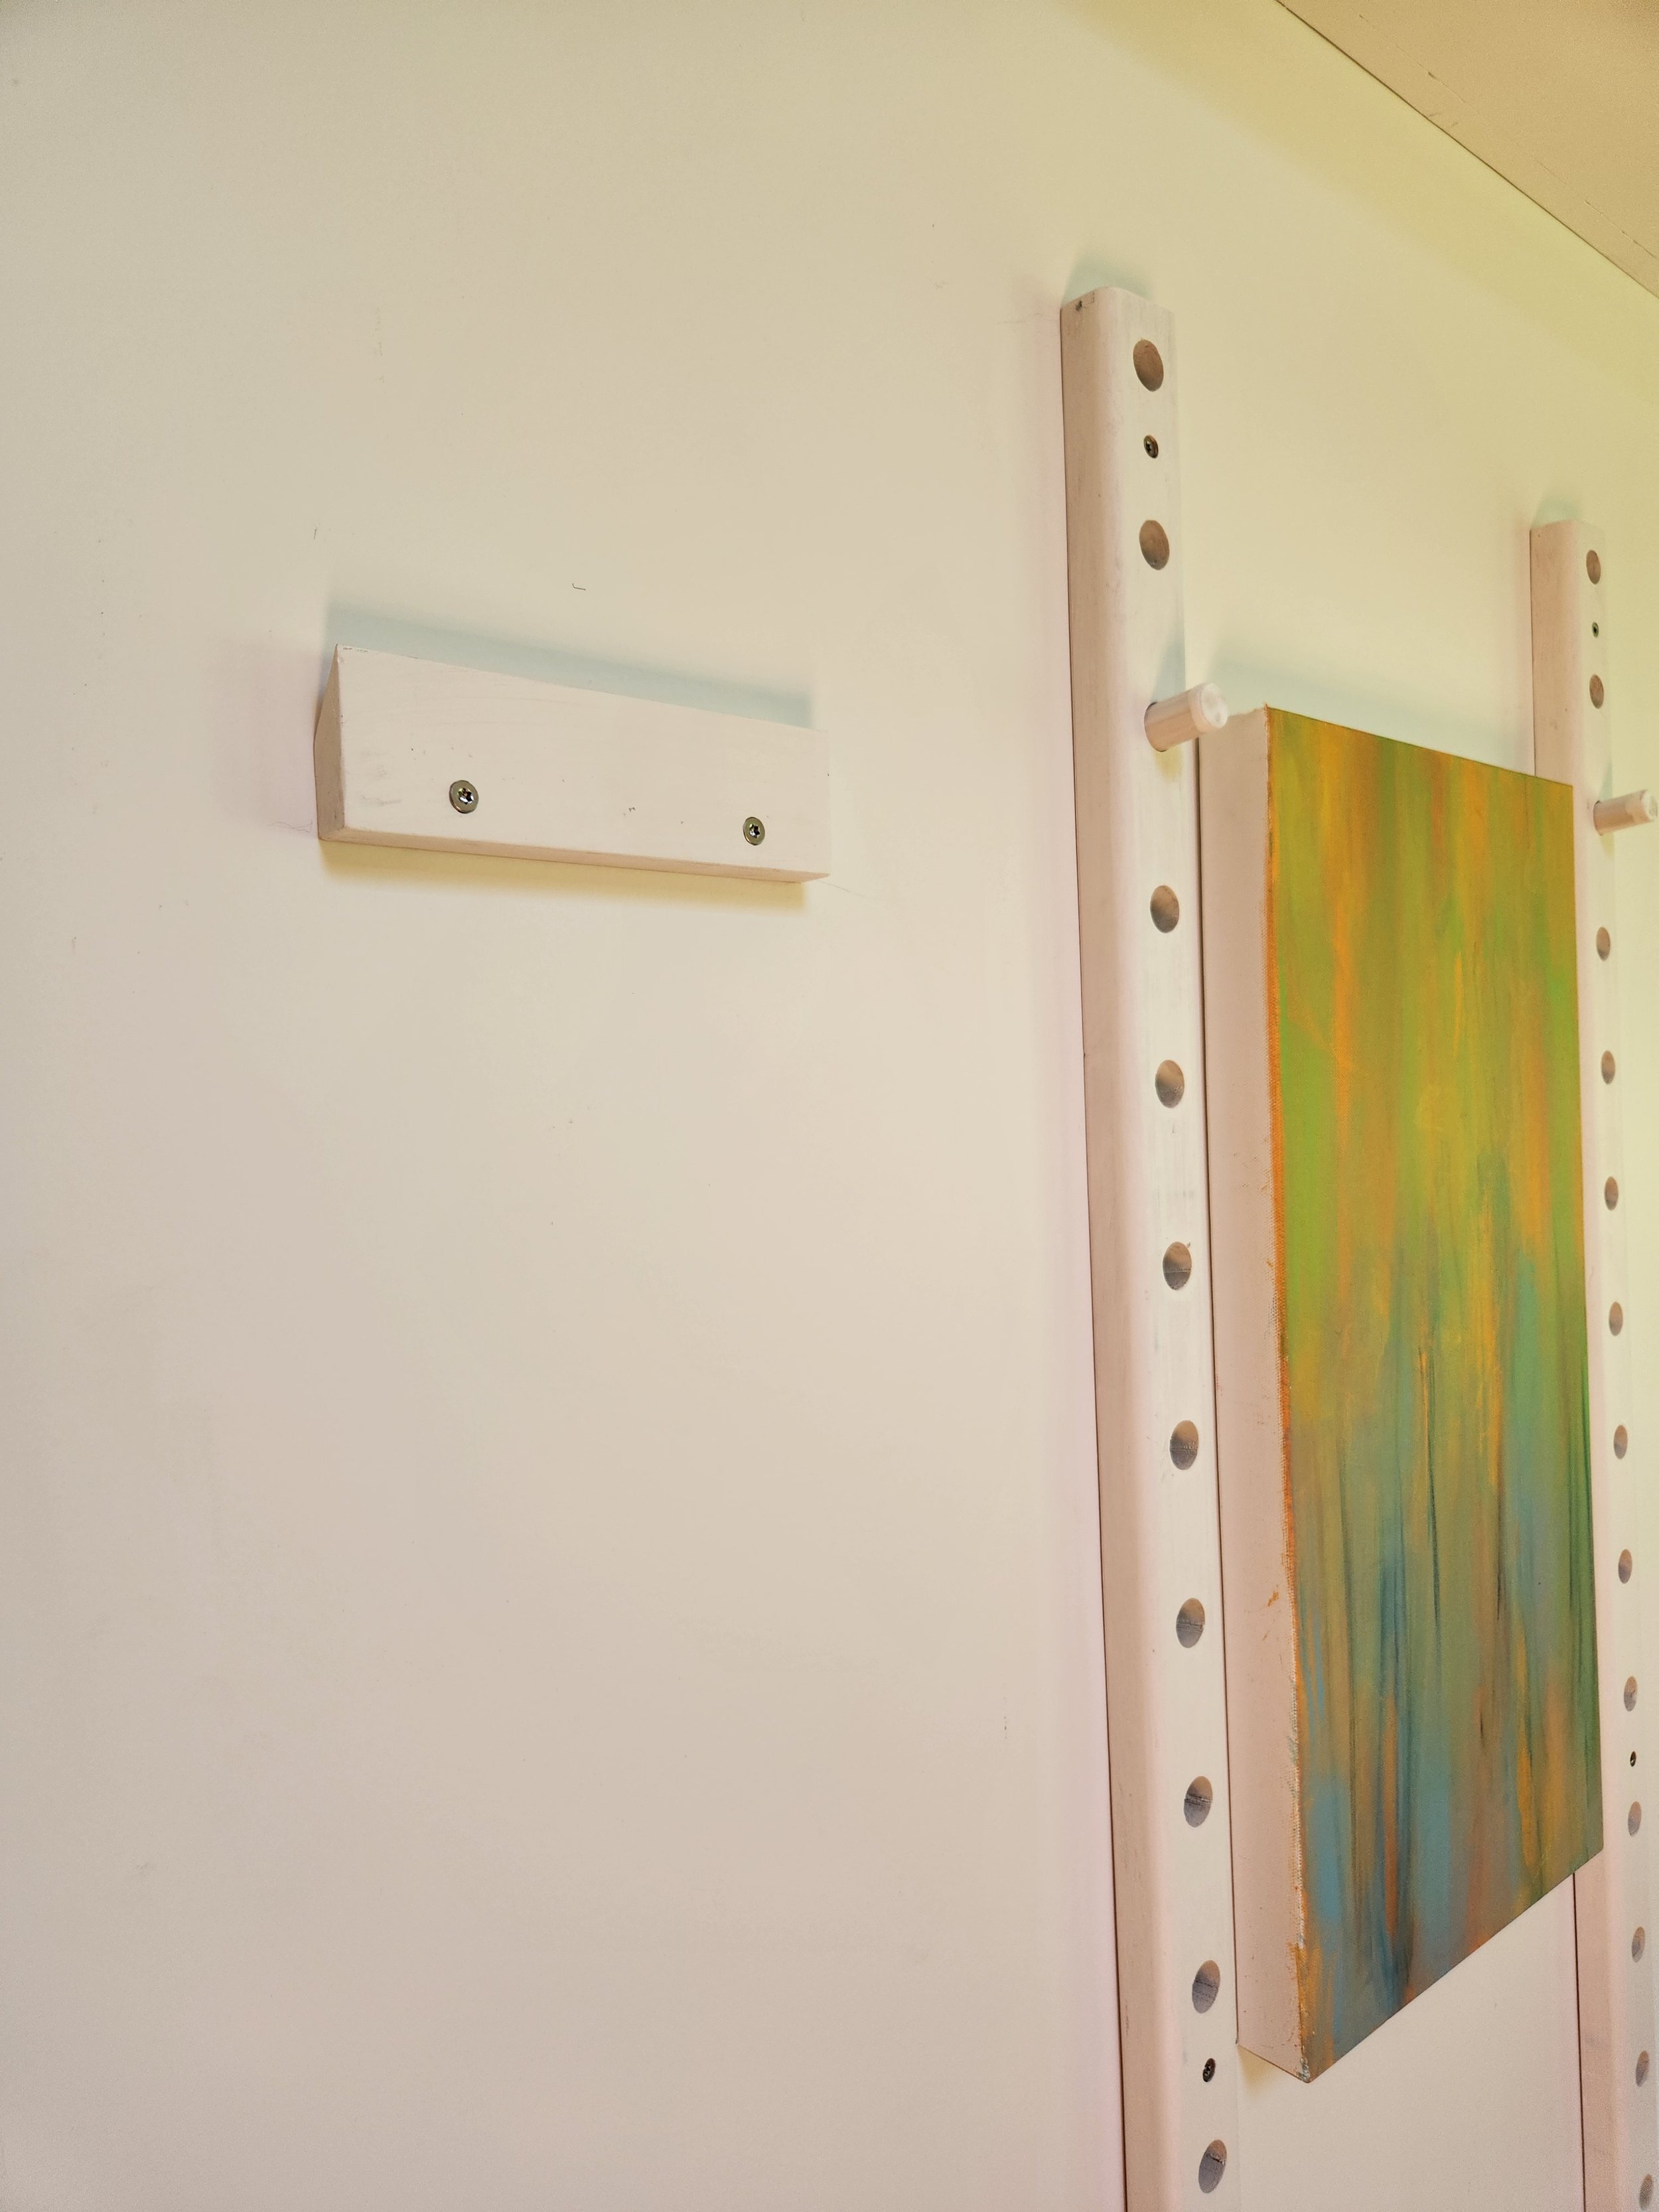
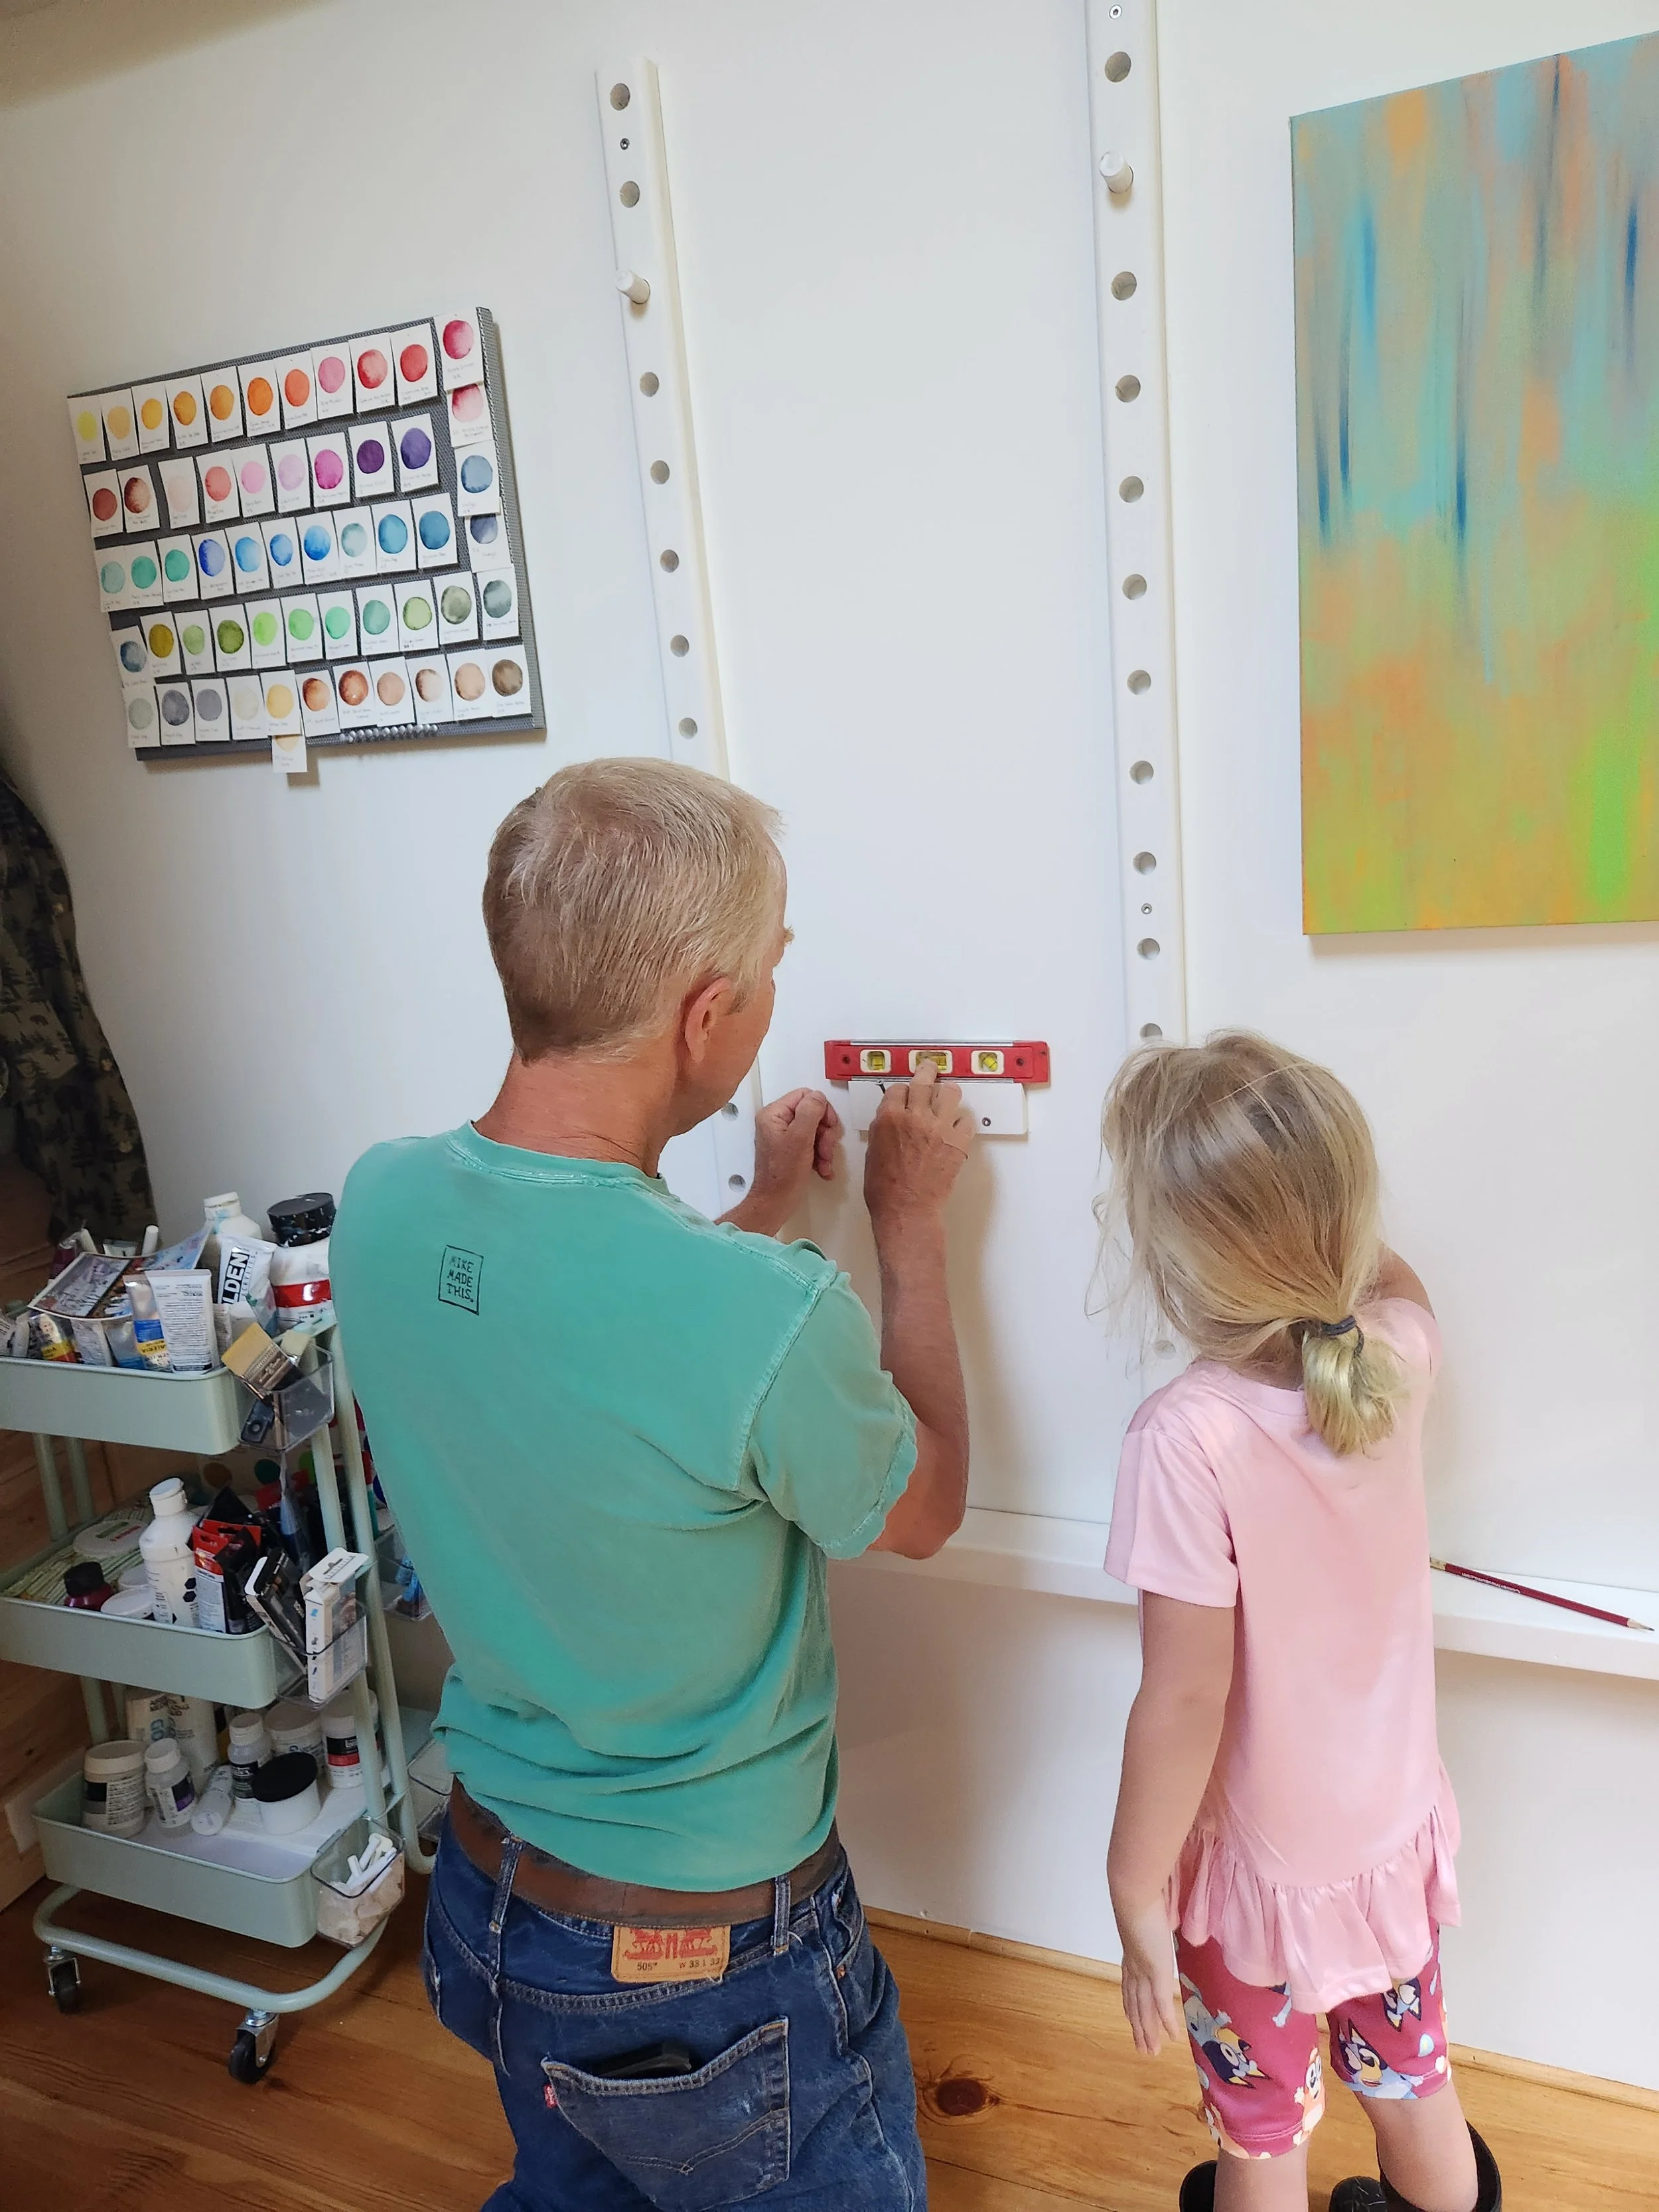
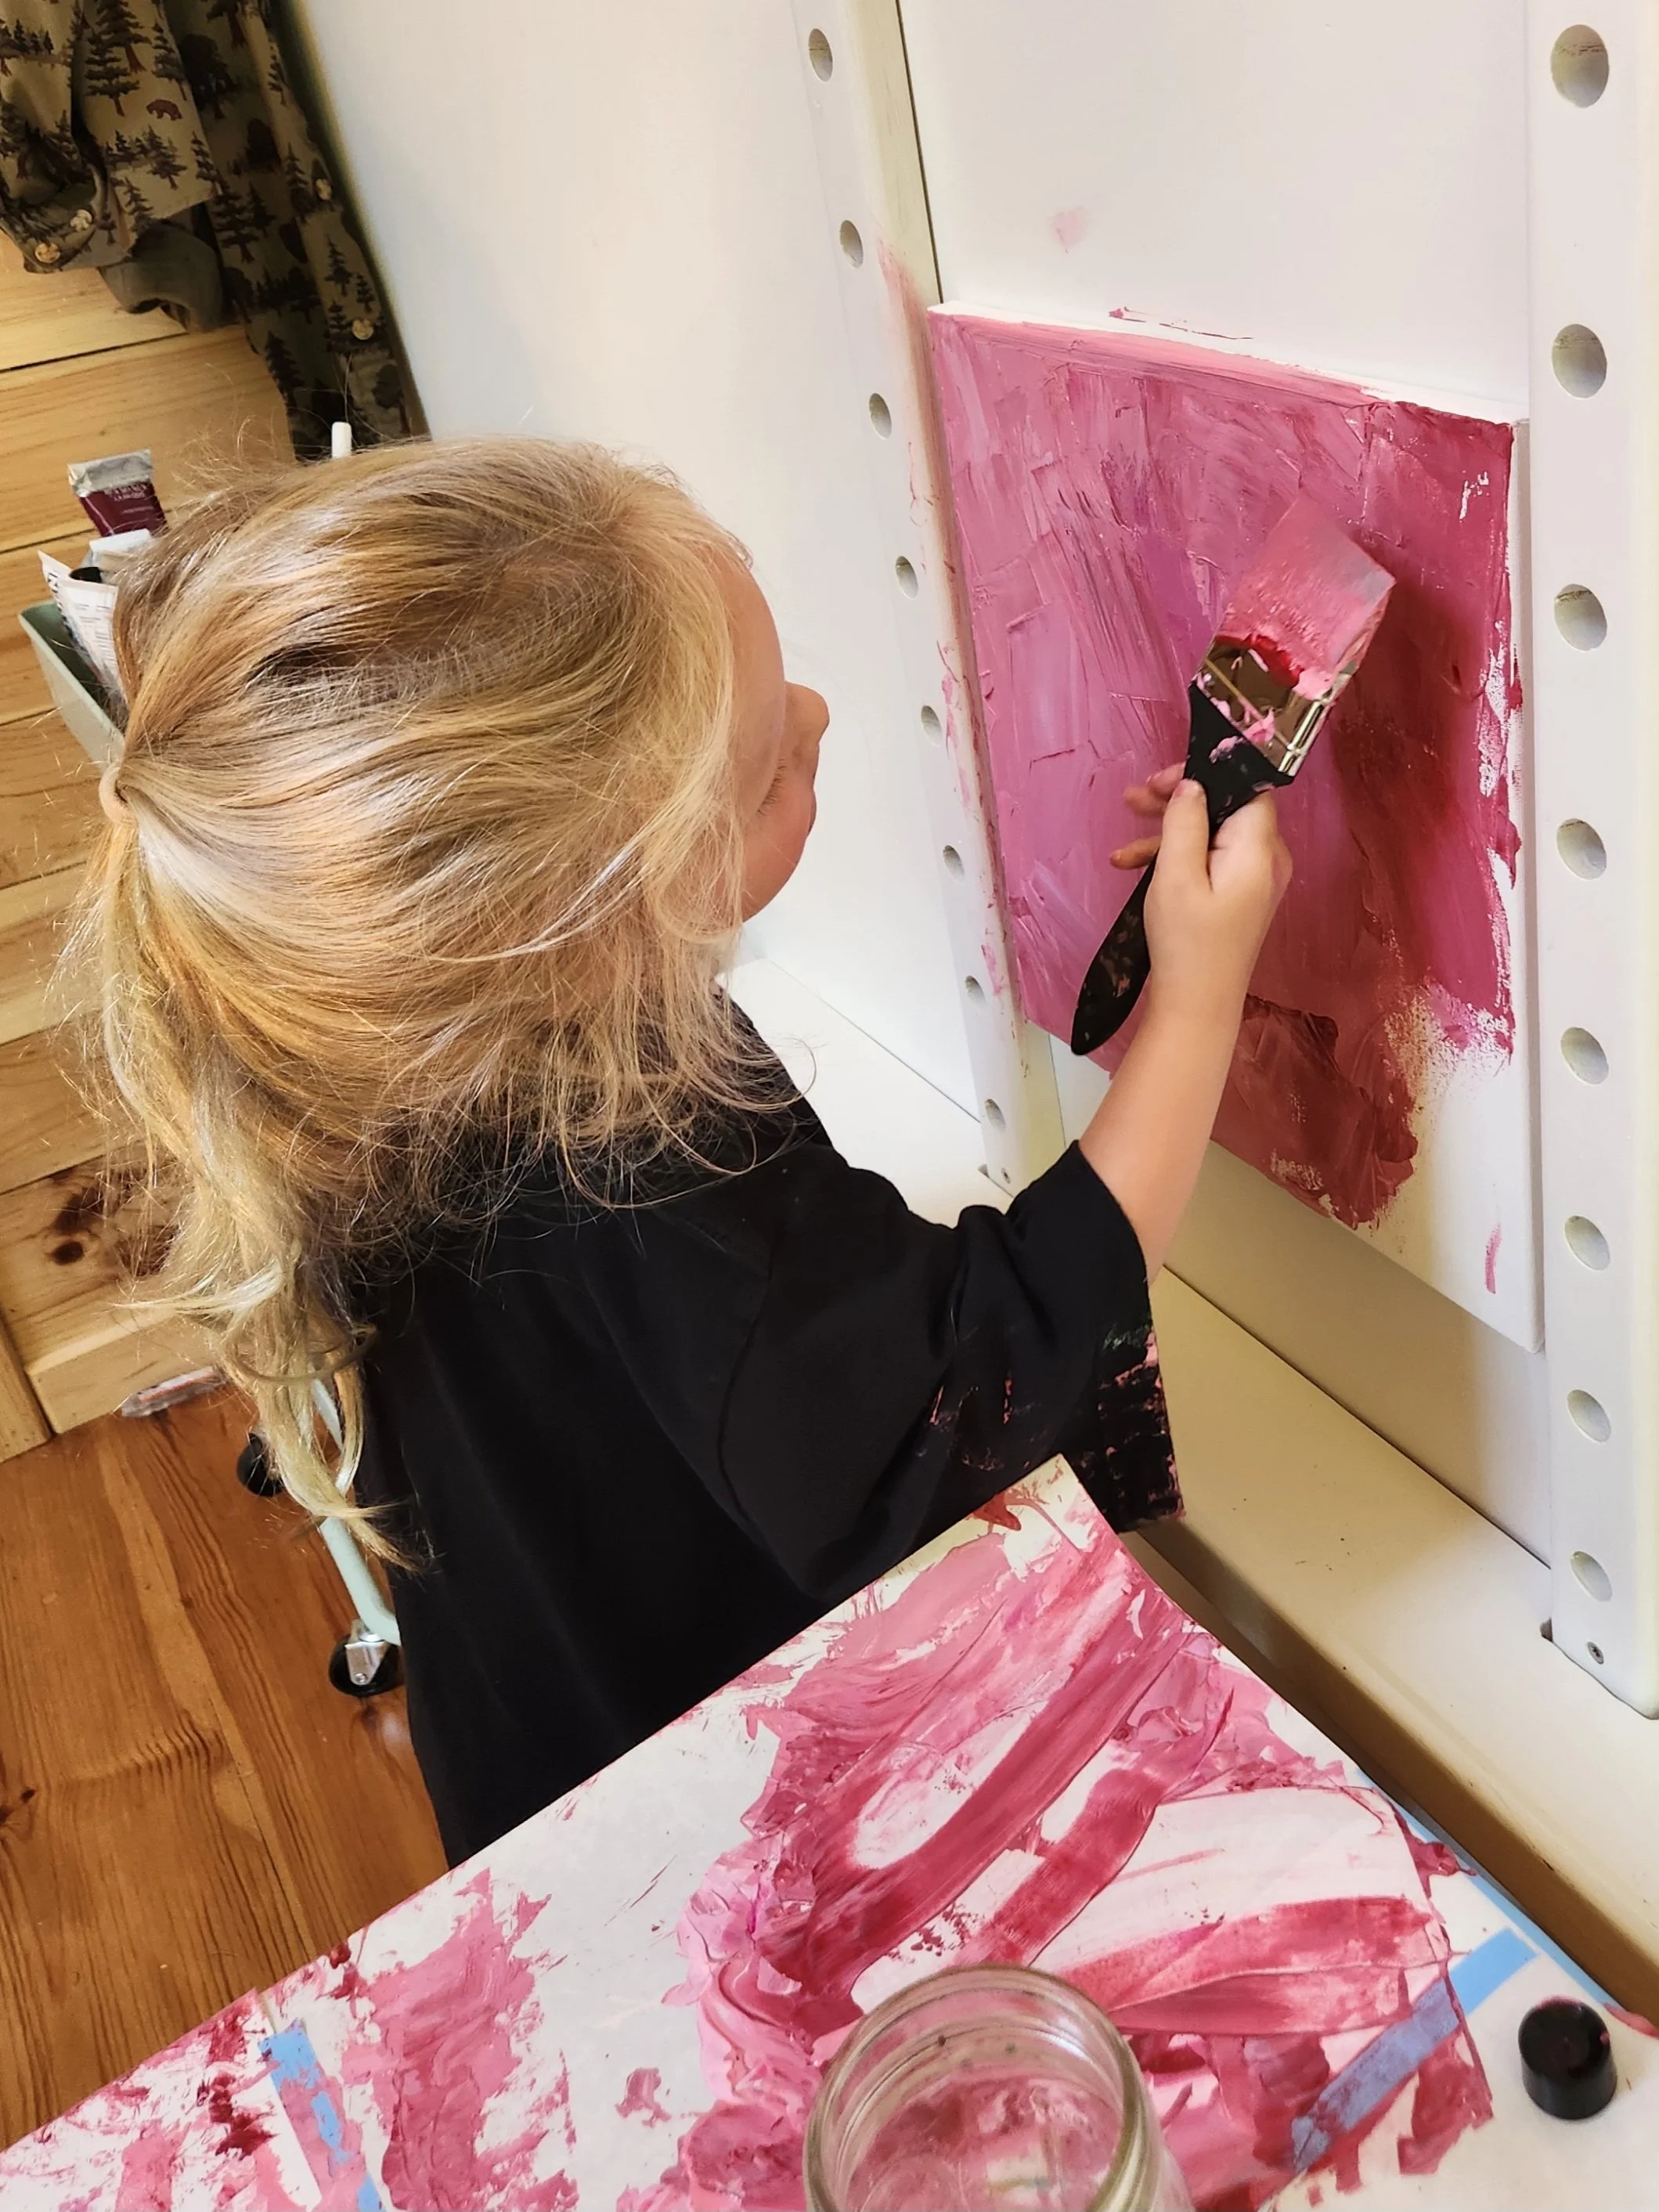
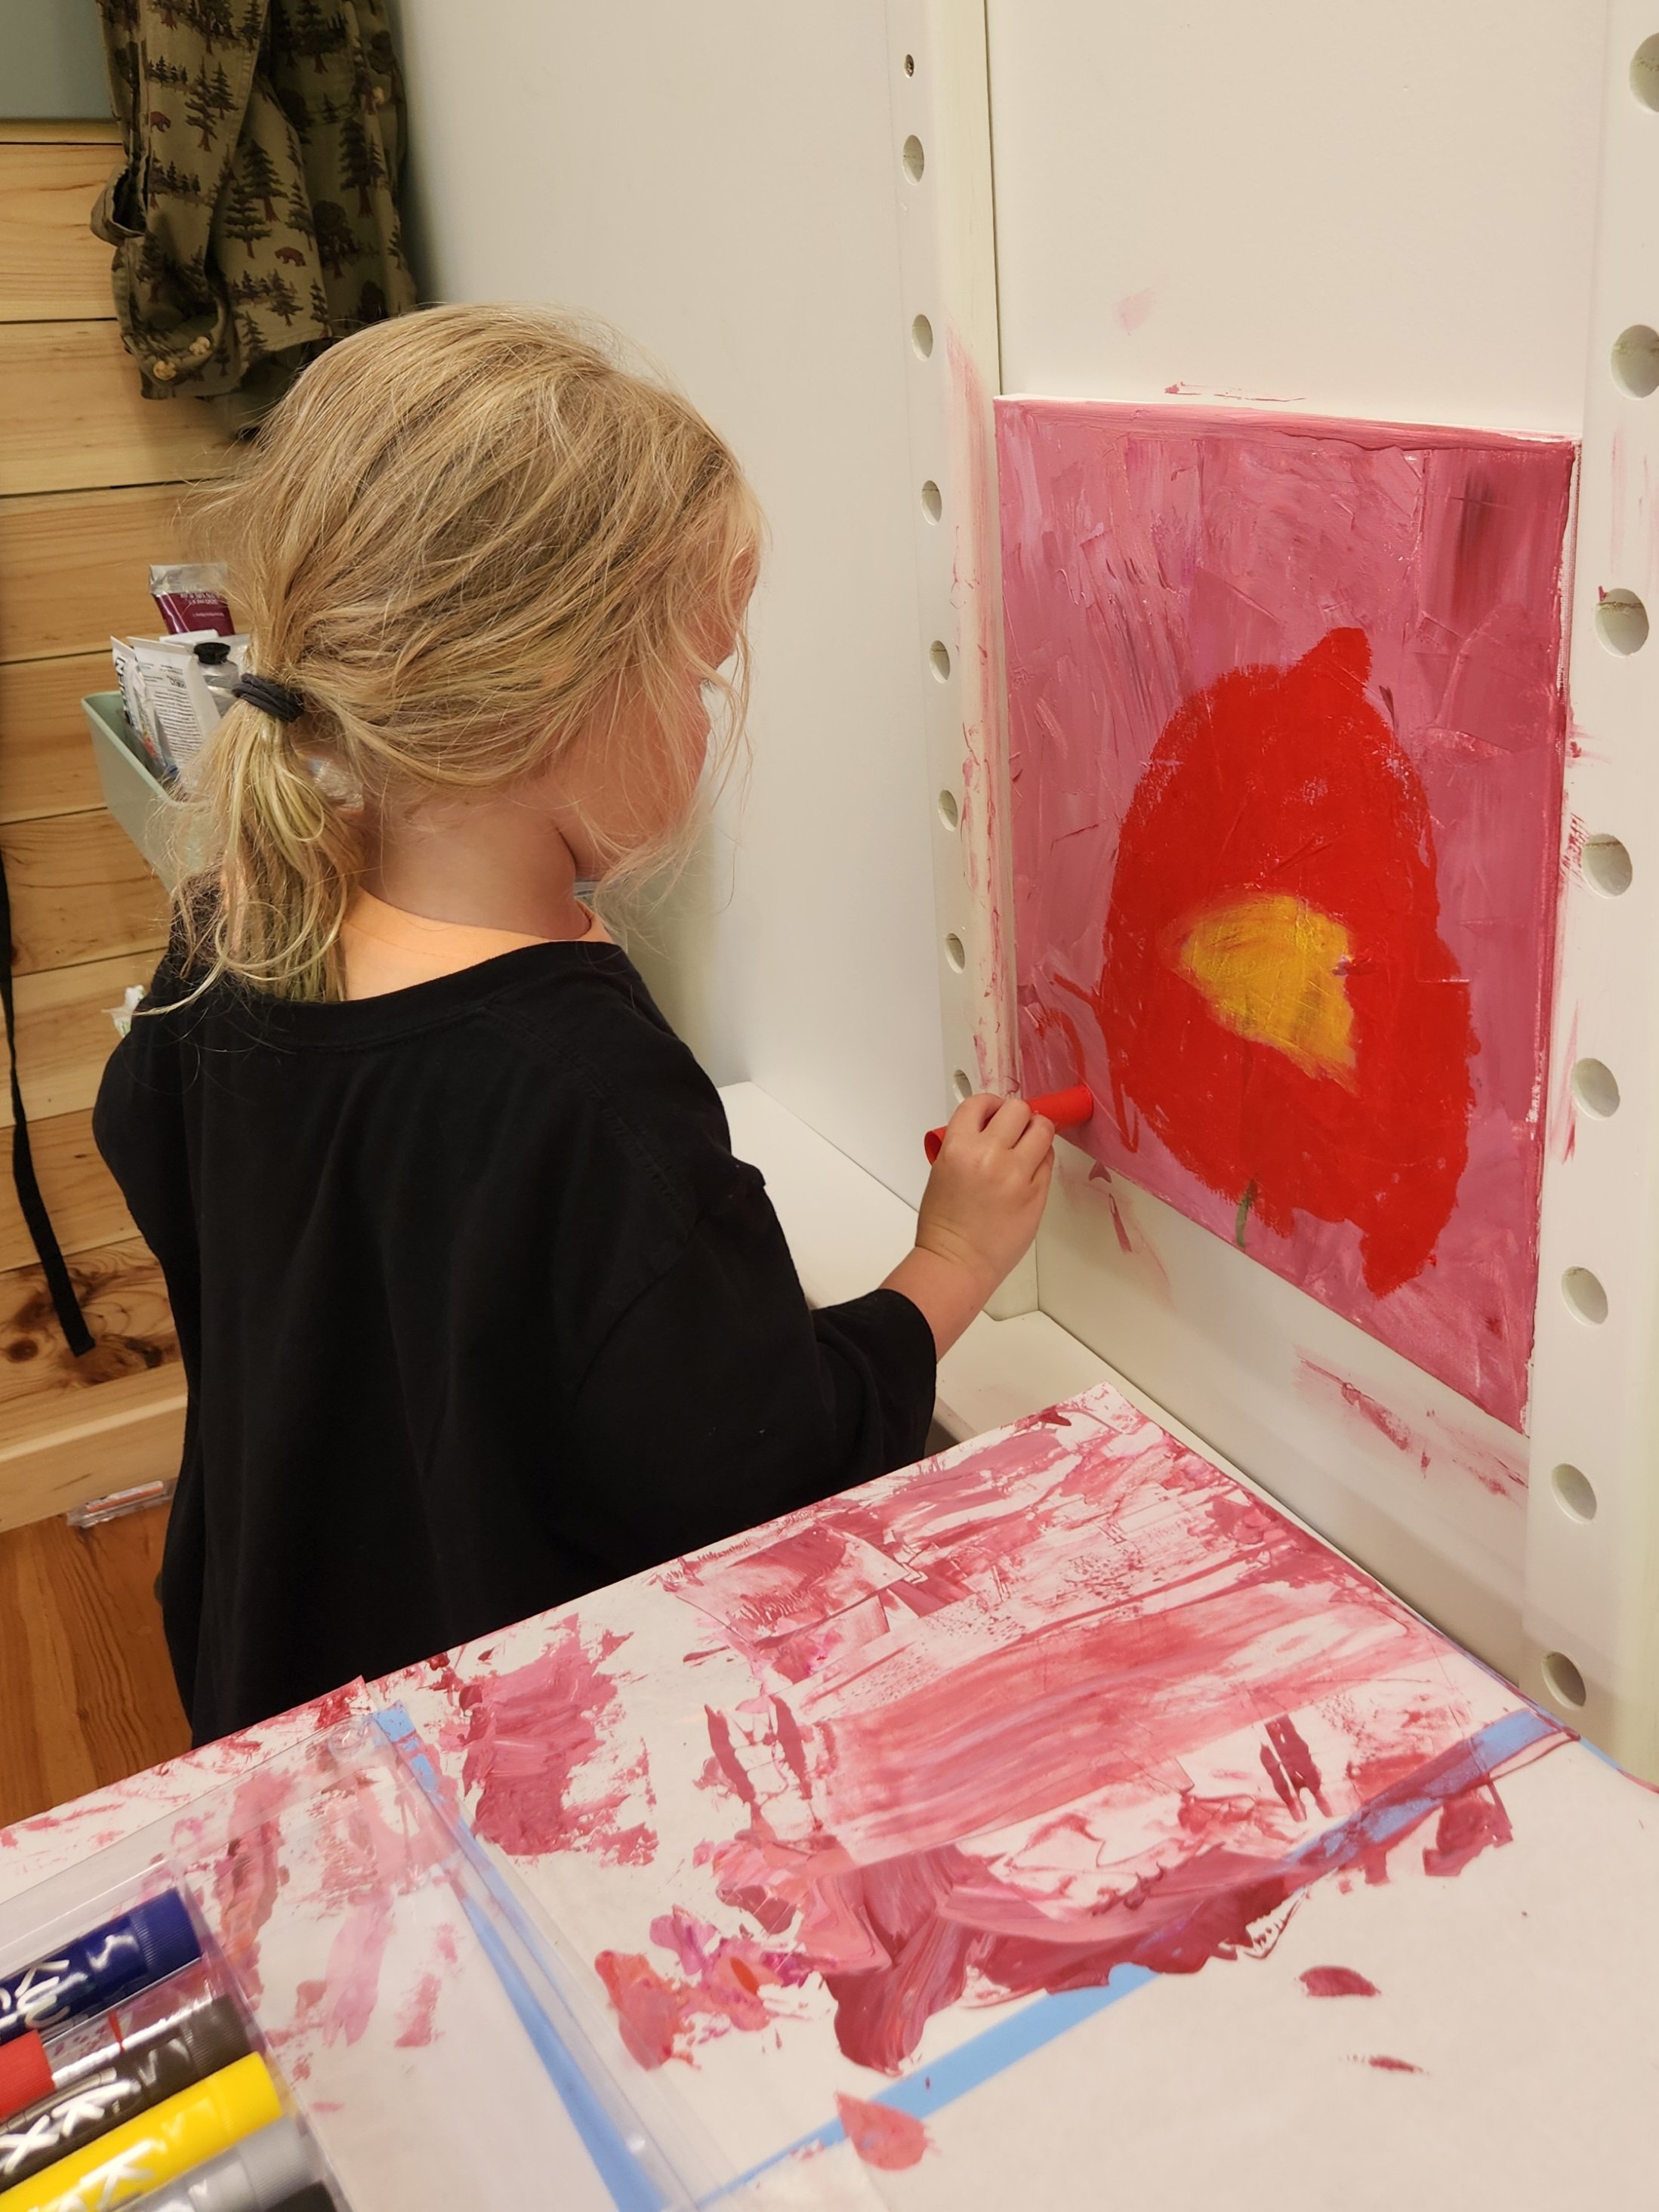
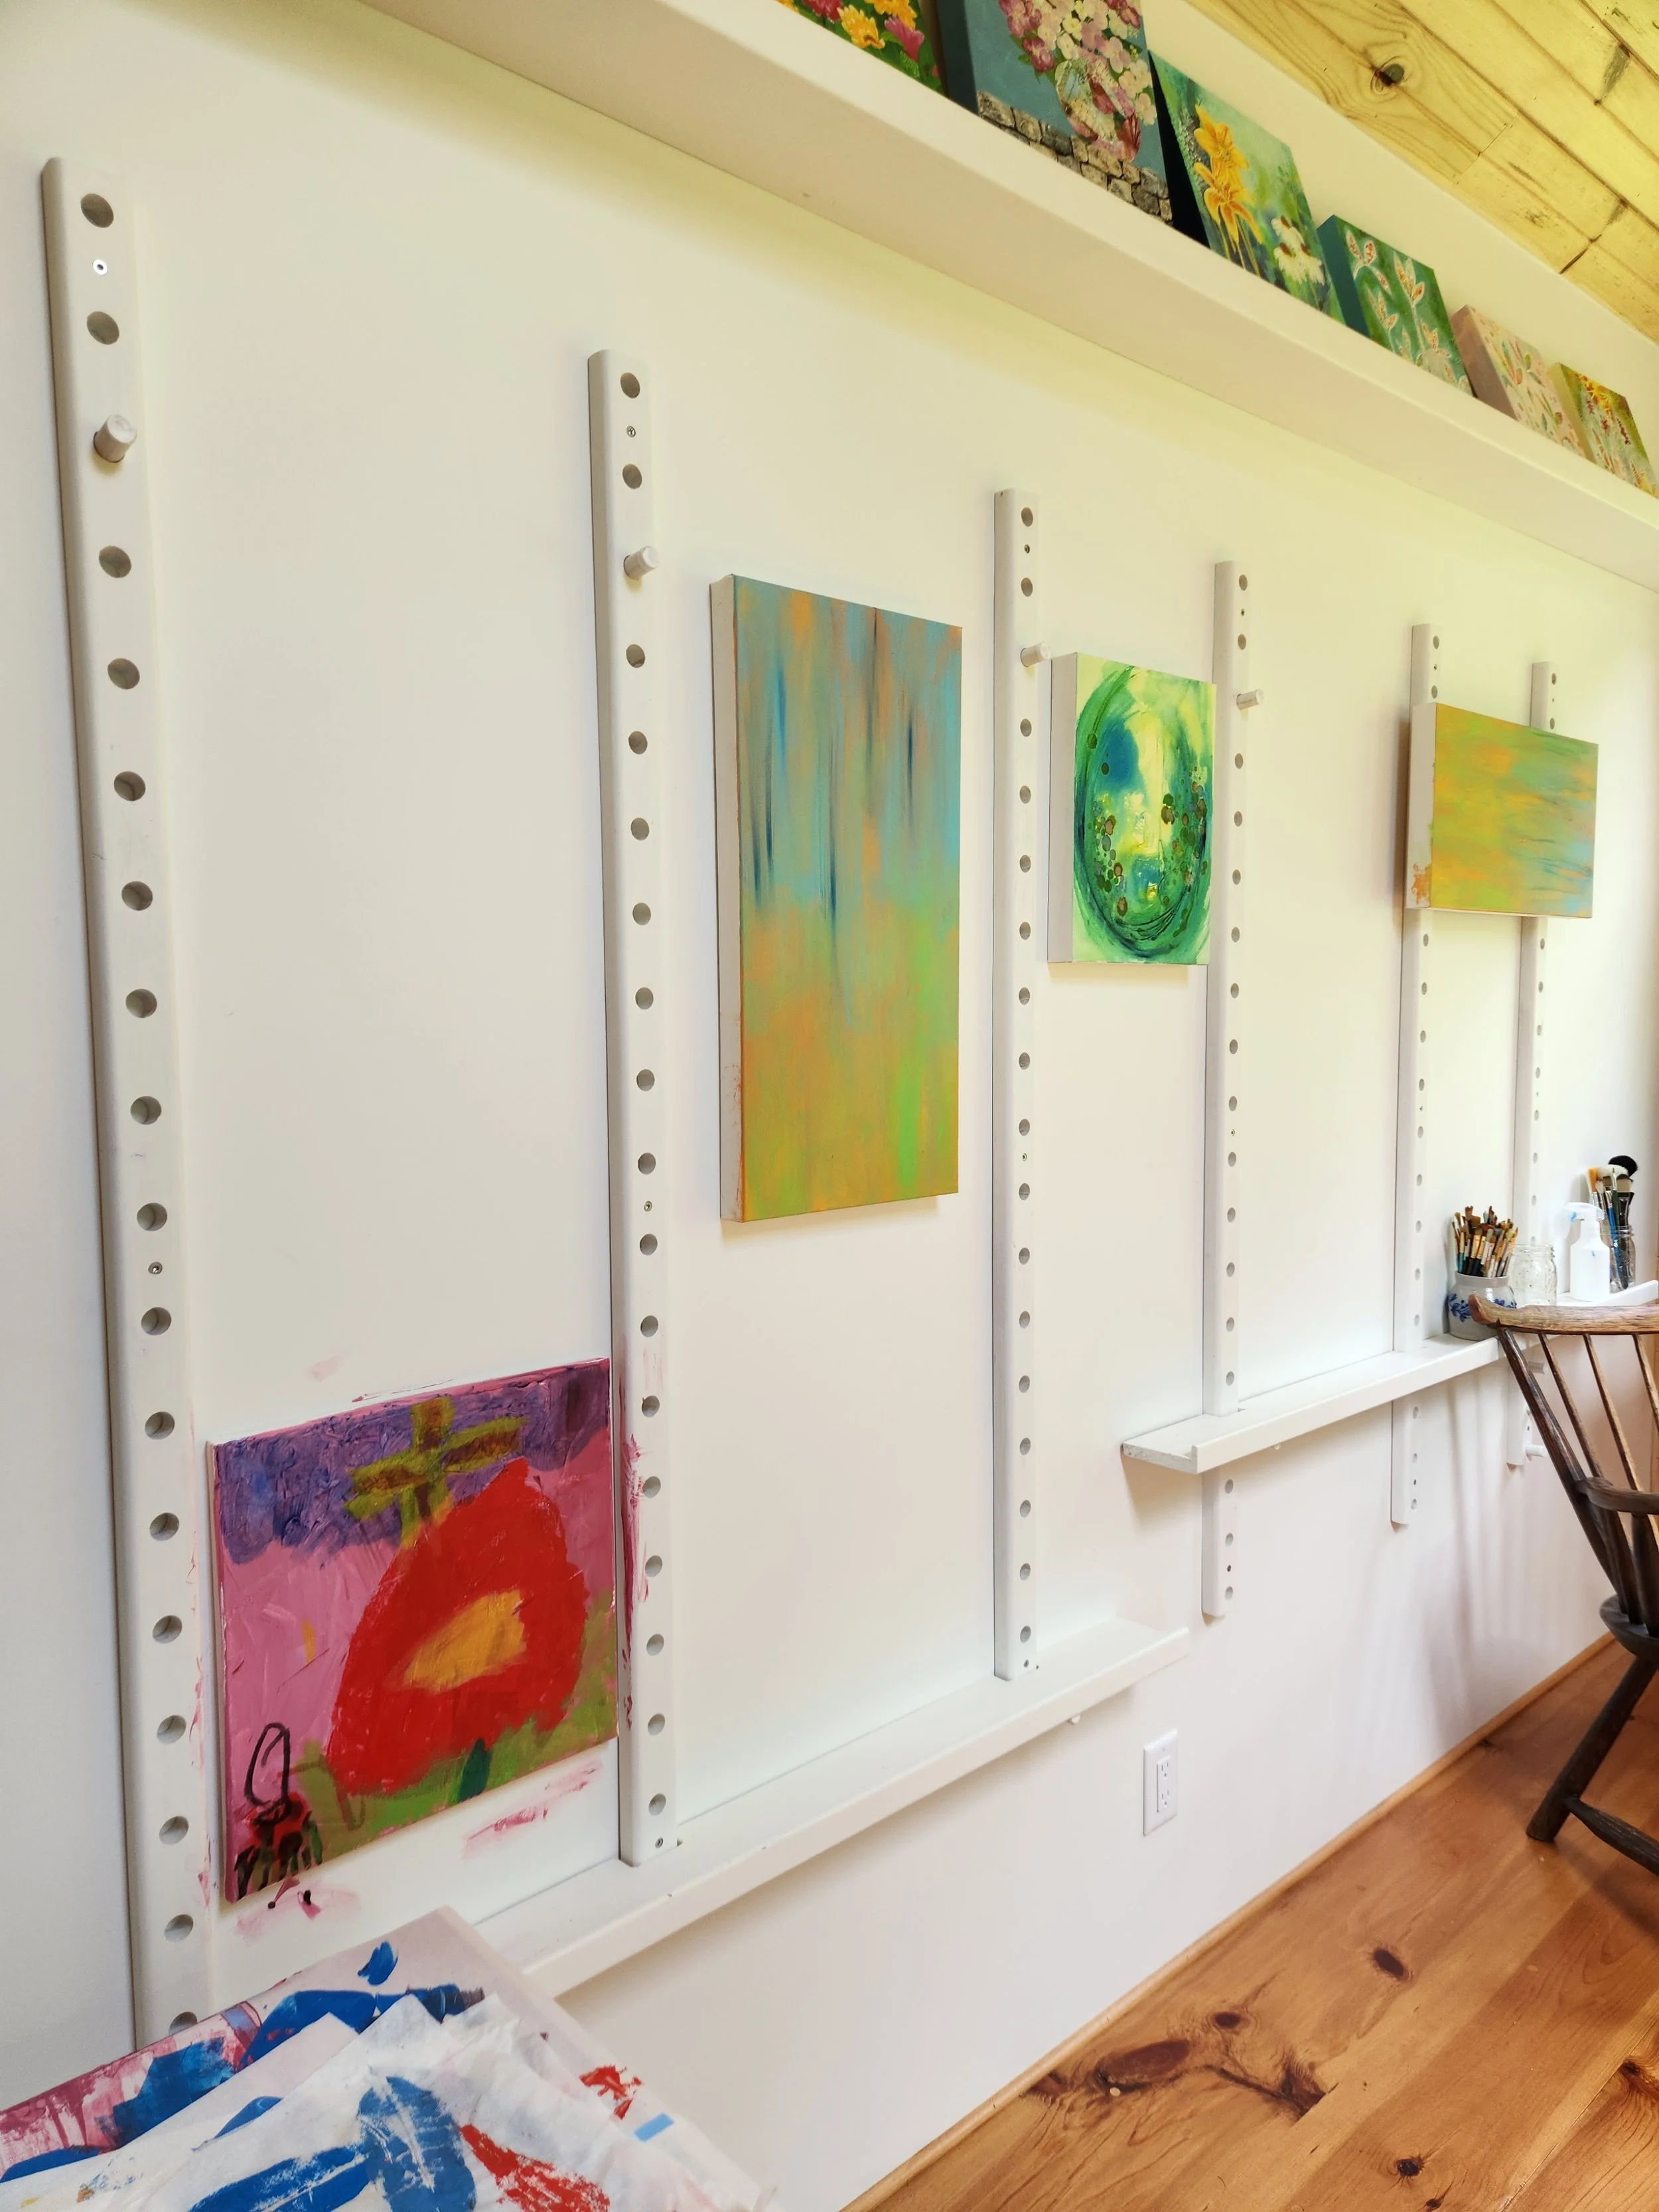
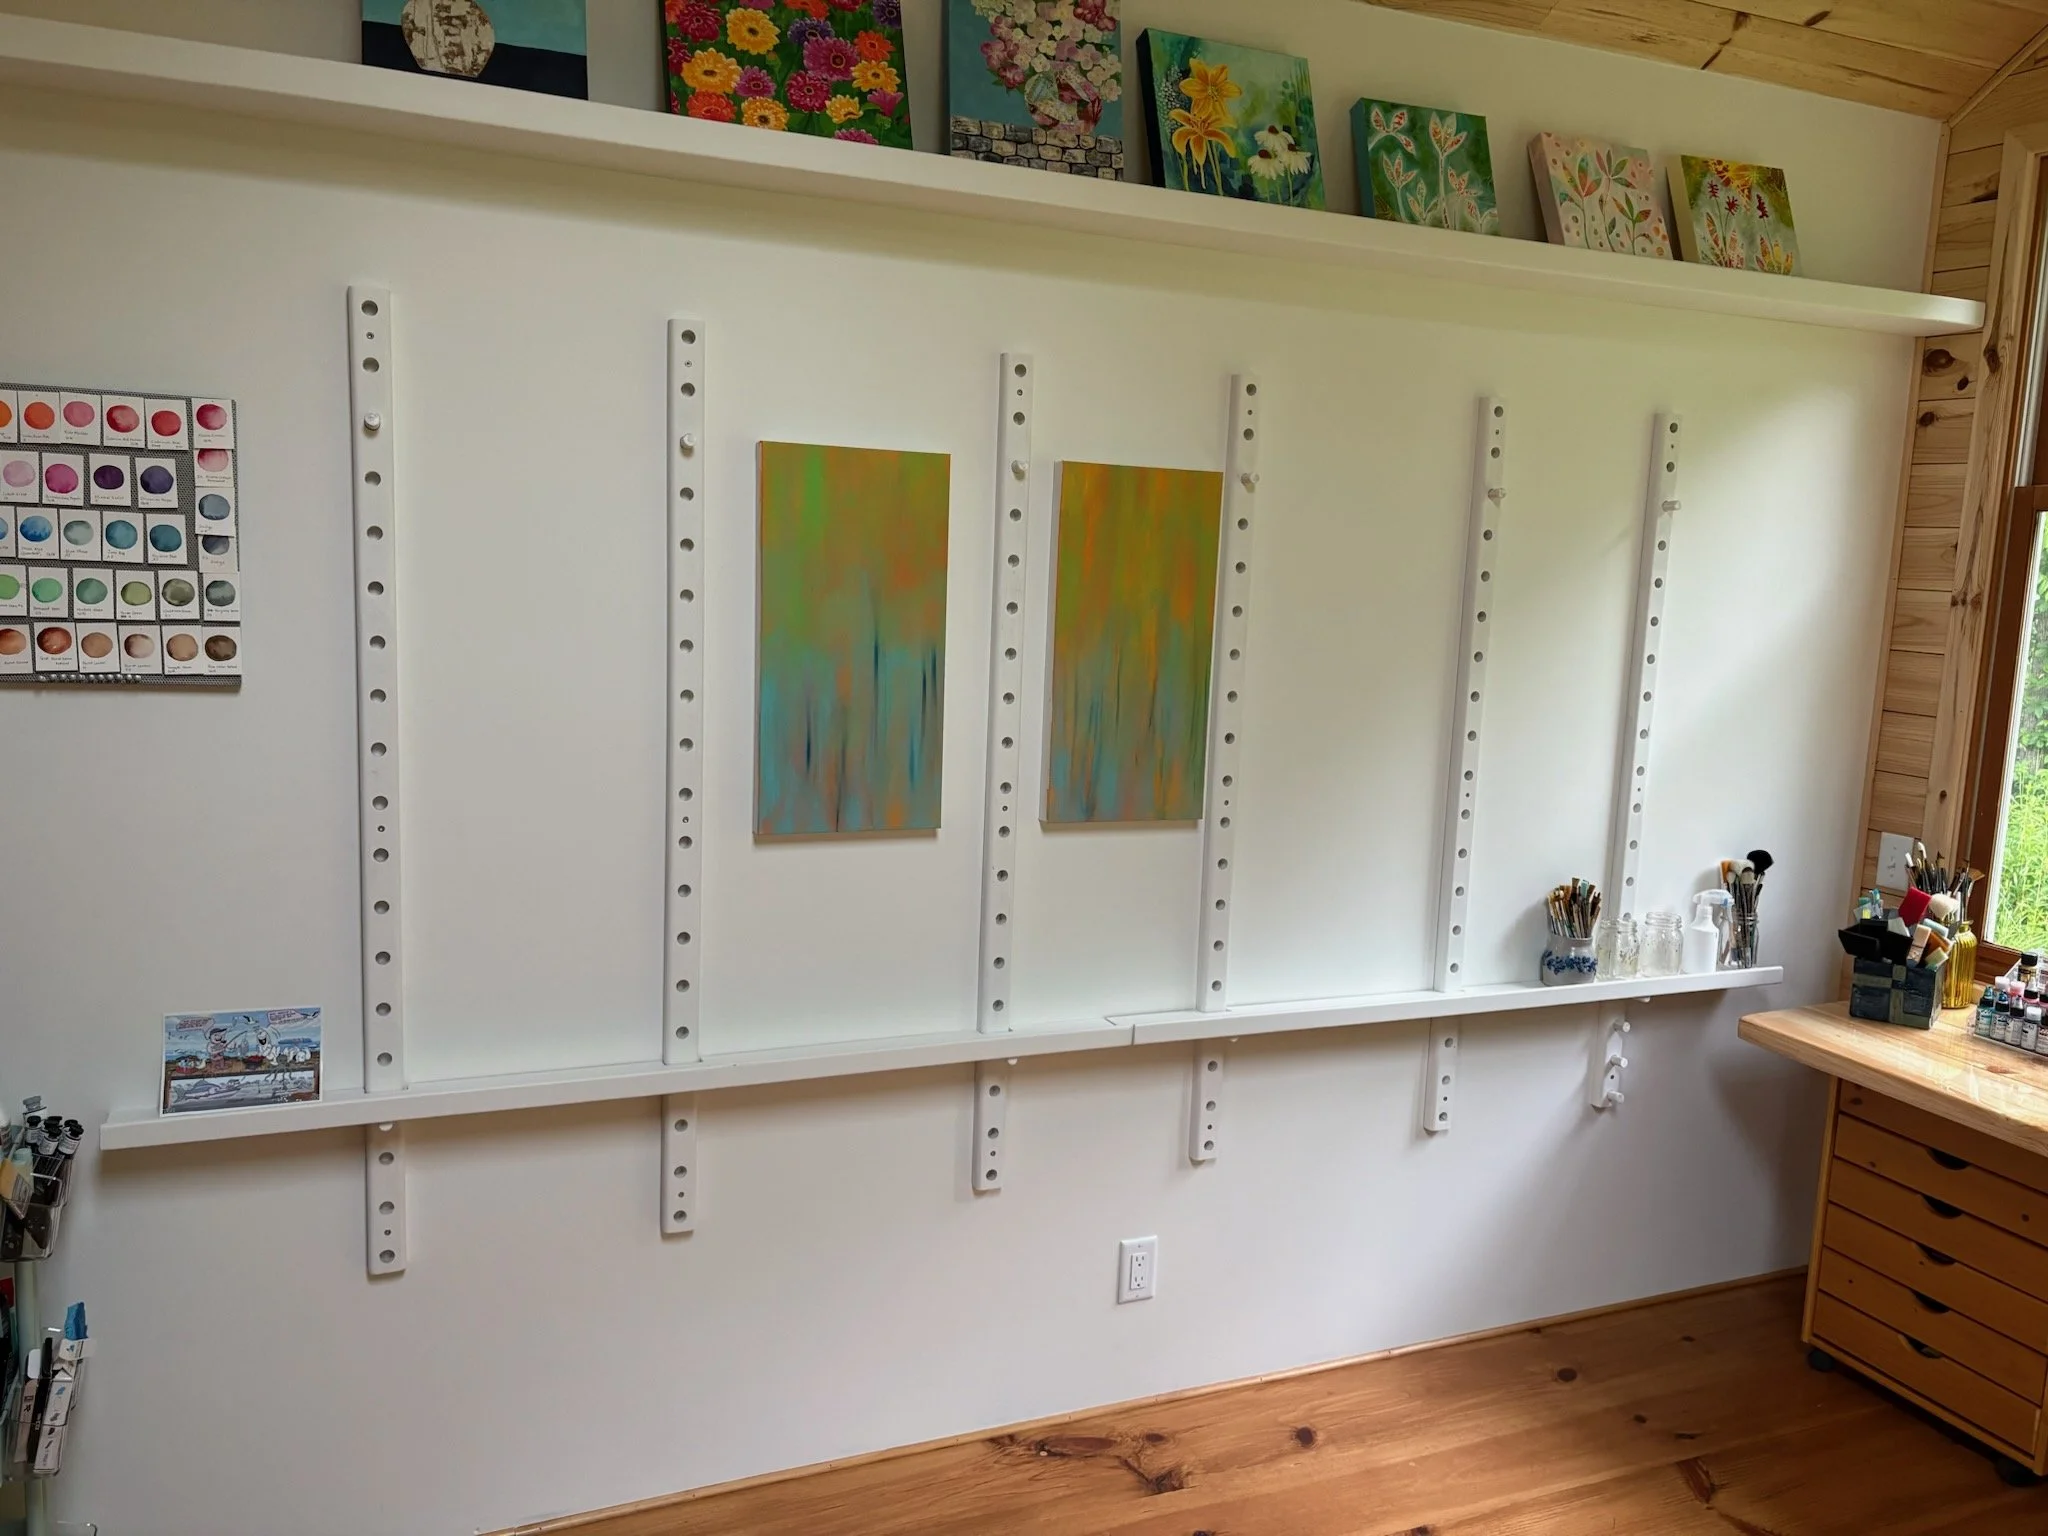
We looked at many sources before building the cleat wall. We saw one in an artist’s studio in Naples, Florida that I really liked. The artist was generous enough to talk to us about it and let us take photos. We also looked at YouTube videos. We combined some ideas and came up with a great design. Claire even has her own spot to paint and was the first one to break in the wall!
A Labor of Love: The Heart Behind My Dream Art Studio

As I sit in this beautiful space, I'm reminded that this studio is much more than walls, windows, and wood. Moe poured countless hours into every detail—from the initial plans he drew up to the building itself. He wired it, insulated it, milled the pine into shiplap and tongue-and-groove boards, installed the walls, ceiling, and wide-plank flooring, crafted the walnut details, and paid attention to countless small finishing touches that many people will never even notice. Every cut, every board, and every finishing touch was completed with incredible care. This studio is truly a labor of love, and I feel grateful every time I walk through the door. It isn't just my dream studio; it's a gift built with patience, craftsmanship, and love.
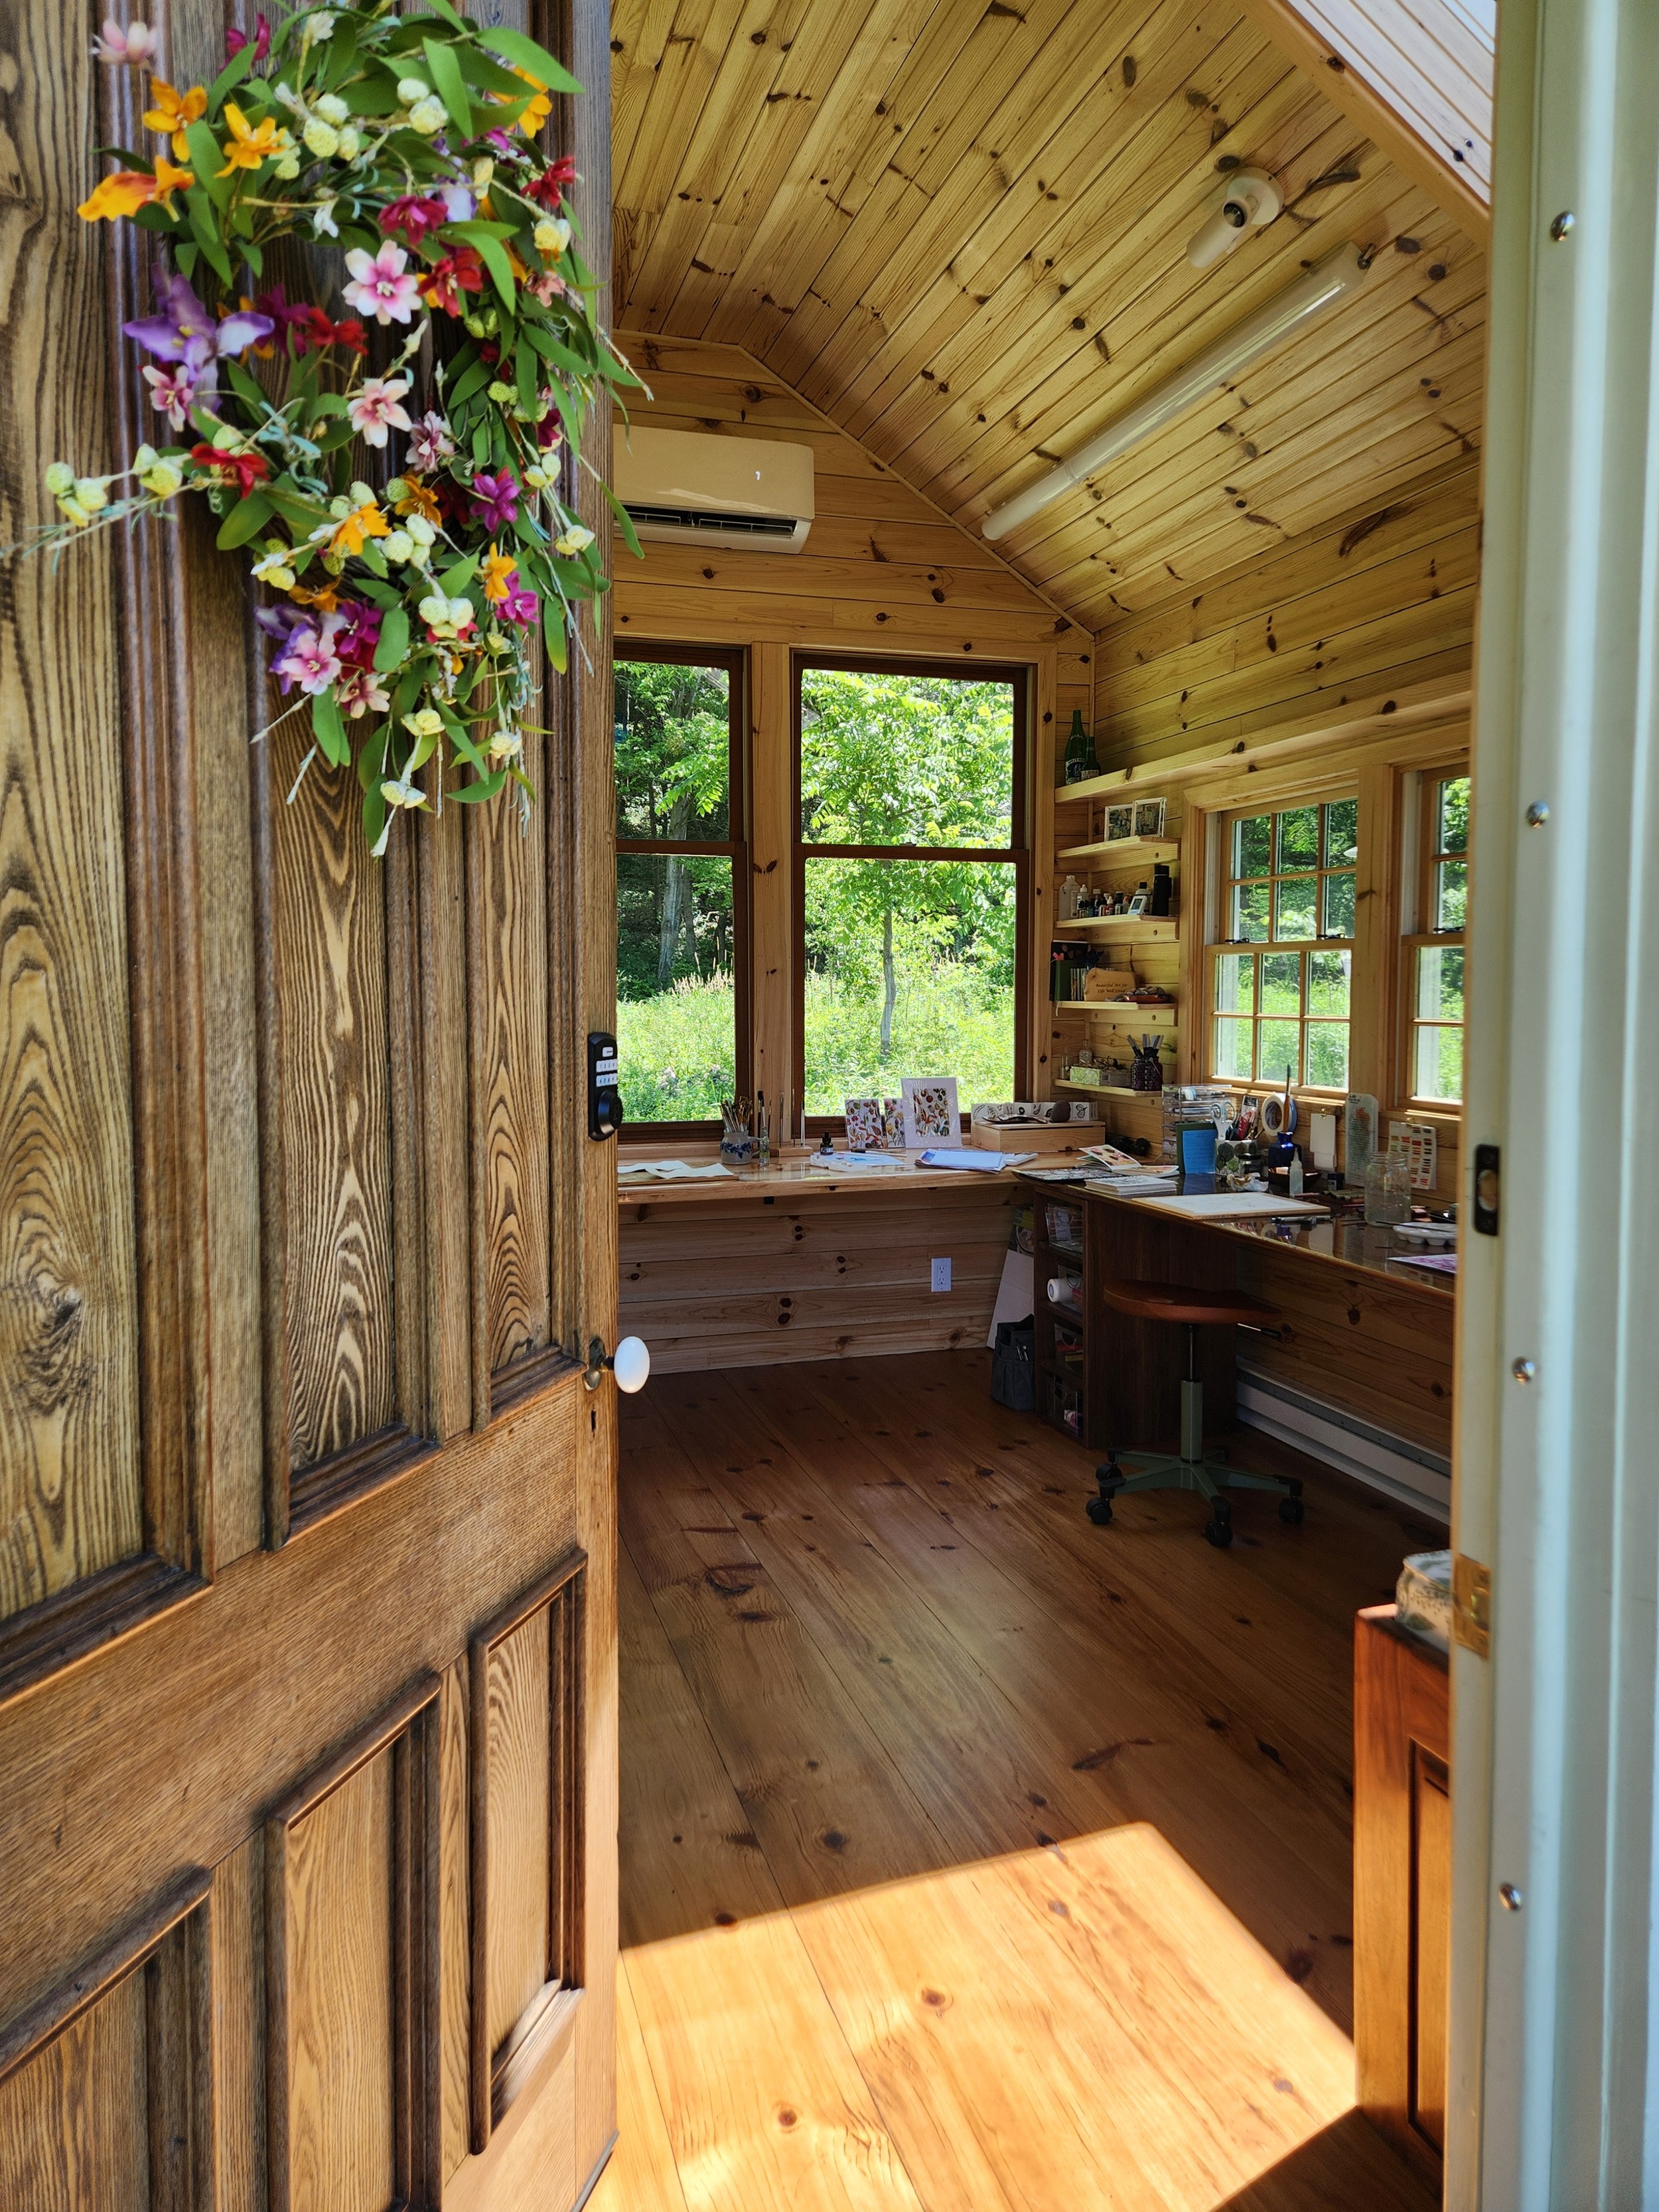
Click on the photo above to see a video of the interior.
If you’d like to see some of my finished artwork, visit Lalonde Studios.
While my art studio is Moe’s most spectacular piece of art to date, you can see some of his other creations on his website.
Beautiful Art for Life Well Lived,
Sarah